Savoury Digestive Biscuits
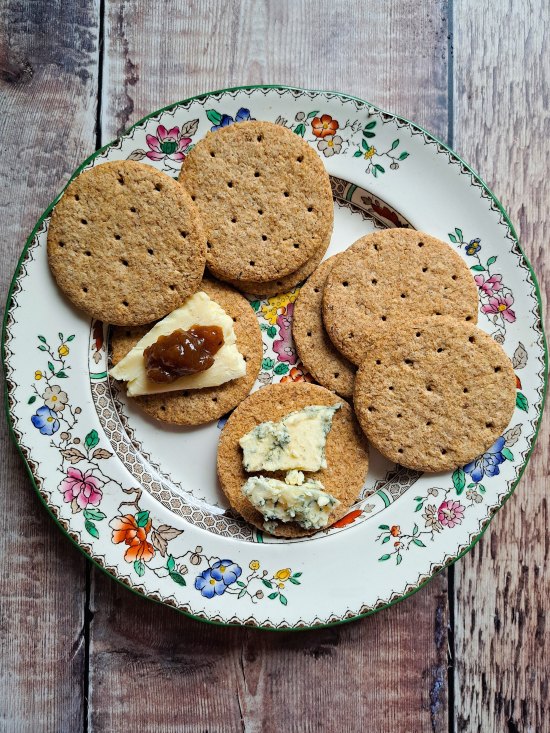
Savoury Digestive Biscuits are a low sugar version of the British favourite. Made with oatmeal and wholemeal flour, the rustic, satisfying biscuits are ideal for eating with cheese, nut butters, pâté, or other savoury toppings. So easy to make, once tried you’ll never go back to shop bought.
Disclosure: this post may contain affiliate links. If you buy via my links, I may earn a small commission at no extra cost to you.
Jump to Recipe
HOMEMADE DIGESTIVE BISCUITS
Ever since I shared my recipe for Homemade Digestive Biscuits back in 2019, it’s remained among my most popular posts. Crunchy, crumbly and with a satisfying wholemeal, oaty flavour, it has a heap of 5-star ratings and lovely comments. Lots of you seem to agree with me that they’re miles ahead of packet versions which these days have too much white flour and sugar, no oats at all, AND contain ultra processed food ingredients including environmentally disastrous palm oil.

Traditionally, digestive biscuits had much less sugar than many biscuits. Developed by two Scottish doctors in the early nineteenth century, they were promoted as healthy due to the inclusion of bicarbonate of soda to help digestion – hence the name.
Although I certainly don’t make any health claims for my original Homemade Digestive Biscuits, they do have less than a teaspoon of sugar per large biscuit. Which also means they can be eaten with a piece of cheese just as well as being dunked in a cup of tea.

But I’ve now gone a stage further with my Savoury Digestive Biscuits specifically for non-sweet toppings.
SAVOURY DIGESTIVE BISCUITS: EVEN LOWER SUGAR
For my new recipe, I’ve reduced even further the amount of sugar. If you cut 16 – 18 biscuits from the dough (and you can 2o or more smaller, thinner ones), Savoury Digestive Biscuits have less than a third of a teaspoon of sugar per biscuit. For me, this small amount of sugar rounds out the flavour without making the biscuits noticeably sweet. Of course, personal tastes vary on what exactly is ‘sweet’, ‘too sweet’, or ‘not sweet enough’. So, you could vary the amount of sugar in the recipe a little.
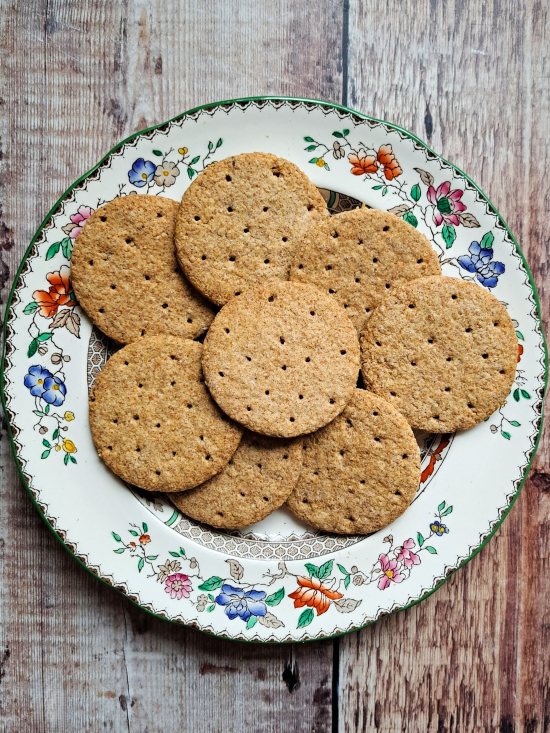
However, be aware that reducing the sugar further than I already have could affect the colour, taste, texture and keeping qualities of the biscuits. That’s because sugar isn’t only a sweetener. As sugar heats, it caramelizes. This aids browning of the biscuits which affects appearance, taste, and texture. Sugar also helps to hold on to moisture, so biscuits with no or very little sugar could become hard or stale more quickly.
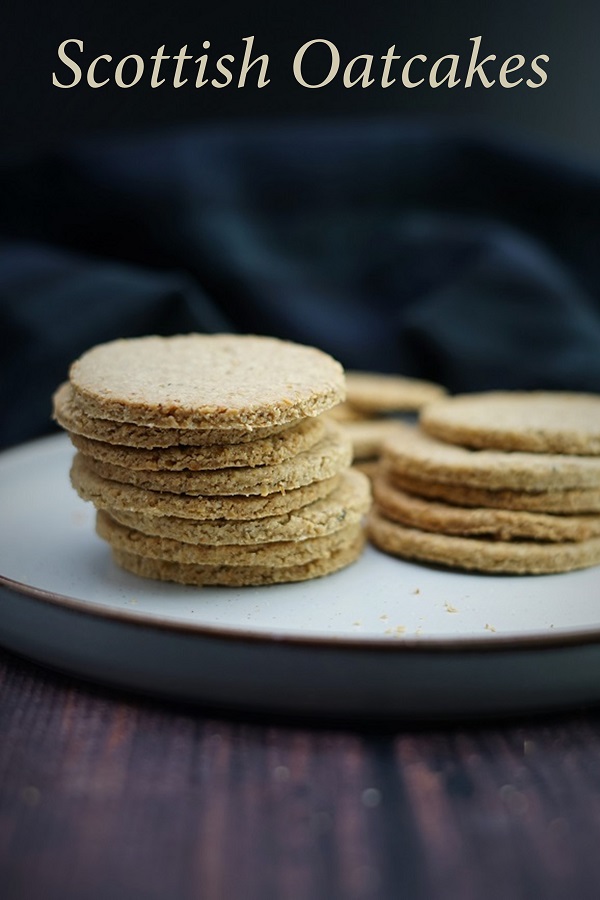
But, as long as you’re okay with that, there’s no reason you couldn’t take out more of the sugar. Or, if you want a completely sugar-free savoury oat biscuit you could try my Scottish Oatcakes.
WHOLEMEAL & OATMEAL GOODNESS
To improve the nutrition and to enhance the rustic feel of my Savoury Digestive Biscuits I’ve ditched the small amount of white flour in my original recipe and replaced it with plain wholemeal flour. As oatmeal is also considered to be a wholegrain, that means my Savoury Digestive Biscuits have even more wholesome goodness.
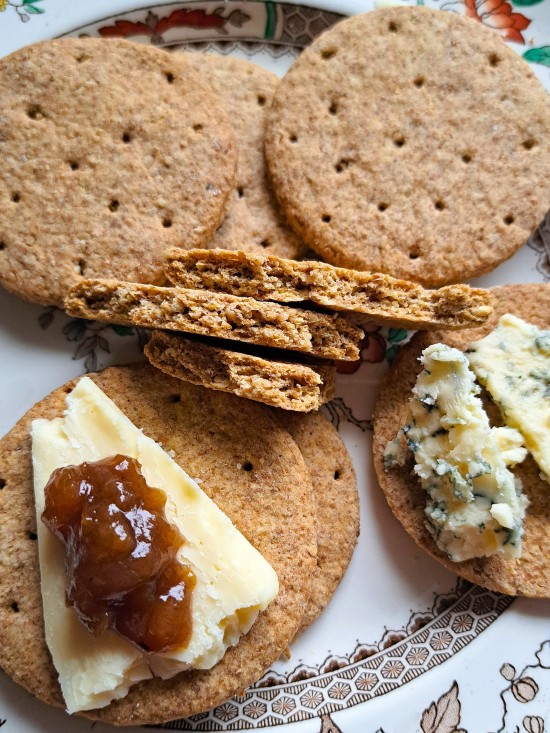
Here in Britain, oatmeal is made from ground oats (for US readers, what you call oatmeal is our porridge). Oatmeal is generally sold as either fine, medium or coarse. Any of these, or a combination, can be used to make digestives, although I wouldn’t personally recommend using coarse on its own. You might also see packages labelled ‘oat flour’, although they’re generally more expensive.
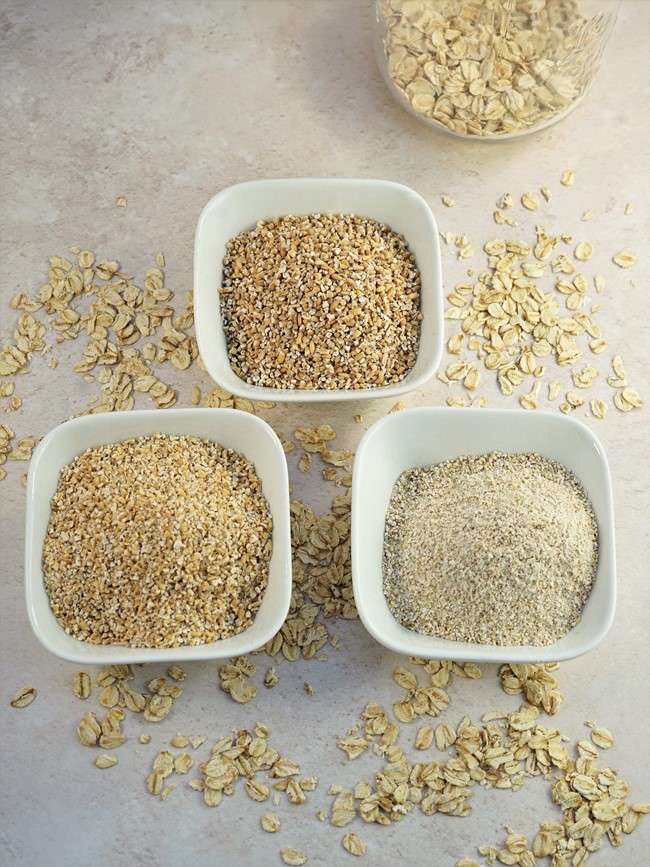
You’re more likely to find oatmeal in health food shops rather than supermarkets. But don’t worry if you can’t get any. It’s simple to make your own with a blender or food processor. Just whizz rolled or porridge oats until fine or medium, depending on whether you want a finer or rougher textured biscuit.
Tip: Oat bran is more widely available, but it’s a different product and not suitable for making digestive biscuits.
HOW TO MAKE SAVOURY DIGESTIVE BISCUITS
You need just 5 ingredients, plus salt, to make my Savoury Digestive Biscuits.
- Oatmeal
- Plain wholemeal flour
- Caster sugar
- Butter
- Beaten egg
In a nod to the original digestives, you can add half a teaspoon of bicarbonate of soda if you like. But it makes little difference to the result, so isn’t really necessary.
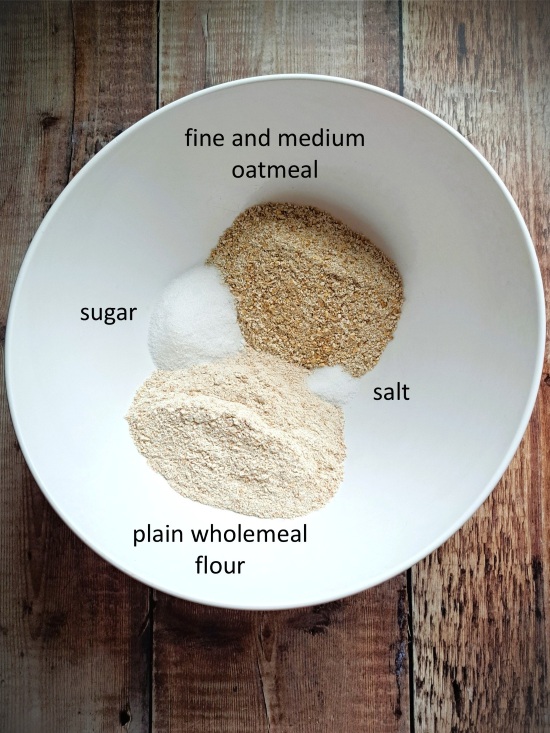
You’ll find ingredient amounts plus detailed instructions in the recipe card at the end. But I recommend reading this whole post first for extra tips and step-by-step images.
MAKE THE DOUGH
To make the dough, start by putting the oatmeal, flour, sugar, and salt into a bowl then stir together. Next, coarsely grate in the butter. If it sticks to the grater, just periodically dip the butter into the oat and flour mixture. Now use your fingertips to rub in the butter until the mixture looks like breadcrumbs.
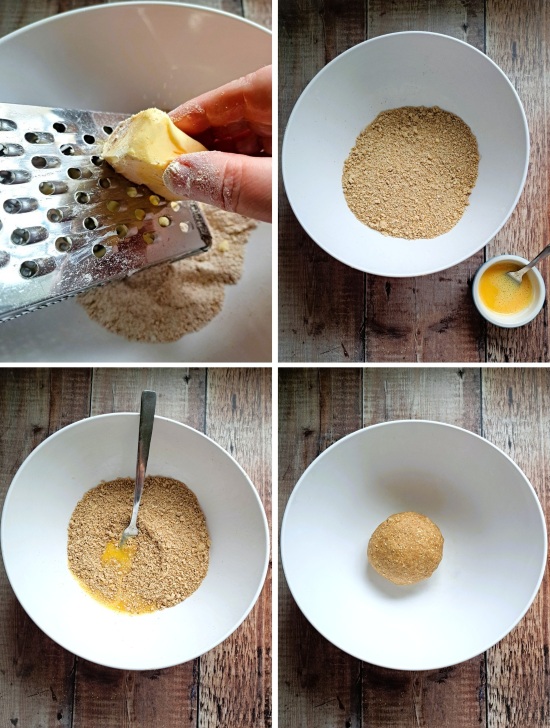
Using a fork, stir in enough of the beaten egg to make a soft dough. You may not need all of the egg. As the mixture starts coming together, switch to your hands to form it into a smooth ball.
ROLL AND CUT OUT THE DOUGH
As doughs containing oats can be a little sticky, to roll out you should sprinkle your work surface with extra wholemeal flour. To minimise sticking I use a silicone mat which makes cleaning up easier too. Transfer the dough onto it, flatten slightly with your hand, then sprinkle a small amount of flour over the top.
Roll out the dough evenly: 2 – 3 mm for thinnish biscuits, up to 5 mm for chunkier ones.
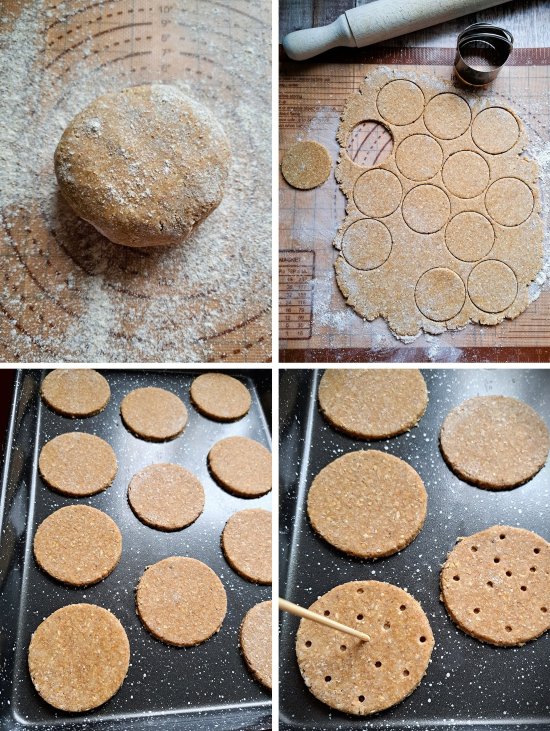
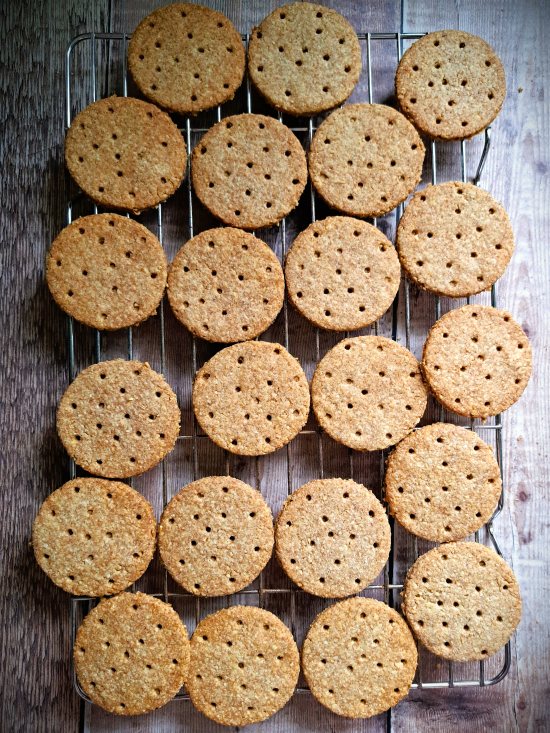
Now cut into whatever shape and size biscuits you’d like. Gather up the scraps of dough, re-rolling to make more biscuits until all the dough is used up. Using a 6 cm cutter and rolling the dough thinly, I get around 20 Savoury Digestive Biscuits per batch. If you make larger, thicker biscuits you’ll probably get 16 – 18 at most.
As you cut them out, transfer the digestives to baking trays: either non-stick, lined with parchment paper, or lightly greased with butter. For decorative purposes only, I use a skewer or cocktail stick to make a pattern of holes just like on traditional digestive biscuits.
BAKING & STORING SAVOURY DIGESTIVE BISCUITS
In an oven preheated to the temperature shown in the recipe card, the digestives should take 15 – 20 minutes to cook. Thicker biscuits will naturally take longer to cook than thinner ones. If necessary, turn the tray(s) around half way through for even baking.
When they’re firm and browned, transfer to a cooling rack until completely cold. Stored in an airtight container, homemade digestives should keep for up to a month.
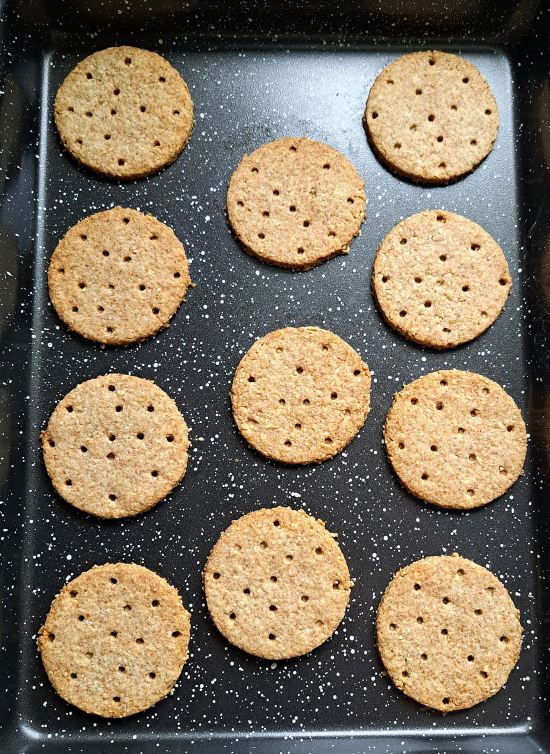
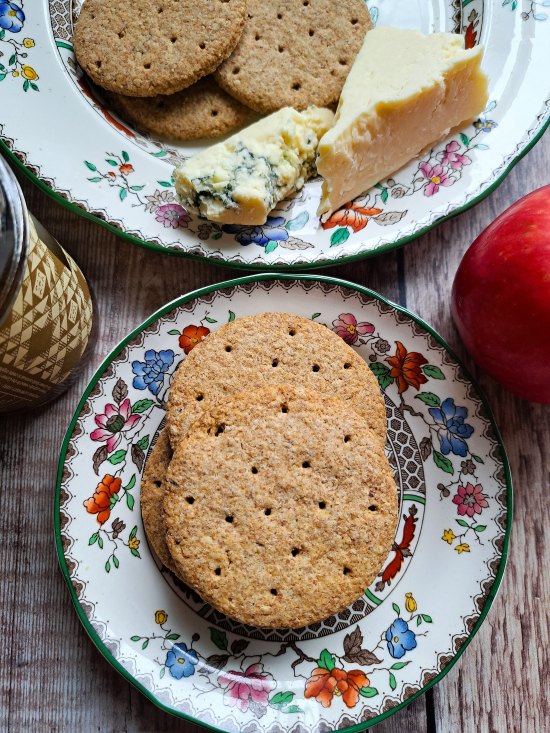
But they never last that long in our house. With a lovely wholemeal, oaty flavour and rustic texture, they’re irresistible as a snack with cheese. The classic pairing with a mature Cheddar is hard to beat, although I particularly enjoy Savoury Digestive Biscuits with Stilton. Cream cheese works well too. And don’t forget the homemade chutney.
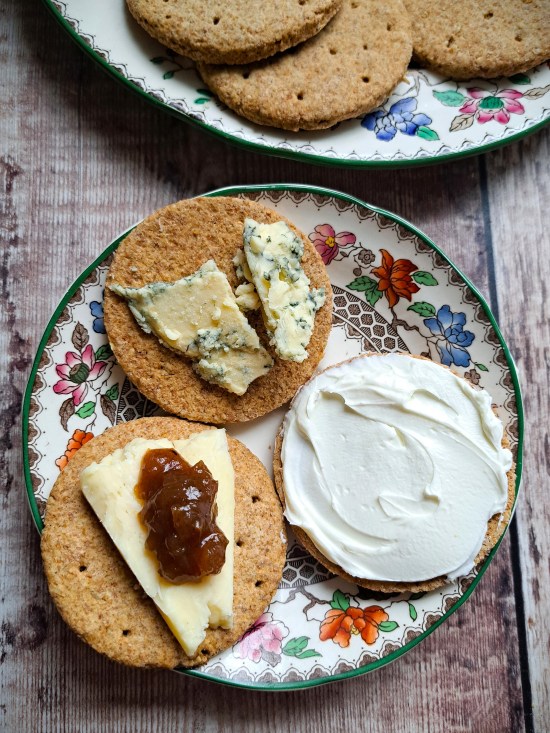
The robust biscuits can also stand up to a generous topping of nut butter or a meaty pâté. So flavoursome though, I often grab one to eat plain when I’m feeling peckish.
Incredibly easy to make, and with a handful of simple ingredients, I do hope you’ll try my Savoury Digestive Biscuits.
If you’ve made this recipe I’d love to know what you thought, so please leave a comment and rating.

Savoury Digestive Biscuits
A low-sugar version of rustic, wholesome digestive biscuits, made for eating with cheese or other savoury toppings.
It's recommended that you read the accompanying blog post before beginning the recipe.
Ingredients
- 100 g fine or medium oatmeal (see Recipe Notes for making your own from rolled or porridge oats)
- 100 g plain wholemeal flour (plus extra for rolling out)
- 20 g caster sugar
- 0.75 tsp salt (can be reduced to 0.5 tsp)
- 75 g cold butter
- 1 medium egg (beaten)
Instructions
-
Preheat your oven to 190°C/ 170°Fan /Gas 5 /375°F.
You will need one or two baking trays, either non-stick, lined with baking parchment, or lightly greased with extra butter.
-
Put the oatmeal, flour, sugar, and salt in a bowl and stir together.
Coarsely grate the butter into the mixture (dip the butter into the flour now and then if it sticks to the grater) then use your fingertips to rub it in until the mixture looks like breadcrumbs.
Using a fork, stir in enough of the beaten egg to make a soft dough: you may not need all of the egg. As the mixture starts coming together, switch to your hands to form it into a smooth ball.
-
Generously sprinkle your work surface or a silicone mat with extra wholemeal flour. Transfer the dough onto it and flatten slightly with your hand.
Sprinkle a little more flour over the top then roll out 2 - 3 mm for thinner biscuits, up to 5 mm for thicker biscuits.
Cut into what shapes and size you would like and transfer them to the prepared tray.
Gather up the scraps of dough, re-rolling to make more biscuits until all the dough is used up.
Optional and for decorative purposes only: use a fork, skewer or cocktail stick to make a pattern of holes.
-
Transfer the tray(s) to the preheated oven and bake until cooked through (approx. 15 - 20 min). If necessary, turn the tray(s) around half way through for even baking.
-
Transfer the biscuits to a cooling rack until completely cold before storing in an airtight container for up to 1 month.
Recipe Notes
OATMEAL. If you can't find oatmeal in the shops, you can make your own by whizzing up rolled oats or porridge oats in a blender until your chosen consistency, fine or medium, is reached.
RELATED RECIPES




We are big fans of digestive biscuits and wanted to make our own. Being Americans, we ate graham crackers growing up and again in later adulthood. The British and Scottish digestive biscuit is a much better version, and I think can be a comfort food for a lifetime. We have tried 3 recipes so far and like your homemade digestive biscuit the best. Looking forward to making your savory variety next and think that may end our search, we will either like it better than the ‘homemade’ version or not and one or the other will be the new staple for us at teatime or any time. Thanks for your excellent and comforting assistance in our journey.
You’re most welcome and thank you so much for your lovely comment!