Homemade Chocolate Hobnobs
Homemade Chocolate Hobnobs are a made from scratch version of a favourite British biscuit. Containing wholemeal flour and oats they’ve a rustic feel. But with golden syrup and optional chocolate layer, hobnobs are a wonderful, sweet treat with a cup of tea or coffee.

Disclosure: this post may contain affiliate links. Buy via these and I may earn a small commission at no extra cost to you.
Jump to Recipe

WHAT ARE HOBNOBS?
Hobnobs are often described as a cross between a digestive biscuit and a flapjack. The oaty wholemeal biscuits with a golden syrup flavour quickly became a British favourite when McVitie’s first marketed them in the 1980s. Like their digestives, a half chocolate covered version soon followed.
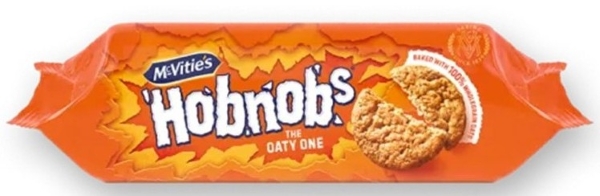
According to one of their inventors, the name Hobnobs came from a focus group. People trying the new biscuits noted the ‘knobbly’ appearance and thought they had a homemade look, ‘maybe made on a hob’. While the knobbly comment seems legit, I doubt anyone would suggest you make biscuits on a hob! Perhaps more likely is the alternative story that the name simply refers to ‘hobnobbing’. This word has very old roots and now means to socialise, often with food and drink.

Although McVitie’s may have come up with the concept, I think homemade hobnob biscuits are far superior to the manufactured version. Wonderfully buttery (the originals now contain nasty palm oil), crunchy, and with plenty of oats, I especially love them with a layer of chocolate. But they’re delicious plain too. Either way, they’re great dunked in a cuppa.

HOMEMADE CHOCOLATE HOBNOBS
You’ll find ingredient amounts and full instructions in the recipe card at the end. But I strongly recommend you read the whole of this post for extra tips and step-by-step images to guide you. For the best results, please also use digital scales (affiliate link) and metric measurements.

INGREDIENTS
You only need a handful of ingredients for homemade Hobnob biscuits and Homemade Chocolate Hobnobs.
- Wholemeal flour. This gives a much better flavour and satisfying rustic texture than white flour. Use self-raising wholemeal or plain wholemeal plus baking powder.
- Rolled oats. You could use the finer porridge oats if that’s what you have, but I think rolled give a nicer texture.
- Light brown soft sugar. Enhances the caramel-like flavour better than white sugar.

- Salt. Enhances flavour, but can be omitted if you prefer.
- Butter. For binding plus that special flavour that only butter brings to all kinds of baking. I always buy salted but unsalted is fine too.
- Golden syrup. For binding and an authentic Hobnob flavour.
- Milk and/or dark chocolate (optional). I like half dark and half milk for a robust but still creamy chocolate taste. Of course, you can use one or the other or even leave off the chocolate layer.
HOW TO MAKE HOBNOB BISCUITS
If you’ve made flapjacks, making the dough for hobnobs will be familiar. All you do is stir the dry ingredients in a bowl (i.e. flour, oats, sugar, salt) then add the melted butter and golden syrup.
The dough doesn’t completely come together like a regular biscuit dough, so take roughly heaped tablespoons of it and squidge it together in your hands. I wanted my hobnobs to be around 6 centimetres in diameter and found that using 28 grams of dough per biscuit worked. This should give you 22 – 24 biscuits.
You could make them a different size or judge by eye. Roll the pieces into balls and place on lined baking trays, leaving plenty of space between them.

Now you have a choice, depending on how round you want your biscuits. You could flatten the balls using the back of a spoon or fork, or the bottom of a glass. But, wanting as near perfect circles as I can get, I place a 6 cm cookie cutter over a ball then use the back of a teaspoon to spread it evenly. I carefully remove the cutter then repeat with the remaining balls. To get a flatter top, I then turn the biscuits over.

If you don’t mind the possibility of the hobnobs spreading more, you could immediately bake them. But I prefer to chill in the fridge for 20 – 30 minutes to keep their nice round shape.
BAKING & COOLING HOMEMADE HOBNOBS
While making the dough and shaping the biscuits is easy, the secret to a really good homemade hobnob is in the baking. It took me a few tests to get the result I wanted. A golden-brown biscuit not too hard, not too soft. If you’ve made flapjacks, then you’ll know that when they come out of the oven they’re still soft and you must leave to firm up. Well, it’s the same here as Hobnobs are basically a flapjack in biscuit form.
So, when deciding if your hobnobs are done, be guided by the colour of the baked biscuits and not how soft or set they are. The biscuits will firm up a surprising amount as they cool. If you bake until they’re nearly firm already they could end up too hard. They’ll still be fine for dunking in tea or coffee, but they’ll be much nicer if you take them out of the oven sooner.

For my taste, 10 – 12 minutes baking is usually right. Note that the timing may differ if you made your biscuits thicker or thinner, and whether you chilled before baking (un-chilled are likely to spread further and therefore cook quicker). If you prefer your biscuits a little softer in the middle rather than crunchy all the way through, you should also cook them for the shorter time. You could even bake a small test batch first, cooling one biscuit after 10 minutes, another after 11 etc.

Because the hobnobs are quite delicate when they come out of the oven, I slide them (still on their paper) off the baking tray and onto a cooling rack. Leave to set for a few minutes then carefully take off the paper and put directly on the rack. Leave until completely cold before storing or adding chocolate.
ADDING THE CHOCOLATE LAYER
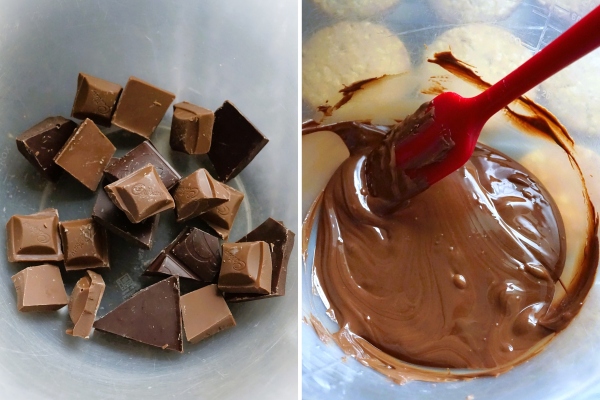
The amount of chocolate I’ve given in the recipe card should be enough to give all the hobnobs a generous layer of chocolate on one side. You could reduce the amount for a thinner layer, less if you just want a drizzle, or even leave the chocolate off. I’ve included instructions for melting the chocolate in a microwave and on top of the stove.
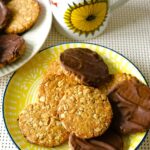
When it’s completely smooth, hold a biscuit in your fingertips flat side facing down and dip in the chocolate. Lift out, let most of the excess drip off, then finish by smoothing off with the edge of a silicone spoon. Place the biscuits on a rack, chocolate side up, until the topping is set.

Stored in an airtight container homemade hobnobs should keep for up to a week.
EASY HOMEMADE HOBNOBS & CHOCOLATE HOBNOBS
I don’t claim my hobnob biscuits are identical to the manufactured version. But I thought the original idea of a wholemeal oat biscuit flavoured with caramel-like golden syrup, optionally half-coated in chocolate, was so good that a homemade hobnob would be excellent. And it was!

With simple ingredients (including butter instead of the palm oil now found in the originals) they’re not difficult to make. Just keep an eye on how long you bake them for, and you’ll be rewarded with a wonderfully flavoured, almost rustic biscuit. Add to that a layer of chocolate and you have something very good indeed.
So satisfying dunked in a cup of tea or coffee (I love how the chocolate starts to melt a little), I only wish I’d started making Homemade Chocolate Hobnobs years ago.
If you’ve made this recipe, I’d love to know what you thought. Do leave a comment and rating.

Homemade Chocolate Hobnobs
A homemade version of a British classic wholemeal biscuit with oats and golden syrup. Delicious with a cuppa whether you half cover them in melted chocolate or leave plain.
Easy to make but be careful not to overbake: like a flapjack, they should still be quite soft when they come out of the oven as they firm up a lot as they cool.
Please read the accompanying blog post before starting and use metric measurements.
Ingredients
- 150 g self-raising wholemeal flour (or plain wholemeal flour sifted with 1.5 tsp baking powder)
- 150 g rolled oats
- 125 g light brown soft sugar (can be reduced to 100g for a less sweet biscuit)
- 1 tsp salt (optional)
- 150 g butter (salted or unsalted)
- 50 g golden syrup
For the topping (optional: see Recipe Notes)
- 130 g milk or dark chocolate, or a combination (see Recipe Note below)
Instructions
-
Preheat oven to 180°C /160° Fan /Gas 6 /350°F.
-
Line 2 large baking trays with baking paper.
Tip: grease the trays first so the paper doesn't slide around.
-
In a large bowl stir together the dry ingredients: flour, oats and sugar plus salt if using.
In a saucepan or microwave melt together the butter and golden syrup.
Pour the melted ingredients into the dry ingredients and stir to combine thoroughly. It will look a little crumbly at this stage but this is normal.
-
Take heaped tablespoons of the mixture (approximately 28 grams) and press between your palms to create balls. Place these on the baking trays, leaving plenty of space between them.
-
Use your fingers, the back of a spoon or the bottom of a glass to flatten each ball into a circle approximately 6 cm in diameter.
Tips:
(i) For a neat circle place a 6 cm round cookie cutter over each ball to use as a template then use the back of teaspoon to spread the mixture evenly. Remove the cutter and repeat with the rest of the balls.
(ii) Unless you used a glass, turn the circles over so the flatter underside is now on top for a neater finish.
-
Optional but recommended
To reduce the biscuits spreading as they bake, chill in the fridge for 20 - 30 mins.
-
Put the trays in the oven and bake for approximately 10 - 12 minutes or until the biscuits are golden brown.
Tips:
(i) Biscuits will still be quite soft when done but will firm up as they cool. Do not overbake or they could end up hard.
(ii) Depending how thick you made them, baking for 10 minutes will usually give a softer middle and 12 minutes a fully crisp biscuit.
(iii) As ovens vary, you may wish to first bake a small test batch for 10 minutes and allow to completely cool before tasting and judging how long you'd like to bake the full batch.
-
Slide biscuits, still on their baking paper, onto a cooling rack to set for a few minutes. Take them off the paper and leave on the rack until completely cold.
If not adding the chocolate, or if adding later, biscuits can be transferred to an airtight container when cold.
Half covering in chocolate (optional)
-
Break the chocolate into pieces and put in a shallow microwave-safe bowl.
Melt on full power in 10 - 20 second bursts, stirring between each one, until just a few small pieces of un-melted chocolate remain. Stir vigorously until completely smooth.
Alternative: on top of the stove. Melt the chocolate in a heatproof bowl above a pan of gently simmering water. Stir constantly and make sure the water doesn't touch the bottom of the bowl.
-
Take one of the cold biscuits and hold in your fingertips, flat side downwards.
Dip the flat side in the melted chocolate then lift out, letting excess drip off and/or using a silicone spatula or similar to smooth it off back into the bowl.
Place the biscuit on a rack chocolate side up.
Repeat with the rest of the biscuits and chocolate.
Leave until the chocolate is completely set.
-
Store the biscuits in an airtight container.
Should keep for at least a week.
Recipe Notes
Chocolate topping. This amount of chocolate is enough to generously half-coat all the biscuits. You could reduce to 100 grams for a thinner layer or 50 grams for drizzling.
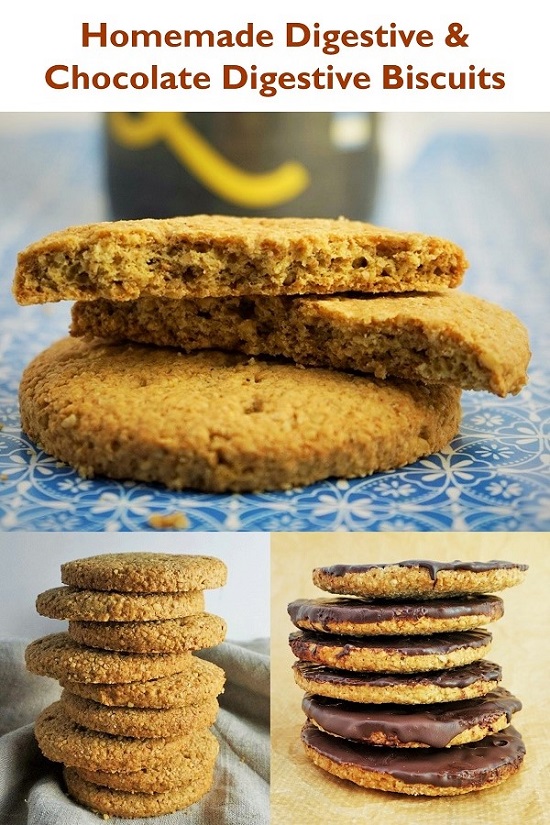
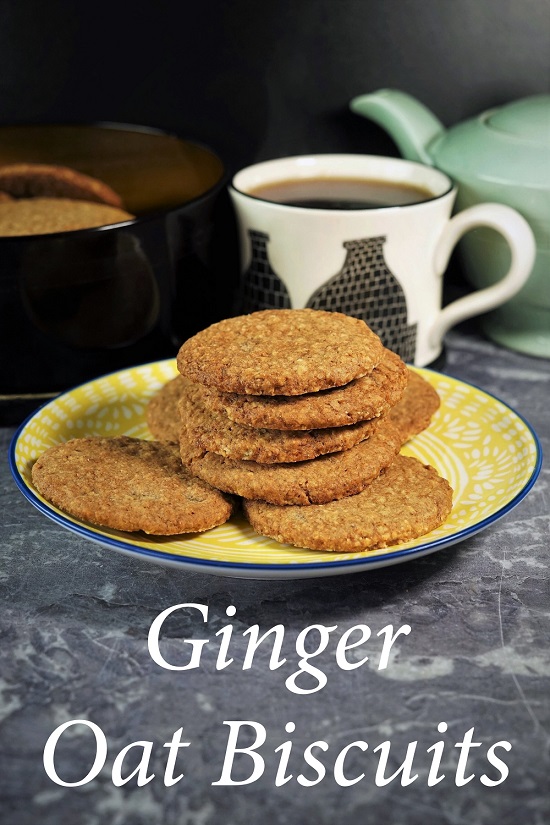
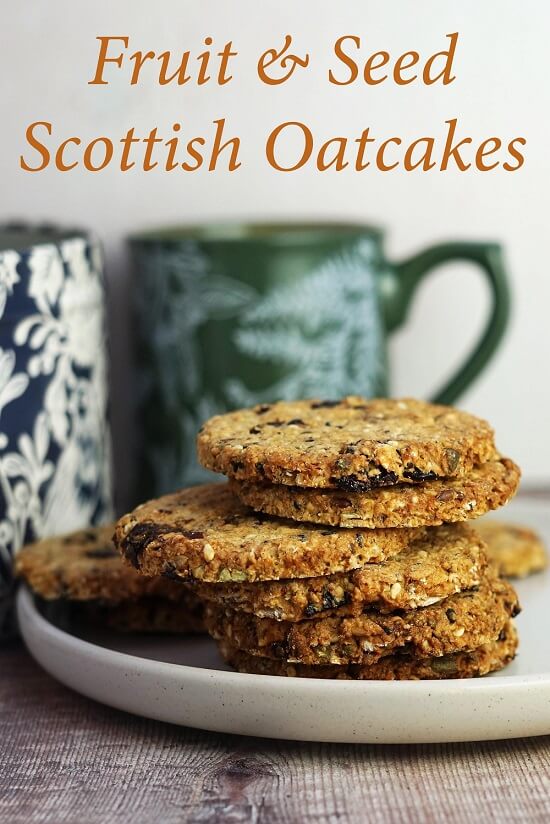
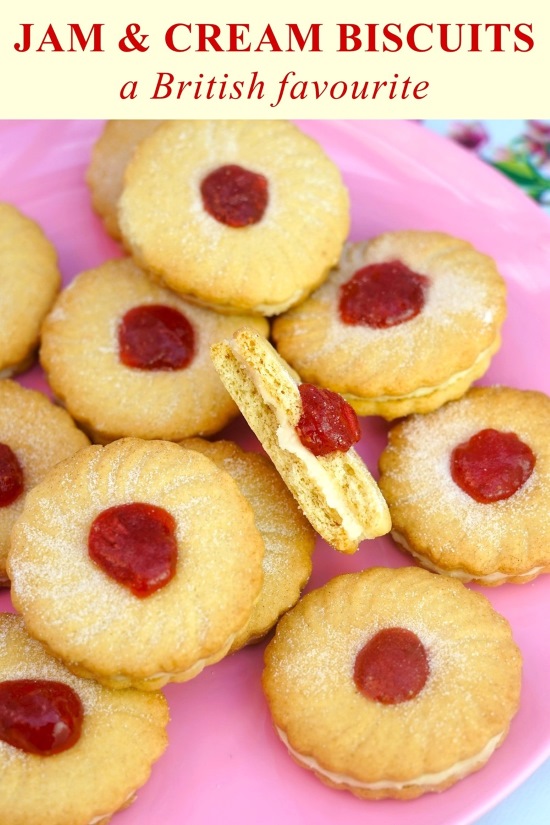
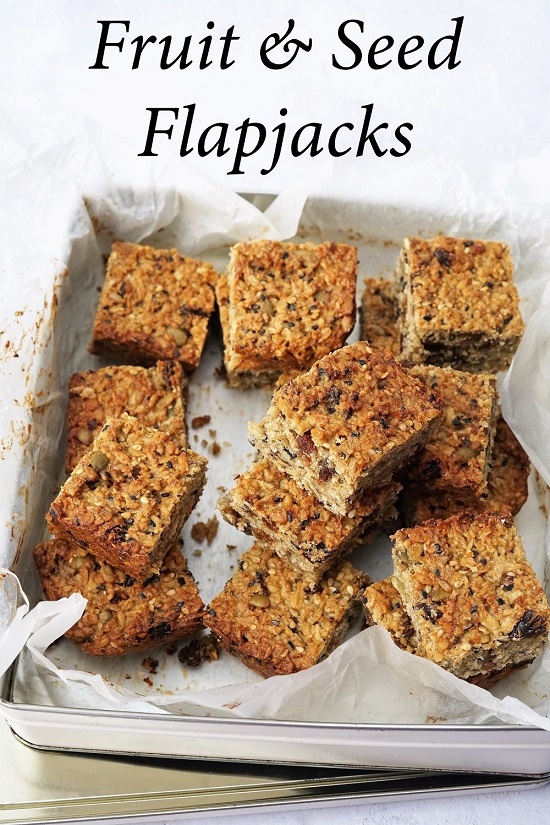
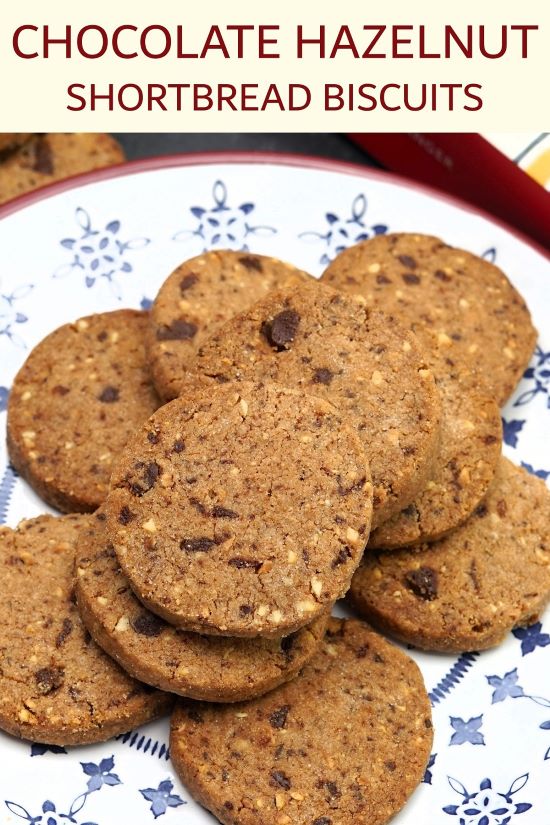
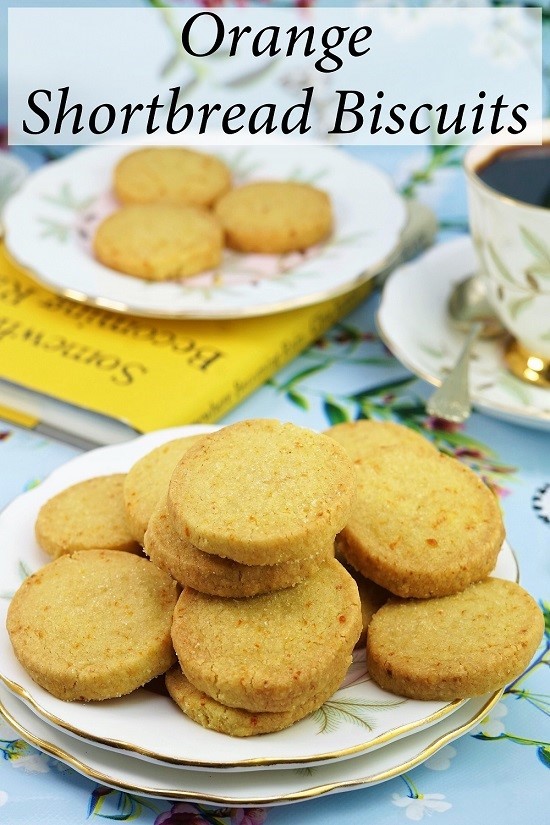
MORE BISCUIT RECIPES