Cheese & Chorizo Quick Bread
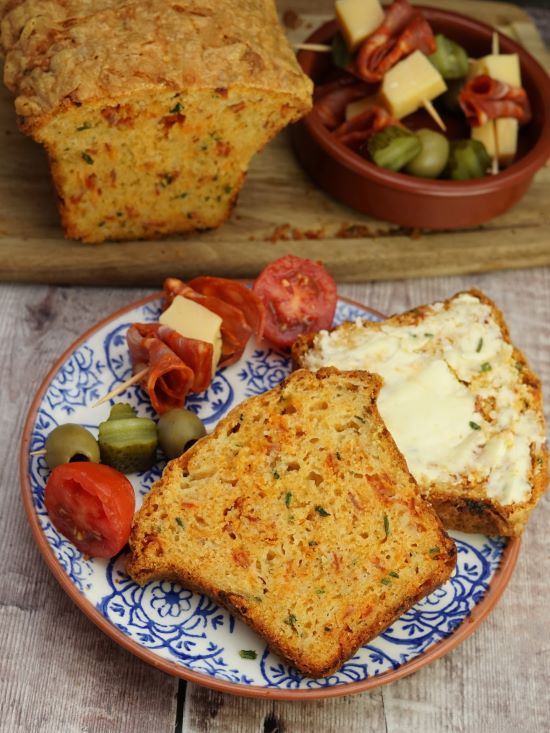
Cheese & Chorizo Quick Bread is ‘quick’ because it gets its rise from self-raising flour and eggs. That means no kneading and no proofing. You just mix up the ingredients in around ten minutes, then bake.
With tangy Cheddar cheese, smoky chorizo, plus chives, this soft and fluffy loaf with a crispy crust is full of flavour. Delicious as a snack whether you spread with butter or not, great as part of a tapas feast, with meats, cheeses, or salads and soups.
Disclosure: this post may contain affiliate links. If you buy via my links, I may earn a small commission at no extra cost to you.
Jump to Recipe
QUICK BREADS
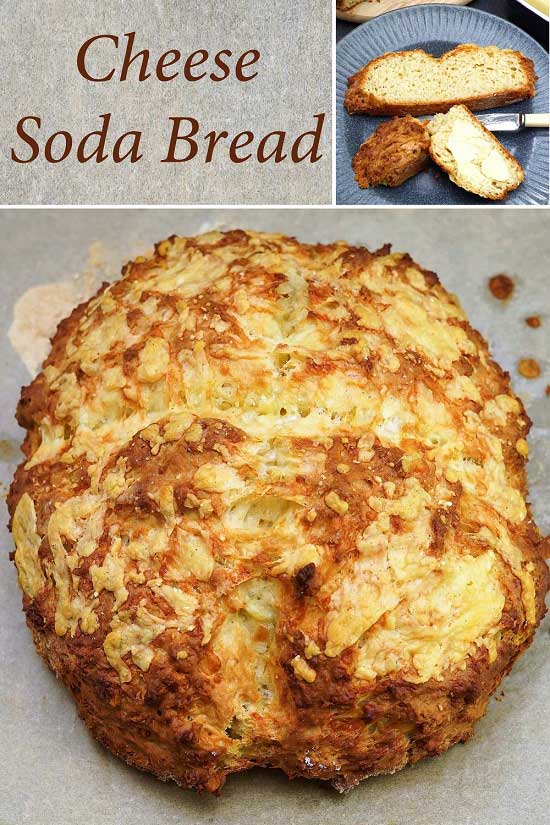
I love that quick breads completely live up to their name. Sweet or savoury, they’re perfect when you want to rustle up a loaf at short notice. Soda bread, like my Cheese Soda Bread and Fruit Soda Bread, is probably the best known quick bread. Made using raising agents like baking powder and bicarbonate of soda, with quick breads there’s no kneading or hours of proving time. Just mix and bake.
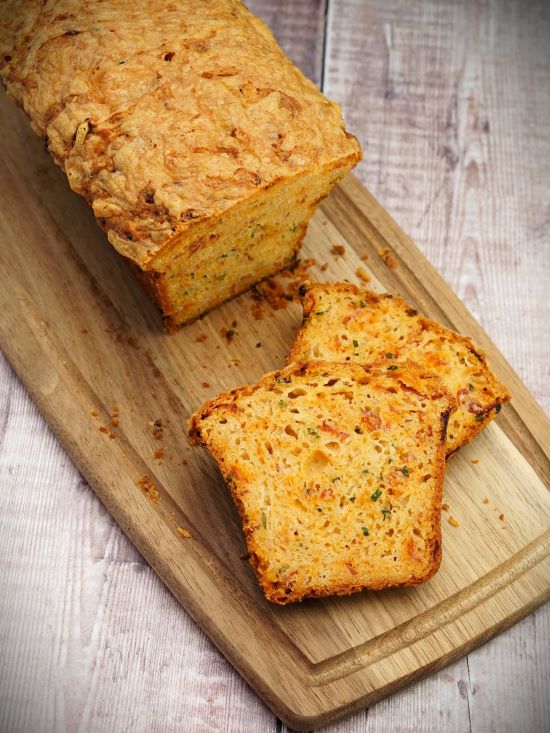
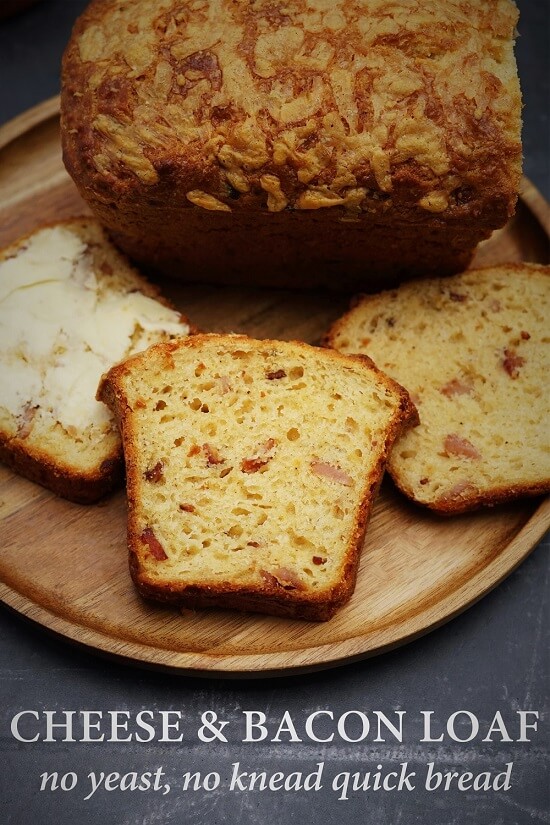
Cheese & Chorizo Quick Bread is a mash-up of another of my quick breads, Cheese & Bacon Loaf, and Cheese, Chorizo & Chive Scones. Both are perfect when you want a savoury snack, perhaps slathered in butter. So, why not combine the two? Smoky chorizo, tangy cheese, fresh chives in a convenient sliceable loaf with even less hands-on time than scones.
CHEESE & CHORIZO QUICK BREAD
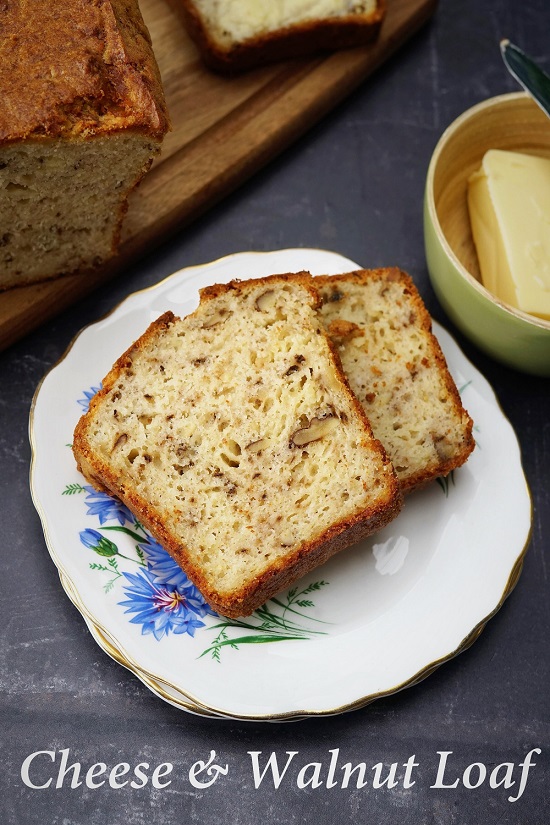
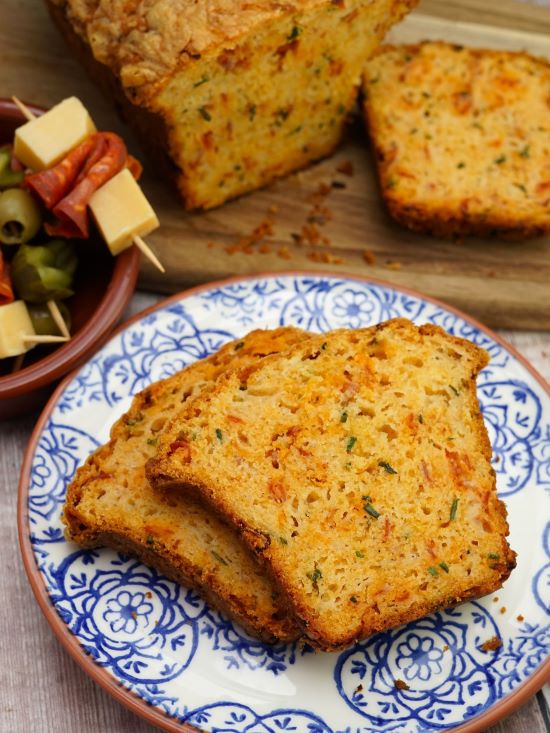
If you’ve eaten soda bread, then you’ll know that the texture is a cross between bread and cake. Well, Cheese & Chorizo Quick Bread is more in the cake direction. The inside is moist, soft, and fluffy. Which is not surprising really as it’s based on some of the same ingredients you’d use to bake a cake. Namely self-raising flour (or plain flour + baking powder), butter, and eggs. In fact, I think of this, and Cheese & Bacon Loaf and my Cheese & Walnut Loaf, as savoury cakes!
INGREDIENTS
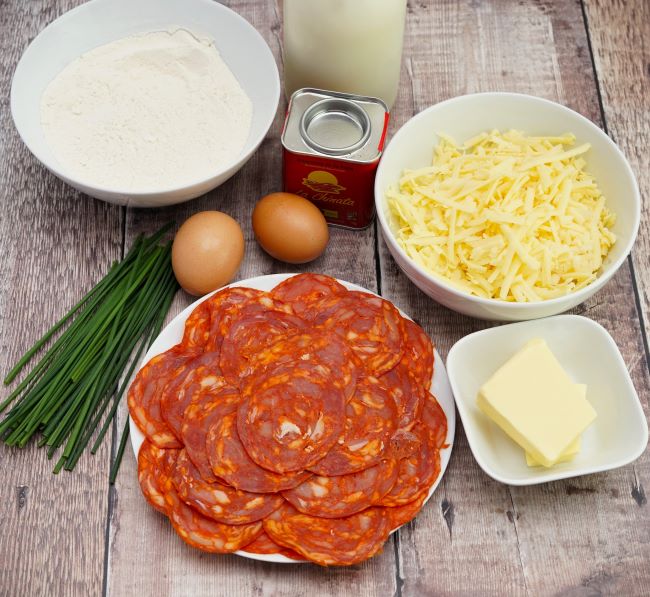
Apart from the chorizo and chives, you probably already have all the necessary ingredients for this easy, tasty recipe. Here’s the full list. You’ll find amounts to use and full instructions in the recipe card at the end.
- Self-raising flour. I use this as it conveniently already contains raising agents. If you prefer, use plain flour plus 2 level teaspoons of baking powder.
- Butter. For flavour and binding. I always use salted, but unsalted is fine if that’s what you have.
- Cheese. A mature Cheddar is best. Be sure to keep a little aside for sprinkling on top to get a toasted cheese crust.
- Chorizo. You’ll need the soft type, bought thinly sliced. The harder chorizo sold for cooking isn’t suitable here.
- Eggs. 2, medium or large, binds the ingredients and helps create a fluffy, cake-like crumb.
- Milk. Used to moisten and create the batter.
- Chives. Bring freshness, colour, and a mild onion flavour.
- Smoked paprika. This adds to the smokiness from the chorizo. But if you don’t normally buy it, just leave out.
- Salt & black pepper. For flavour.
MAKE THE BATTER
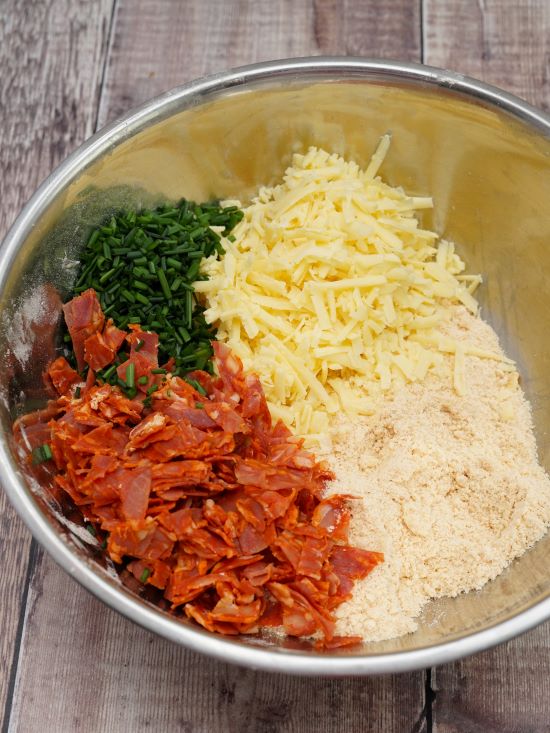
Once you’ve prepped the ingredients, like sifting the seasonings with the flour, grating the cheese, chopping the chorizo and chives, making the batter is incredibly quick. First you rub the butter into the flour mixture then stir in the cheese, chorizo and chives.
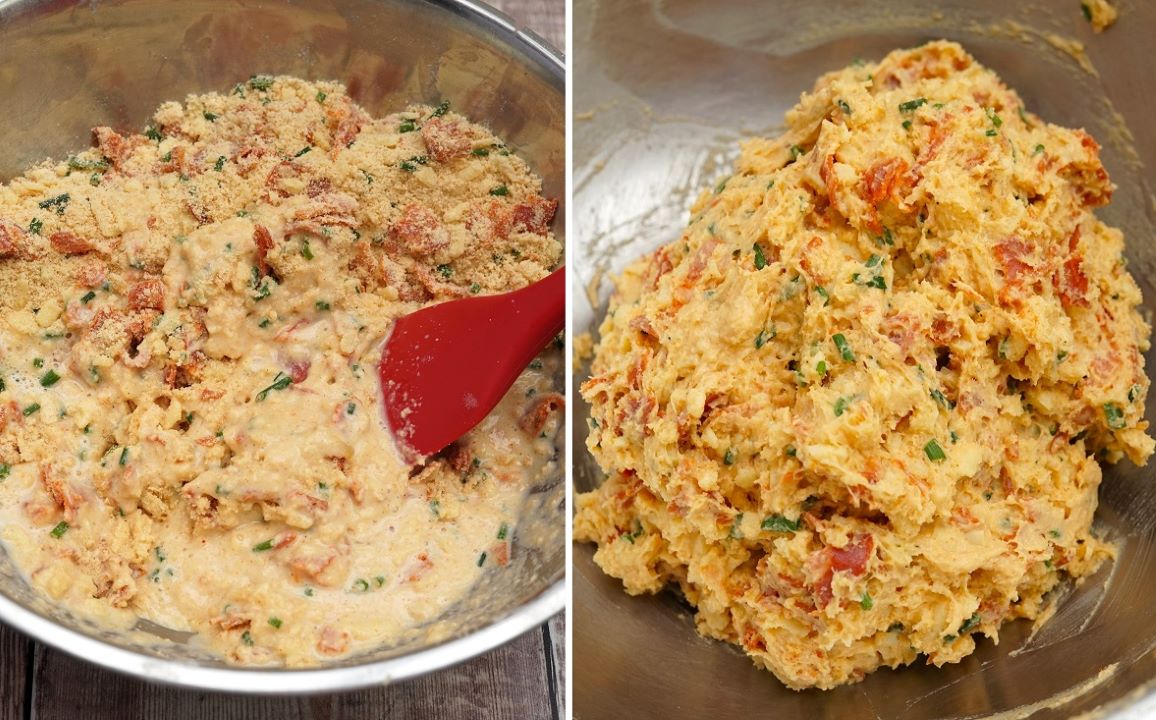
Next, make a well in the centre, stirring in the beaten eggs and milk. Because different flours absorb different amounts of liquid (and egg sizes vary), it’s not possible to be absolutely precise about how much milk to add. What you’re looking for is a thick batter as per the photo below right. 100 – 125 ml of milk is about right. But you may need a splash more or less.
Now you can transfer the mixture to a small loaf tin with a capacity of 450 ml. These are usually sold as 1lb loaf tins. Mine is non-stick, but I take a belt-and-braces approach and grease it with extra butter anyway. If you’re in any doubt, line the bottom of the tin with a strip of greaseproof or baking paper that’s long enough to come up above the rim of both short sides. If necessary, you can lift the loaf out using these ‘handles’.
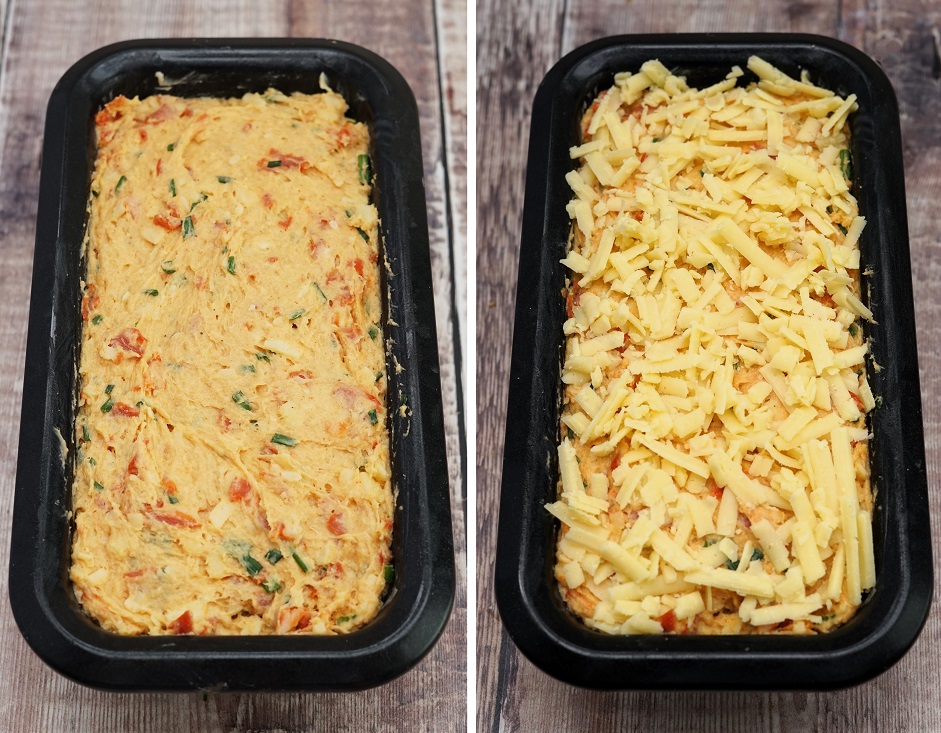
After smoothing down the top, sprinkle over the reserved grated cheese.
BAKING CHEESE & CHORIZO QUICK BREAD
The loaf will take between 50 – 55 minutes to bake in a preheated oven (see recipe card for temperatures). If, after 30 – 35 minutes, the top is browning very fast, cover loosely with foil. The finished loaf should be well risen, brown, and firm. If you insert a skewer or cocktail stick, it should come out clean.
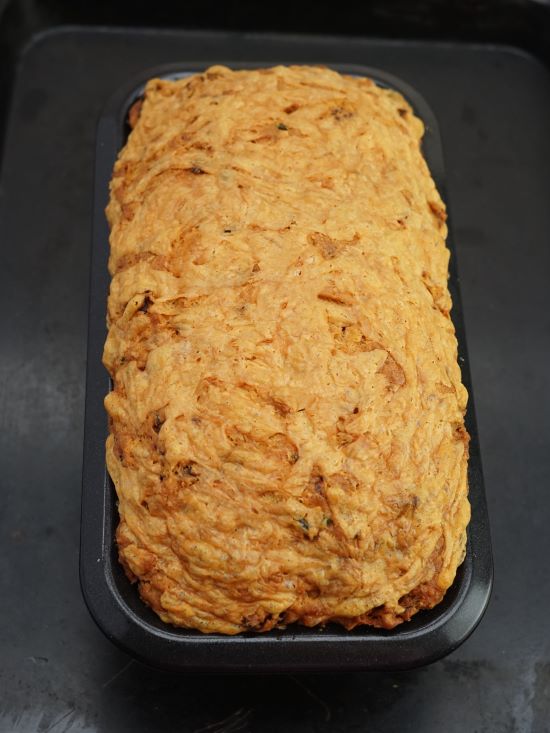
When the Cheese & Chorizo Quick Bread is done, leave it a couple of minutes, then carefully tip (or lift) it out of its tin and transfer to a wire rack. Despite the gorgeous aromas coming from it, resist the temptation to cut a slice. Remember, it will have a cake-like texture. And you wouldn’t cut into a cake straight out of the oven, would you? It will slice most easily when completely cold. I admit though, sometimes I can’t wait that long and dig in when still slightly warm.
SERVING CHEESE & CHORIZO QUICK BREAD
So tasty, you could eat slices as a snack, buttered or not, as you might a scone. But Cheese & Chorizo Quick Bread is also great as a side to loads of other things. Taking my cue from the chorizo, I think it would work perfectly as part of a Spanish tapas feast. It’s certainly great alongside meats, cheeses, preserved vegetables, olives etc.
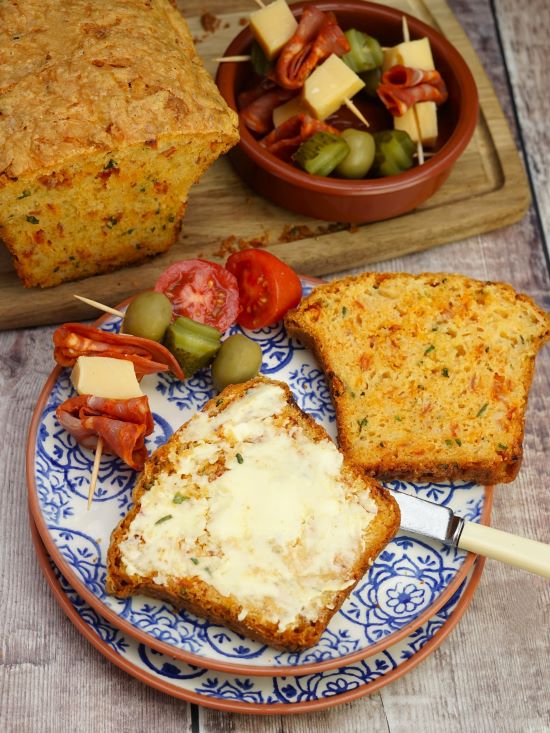
Or just appreciate it as an easy, delicious bread that will go with almost any meal. Salads, cheeseboards, soups, for picnics, and in lunch boxes.
As with all quick breads, it’s best eaten on the day of making. After that, some of the bread’s fluffiness will have gone but it will still taste wonderful. To bring back some of that lightness, I ping a slice or two in the microwave just for a few seconds and eat while warm, with butter to melt in. Cheesy quick breads are also fab toasted, their flavour intensified. Or you could freeze on the day of making.
However you eat yours, I’d love to hear what you thought of my recipe. If you have a moment, please leave a comment and rating.
Cheese & Chorizo Quick Bread
This tasty quick bread gets its rise from self-raising flour and eggs. That means no kneading and no proofing. Just mix and bake.
Soft, fluffy and almost cake-like inside, with a crispy crust, it's delicious with or without butter and great as part of a tapas feast, with meats, cheeses, salads, or alongside soups.
Ingredients
- 225 g self raising flour or plain flour + 2 level tsp baking powder
- 1 level tsp smoked paprika optional
- 1 large pinch salt
- ¼ tsp black pepper
- 75 g butter plus extra for greasing
- 150 g mature Cheddar cheese, grated divided into 125 g and 25 g
- 100 g chorizo, roughly chopped soft deli-style thinly sliced chorizo, not the harder cooking type
- 10 g chives finely chopped or snipped with scissors
- 2 eggs beaten medium or large
- 100 - 125 ml milk
Instructions
-
Preheat the oven to 180°C / 160° Fan / Gas 4 / 350°F with a shelf positioned in the middle.
-
Butter a small, non-stick loaf tin (approx. 19 x 9 x 6 cm, capacity 450ml or 1 lb).
If your tin isn't non-stick, put a long strip of baking/greaseproof paper along the bottom so it comes up above the rim of the short sides.
-
Sift the flour, smoked paprika if using, the salt and black pepper into a mixing bowl.
Grate the butter into the flour mixture (dip the butter into the flour now and again to stop it sticking to the grater) then rub in with your fingertips.
Stir in 125 grams of the grated cheese, the chopped chorizo and the chives: if the pieces of chorizo stick together, use your fingers to rub the mixture and separate them.
Make a well in the centre of the mixture and tip in the beaten eggs. Start stirring while adding enough of the milk to form a thick batter. Different flours absorb different amounts of liquid so you may not need all the milk or might need a splash more: see blog post image for how the batter should look.
-
Transfer the mixture to the prepared tin, pressing down lightly and smoothing the top. Sprinkle over the reserved 25 grams of grated cheese.
Put into the preheated oven and bake until risen, brown and firm: a skewer or cocktail stick inserted should come out clean when done. (50-55 min).
Recommended: check at 30-35 minutes that the top isn't browning too quickly. If it is already quite dark, cover loosely with a piece of foil.
-
When the loaf is done, leave a few minutes, then tip or lift out of the tin place on a wire rack until cold or only just warm before slicing.
The loaf is best eaten with 2 - 3 days, but is fluffiest inside on the day of baking. After the first day, heating slices for a few seconds in the microwave will make the interior fluffy again. It's also very good toasted and buttered.
Can be frozen as a whole loaf or in slices.
RELATED RECIPES

