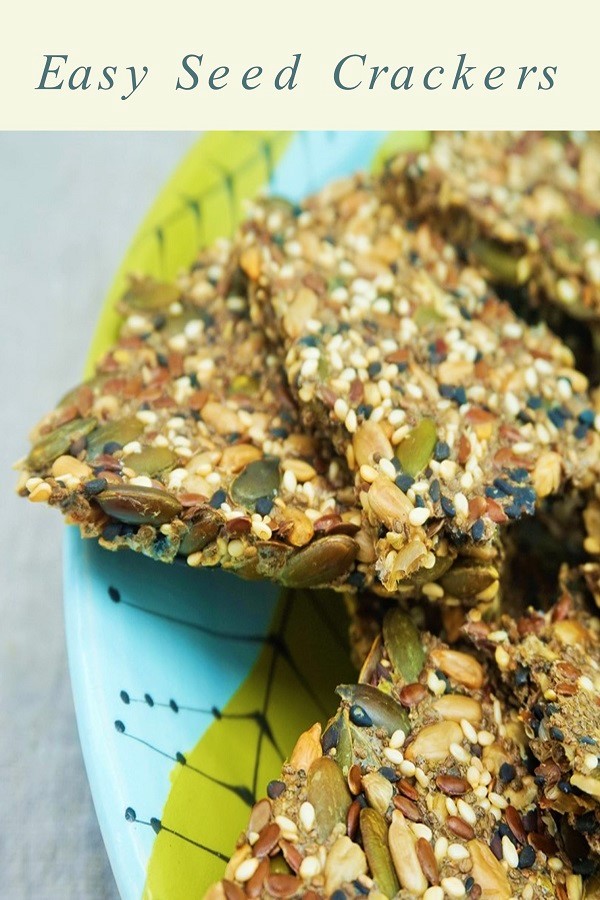
Easy Homemade Nut Crackers
Easy Homemade Nut Crackers are crispy and crunchy with a subtle nutty flavour. Perfect with cheeses, dips and spreads, these savoury biscuits have a combination of hazelnuts, almonds and pecans, or you can swap in your favourite nuts. With both white and wholemeal flours plus olive oil, these wholesome crackers can be ready to munch in around 35 minutes.

Disclosure: this post may contain affiliate links. If you buy via my links, I may earn a small commission at no extra cost to you.
Jump to Recipe

EASY HOMEMADE CRACKERS
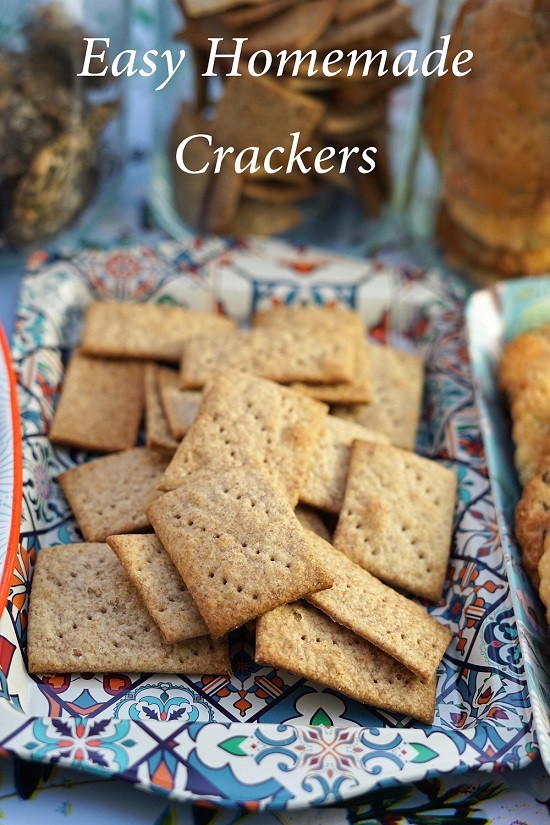
I started making homemade crackers a good few years ago. Initially wanting to avoid products containing palm oil, I discovered it was incredibly easy. So easy in fact that I called my first recipe Easy Homemade Crackers. While I keep meaning to reshoot and update that post for aesthetic reasons, the recipe itself is still a good one – as shown by the positive comments from pretty much everyone.
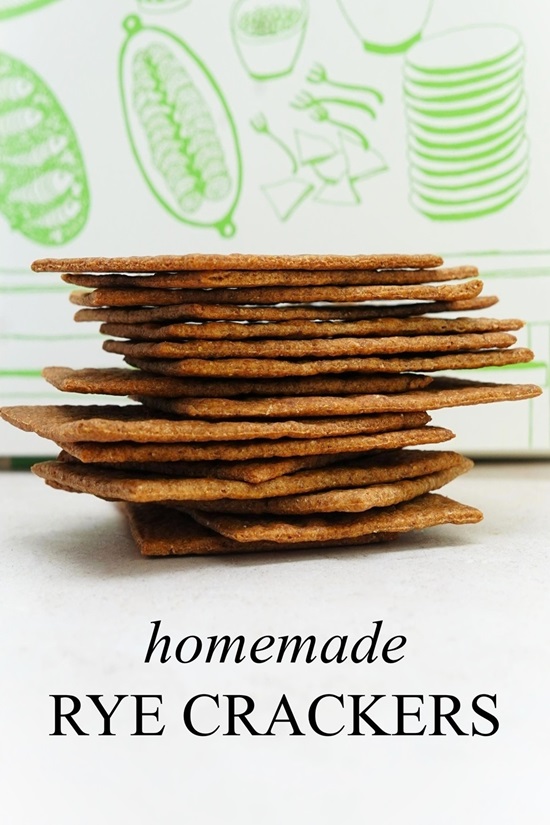
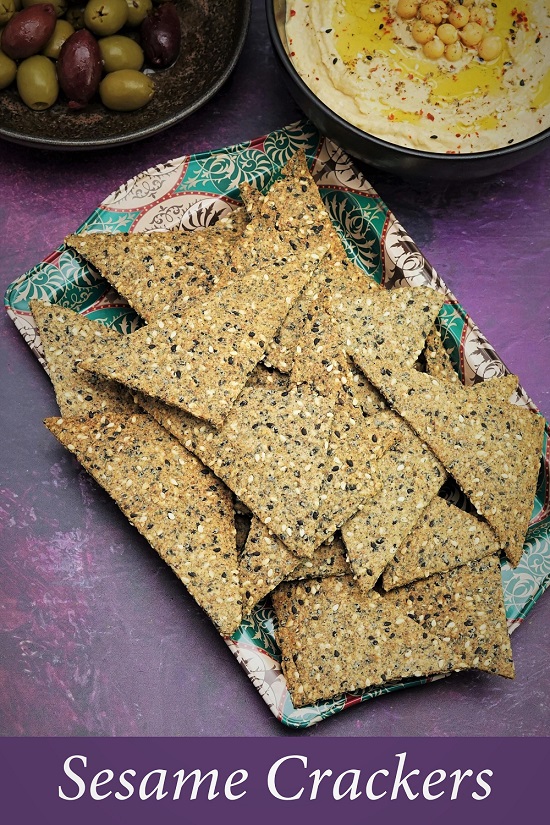
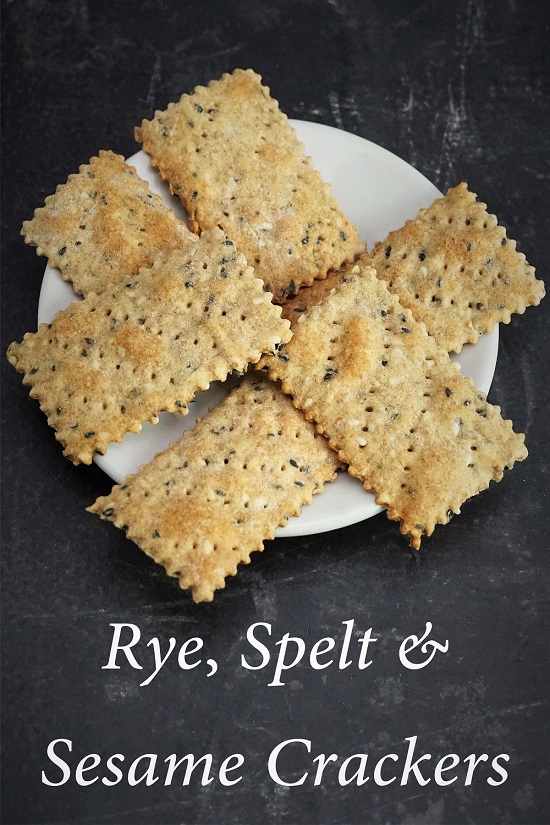
Whether you eat the crackers with cheese, pâté, dips or spreads, I think one of the great things about my original recipe is its adaptability. You can swap in different flours like wholemeal, rye or spelt, or add all sorts of seeds, nuts, seasonings, and spices. I’ve already posted variations including wholesome Rye, Spelt & Sesame Crackers, tasty Homemade Cheese Crackers, and herby Rosemary Crackers. And now I’ve another: Easy Homemade Nut Crackers.

EASY HOMEMADE NUT CRACKERS
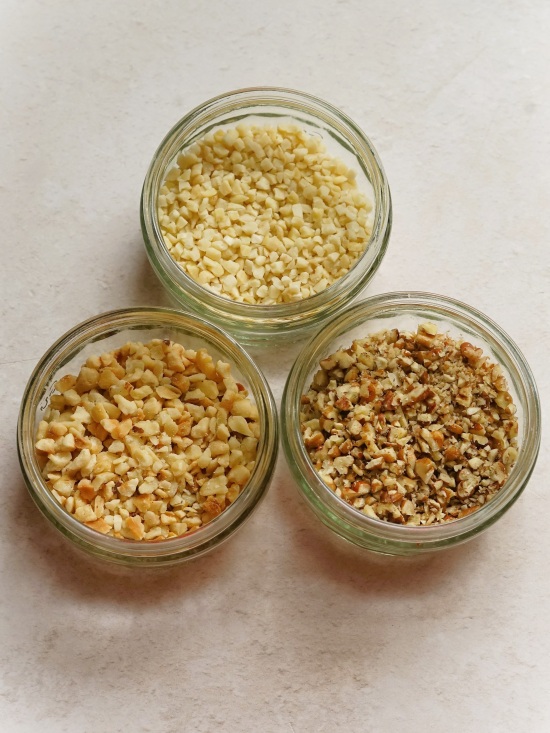
I came up with the idea of Easy Homemade Nut Crackers after seeing a pricy artisan brand containing hazelnuts, almonds, and walnuts. The idea of mixed nuts appealed to me, so I included some in my next batch of crackers. I kept the hazelnuts and almonds but swapped in pecans instead of walnuts, not least as I already make a savoury biscuit with walnuts: delicious Walnut & Pumpkin Seed Scottish Oatcakes.
The result was a lovely cracker with a subtle nutty taste. My other half, who loves cheese and homemade crackers even more than I do, declared them the best ones yet.

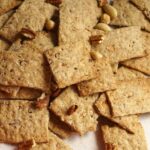
Like all my other easy homemade crackers, these nutty ones really are simple. The dough is a breeze to stir up and roll out, no chilling required. The crackers bake in just 15 minutes and should stay crunchy for at least 2 weeks.
You’ll find full instructions and ingredient amounts for making Easy Homemade Nut Crackers at the end. But I recommend you read the whole of this post first for tips and step-by-step images.
EQUIPMENT
For accuracy when baking, I always recommend you use digital scales (paid link) and metric measurements. This is the way I create and test my recipes, so can’t vouch for the results if you attempt to convert them e.g. to American cups.

I cook my crackers on shallow baking trays (paid link) that have bases approximately 31 x 21 cm. The recipe makes two trays of crackers. The trays are lined with baking paper cut to fit the base of the trays. As I’ll show you, it’s worth taking the time to measure the paper accurately as it will be your template for rolling the dough to the correct thinness. So long as you cut the paper to the right size, you could use larger trays.

INGREDIENTS
- Flour. I’ve used a combination of white and wholemeal plain (all-purpose) flours. This keeps things light but with a little extra flavour and nutrition. Play around with the ratios if you like. You’ll need a little extra wholemeal flour for rolling out too.
- Nuts. The crackers in this post have toasted chopped hazelnuts and almonds plus untoasted pecans.

- Salt & Black Pepper. I use fine table salt and black pepper. For more texture you could swap in flaky sea salt and coarsely ground pepper.
- Baking powder. For a lighter texture.
- Water. To bind the dough.
- Extra virgin olive oil. To help bind the dough and for flavour.
MAKING THE DOUGH
Once you’ve gathered the ingredients, making the dough goes by in a flash. Start by sieving the flours, salt, pepper, and baking powder into a bowl then stir in the chopped nuts. In a small jug stir the olive oil into 100 ml of water then pour into the flour mixture.

To form the dough, begin stirring with a silicone spoon (paid link) then switch to your hands to bring everything together. If necessary, you can add a little more water a drop or two at a time. The dough should leave the sides of the bowl clean but not be wet.

Transfer the dough to a clean work surface or silicone mat (I use this one [paid link]) and fold into a smooth ball. Using your scales for accuracy, divide in half and set one half aside. I put the upturned bowl over it to prevent drying out.
ROLLING & CUTTING OUT
Dust one of your cut-out sheets of baking paper with wholemeal flour, put the first piece of dough on it, and dust the top. Now roll the dough out very thinly: no more than 1 – 2 mm, ideally not adding more flour. When you’ve reached this level of thinness, the dough should cover the entire paper. This is the key to getting crisp and crunchy crackers: if the dough’s too thick or you add too much extra flour then your crackers could end up hard.

I neaten up the edges using a pizza wheel and ruler, putting the scraps aside with the remaining piece of dough. I then use the wheel and ruler to mark the dough into my chosen shapes. You don’t need to go all the way through the dough and try not to cut into the paper. If you don’t have a pizza wheel, just use a knife. If you want wavy edges like my Rosemary Crackers use a pastry wheel.
Once you’ve marked them out, slide the paper and crackers onto your baking tray.
BAKING EASY HOMEMADE NUT CRACKERS
The tray can now go in the oven, preheated to the temperature shown in the recipe card. They should take 11 – 15 minutes to bake to a golden-brown crispiness. But I highly recommend you check after 8 – 9 minutes as the crackers at the edges of the tray can cook very quickly. Snap these off and put on a wire cooling rack, returning the rest to the oven. For even baking, you can turn the remaining crackers over for the final few minutes.

While the first tray is baking, roll and cut out the remaining dough on your second sheet of paper. Of course, if you have two suitable trays then you could prep both first and bake at the same time.

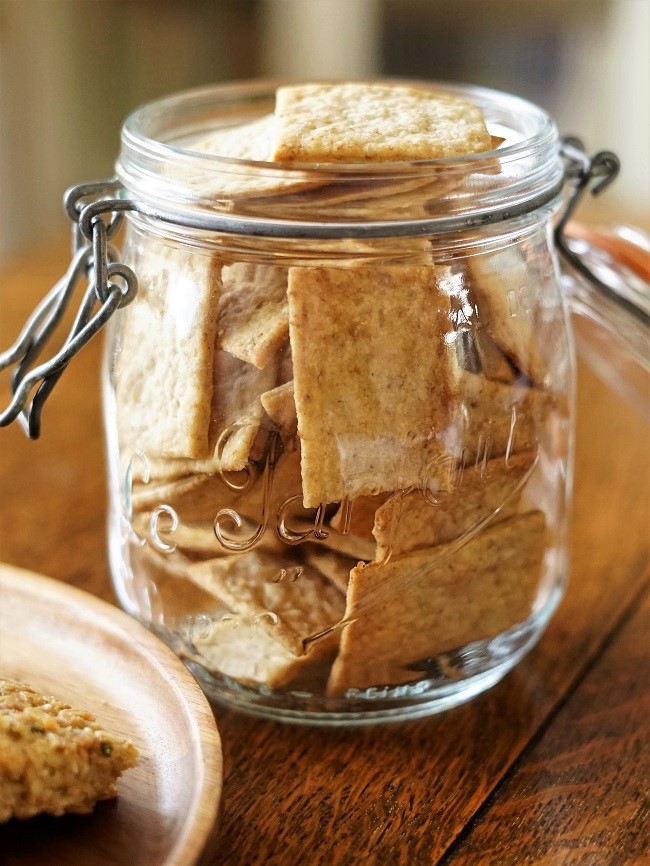
When all the crackers are done, leave them on the cooling rack until completely cold. You can then transfer them to an airtight container where they should keep for 2 weeks.
SIMPLE, DELICIOUS & NUTRITIOUS HOMEMADE CRACKERS
If you’ve never made homemade crackers before, I think you’ll be surprised at just how easy they are. With everyday ingredients, you can be enjoying crispy, crunchy crackers with your favourite cheeses, dips, and spreads in not much more than half an hour. And once you have the basic recipe, it’s really no extra effort to create wonderful, artisan-like savoury biscuits such as Easy Homemade Nut Crackers.

While they’re good with nut butters or dips like roasted pepper and walnut Muhammara, or smoky aubergine Baba Ganoush, I love this variety best with cheeses. The pungency of Stilton or a smoked cheese is good, also a more subtly flavoured Manchego or mild English sheep’s cheese.

If you’ve made this recipe, I’d love to know what you thought. Please do leave a comment and rating.
Easy Homemade Nut Crackers
Crispy and crunchy with a subtle nutty flavour these easy crackers are perfect with cheeses, dips and spreads. Here there's a combination of hazelnuts, almonds and pecans, or you can swap in your own favourite mix of nuts.
It's recommended you read the accompanying blog post before starting to cook. Use digital scales and metric measurements as these were used to test the recipe.
Ingredients
- 100 g plain/all-purpose white flour
- 75 g wholemeal flour (plus extra for rolling out)
- ¾ tsp salt
- ¼ tsp black pepper
- ¼ tsp baking powder
- 90 g chopped nuts (toasted or untoasted) e.g. 30 g each of hazelnuts, almonds, pecans
- 100 - 120 ml water
- 25 ml extra virgin olive oil
Instructions
-
Preheat your oven to 220° C /200° Fan /Gas 7 /425° F.
-
Cut two sheets of baking paper to fit the base of a shallow baking tray approximately 31 x 21 cm.
-
Sieve the flours, salt, pepper, and baking powder into a bowl then stir in the chopped nuts.
Stir the olive oil into 100 ml of water then pour into the flour mixture.
Start by stirring with a silicone spoon to combine, then switch to your hands to bring together into a dough that leaves the bowl clean: add a little more water if necessary but just a teaspoon at a time so the dough doesn't become wet.
-
Transfer to a clean work surface or silicone mat and briefly knead/fold into a smooth ball.
Cut in half (use digital scales for accuracy) then set one half aside, covered with the upturned bowl so it doesn't dry out.
-
Dust one of the sheets of baking paper with a little wholemeal flour.
Place one piece of dough on it, lightly dust with more flour, and roll out very thinly until it covers the paper: the dough should be no more than 1-2 mm thick, or the crackers will be hard rather than crunchy.
-
If liked, neaten the edges of the dough using a pizza wheel, knife or, for wavy edged crackers, a pastry wheel: put the scraps with the reserved dough.
Mark the dough into squares or rectangles of your preferred size: you don't need to cut all the way through and try not to cut into the paper.
Slide the paper and crackers onto a baking tray.
-
Put the crackers in the preheated oven and bake until crisp and golden brown (11-15 min). Check after 8-9 minutes: crackers at the edges of the tray may cook much quicker, so snap these off on put on a cooling rack and return the rest to the oven. For even cooking you can also turn crackers over for the final few minutes.
While the first tray is baking, roll and cut the remaining dough on the second sheet of baking paper then cook as above. If you have two suitable trays you can prep and bake both at the same time if preferred.
-
When done, leave the crackers on a cooling rack until completely cold before storing in an airtight container. Should keep for 2 weeks.
RELATED RECIPES