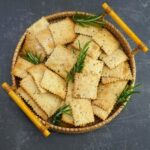
Rosemary Crackers Recipe
Rosemary Crackers are so simple to make with just a handful of ingredients. Deliciously herby, crisp and moreish, they’re perfect as a snack, to eat with cheeses, paté, dips, or alongside soups.
All you need are flour, fresh rosemary, salt, pepper, olive oil, and water. I like a little garlic powder too, but that’s entirely optional. Stir up the dough, roll, cut and bake and you’ll have tasty, crunchy crackers in little more than half an hour.

Jump to Recipe

I started making homemade crackers a good few years ago. Initially wanting to avoid products containing palm oil, I discovered that it was so easy to make great tasting crackers. So easy in fact that I called my first recipe Easy Homemade Crackers. While I keep meaning to reshoot the photos in that post (I hope I’ve learned a little about food photography since then!), the recipe itself is a keeper – as shown by the positive comments from almost everyone.

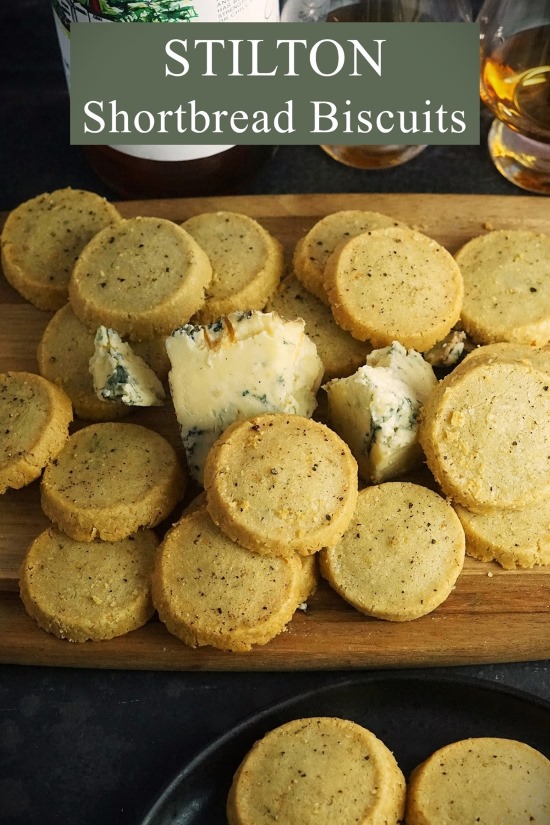
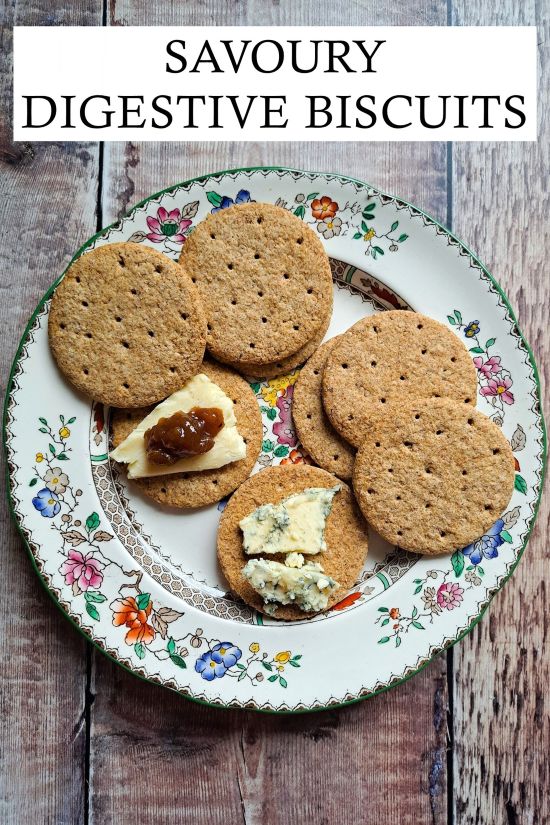
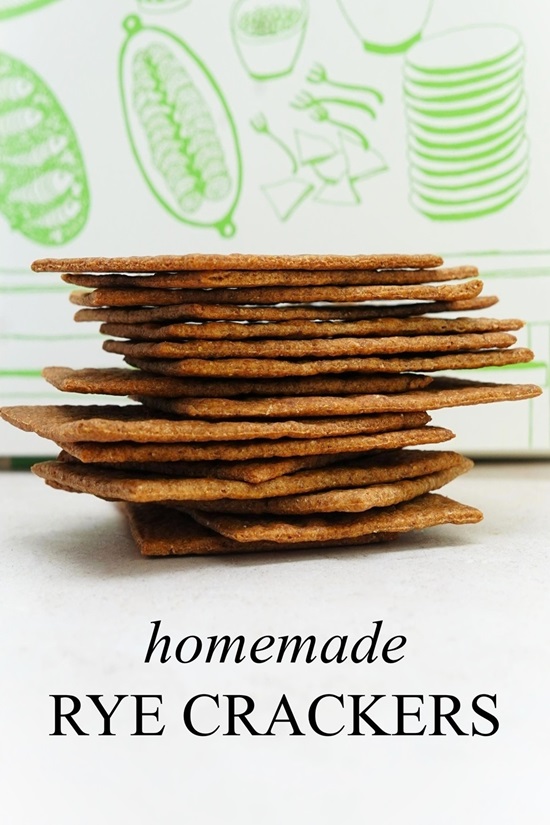
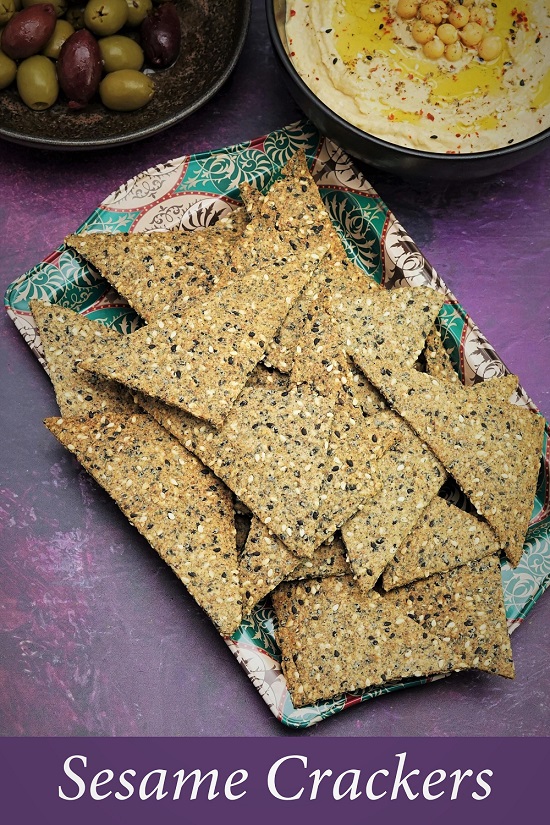
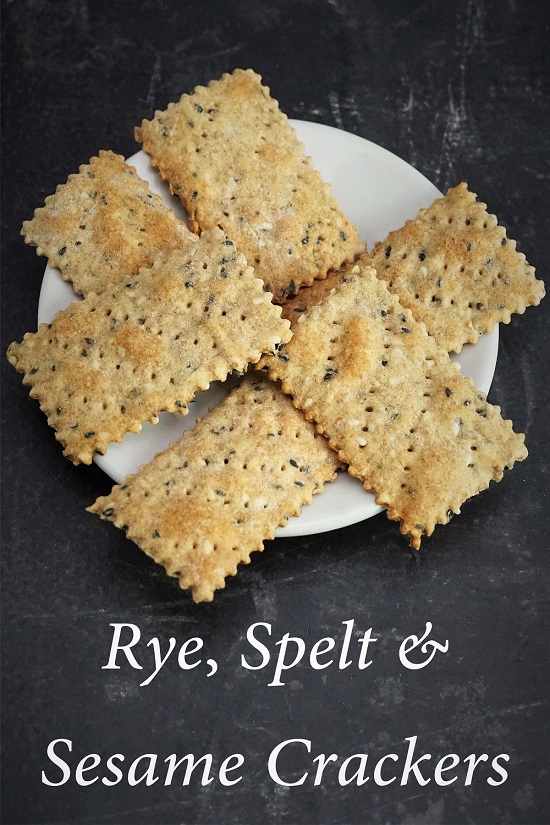
Whether you eat the crackers with cheese, paté, dips or spreads, I think one of the things that’s so great about my base recipe is that it’s so adaptable. You can swap in different flours like wholemeal, rye or spelt, or add all sorts of seeds, nuts, seasonings and spices.
Which brings me to the Rosemary Crackers I want to tell you about today.
ROSEMARY CRACKERS
Although originating in the Mediterranean, the evergreen shrub rosemary can usually be picked all year round in Britain. With a long history of medicinal use as well as culinary, its flavour is quite distinctive thanks to the compounds eucalyptol and alpha pinen. I most associate rosemary’s intriguing, pine-like taste with lamb (try this amazing Lamb stew with anchovy, garlic & rosemary) and focaccia bread.

The herb is also a popular choice for flavouring crackers. But you can avoid environmental nasties like palm oil, unnecessary ingredients like sugar, and the relatively high price of ‘artisan-style’ rosemary crackers by making your own at home. As well as being cheaper and hugely satisfying to produce yourself, I think homemade are superior in flavour too.

EASY HOMEMADE ROSEMARY CRACKERS
If you grow your own rosemary, can buy (or beg from a gardener friend) a few sprigs, you probably already have all the ingredients you need for my easy, homemade Rosemary Crackers. You’ll find amounts and full instructions in the detailed recipe card at the end of this post.

- Plain/all-purpose flour. I like to keep these crackers light so stick to white flour. But you can replace some with wholemeal if you prefer.
- Rosemary. For the best flavour and texture, use fresh rosemary rather than dried. I think a rounded tablespoon of the finely chopped herb is plenty; add more for a stronger taste.
- Garlic powder. This is entirely optional, but a subtle hint of garlic does pair well with rosemary.
- Salt & Black Pepper. I use fine table salt and black pepper. For more texture you could swap in flaky sea salt and coarsely ground pepper.
- Water. To bind the dough.
- Extra virgin olive oil. To help bind the dough and for flavour.
MAKING THE DOUGH
Once you’ve gathered the ingredients, making the dough goes by in a flash. Simply stir together the flour, chopped rosemary, garlic powder if using, plus the salt and pepper.
Then mix together the olive oil and water and tip that in. Start stirring with a spoon to combine the ingredients then switch to your hands to form a dough that leaves the sides of the bowl clean.

A few seconds of kneading/folding will give you a smooth ball of dough. My recipe makes 2 trays of crackers, so cut the dough in half. I use scales for accuracy.

ROLLING & CUTTING OUT
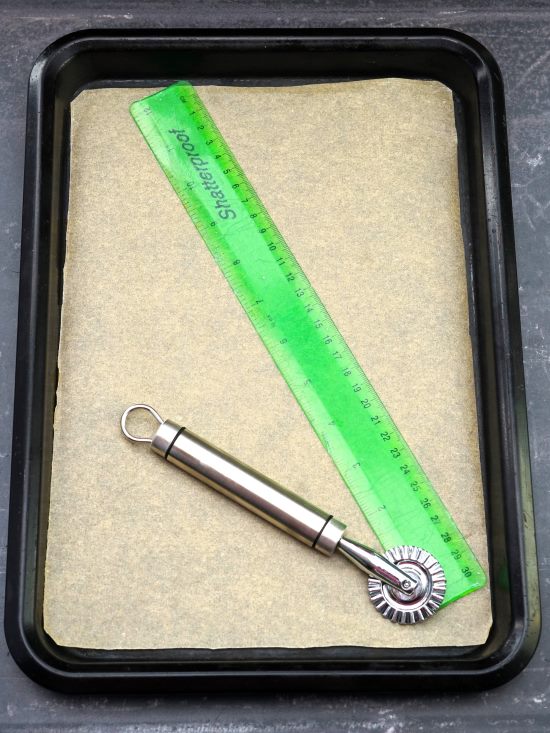
To make it easier to cut out the Rosemary Crackers and also transfer them to baking trays, I roll out the dough on baking paper. The paper should be cut to fit the base of a shallow tray that’s approximately 31 x 21 centimetres. It’s worth taking the time to measure the paper accurately as it will be your template for rolling the dough to the correct thinness.
Put the paper on your worksurface and sprinkle with just a little extra flour. Put one half of the dough on it (keep the other dough half covered so it doesn’t dry out) and sprinkle with more flour.

Now take your rolling pin and roll evenly until the dough reaches all the way to the edges of the paper. By this point it should be no more than 1 – 2 mm in depth. Any thicker than this and the crackers will end up hard rather than crunchy.

Next, I use a pastry wheel and ruler to neaten the edges of the dough and cut out my crackers. A pizza wheel or just a knife is fine too if you don’t want wavy crackers like mine. You don’t need to cut all the way through the dough, and try not to cut the paper. You can make whatever size squares or rectangles you like. I usually do a few different sizes, including a few longer ones which are great for dips like the pink beetroot hummus pictured near the top of this post. If you cut all your crackers into smallish 5 x 5 cm squares you should get 24 per tray.
BAKING ROSEMARY CRACKERS
Once you’ve cut them out, slide the paper and crackers onto your baking tray. To stop them rising and bubbling up too much as they bake, prick each one all over with a fork.

At the start of the process, you’ll have preheated your oven. So now you can pop the tray inside and repeat the rolling and cutting with the remaining half of dough. But be aware that the crackers cook within 10 – 15 minutes, with those at the corners and edges browning particularly fast. So, for the first time at least, you might want to give the oven your full attention. If so, you can always cut out both trays of crackers first then put them in at the same time. If you’ve only one suitable sized tray, you can cook one batch then re-use the paper to roll out the second.

I highly recommend you check how the Rosemary Crackers are doing after just 8 minutes. If any look done then snap those off, put on a wire rack to cool, then return the rest to the oven. I sometimes also turn over those in the middle to get more even browning.

When done, leave all the crackers on the rack until they’re completely cold. Then transfer to an airtight container where they should keep for 2 weeks.
SIMPLE & DELICIOUS
If you’ve never made homemade crackers before, I think you’ll be surprised at just how easy they are. With everyday ingredients, you can be enjoying crispy, crunchy crackers with your favourite cheeses, dips, and spreads in around half an hour. And this tasty, herby variation is great as a snack or nibble with drinks too.

If you’ve made my Rosemary Crackers, with or without a hint of garlic, I’d love to know what you thought. Please leave a comment and recipe rating!
Rosemary Crackers
So simple to make with just a a handful of ingredients these crackers are perfect as a snack, to eat with cheeses, patés, dips, and spreads or alongside soups.
Ingredients
- 175 g plain flour plus extra for rolling out
- 1 rounded tbsp fresh rosemary finely chopped
- 1 rounded tsp garlic powder optional
- ½ - ¾ tsp salt use the larger amount if salt is flaky type
- ¼ tsp black pepper
- 100 ml water
- 25 ml extra virgin olive oil
Instructions
-
Preheat the oven to 220° C /200° Fan /Gas 7 /425° F.
-
Cut two pieces of baking paper to fit the bases of two shallow baking trays each 31 x 21 cm. Cook in two batches if you only have one suitably sized tray.
-
Put the flour, rosemary, garlic powder if using, salt and black pepper in a mixing bowl and stir together. Make a well in the centre.
-
Stir the water and olive oil together then pour into the centre of the flour mixture.
Start by stirring with a spoon to combine, then switch to your hands to bring together into a dough that leaves the bowl clean.
Transfer to a clean work surface and briefly knead/fold into a smooth ball.
Cut in half (use scales for accuracy) then set one half aside, covered with the upturned bowl so it doesn't dry out.
-
Lightly flour one of the pieces of baking paper.
Place one piece of dough on it, sprinkle with a little flour, and roll out very thinly (no more than 1-2 mm or the crackers will be hard rather than crispy) until it covers the paper.
-
Neaten the edges of the dough with a knife, pastry wheel or pizza wheel plus a ruler if necessary.
Cut the dough into squares or rectangles of your preferred size.
-
Slide the paper and the uncooked crackers onto one of the baking trays.
Prick the crackers all over with a fork.
-
Put the crackers in the preheated oven and cook until crisp and golden (10-15 min). Check after 8 minutes: crackers at the edges of the tray may cook much quicker, so remove these to a cooling rack and return the rest to the oven.
While the first tray is baking, roll and cut another batch with the remaining dough and cook as above.
-
When done, crackers should be left on the cooling rack until completely cold before storing in an airtight container. Should keep for 2 weeks.
RELATED RECIPES


Hello,
Can a stand mixer be used to make this recipe?
Hi Michael, thanks for your interest in my recipe. Although I don’t have a stand mixer myself, I see no reason why you couldn’t use one if that’s what you’re comfortable with.
Hope you enjoy the recipe!
Easy recipe giving excellent result.
Thank you, Simon!
I followed the recipe but did not cut the dough in half I prefer a thicker cracker and it came out great. Will be making all the time no more store bought crackers for me.
Thank you for the lovely feedback and 5-star rating, Lucy! So glad you enjoyed my recipe 🙂.
How many cups of flour in the Rosemary cracker recipe?
Sorry, but the reason I don’t give cup measurements is there’s too much room for error and therefore you may not get the correct result for my recipe. I recommend using a simple digital scale.
Whoa! Making crackers was a goal for me, just to get away from the packaged choices in the stores.. I’m not a baker so this was a stretch for me but I pulled it off. They are better than any pricey gourmet shop items. I also had success with your original plain cracker recipe. Thanks very much!
That’s so lovely to hear, Ellen, and you’re most welcome!