Apple Tart (with easy shortbread crust)
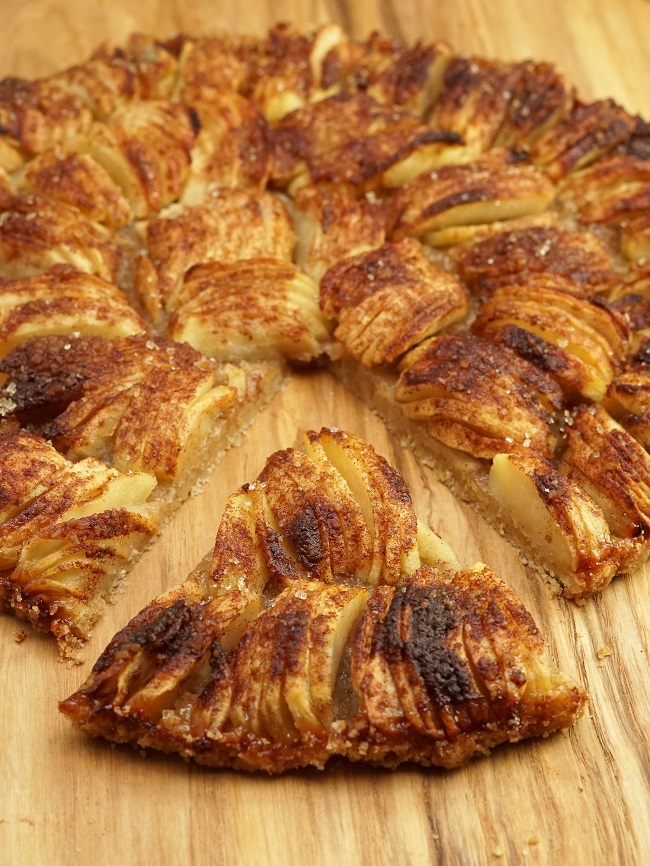
Apple Tart is always a crowd pleaser. Sweet-tart apples, cooked to soft perfection, caramelized with a cinnamon and sugar topping. But what about the base? In this version, you can forget making pastry, rolling and cutting out. That’s because a simple shortbread type dough is pressed into the baking tin. As the apples cook and release their juices, they form a wonderfully chewy crust with toffee apple flavours.

Slicing the apples and laying them over the base is the only thing that takes a little time. But it’s so worth it for this fantastic tasting, rustic-style Apple Tart.
This is an updated version of a post first published in 2020.
Disclosure: this post contains affiliate links. As an Amazon Associate I earn commission on qualifying purchases.
Jump to Recipe
Hard to believe, but I first made a version of this beautiful Apple Tart over twenty-five years ago. I’d spotted a magazine recipe which incorporated amaretti biscuits into a crumbly base before baking with sliced apples on top. I’ve long since lost that cut-out recipe, but still love making my version of it.
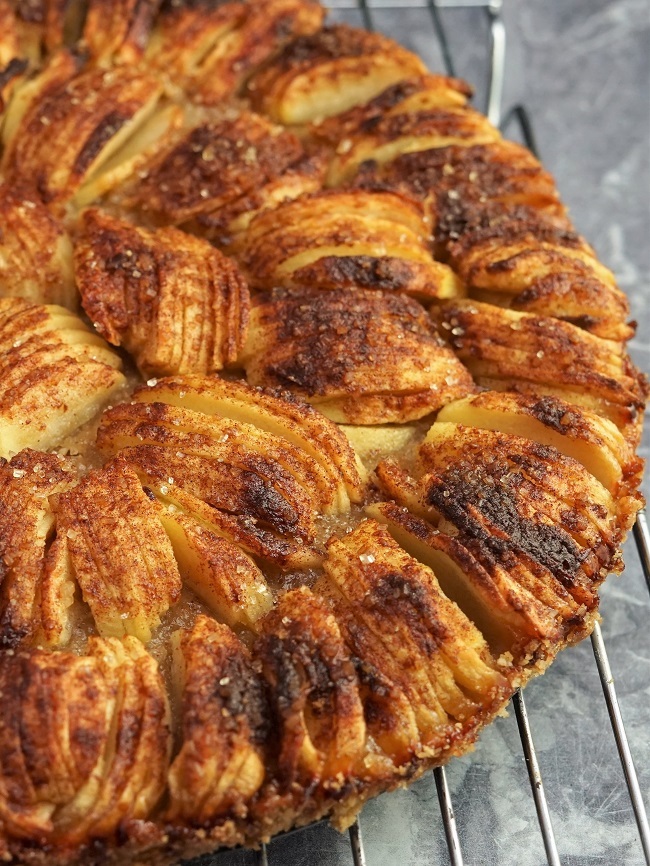
This isn’t a classic French apple tart with crisp shortcrust pastry, but something much more rustic. And, I think, so much easier and nicer. I especially love the chewy, oaty base that absorbs the delicious juices from the soft apple topping.
You’ll find a detailed recipe card at the end with ingredient amounts and full instructions. But I recommend you read the whole of this post for extra tips plus images to guide you. For the best results, use digital scales and metric measurements as these were used to test the recipe. You’ll also need a 22 – 24 centimetre loose-bottomed tart tin.
APPLE TART WITH EASY SHORTBREAD CRUST
Instead of amaretti biscuits, I make what I think of as a rustic crust similar to buttery shortbread. All you do is rub the butter into flour, stir in sugar, then press it over the base of your buttered flan tin. Easy!
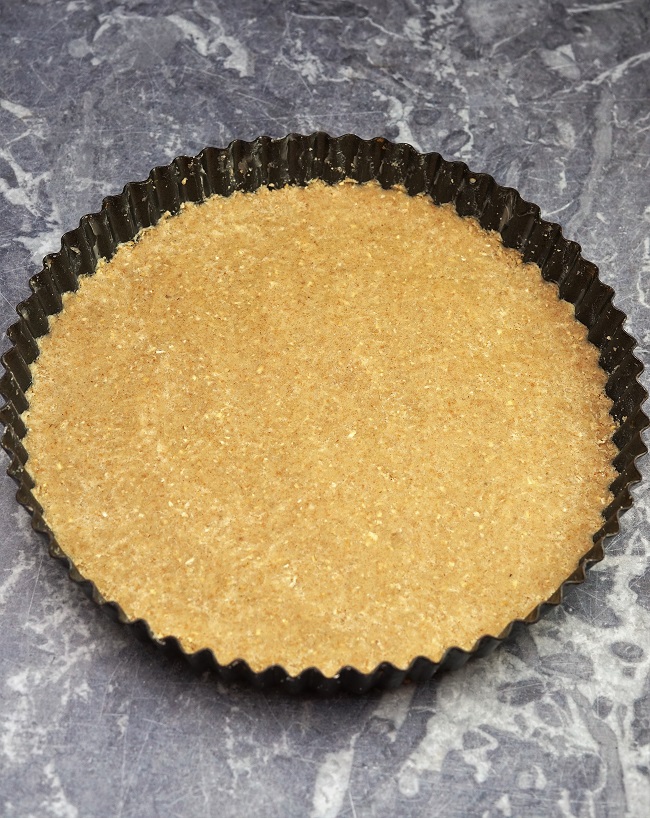
I use a mix of white and wholemeal flours as well as oatmeal. This gives interesting texture and a little more complex flavour but still allows the apples to be the star of the show. Tip: if you don’t have oatmeal, just whizz up some rolled or porridge oats in a blender.
WHICH APPLES TO USE FOR APPLE TART?
You can use almost any eating apples for this recipe. These tend to hold together better than cooking apples such as Bramleys. For the Apple Tart in this post I used wonderful Pitmaston Pineapple apples from a Moorland Veg Box.
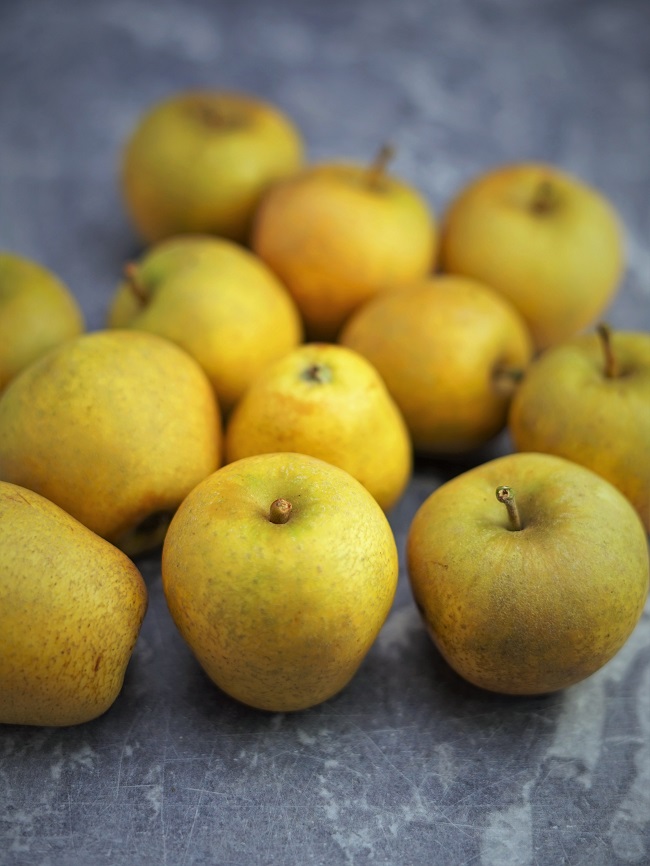
When you consider the poor choice of British apples in supermarkets, even at the height of the season, it’s hard to believe that we once led the world in the number of varieties grown. So it always pleases me when I come across one I haven’t heard of before, like the Pitmaston Pineapple.

Some say its name comes from a slight pineapple flavour. Others that it’s just due to the yellow colour and oval shape of some of the fruits. I’m not sure I could taste pineapple, but they’re certainly a lovely tasting apple. Sweet, but with a slight sharpness, they were just right for my Apple Tart.
SLICING THE APPLES
The slicing of the apples is really only the slightly time-consuming element of this recipe. Everything else to make this truly wonderful Apple Tart is all pretty quick and easy.
Taking a quarter of a peeled and cored apple at a time, slice it thinly. But keep hold of it in one piece, then press out into a sort of fan shape as shown below.

This may sound fiddly, but it does make placing the apples over the base easier in the long run. I make concentric circles of apple slices, but create any fancy pattern you like if you have a little more patience than I.

At first, you may think that all the apples will never fit on in one layer. But trust me. They will. Uncooked, the topping might look a bit higgledy-piggledy. Perhaps there’s even a few brown spots on your apples. But don’t worry. I find it always ends up looking good once baked.
BAKING APPLE TART
All that’s left to do then is brush some melted butter over the apples and sprinkle with a combination of sugar and cinnamon. I use Demerara sugar as I like some crunch, but ordinary caster sugar is okay if it’s all you have.

Then it’s into the oven, preheated to the temperature shown in the recipe card, for 35 – 40 minutes. When the tart’s done, the apples should be soft and caramelized.
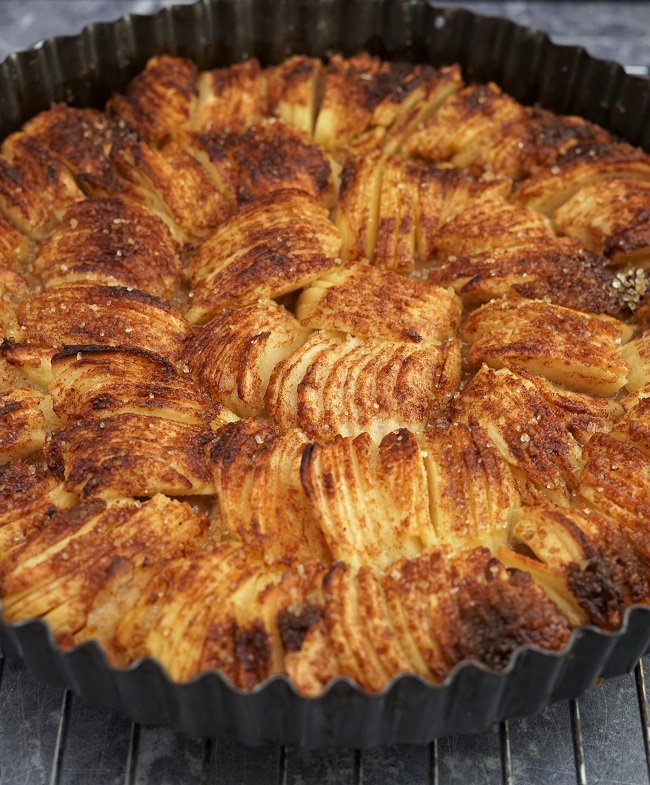
Smelling the wonderful aromas of warm apple and cinnamon, you may be tempted to dig right in. But you need the still-fragile, shortbread-like base to set. So, transfer the tart, still in its tin, to a wire rack and cool it.
PATIENCE IS REWARDED
The cooling process is also important as we want all those lovely apple juices that have bubbled up to sink into the base. The result is a wonderfully chewy crust imbued with caramelized apple flavour.
When the tart is cold, run a knife around the edge and carefully turn out. Just look at the edges of the tart in the image below. The crumble-like base has fused with the sugary apple juice to form a delicious sticky delight.
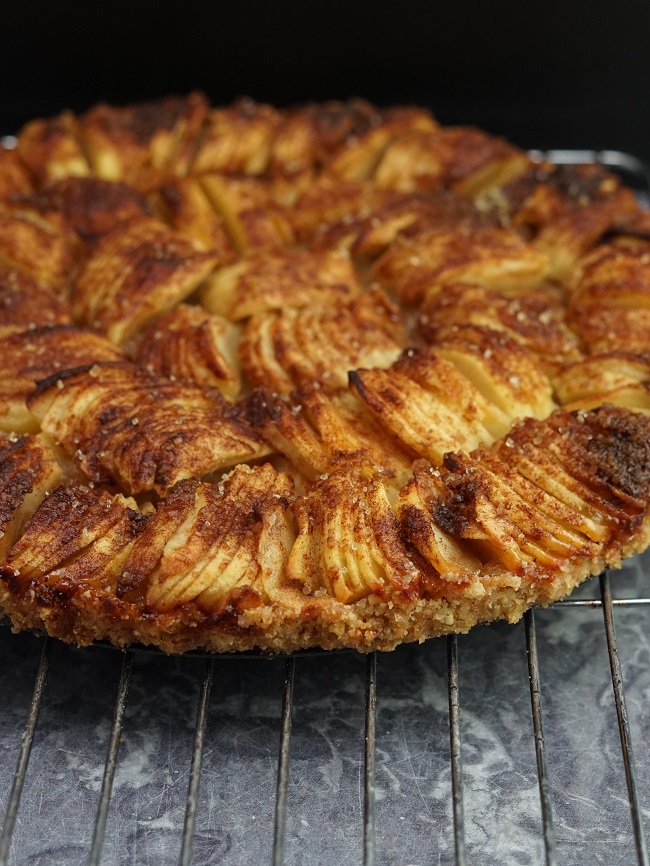
So, forgetting any comparisons with hot apple pie or apple crumble, I recommend accepting this Apple Tart on its own terms and eat at room temperature. Lovely just as it is with a cuppa, you can also add a slick of double cream, or even a scoop of clotted cream, to turn it into a knee-tremblingly good dessert.

If you’ve made this recipe, I’d love to know what you thought. Please do leave a comment and rating.


Apple Tart with easy shortbread crust
In this easy but delicious tart, the simple shortbread base takes up the apples' cooking juices, making it wonderfully chewy with toffee apple-like flavours.
It recommended that you read the accompanying blog post before starting and use digital scales and metric measurements.
Ingredients
For the base
- 75 g butter (plus extra for greasing the tin)
- 60 g plain/all purpose white flour
- 60 g plain/all purpose wholemeal flour
- 30 g medium oatmeal (see Recipe Notes)
- 1 pinch salt
- 75 g caster sugar
For the apples
- 750 g eating apples (approx. 6 medium: weight is before preparation)
- 25 g Demerara sugar
- 1 tsp ground cinnamon
- 40 g butter
Instructions
-
Grease a 22 - 24cm loose-bottomed tart tin with butter.
-
Preheat the oven to 200°C /180°C Fan /Gas 6 /400°F with a shelf in the middle position.
-
MAKE THE BASE
Stir together the flours, oatmeal and salt.
Rub in the butter so the mixture resembles coarse breadcrumbs.
Stir in the sugar.
Press the mixture evenly into the base of the buttered tin, smoothing over with the back of spoon.
-
Peel the apples, cut into quarters, then remove the cores.
-
Taking a quarter at a time, slice the apple thinly but hold them together.
Lightly press down so that the slices fan out.
Still keeping the slices together, transfer to the flan tin, placing either at at an outer edge or in the middle to start making concentric circles of apples.
-
Repeat with each quarter of apple: slicing thinly and transferring to the base. Place them closely together so that all the apples fit and no base is showing.
-
Mix together the Demerara sugar and the cinnamon.
-
Melt the butter and brush it all over the apples.
Sprinkle with the sugar-cinnamon mixture.
-
Place the tart in the oven and cook until the apples are soft and caramelized on top (35 - 40 min).
-
Place on a wire rack until completely cold before running a knife around the edge of the tart and removing from the tin.
Serve at room temperature either on its own, or with clotted, pouring, or whipped cream.
-
Will keep for 2 - 3 days in the fridge. Bring back to room temperature before serving.
Recipe Notes
Oatmeal. Here in the UK, oatmeal is simply ground oats and is available from health food stores, some supermarkets, and online. But it's easy to make your own: simply whizz porridge or rolled/jumbo oats in a food processor, blender, or coffee mill until medium ground.
RELATED RECIPES

It is apple season here in Maine and I have been waiting patiently to make this with fresh-off-the-tree honey crisps! As I am allergic to cane sugar and follow a gluten-free diet, I substituted the sugars with granulated maple sugar, and used GF flour and oat flour in lieu of AP flour and wholemeal flour. It worked. It is divine! It’s a lovely balance of flavors and textures and it is just so pleasing to look at – although it is far better to eat. You have made my day! Thank you for sharing your recipe 🙂
Thank you so much for your lovely feedback, Lori! Wonderful to hear you enjoyed my recipe.
In a panic and with a bunch of guests, I picked this recipe for my New Year’s Eve dinner this year. What a success! It turned out looking and tasting beautiful, despite the suspicions of my family. My guests were more polite…
Anyway, it brightened a cold Canadian evening with it’s beauty and tastiness…and with ingredients that we had on hand. Thanks for sharing!
Thank you so much for taking the time to share your lovely feedback, Janet!
This is one of my go-to 5 star desserts to take to friends. Easy to do. Stable for a day or so. I generally get invited back when I bring this.
Thank you for your lovely feedback, Peg! Great to hear that your friends enjoy the apple tart too 🙂.