Brioche Hot Cross Buns
Brioche Hot Cross Buns are a richer version of the classic Easter sweet and spicy fruit bread. You still get warming spices and plump sultanas studding the dough. But here there’s a buttery brioche flavour too.
Unlike many brioche recipes, you won’t need a stand mixer to make these wonderful buns. That’s because I’ve adapted my overnight bread making method which requires minimal mixing and kneading.
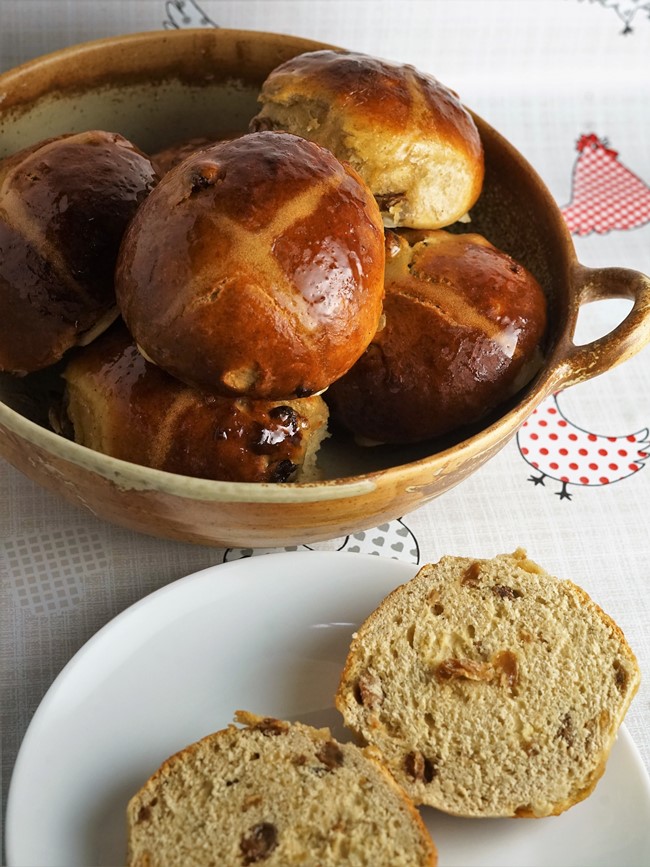
A wonderful seasonal treat when split and spread with butter, toasted or not.
Jump to Recipe
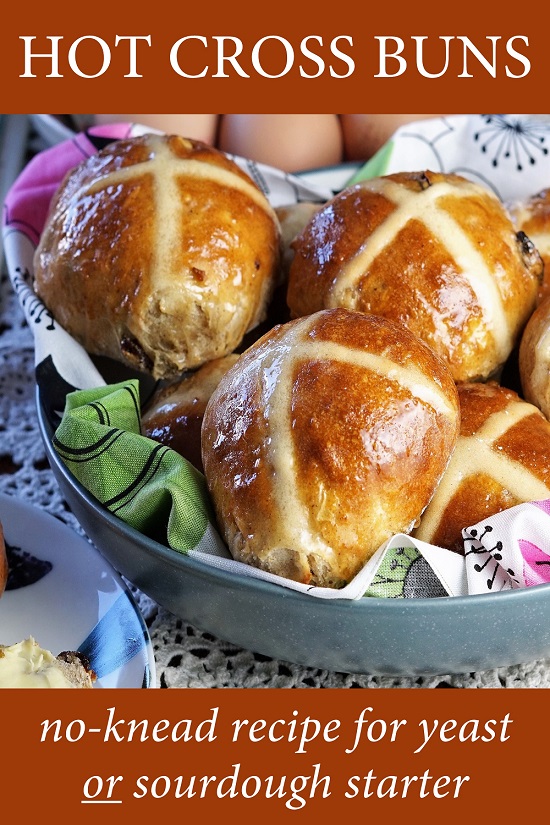
HOT CROSS BUNS
With their bold cross and association with Easter, you might assume that hot cross buns have their roots in Christianity.
However, some say the buns originated in pre-Christian Britain. According to this theory, the cross symbolized the four quarters or phases of the moon. The breads marked with this symbol were eaten at feasts to honour Eostre, goddess of the dawn, fertility and Spring.

But you don’t have to be an Anglo-Saxon nature worshipper or a Christian to enjoy soft, spicy and fruity hot cross buns with their shiny, sticky glaze.
It was three years ago now that I created my recipe for Hot Cross Buns. If you click through to the linked post, you’ll find instructions for making them with either instant dried yeast or a sourdough starter. Based on my overnight, no knead bread making method, I still love those buns.
But this year, I decided to try something a little different.
The result was Brioche Hot Cross Buns.
BRIOCHE
Along with my regular hot cross buns, the starting point for developing this new version was my Brioche Buns for savoury fillings. I’d thought they were a brilliant success.
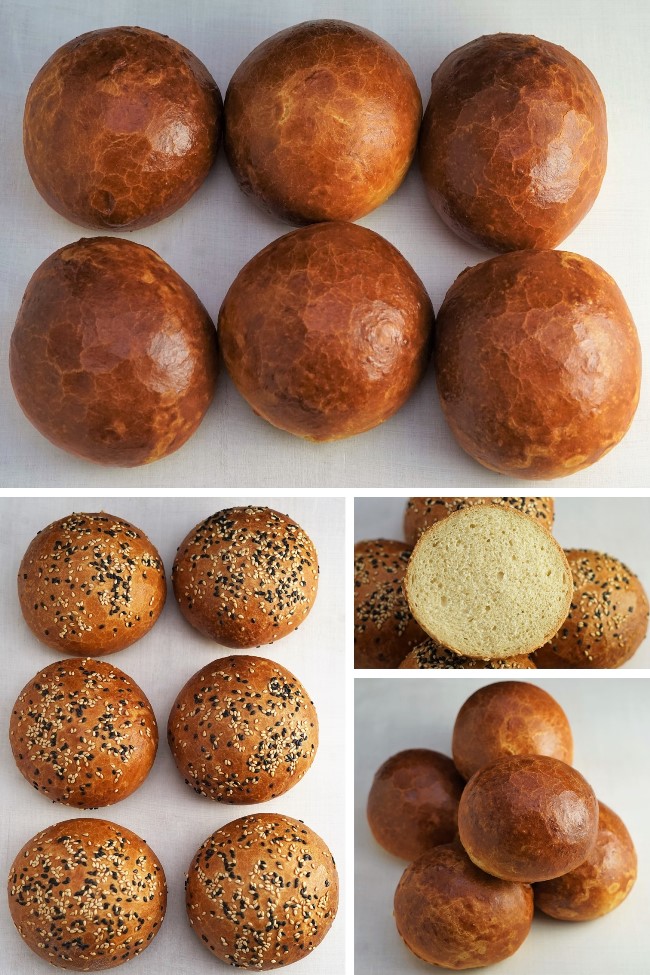
Without the heaps of sugar often found in brioche buns meant for gourmet burgers, pulled pork and other savoury fillings, they still had the rich, buttery flavour typical of brioche.
Thanks to my overnight method, which allows the dough to be worked less, you don’t need a stand mixer to make the brioche dough. Great for people like me who don’t have the space for a stand mixer.
So, with Easter just around the corner, it struck me. Why not make a new recipe, combining (with a few tweaks) Hot Cross Buns and Brioche Buns?
BRIOCHE HOT CROSS BUNS
You’ll need to get started on the buns the day before you want to bake them.
Firstly, you stir together bread flour, sugar, instant dried yeast, salt and your chosen spices. I like lots of mixed spice plus a little extra cinnamon. Next, I rub in plenty of butter. Brioche isn’t brioche without lots of the lovely stuff, and I use 100 grams of butter per 400 grams of flour. You then mix in two eggs and enough milk to make a wet, rather sticky mass.

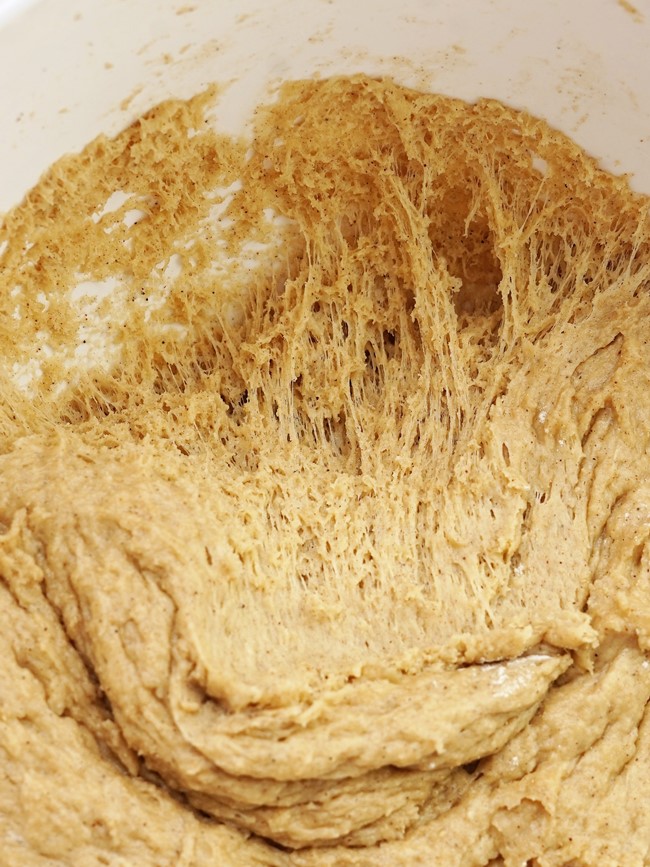
Make sure you mix everything together well, leaving no dry flour visible. Don’t be alarmed that the result doesn’t resemble your average bread dough. In fact, it’ll probably look like very thick cake mix. But don’t worry. All will be well when you come to make the Brioche Hot Cross Buns after the dough’s sat overnight or 12-14 hours.
The other thing to do the day before is soak your dried fruit to make it nice and plump.
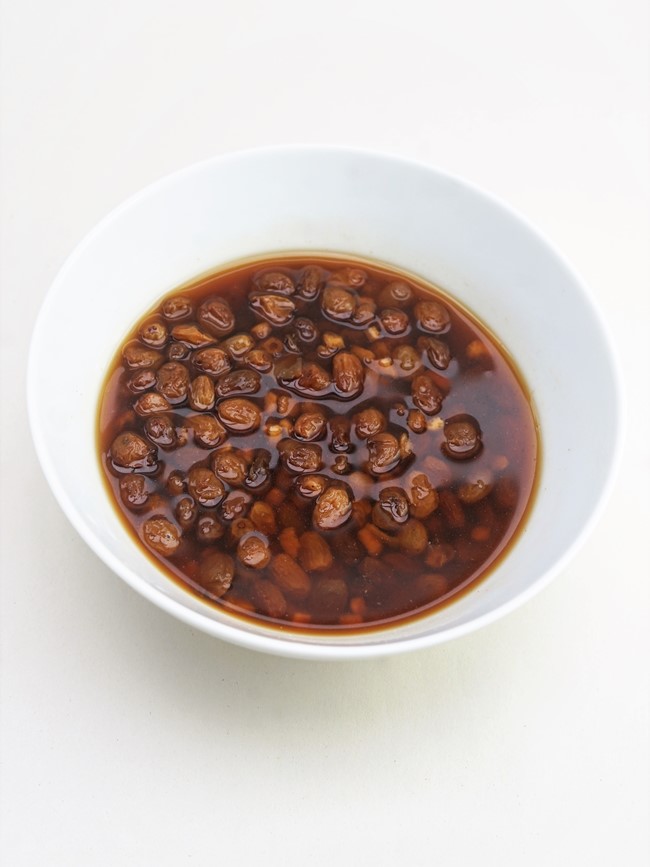
I soak sultanas and dried mixed peel in hot black tea. But you can change the fruits if you like. You could also use a different soaking liquid, such as a flavoured tea. For my regular hot cross buns, I soak the fruit in orange juice and add the zest too.
THE NEXT DAY
In the morning, you might still be unconvinced that you’re going to get rich but light hot cross buns from the wet looking dough.

But, taking a dough scraper and looking underneath the rather unpromising surface, you should see a network of gluten strands. And gluten is the protein that’s going to help your buns rise.
However, this isn’t an entirely no-knead recipe. The fat in butter, eggs and milk tends to inhibit the development of gluten. So we need a little kneading to help it along. For the same reason, I add a little more yeast to brioche dough than unenriched breads.
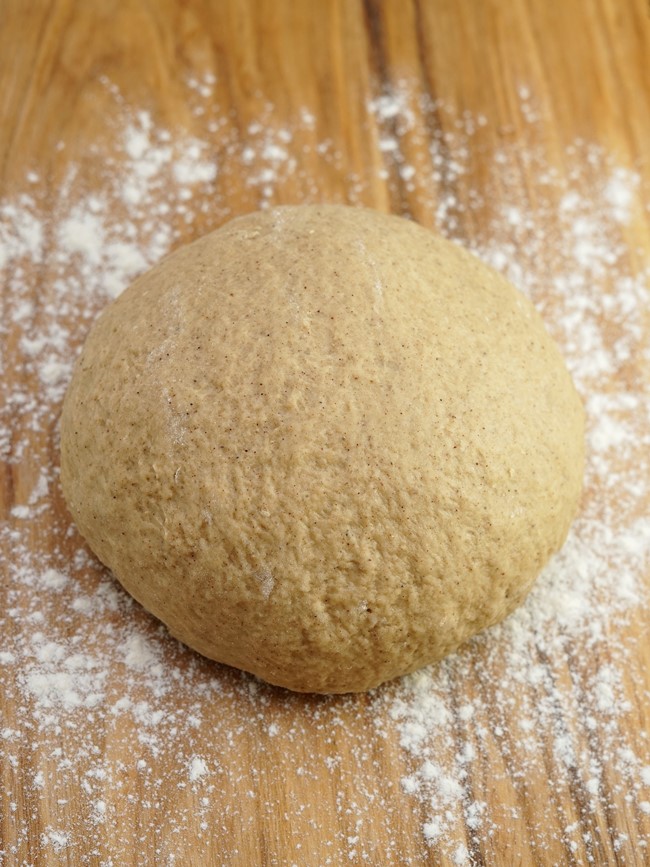
But five minutes kneading should be plenty to bring the dough into a nice ball. Sprinkle the worksurface with flour to stop it sticking, but only use as much as is absolutely necessary.
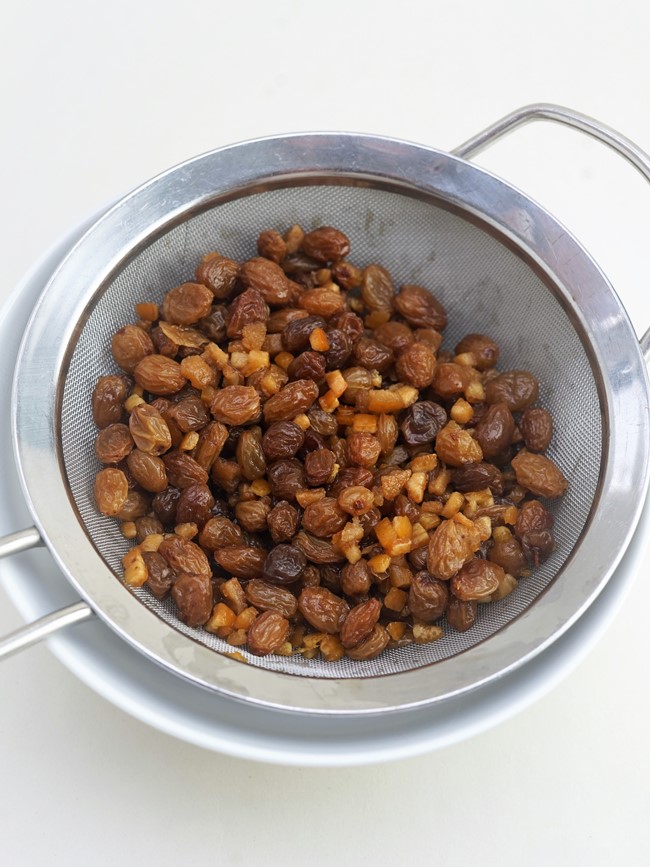
Before incorporating the soaked fruit into the dough, strain it well. Afterwards, I spread it on a piece of kitchen paper with another piece on top to get rid of as much liquid as possible.
I flatten the dough out a little and put the fruit on top. Next, one side of the dough is folded over the fruit.
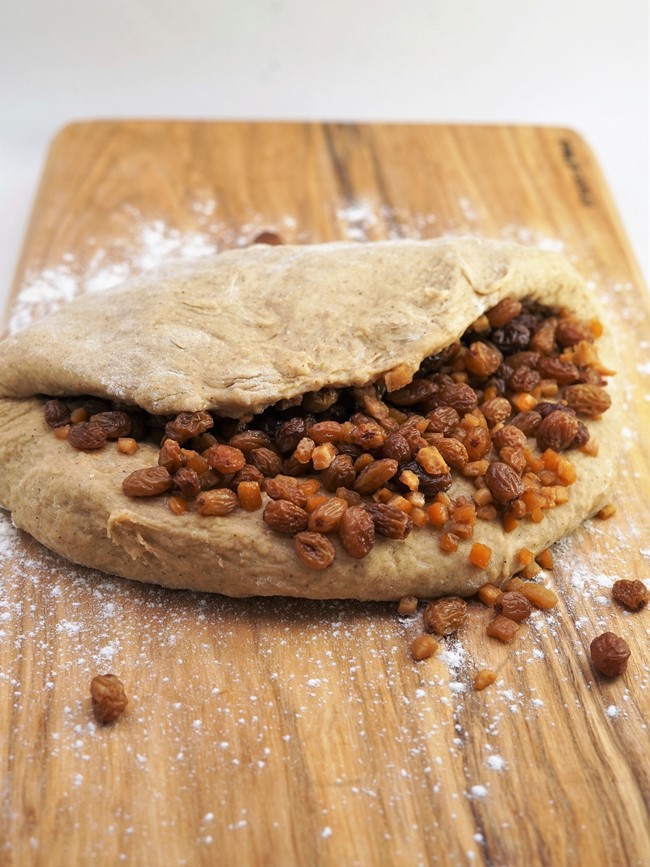
Then you just keep on folding the dough over and over itself until the fruit is evenly distributed throughout.
Be aware that, due to the sugars in the fruit, the dough will be VERY sticky. Sprinkle with a little flour now and again to stop it sticking.

At the beginning, you may think that you’ll never be able to get all the fruit in. But you will. Just keep going!
SHAPING THE BUNS & ADDING THE CROSSES
It’s up to you how many Brioche Hot Cross Buns you make. I made eight large ones for this batch, but make ten smaller if preferred. Unless you’re very good at judging things by eye, I suggest you weigh the individual pieces. I’m a terrible judge, so if I don’t weigh them, I get huge disparities in size.
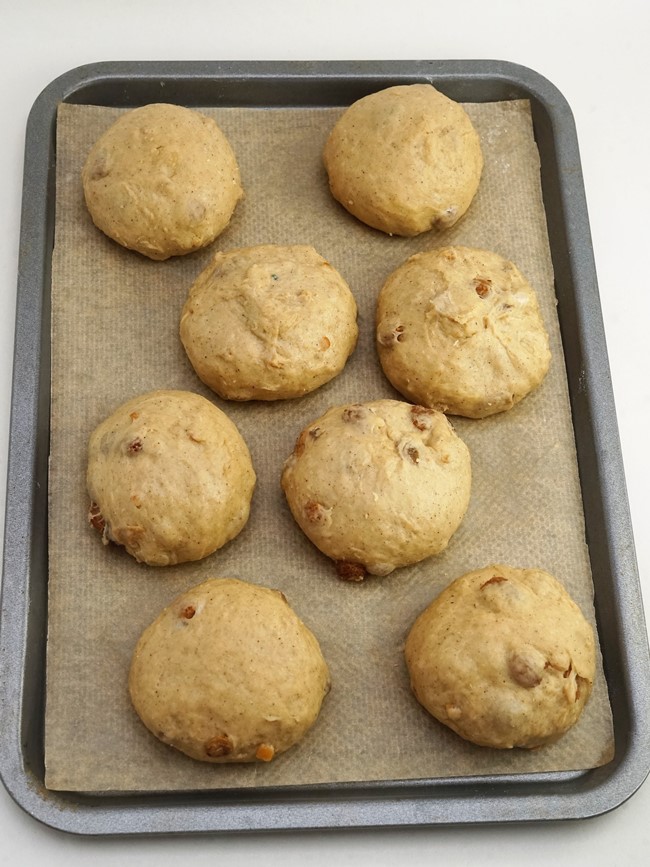
I’ve given instructions on how to form the balls in the detailed recipe card at the end of the post. As you form each one, place it on a lined baking tray.
The dough balls should then be left to rise until almost doubled in size. This should take around an hour but will vary depending on the temperature of your kitchen. (Full disclosure: for the batch photographed here, some of the buns may have been underproved as they split a little when baked).
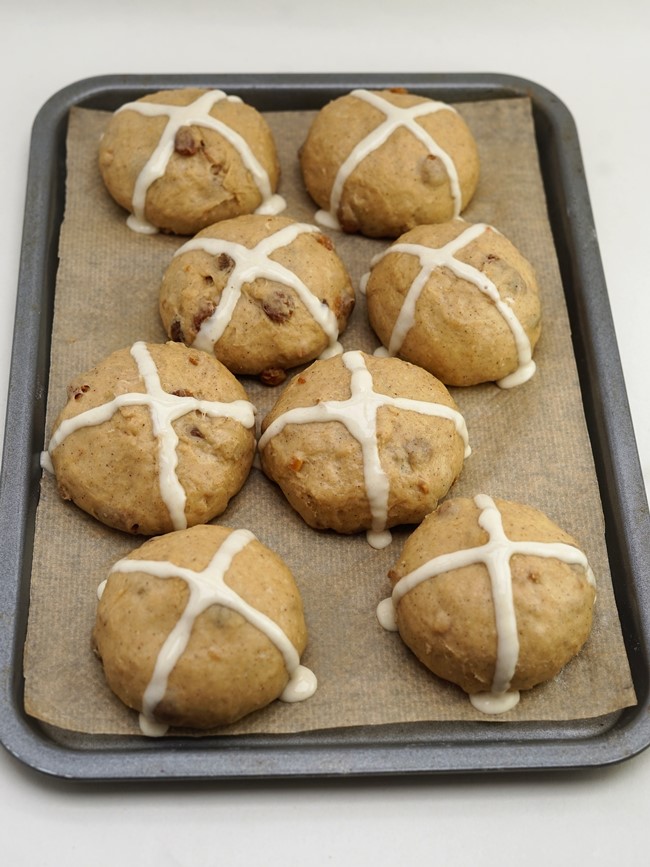
The familiar crosses are added to the buns just before baking.
While the buns are rising, I mix up a paste which will form the crosses. You could make the paste for the crosses from just flour and water. But I like a little sweetness so add a little icing sugar too.
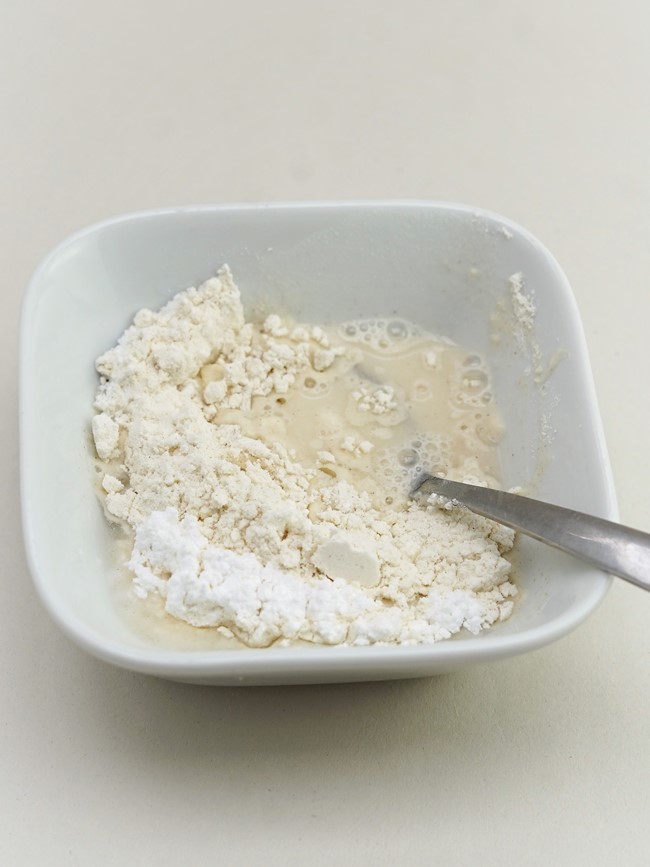
A tablespoon or two of water is then stirred in to make a smooth paste. I’d say the consistency of my paste is like a medium bechamel white sauce. You can make it thicker if you like. But I find crosses made with a thicker paste can go a little crunchy when baked and are a little intrusive on the finished buns.

If you’re a whizz with a piping bag, then go ahead and use one to pipe a cross on each bun.
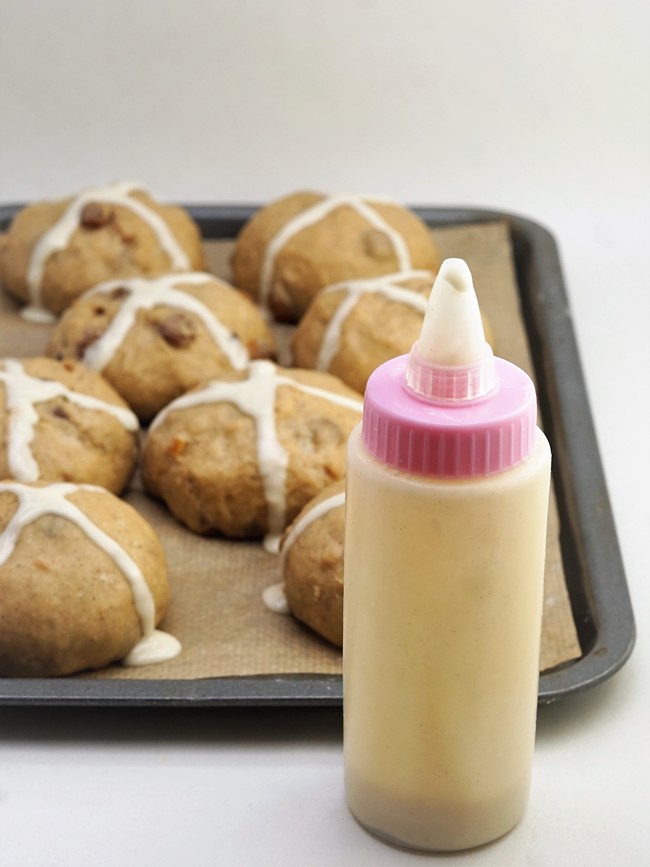
Personally, I find a small squeezy bottle much easier to handle for the small amount of paste needed.
BAKING BRIOCHE HOT CROSS BUNS
To get a good rise on the buns, it helps to have a steamy atmosphere inside your oven.
I achieve this by putting a roasting tray on the bottom shelf while the oven is preheating. Then, as soon as the tray of hot cross buns go in, I quickly pour cold water into the hot tray and close the door.
The resulting steam means it takes longer for a crust to form, therefore allowing the buns to rise for longer.

I bake the buns for twenty minutes before checking how they’re doing. To ensure even baking, you may need to turn the tray around.
If the buns seem to be browning a little too fast before they’re fully cooked, turn the oven temperature down a smidgen.

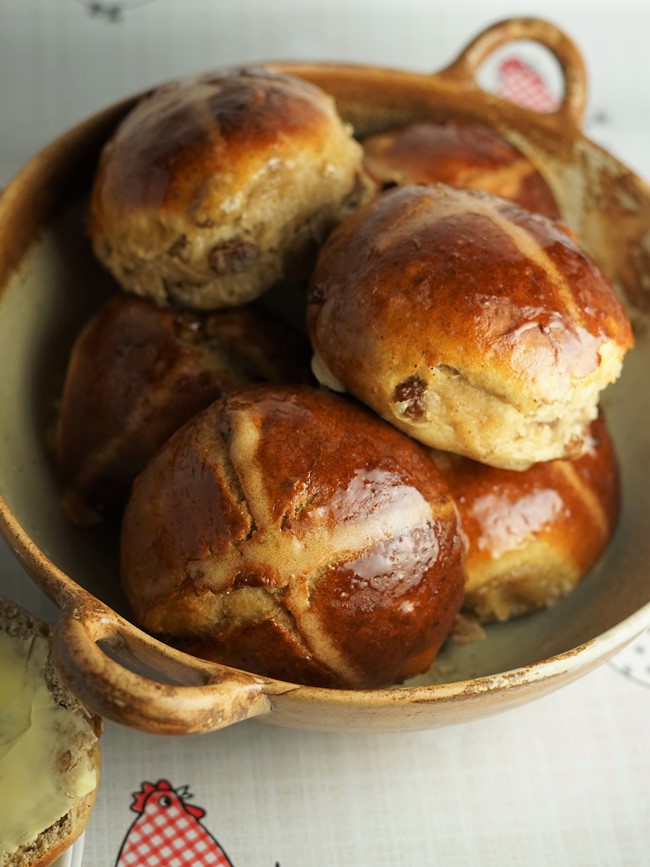
Another five minutes and your Brioche Hot Cross Buns should be golden brown and done.
THE GLAZE
But we’re not quite finished yet.
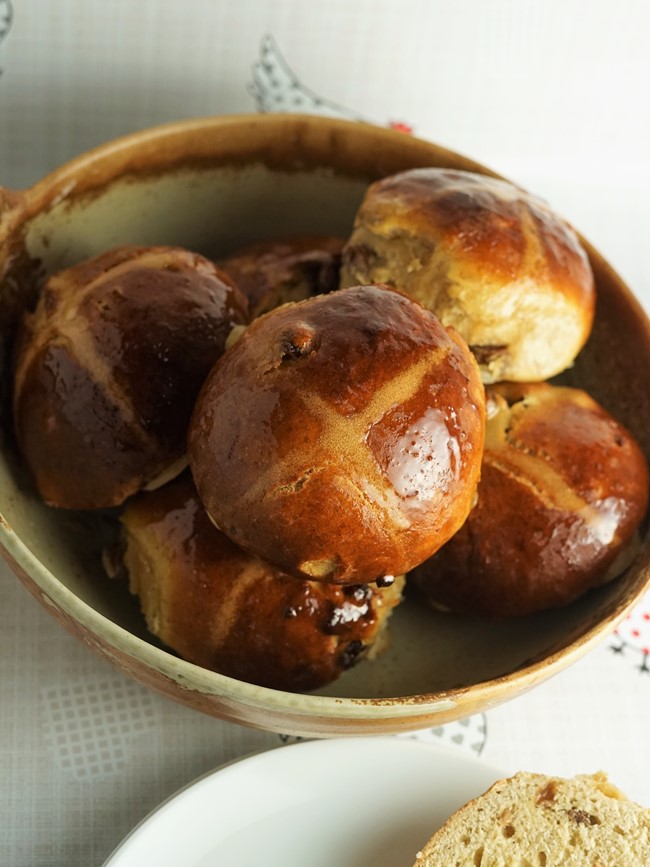
In my view, a hot cross bun (brioche or not) isn’t a hot cross bun if it doesn’t have a shiny, sticky, sweet glaze.

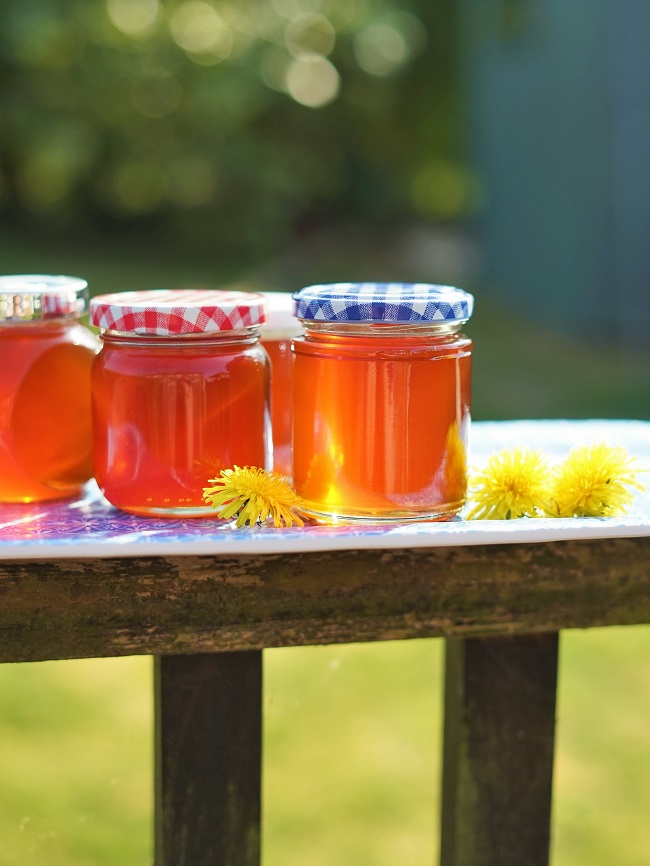
There are many different options for getting that finish. Apricot jam. Marmalade. A simple water and sugar syrup. I most often use local honey.
However, still having some of the Dandelion Syrup I made last Spring, it seemed more fitting to use that to glaze buns eaten to celebrate the coming of the new Spring.
Whatever you choose to glaze your buns with, gently heat it in a small pan first.
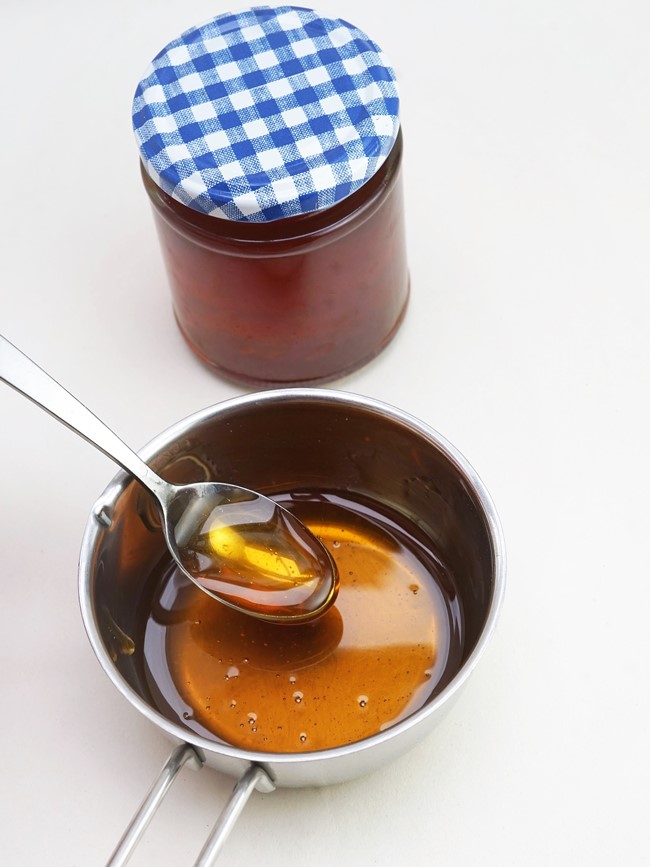
This will make it easier to brush over the still-warm buns.
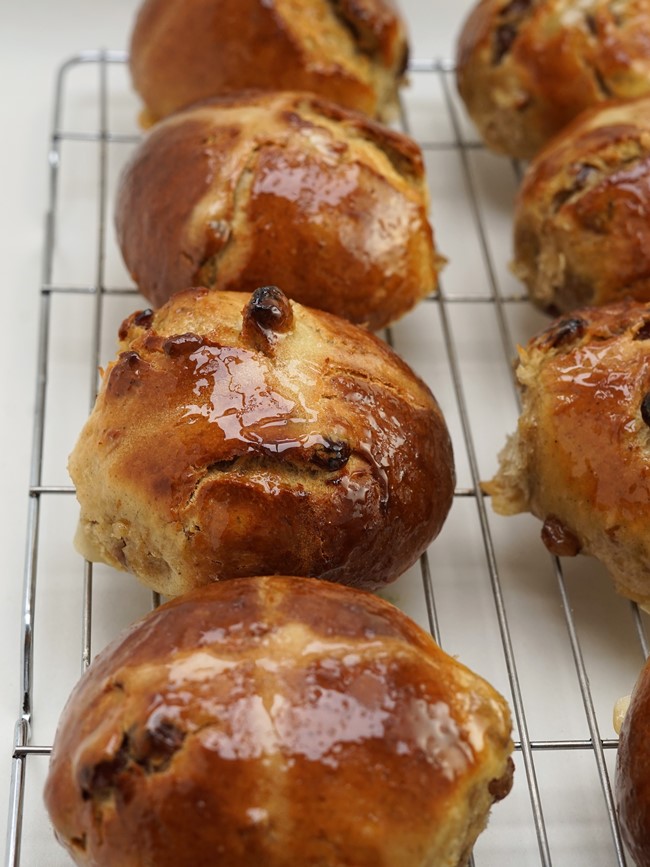
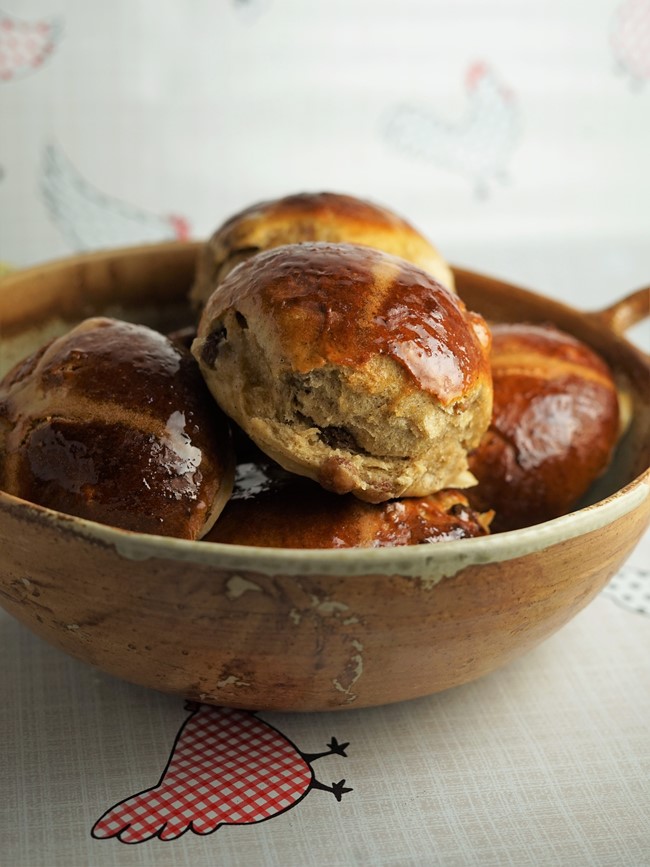
And that’s it. Your Brioche Hot Cross Buns are done and ready to eat.
HAPPY EASTER!
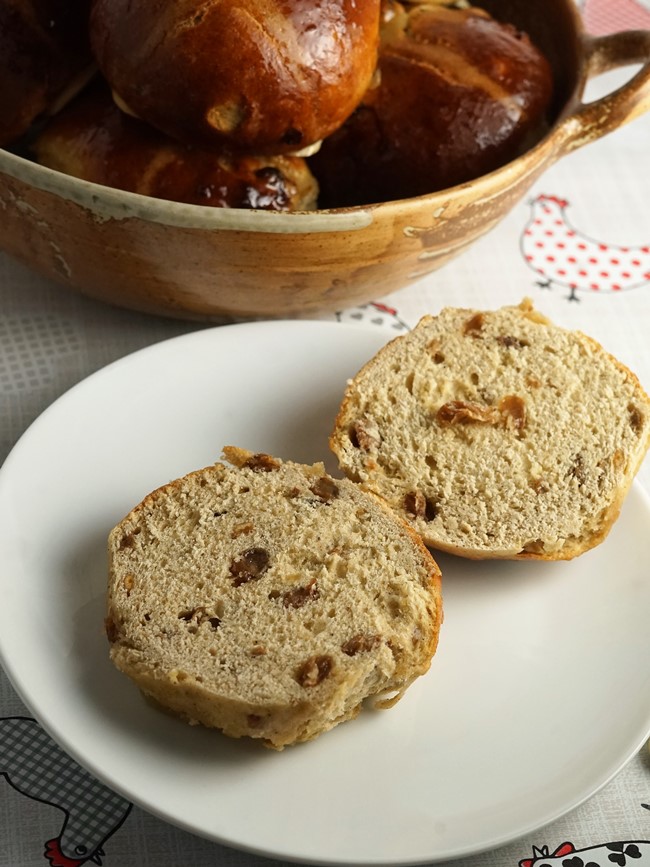
I know lots of people always toast their split hot cross buns. But, eaten fresh on the day of making, I prefer them untoasted. And with my brioche version, alongside the spicy fruitiness, you also get extra-buttery richness.
Cut one open, have a good sniff, and you’ll see what I mean.
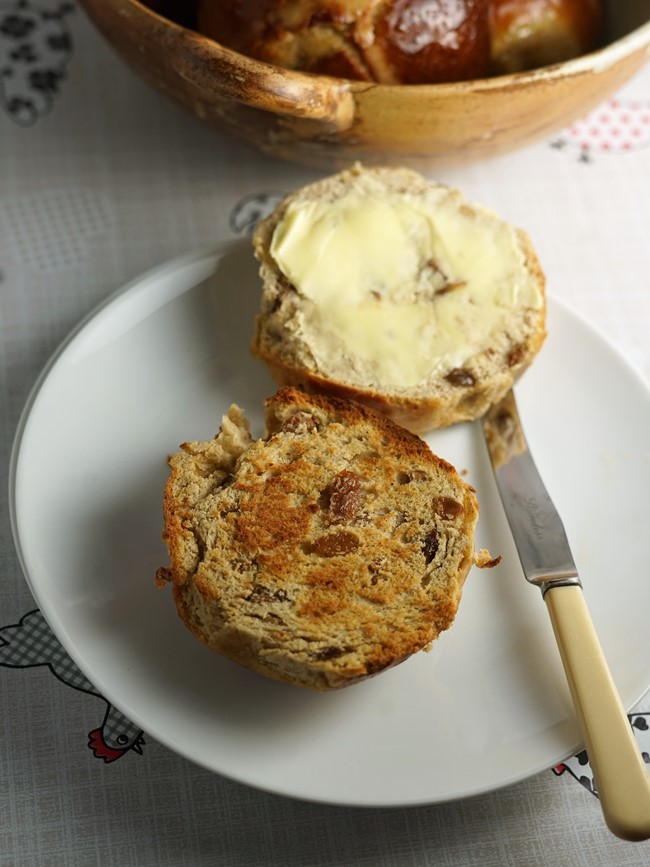
Of course, that doesn’t stop me adding more butter!
I think these Brioche Hot Cross Buns are a wonderful, seasonal treat. And better than almost any hot cross bun you can buy.

The day after baking, I find that hot cross buns do benefit from having their cuts sides lightly toasted.
The sugars on the surface caramelize and the buttery crumb beneath seems to come alive again, soft and rich.
If you’re not going to eat the buns within two days, I highly recommend you freeze them.
The recipe can simply be doubled up to make bigger batches too.
I hope you’ll try making your own hot cross buns this year. Either my new Brioche Hot Cross Buns or my original Hot Cross Buns.
Do let me know what you think in the comments.
Happy Easter!

Brioche Hot Cross Buns
Brioche Hot Cross Buns are a richer version of the classic Easter bun. Warming spices, plump fruit, but with a buttery brioche flavour too.
Ingredients
- 400 g strong bread flour plus extra for dusting
- 80 g caster sugar
- 2 tsp dried instant yeast
- 1 tsp salt
- 2 tsp mixed spice
- ½ tsp ground cinnamon
- 100 g butter in small dice
- 2 large eggs beaten
- 150 ml milk
- 100 g sultanas
- 40 g dried mixed peel
- 200 ml hot black tea or any flavoured tea
For the cross and glaze
- 25 g plain flour
- 10 g icing sugar
- 1-2 tbsp cold water
- 2-3 tbsp honey, dandelion syrup or other liquid sweetener see Recipe Notes
Instructions
The day before you want to bake the buns
-
In a large bowl, stir together the flour, sugar, dried instant yeast, salt and spices.
Rub in the butter.
-
Make a well in the centre of the flour mixture, then pour in the beaten eggs.
Stir the mixture to start bringing it together, gradually adding enough milk to create a ragged ball of dough. Stir well to make sure there's no bits of dry flour unmixed in.
-
Cover with cling film or a wet tea towel and leave overnight or 12-14 hours at room temperature.
-
Put the sultanas and dried peel in a heatproof bowl and pour over enough hot black tea to cover.
When cool, cover and set aside in the fridge until the next day.
On the day of baking
-
Pour the soaked fruit into a sieve and press down to remove as much liquid as possible. Set aside to drain while you complete the next step.
Tip: spreading the drained fruit on kithen paper will help to get rid of more liquid.
-
Lightly flour a clean work surface and scrape the dough out onto it.
Knead the dough until smooth (approx 5 minutes) dusting sparingly with only as much flour as you need to prevent sticking.
-
Flatten out the dough, then sprinkle the soaked fruit over it.
Bring up and fold over the sides of the dough to cover the fruit.
Continue this folding process until the fruit is evenly distributed throughout the dough. Sparingly dust with flour to stop it sticking.
-
Line a baking tray with greaseproof paper or baking parchment.
Divide the dough into 8-10 equal pieces (for accuracy, weighing is recommended).
Lightly knead and fold each piece into a ball: try to use as little extra flour as possible as this will prevent the dough coming together into a smooth ball.
With your fingers and side of your hand lightly touching the worksurface, a dough ball cupped beneath, quickly move your hand in a circle several times to finish shaping the dough into a neat, round-topped ball.
Set each ball on the lined baking tray.
-
Cover the balls with oiled cling film or a wet tea towel and set aside until almost doubled in size (approx 1 hour).
Meanwhile, preheat the oven to 200 C / 180C Fan / Gas 6 with a shelf in the middle and a roasting tray on the bottom shelf (this will be filled with water later to create steam and help the buns rise).
-
Make the paste for the crosses:
Mix the plain flour, icing sugar and enough cold water to make a thick paste.
Transfer to a piping bag, piping syringe or squeezy bottle then set aside.
-
Check that the dough is proofed:
If, when a finger is gently poked into the dough, the dough slowly springs back but leaves a slight indentation then it is ready to bake.
If the dough springs back quickly then it's not yet fully proofed: leave it another 5-10 minutes and check again.
-
When the dough is ready to bake, pipe a paste cross on top of each bun.
-
Put the tray of buns in the oven.
Immediately pour cold water from a jug into the hot roasting tray in the lower part of the oven then close the door.
Leave to bake (without opening the oven door and letting the steam out) for 20 minutes.
-
After 20 minutes carefully open the oven door (caution: there will be a lot of very hot steam so keep your face, hands etc. out of the way) and, if necessary, turn the tray around to ensure the buns cook evenly.
Cook until the buns are golden brown (approx 5 min more) and remove from the oven.
-
Lightly warm the honey, dandelion syrup or other liquid sweetener and brush generously over the buns.
When cool enough to handle, transfer the buns from the baking tray to a cooling rack.
-
Buns can be stored in an airtight container once completely cold.
Serve split, toasted or untoasted, spread with butter.
Eat within 2 days or freeze on the day of making.
Recipe Notes
I glazed these Brioche Hot Cross Buns with homemade Dandelion Syrup.
RELATED RECIPES


Like Veronique, I haven’t made these yet, but, yout lovely, detailed recipe and gorgeous pictures got me drooling and my imagination tells me they will taste fantastic!!! I really like the idea you suggested for variations on soaking liquids for the dried fruit
Thank you, Victoria 😊
I followed this recipe for an annual family hot cross bun competition. They were superb! Thanks for helping me win. I love all the little extra tips which definitely made a difference compared to other recipes I’ve tried.
What wonderful news, Xenia! Congratulations on winning the hot cross bun competition – so pleased my recipe helped!
I haven’t made these yet, but have bookmarked them to make this year – along with a lot of your other recipes. Just by reading the recipe, I can tell that they deserve a 5-star rating! Thanks a bunch, and Happy New Year from Mauritius
Thank you for your kind comments!