Coconut Cake Recipe
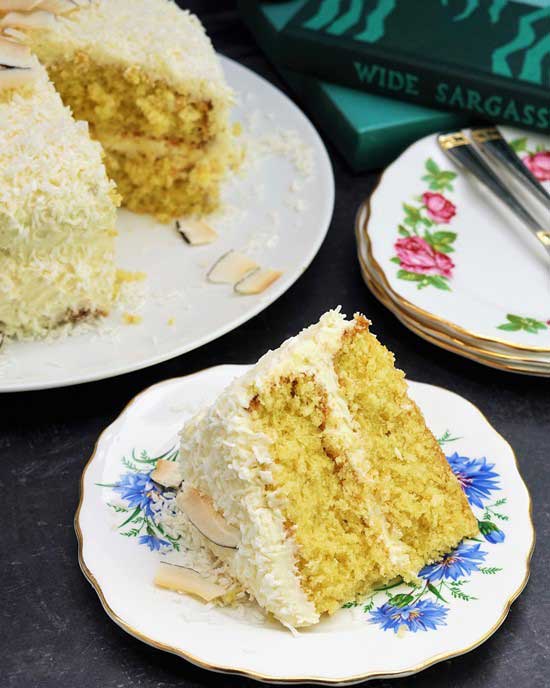
Coconut Cake is an indulgent treat that’s so easy to make. Two layers of coconutty, moist sponge cake sandwiched and covered in a rich coconut buttercream icing.
Perfect with a cuppa, as part of an afternoon tea or a dessert, I think this gorgeous cake would even make a great birthday cake for coconut lovers.
Jump to Recipe
Who doesn’t enjoy a slice of cake?
I love that British classic the Victoria Sponge, layered with buttercream and jam. But, as coconut is one of my favourite flavours, I sometimes ring the changes by making a variation with coconut sponges and a rich coconut buttercream.
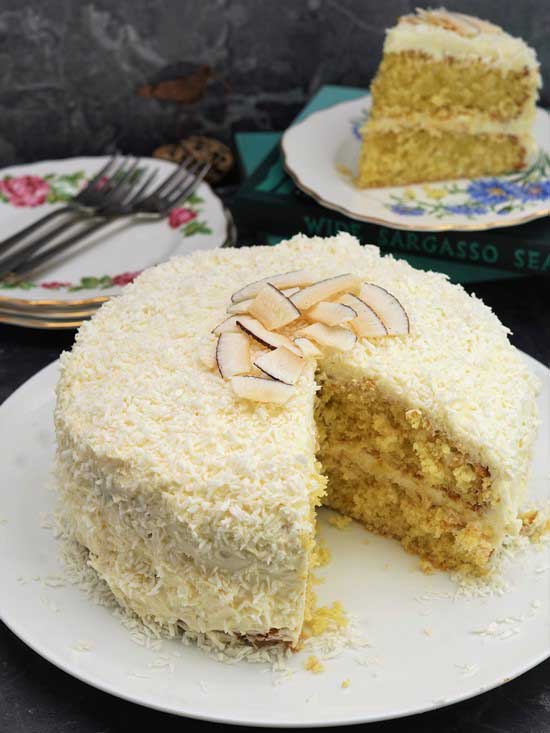
My Coconut Cake is just as easy to make as a Victoria Sponge, with only a couple of tweaks needed to transform it into another indulgent treat.
COCONUT CAKE INGREDIENTS
For the Coconut Cake batter you need only a handful of everyday ingredients. In the recipe card at the end, you’ll find details of the amounts to use.
- Self-Raising Flour
- Baking Powder to give the raising agents in the flour a helping hand
- Salt just a pinch
- Caster Sugar
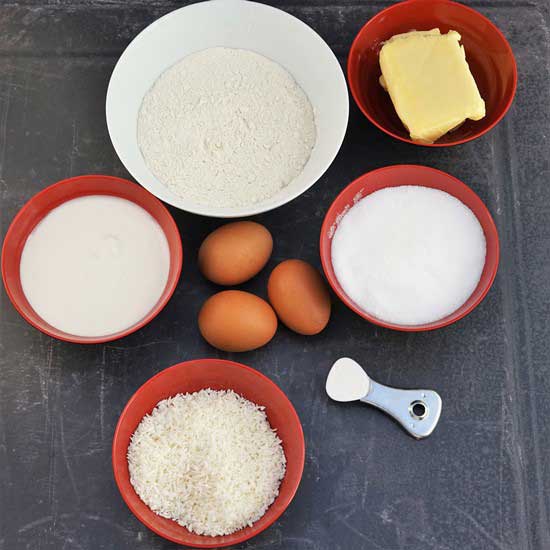
- Butter salted or unsalted, whichever you have. It will need to be soft so take it out of the fridge well before you need it.
- Eggs you’ll need 3 large.
- Desiccated coconut a coconut cake isn’t a coconut cake without it!
- Coconut Milk lightens the mixture and adds extra coconut flavour. Use rich and thick coconut milk from a can rather than the thin stuff you get in cartons for the best results.
For the coconut buttercream icing you’ll need more butter, desiccated coconut, and coconut milk, plus icing sugar.
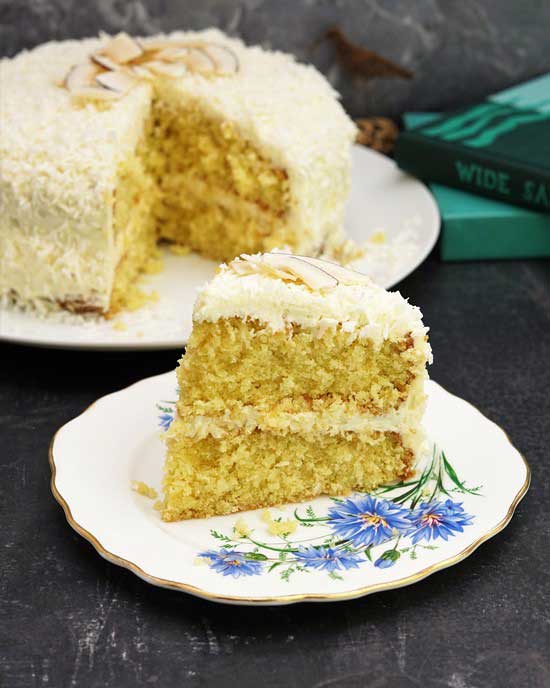
EASY COCONUT CAKE
If you’re ready to bake, jump to the recipe card here. If you want an overview with step-by-step images, read on.
You start the Coconut Cake by first sifting together the flour, baking powder, and salt. Then set this aside while you beat together the butter and sugar until light and fluffy. Use electric beaters if you can. Cheap, no-frills ones are fine and will still make the job so much easier.
Next, you beat in the eggs, one at a time. I add a tablespoon of the measured flour with each egg to help prevent the batter splitting.
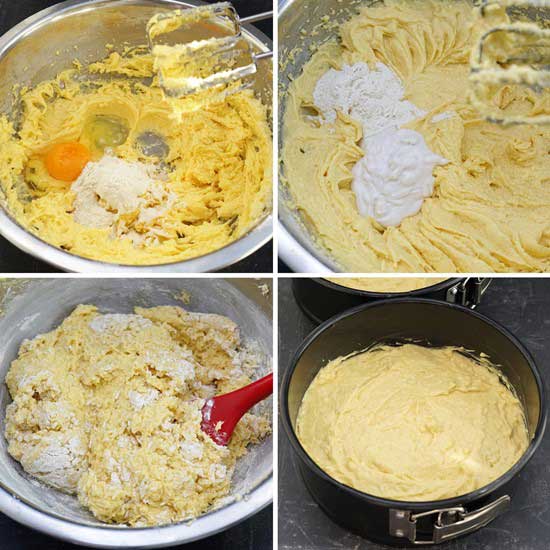
We then do the same with the coconut milk: add a scant tablespoon of the flour mixture with each spoonful you beat in. I add more milk to my Coconut Cake batter (3 tablespoons) than to plain sponges: otherwise, the desiccated coconut can suck up all the moisture.
Finally, the rest of the flour mixture is folded in (not beaten), along with the desiccated coconut. You then transfer the batter to two buttered, round cake tins or deep sandwich tins that are 18cm in diameter. I use springform ones, but loose bottomed are fine too. If you only have regular tins then I recommend lining their bases with a circle of baking paper.
BAKING & COOLING COCONUT CAKE
The sponges will take just 20 minutes to get risen and golden brown. Because ovens vary, I suggest you check after 15 minutes and turn the temperature down a smidgen if you think they’re browning too quickly.
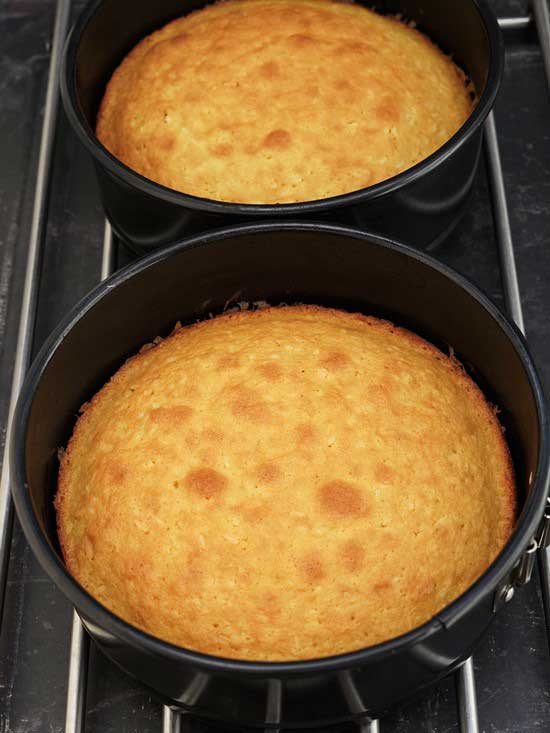
If the cakes are done, you should see the edges slightly pulling away from the sides of the tins. If you gently and briefly press down on the tops with a finger they should feel springy.
Don’t try to release the cakes from the tins as soon as they’re out of the oven. Leave for 5 – 10 minutes then carefully remove and transfer to a wire rack until completely cold.
COCONUT BUTTERCREAM ICING
While the cakes are cooling, you can be making the coconut buttercream icing. Again, this will be much quicker and easier if you have electric beaters.
Start by beating the butter until very soft, then gradually beat in all the icing sugar. Keep going until the buttercream is light and fluffy.

Next, add desiccated coconut to the bowl plus a tablespoon of coconut milk. Work this in with your beaters and continue adding more coconut milk, beating it in as you go, until you have a light and airy consistency. Three or four tablespoons should do it.

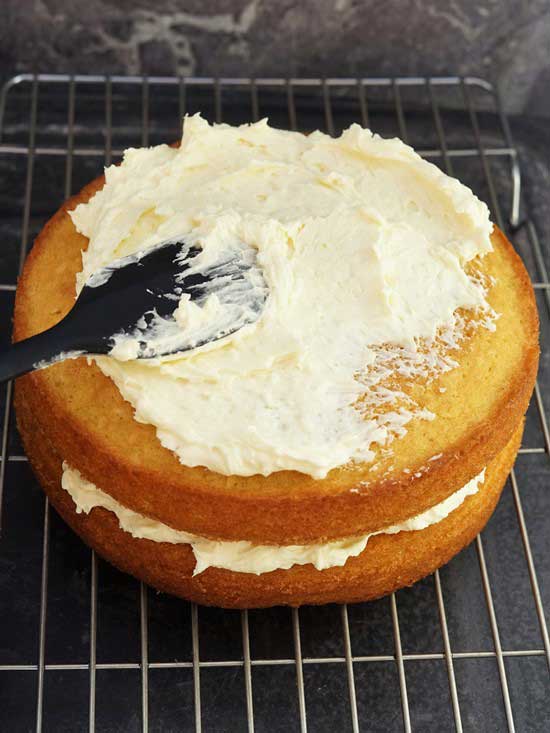
When the cakes are completely cold, turn one over so the underside is now uppermost. Using one third of the buttercream, spread it as evenly as you can over the top. Then take the second cake and place it, right side up, on top of the first and very gently press down. Spread the remaining buttercream over the top and all the way down the sides of the Coconut Cake.
Take some more desiccated coconut and sprinkle it over the top – try to get some to stick to the sides too if you can. Finally, I pop on a few coconut shavings, toasted or untoasted. You can never have too much coconut on a Coconut Cake as far as I’m concerned!
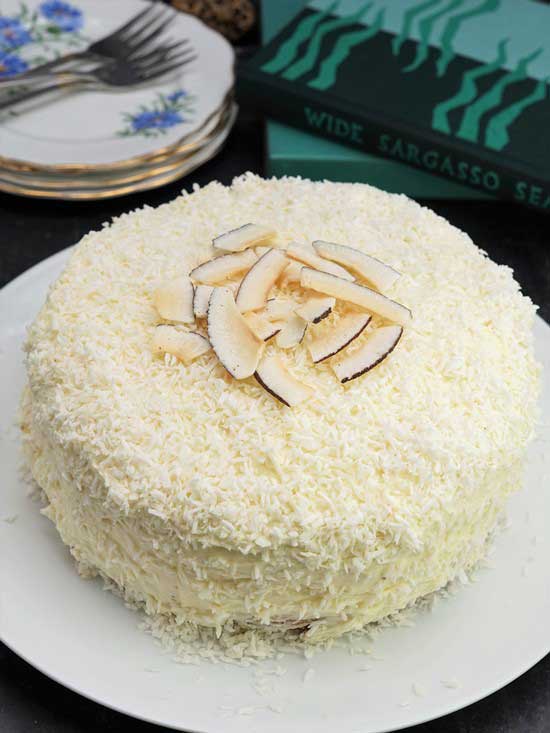
If you’re not going to eat it all straightaway (and who would blame you?), this moist cake will be fine stored in an airtight container for three to five days.
SIMPLE BUT INDULGENT COCONUT SPONGE CAKE
Just like its cousin, the Victoria Sponge Cake, I’m always surprised at just how good this relatively simple treat is. Buttery and coconutty moist cakes that are substantial without being heavy filled and covered in plenty of rich coconut buttercream.
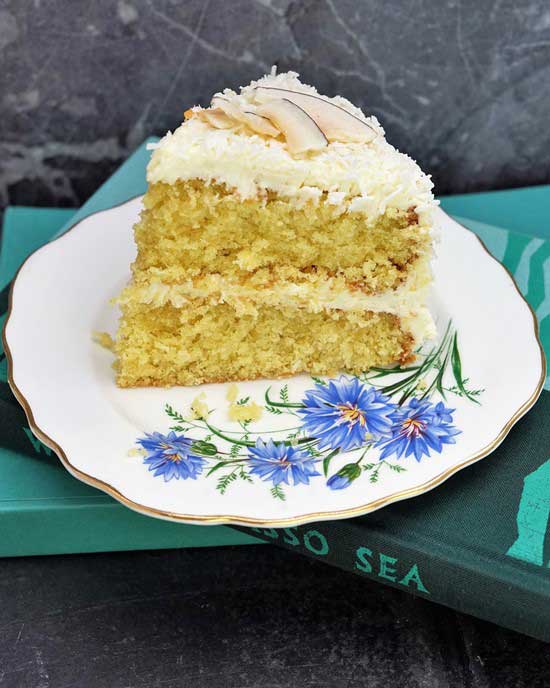
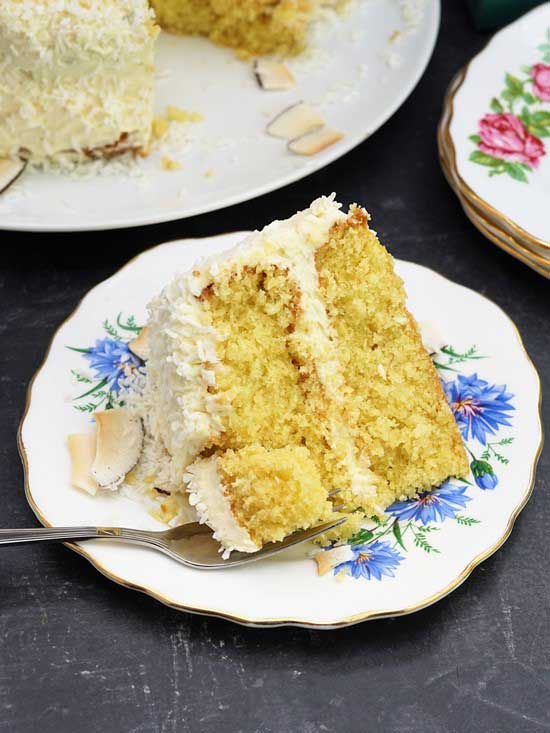
So easy, Coconut Cake is ideal as an indulgent treat with a cuppa or eaten as a dessert. But I think it’s rich and delicious enough to make as a great birthday cake for coconut lovers young and old.
HAVE YOU MADE THIS RECIPE? LEAVE A COMMENT & DON’T FORGET TO RATE IT.

Coconut Cake Recipe
An easy, indulgent treat: two layers of moist, coconut sponge filled and covered with rich coconut buttercream icing.
Ingredients
- 175 g self-raising flour
- 1 level tsp baking powder
- 1 pinch salt
- 175 g soft butter, salted or unsalted plus extra for greasing
- 175 g caster sugar
- 3 large eggs
- 3 tbsp tinned coconut milk see Recipe Note #1
- 60 g desiccated coconut
Coconut buttercream icing
- 160 g soft butter, salted or unsalted
- 240 g icing sugar sifted
- 50 g desiccated coconut
- 3 - 4 tbsp tinned coconut milk
Decoration
- desiccated coconut
- coconut shavings optional
Instructions
-
Preheat the oven to 180C / 160C Fan / Gas 4.
Butter 2 deep, round cake or sandwich tins that are 18 cm in diameter. Ideally, they should be springform or loose-bottomed: if not then line the bases with baking paper.
-
Sift together the flour, baking powder, and salt then set aside.
-
In a large bowl and preferably using electric beaters, beat together the butter and sugar until soft and light. Scrape down the sides of the bowl as necessary during this and subsequent steps.
Beat in the eggs one at a time along with approximately 1 tbsp of the sifted flour each time.
Beat in the coconut milk a tablespoon at a time with another scant tablespoon of the measured flour each time.
Fold in the remaining flour plus the desiccated coconut.
-
Divide the mixture between the two prepared tins, ideally weighing for accuracy, and smooth the tops.
Put in the oven and bake until risen and golden brown: when done the edges should be pulling away from the sides of the tin and the tops springy when lightly pressed (approximately 20 min).
Tip: check after 15 minutes and if the cakes are browning too quickly, turn the temperature down a little.
-
When done, transfer the tins to a wire rack and leave to cool for 5-10 minutes.
Carefully remove the cakes from the tins and put directly on the rack until completely cold.
-
While the cakes are cooling: make the coconut buttercream icing.
Beat the butter until very soft, using electric beaters if possible.
Gradually beat in the sifted icing sugar then add the desiccated coconut to the bowl.
Beat in the coconut milk a tablespoon at a time until the buttercream is light and airy.
Set aside until the cakes are completely cold.
-
Turn one of the cakes over so the underside is now uppermost. Spread the top surface with approximately one third of the buttercream.
Place the second cake on top, right side up, and very gently press down. Spread the remaining coconut buttercream over the top of the cake and down the sides.
-
Sprinkle desiccated coconut over the cake plus the sides if possible. Top with coconut shavings if using.
Stored in an airtight container, the cake should keep for 3 - 5 days.
Recipe Notes
Note #1 Coconut Milk. Thick coconut milk from a tin (rather than the thinner type often bought in cartons) will give a better, richer result.
RELATED RECIPES


I used four eggs and adjusted the measurements accordingly (divide by three, multiply by four) – much better in my 7 inch pans. I would probably go for five eggs if I did it again to create a really chunky cake
Thanks so much for your useful feedback, Gemma!
Unfortunately I wouldn’t make this cake again. Love the intense coconut flavour and cake did come out moist, but unfortunately, as previous reviewer mentioned, the sponges are far too thin (I would double the quantity for sponge cakes next time) and buttercream icing was so sweet it makes my teeth ache. I would reduce the amount of icing sugar by 1/3 to 1/2 next time.
Hi Lauren, are you sure you used 18 cm cake tins as per the recipe? I ask because, as you can see from the blog images, the cakes are not thin when properly made: a finished slice placed on its side covers the whole central section of a standard tea plate. You say the cake was moist and flavoursome, so it doesn’t sound like there was a problem with your batter, which makes me think the issue might be too large tin size.
As for the buttercream, while you could reduce the icing sugar to the same quantity as the butter, be aware that when adding liquid such as the coconut milk in this recipe, the standard advice is to INCREASE the ratio of icing sugar. For example: Mary Berry’s buttercream for Victoria sandwich, which includes milk, has TWICE the amount of icing sugar to butter (again, this is the standard ratio in these circumstances) and is therefore much sweeter than mine (i.e. 66.6% sugar instead of my 60%).
Of course, people’s liking for sweetness naturally differs but if you do reduce the sugar by a third you’ll have equal quantities of butter and sugar so should probably consider leaving out the coconut milk. I wouldn’t recommend reducing the icing sugar by half though: you will effectively have sweetened butter rather than buttercream!
I hope this helps, and many thanks for trying my recipe.
Everyone who has tasted this loves it, such a beautiful looking cake and the taste is so moist and light. My favourite cake to make at the moment. Thank you.
You’re welcome, Kirsty, and thank you for the wonderful comment and 5-star rating! This cake is one of my absolute favourites so I’m hugely pleased that everyone loved it!
Totally dissapointed, the sponge was thin and the butter icing was like slop, very runny. I’m new to baking and followed this very strictly . Won’t be making this again, the butter icing was so sickly and sweet.
You say you’re new to baking and yet are convinced that it is the recipe (with currently three 5-star ratings and one 4-star) which is at fault rather than allowing for the possibility that you may have made mistakes.
I’m sorry to say it, but as this is a tried and tested recipe (the sponge ingredients and amounts are pretty standard), I suspect one or more errors did creep in when you made it. For example, you say the icing was ‘like slop’. This is not possible with the ingredients listed unless you used thin coconut milk from a carton instead of thick tinned as advised and/or you added too much.
Self raising flour and baking powder??
I found the results much better without the baking powder. The addition of the baking powder had an obverse effect
That’s strange. Have you made this particular recipe twice, i.e. with and without the baking powder?
Indeed I have, the first effort I followed your recipe and guide exactly. The sponges were disappointingly flat, Which made me question, why are you using baking powder with self raising flour? I tried again without the baking powder, and had much better results.
Very strange! Not a problem I’ve experienced with this recipe or heard from anyone else.
A large excess of baking powder (e.g. a tablespoon instead of a teaspoon) can make a cake rise hugely and then collapse as it can’t be sustained, but you say you followed the recipe exactly so I’m sorry I can’t explain what happened in your case.
Thanks for your interest in my recipe and I’m glad you got a better result the second time!
Can the icing be made then frozen?
It’s not something I’ve done, but I see no reason why not. Maybe only freeze for a maximum of 1 – 2 months though so the flavour doesn’t deteriorate?
My husband made it the first time – gorgeous!
And I’ve made it since, as it’s become a popular treat! My daughter loves it with chocolate butter cream, which does compliment the sponge beautifully.
Great recipe.
Thank you Sasha! So pleased everyone loves this cake as it’s one of my favourites. The addition of chocolate butter cream sounds great too!
My husband’s favourite
It’s one of those cakes I make again and again. Glad your husband enjoyed it!
This cake didn’t last long! Very delicious and easy to make!
Thank you and I’m so glad you enjoyed it. One of my absolute favourite cakes!