Microgreens: grow your own
Microgreens, packed with nutrition and flavour, are incredibly easy to grow at home. In this post I show you how.
While a huge proportion of our food these days is transported across (and, even worse, flown over) the world, what could be more local than growing your own? And you won’t get anything fresher and full of goodness than something picked minutes before it’s eaten.
I’ve always thought there’s something really special about homegrown. Now matter how many years you’ve been doing it, you still get a feeling of excitement when the first shoots appear.
The good news is that, if you fancy having a go at growing your own, you don’t need an allotment or even a back garden. All you need to grow microgreens, sometimes called microleaves or microherbs, is a windowsill.
WHAT ARE MICROGREENS?
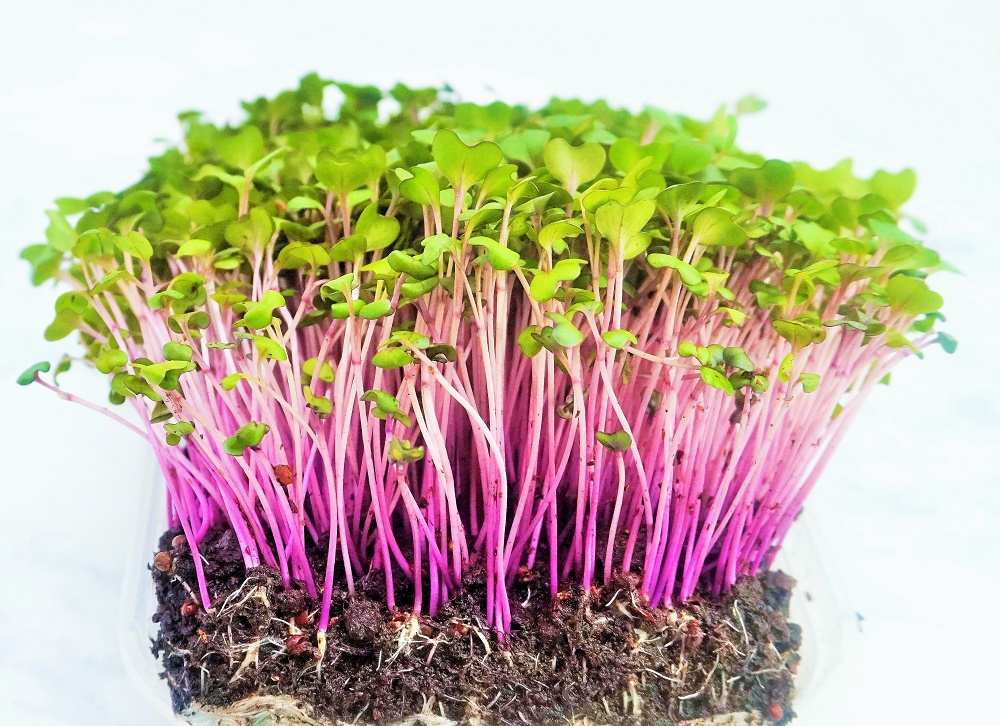
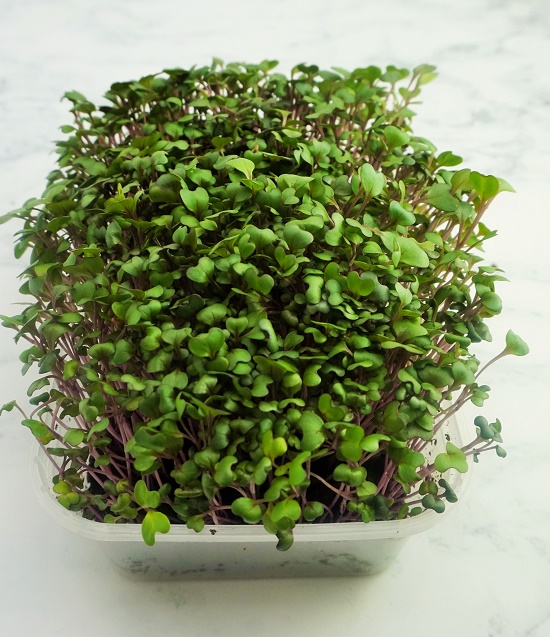
Microgreens are simply immature plants grown from seed, picked and eaten when they’re around five centimetres tall. If you’ve bought mustard and cress in those little plastic punnets, then you’ve already eaten microgreens.
But we’ve come a long way since mustard and cress, with lots more varieties now available. Brightly coloured red amaranth is one you often see used in restaurants.
You can buy microgreens from some shops and markets. But they’re pricey and you won’t get that grow-your-own satisfaction. Nor will they be as fresh as those just snipped from your windowsill supply.
NUTRITION
You may have heard microgreens touted as a ‘superfood’. Generally speaking, they do tend to contain higher levels of Vitamins A and C plus other vital nutrients when compared to their full-sized equivalent.
But don’t get too excited. While gram-for-gram the mini version will be more nutrient dense, you’d have to eat an awful lot for that difference to be meaningful.
However, I still think microgreens are a great addition to a healthy diet. While not a substitute for standard veggies, they will provide some extra nutrition. And it’s so easy to snip a handful and add them to a plate, like I did with this Courgette & Chive Pancake.

WHICH SEEDS?
Virtually any seeds can be grown into microgreens and there’s a good range available. Seeds I’ve grown include broccoli, red cabbage, alfalfa, sunflower, fenugreek and radish. Basically, if you enjoy the flavour of the full-size plant, there’s a good chance you’ll like the mini leaf version.
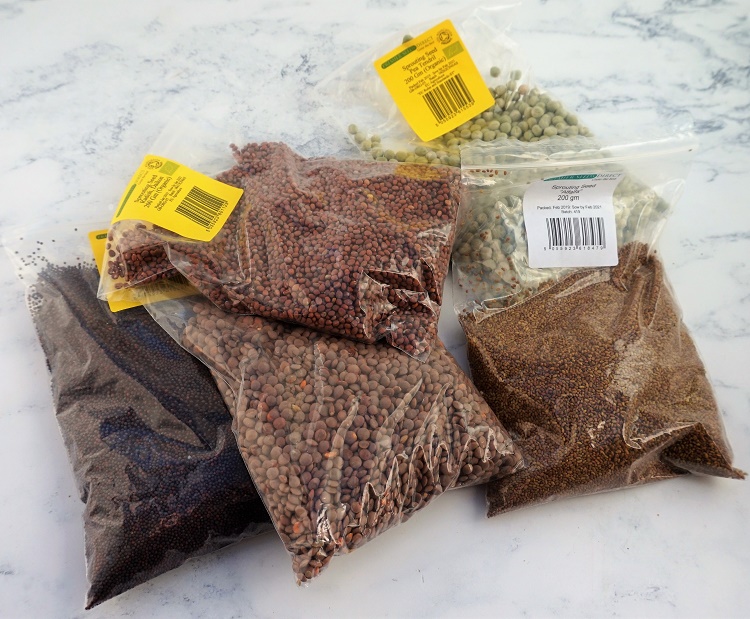
I prefer to buy organic seeds from a supplier who sells products specifically for growing in this way. That’s so I know they’ll be safe to eat without any nasty residues concentrated in the tiny plants. It also ensures you’re not going to make yourself ill by growing anything unsuitable – for example parsnip is poisonous in this form.
I suggest you start off buying a small amount of a few different seeds to see which ones you like best. They’re often sold in 40 gram packs and that’s plenty to begin with.
EQUIPMENT & GROWING
To grow your microgreens, you’ll need a shallow container. Almost anything waterproof will do, so long as you can poke a few drainage holes in it. I use a few of the tubs we buy to freeze our dog’s homemade food in – unused ones, of course! Foil trays or old takeaway boxes are fine too. If you’ve really nothing else, then buy a small seed tray from a garden centre.

You’ll also need a small amount of compost for the bottom of your container. A depth of around three to five centimetres is about right. Lightly pat it down so it’s level.
Next, it’s time to sprinkle your chosen seed over the compost. It should be quite thickly distributed but not overcrowded.
Tip: larger seeds, such as sunflower and radish, will germinate quicker if you soak them overnight in cold water before sowing.
I lightly water the seeds before covering them with a little more compost. The top is levelled again and another quick spritz of water squirted over.
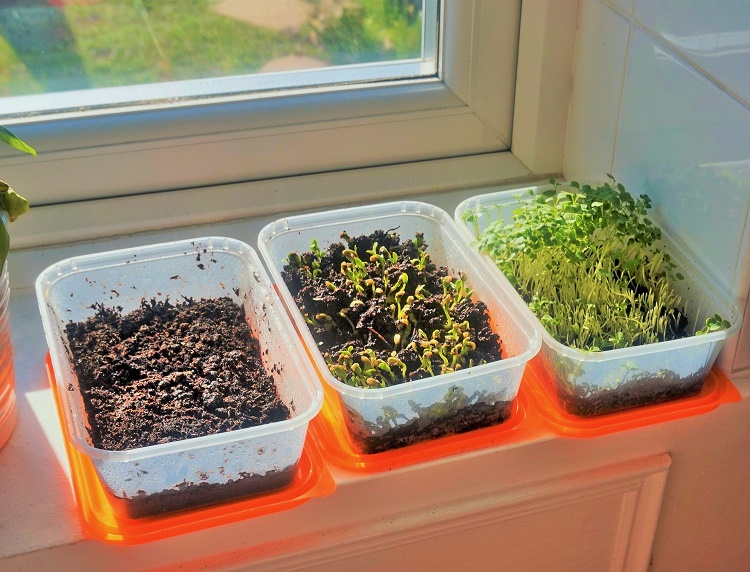
And that’s it. All you need to do then is put the container on a windowsill, ideally a sunny one, and make sure you keep the compost moist. I prefer to use the plant mister again rather than a jug or watering can as I find I’m less likely to over-water. Water at least once a day, but more often in hot weather.
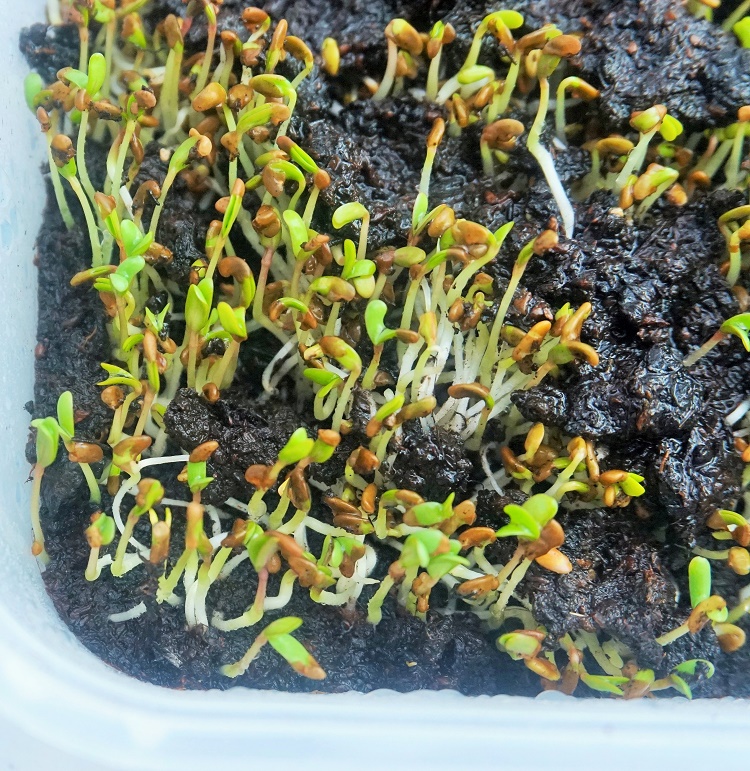
HARVESTING
Depending on the temperature, amount of light and the type of seed, you might see the first shoots within three days. Keep on using the mister to grow the microgreens until they’re around five centimetres tall. This could take between seven and twenty one days depending on the time of year and the factors already mentioned.
The microgreens are best eaten straight after picking. Take some scissors and snip them off right at soil level. Given them a wash in a sieve or salad spinner and add to your chosen dish. If you’re lucky, you may get a second growth from the cut off shoots, but better to sow batches of seeds reguarly to ensure you have a steady supply.
EATING MICROGREENS
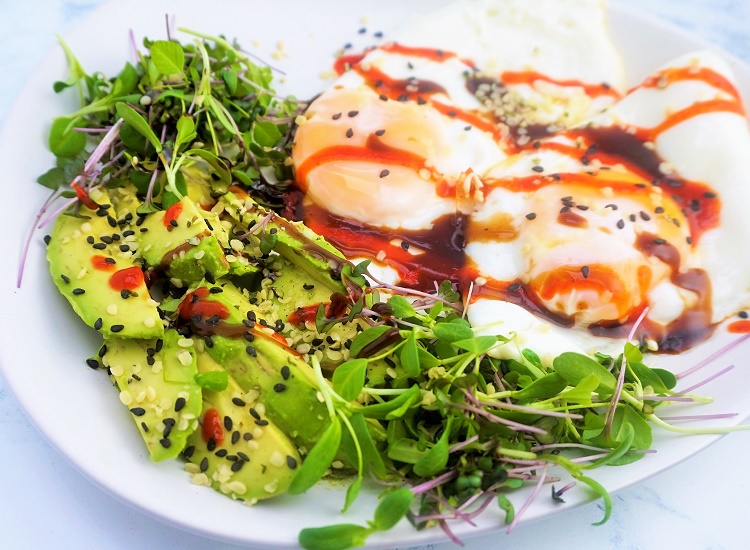
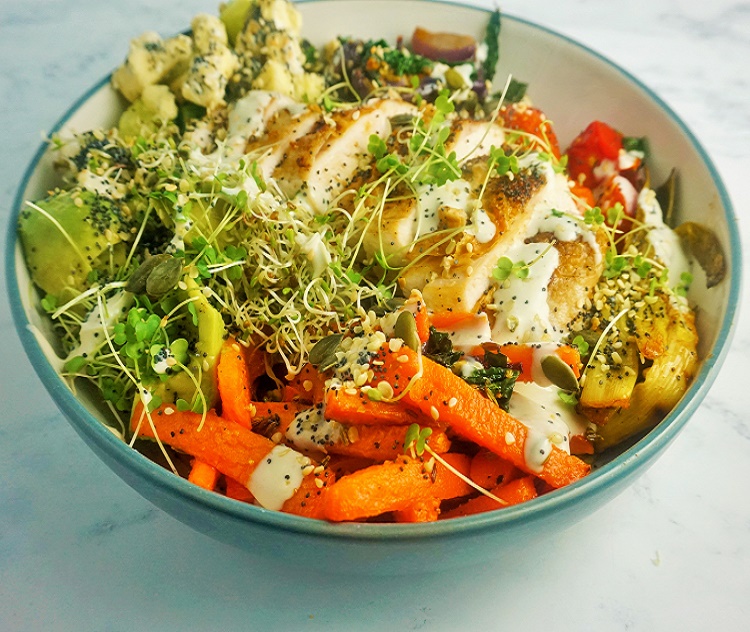
A handful of microgreens will improve almost any salad or sandwich, adding flavour and visual interest.
But while microgreens are good as a garnish, I think they’re even better in generous amounts. And especially if you can get a good mix of tastes and colours.

When I’ve lots (and growing microgreens does get quite addictive) I just scatter over pretty much everything, raw or cooked. I’ve even been known to add them to green smoothies.
GROWING YOUR OWN
Just like cooking from scratch, I think growing a few veggies (even at this small scale) gives you an extra special connection to the food you eat.
Maybe it’s that lack of meaningful connection that’s the source of so many problems we see today. Food-related health issues. Food waste. Environmental degradation and climate change. Children not knowing where real food comes from.
In a tiny way, isn’t growing these little plants on your kitchen windowsill a little push against all that? And if you can teach a child to grow and eat them, even better.