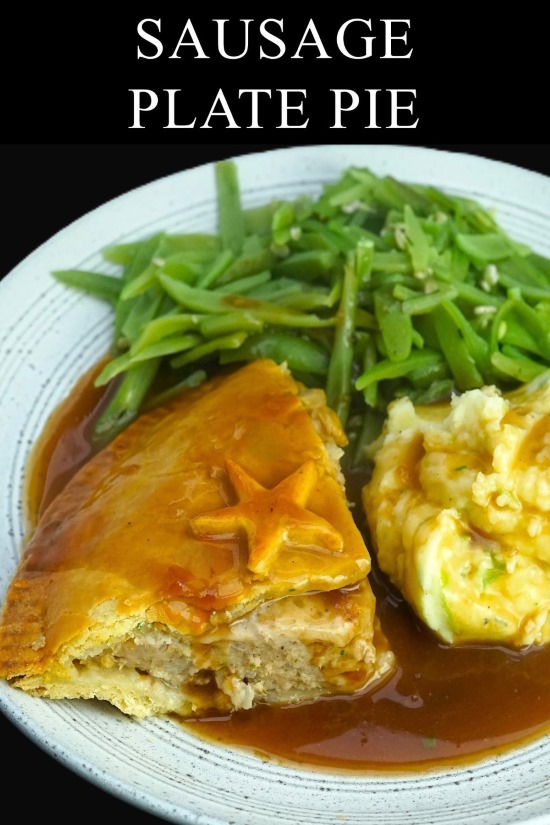
Minced Beef and Onion Pie
Minced Beef and Onion Pie is classic comfort food. But with everyday ingredients it’s so easy to make too. Onions, a clove of garlic and minced beef are browned in a little olive oil and butter then simmered in beef stock. Topped with a simple shortcrust pastry, the pie will take just 25-30 minutes in the oven to get bubbly and golden brown.

Serve with creamy mash and buttered vegetables for a knockout, satisfying dinner that everyone will love. For any easy dinner, make in advance and reheat.

Jump to Recipe
It was no good. I tried not to but, in the end, I just had to.
This week I switched on the central heating for the first time since last Winter. Yes: Autumn is here. So, my food desires are naturally turning to warming and comforting soups, hearty hot puddings, and satisfying, meaty pies.

And one of the simplest but oh-so-good pies I know is Minced Beef and Onion Pie.
MINCED BEEF & ONION PIE
I like my Minced Beef & Onion Pie to be just that. So you won’t find extras in the filling like mushrooms, carrots, or potato here. My version is simply minced beef (and not too lean, because fat equals flavour and rich texture), onions, plus a teeny bit of garlic, cooked in well-flavoured beef stock.
On top is crisp, homemade shortcrust pastry that’s also a breeze to make. It’ll just take a few minutes by hand or seconds in a food processor.

Some people may quibble that a pie isn’t a pie without a crust on the bottom as well as the top. But I want heaps of mashed potato with my pie and there’s only so much carb even I can eat in one sitting! You could add a pastry bottom too if you like. Double the amount of pastry then add about another third to allow for the depth of your baking dish.
The pastry will need to chill before rolling out. So get that made first, pop it in the fridge, then start the filling.
You’ll find the detailed recipe and instructions at the end of this post. If you’re ready to cook now: Jump to Recipe. Following is a brief outline for beginners.
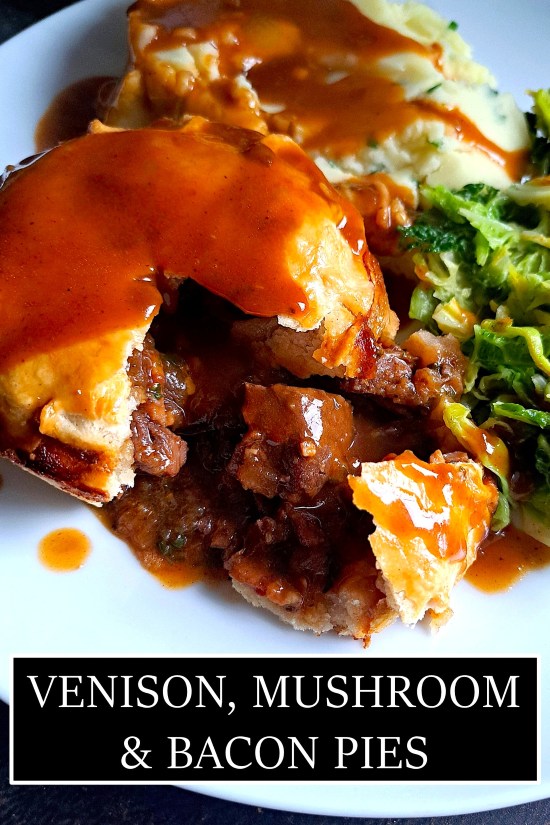
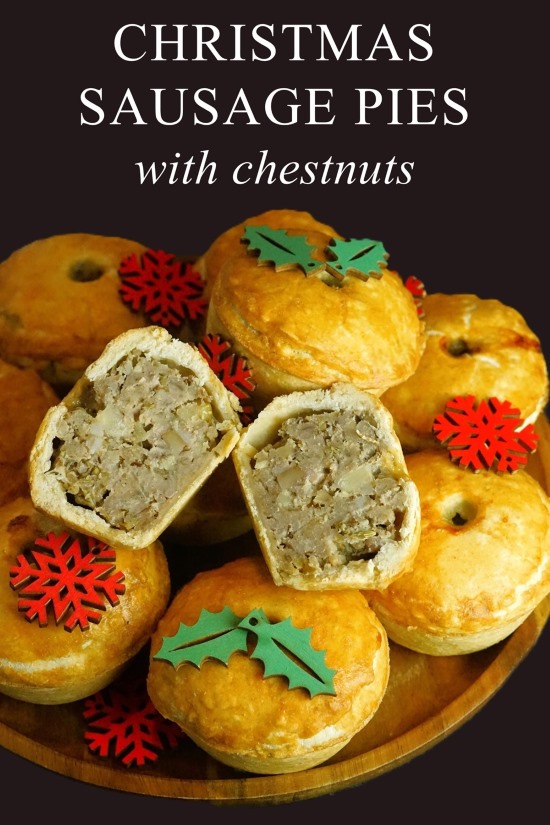
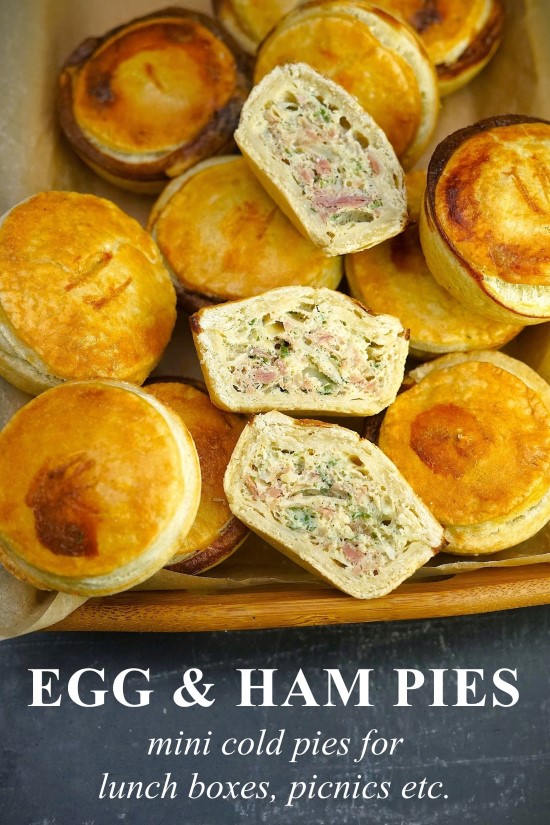
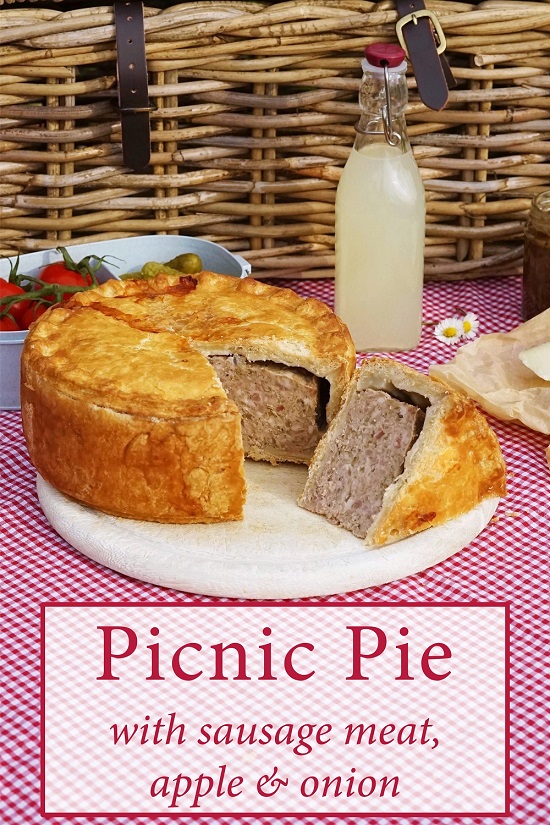
LOOKING FOR DOUBLE-CRUSTED PIES? TRY THESE:
AS EASY AS PIE
For the pie filling, I start by softening and browning chopped onion and garlic in a frying pan. This is followed by the beef. Next, a tablespoon of flour is stirred in. This will thicken your gravy.
To get the best flavoured Minced Beef & Onion Pie, make sure you use strong beef stock. If using cubes, I recommend 3 dissolved in 500 ml of water.
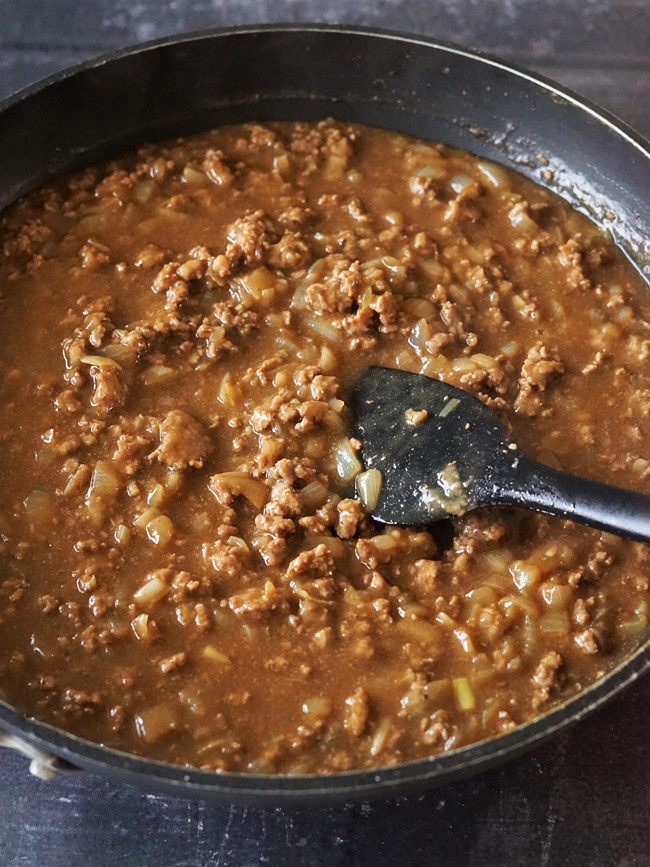
Don’t add all the stock at once though. I start with around 250 ml and make sure this is well combined with the meat, onions and flour first. Then I add another 150 ml and let everything bubble and simmer to thicken.
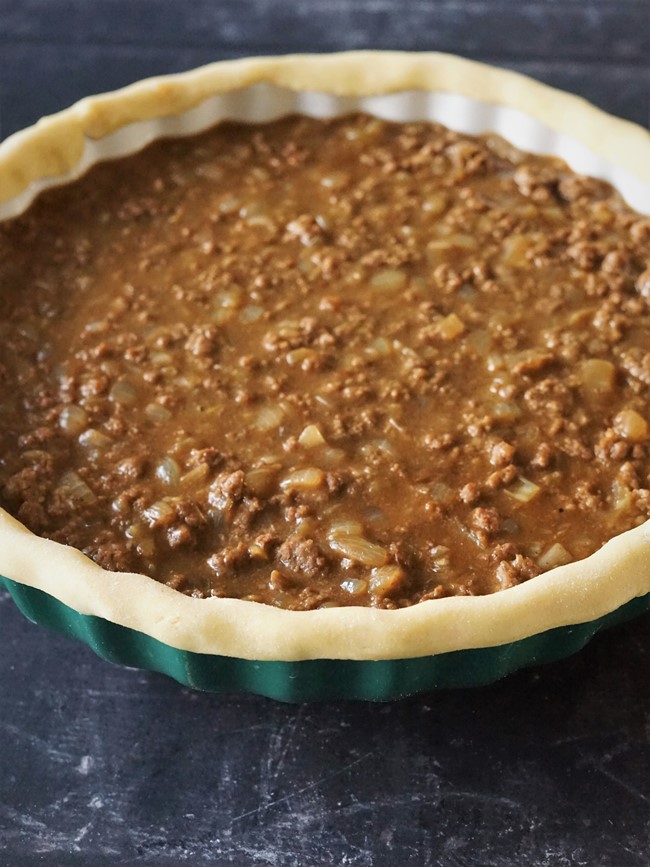
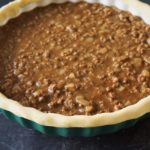
Whether you use the remaining stock is up to you. But, if you’re going to bake the pie in advance and reheat later, I recommend you keep the filling quite loose.
This is because, on reheating, more of the liquid is likely to evaporate and we don’t want a dry pie filling. I knew I’d be reheating this pie so, as you can see in the image above, I kept it quite wet.
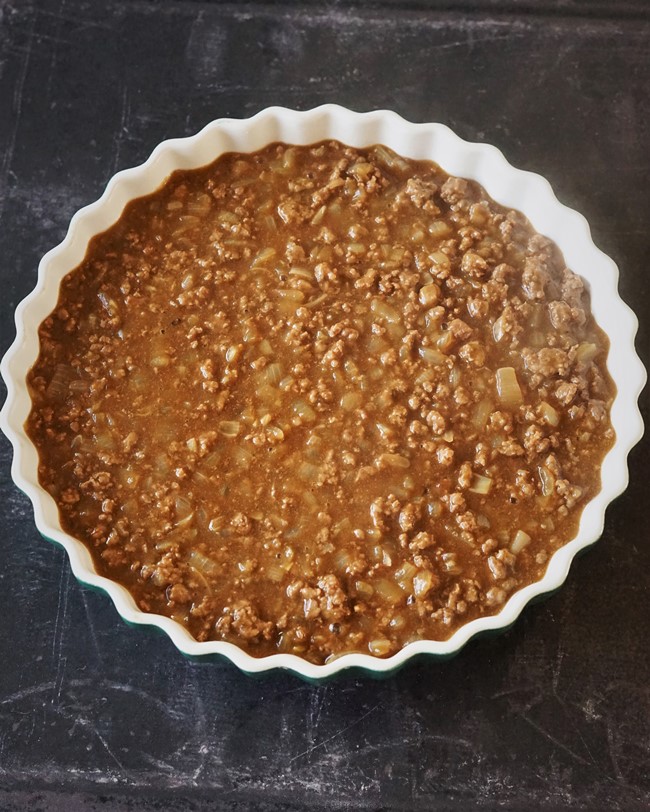
For my pie, I use a ceramic flan dish which is 24 cm in diameter. But anything similar 20-24 cm should be fine. Don’t use a dish that’s deep though, or there’ll be too big a gap between the filling and pastry lid.
PASTRY LID
The filling will need to cool a little, so just leave it in the dish while you take the pastry from the fridge and roll it out.
One of the reasons I like to make my Minced Beef & Onion Pie in this particular dish is that I have some large dinner plates which just happen to be almost exactly the same diameter. This means I can use one as a template, cutting around it to get a perfect circle.
When I’m making a pie without a bottom, I like to edge the dish with scraps of pastry. This gives a good seal and helps the lid stay in place.
So, I roll out the pastry about 1.5 cm bigger than I need. After cutting around my plate template, I can use the leftover scraps as the edging. If I think I have not quite enough scraps, then I just roll them a little thinner.
Before placing the scraps, I wet the edges of the dish with water to help them stick.
To get the pastry lid to stick to the scraps, I first brush on a little of the egg yolk and water mix that will be used to glaze the pie.
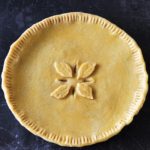
Press down firmly all the way around so that there’s no gaps between the pastry lid and the edging, pinching them together. Pressing the tines of a fork around the edge will help the seal as well as give a pleasing pattern.
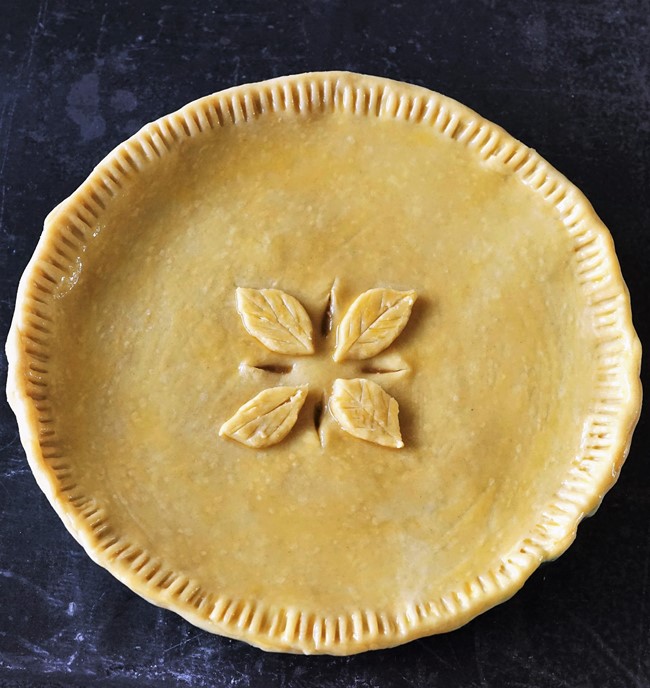
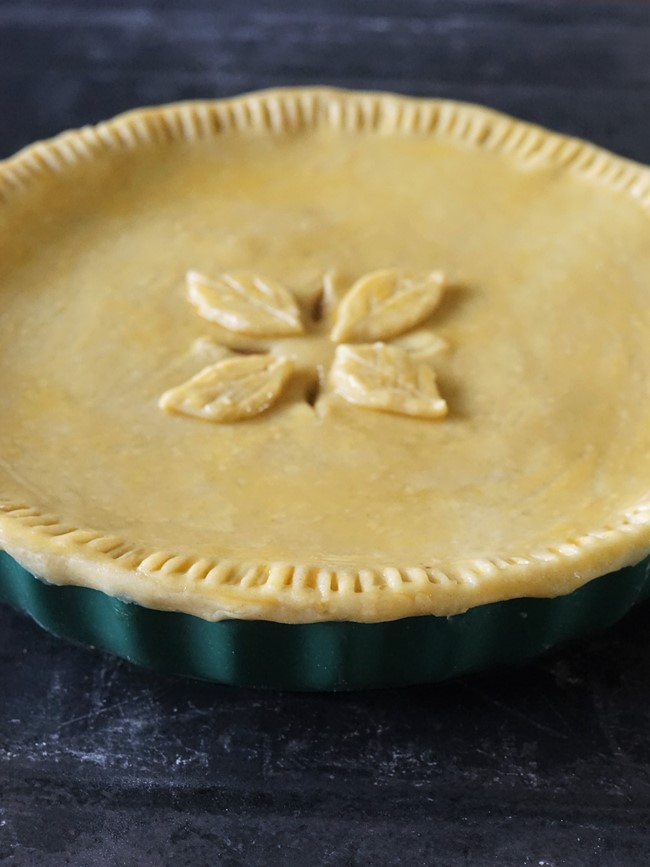
If you’ve any pastry scraps left over, I think it’s worth cutting them into shapes and sticking them on top with a little of the egg yolk. To finish, brush the glaze all over the pie lid and make four slashes so the steam can escape during baking.
BAKING THE PIE
To make it easier to transfer the pie in and out of the oven, I place the dish on a baking tray.
Minced Beef & Onion Pie will take just 25-30 minutes to get golden and bubbling.

I bake it at 200 C / 180 C Fan / Gas 6. If reheating later from cold, then do so at 180 C / 160 C Fan / Gas 4.
SERVING A BRITISH CLASSIC
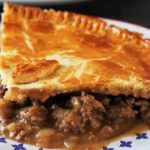
Before cutting into the pie, I recommend going around with a knife to cut off any overhanging edges.
To serve a neat portion, I cut out a quarter of the lid and temporarily set aside. I then scoop out a quarter of the filling and put on a plate. The lid can then be popped on top.
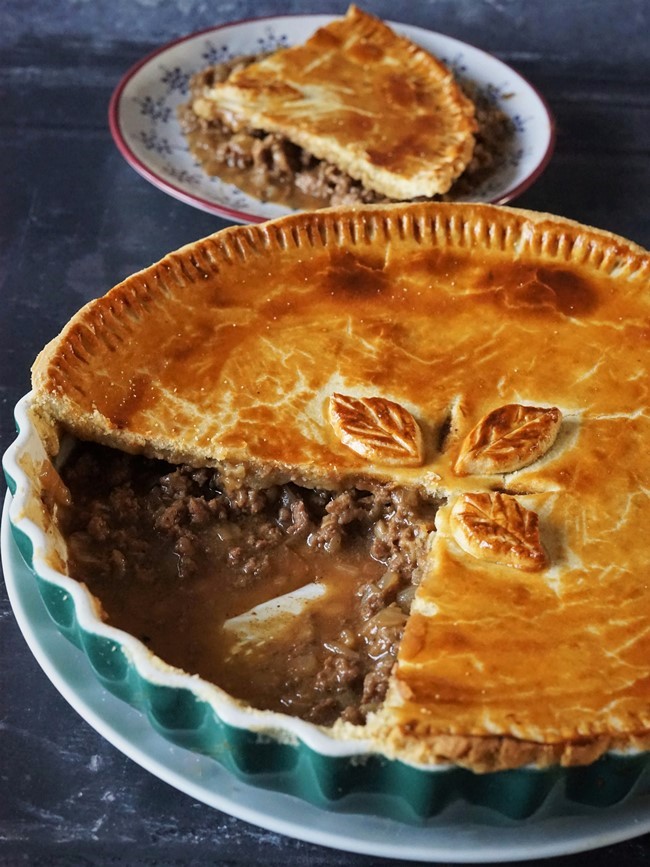
For me, the rich meat and gravy plus crispy pastry is crying out to be served with soft and creamy mashed potatoes. Here, I sauteed in butter a big, chopped leek, then mashed it into the potatoes with a little cream.
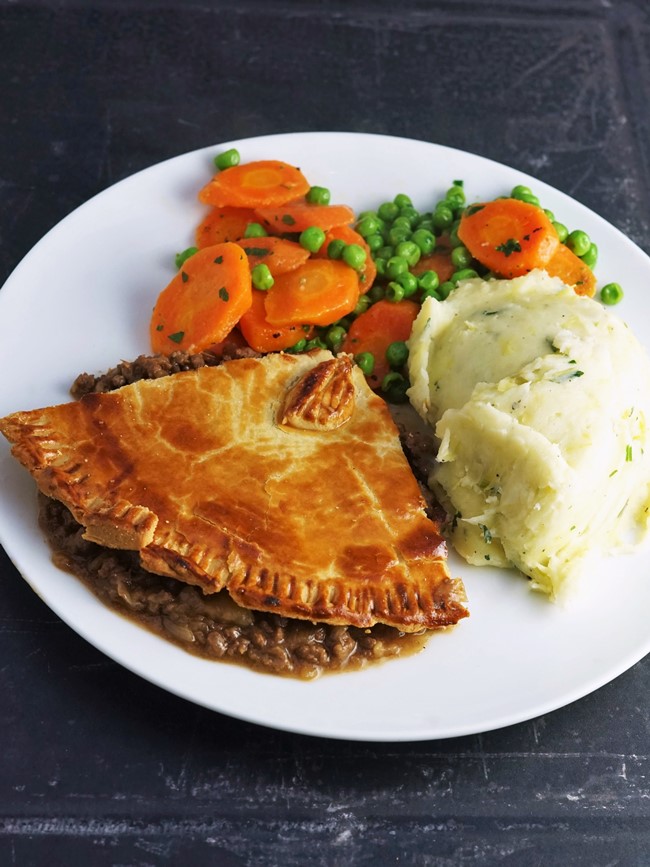
The only other thing the plate needs is fresh veggies. Continuing the simple theme, here I went for boiled sliced carrots and frozen peas finished with a little chopped parsley.
This is classic British comfort food. Unfussy, made with widely available ingredients and (most important) utterly delicious, it’s exactly what I want to be eating in the coming months.
If you’ve made this recipe, I’d love to know what you thought. Please do leave a comment and rating.

Minced Beef and Onion Pie
Classic yet easy comfort food, this traditional shortcrust pastry topped pie is sure to please everyone.
Serve with creamy mashed potatoes and buttered vegetables.
Ingredients
For the shortcrust pastry
- 250 g plain flour
- 1 large pinch salt
- 125 g cold butter roughly chopped
- 2-4 tbsp iced water
- 1 egg yolk beaten with a splash of water or milk for the glaze
For the minced beef filling
- 30 g butter
- 1 tsp olive oil
- 3 medium onions (approx 400g in total) roughly chopped
- 1 clove garlic finely chopped
- salt and pepper
- 450-500 g minced beef at least 10% fat recommended
- 1 rounded tbsp plain flour (approx 25g)
- 500 ml well flavoured beef stock if using stock cubes, use 3
Instructions
Make the shortcrust pastry
-
If using a food processor
Put the flour, salt and butter into the food processor and whizz until the mixture looks like fine breadcrumbs.
With the motor still running add cold water, 1 tbsp at a time, until the mixture starts coming together.
If making by hand
Stir the flour and salt together in a bowl. Rub in the butter so that the mixture resembles fine breadcrumbs.
Add 1 tbsp of cold water and stir it in with a round bladed knife. Continue adding tablespoons of water and stirring until the mixture starts coming together.
-
Turn out onto a lightly floured surface and very briefly knead just until you have a smooth ball of dough.
Flatten slightly then wrap in cling film or foil and chill in the fridge for at least 30 minutes.
Make the minced beef filling
-
Put the butter and olive oil in a large frying pan over medium heat.
When hot, stir in the chopped onion and garlic plus a little salt and pepper.
Gently cook until the onion is softening and starting to brown (12-15 min).
-
Add the minced beef to the pan, seasoning with a little more salt and pepper, stirring and breaking up any lumps.
Cook until browned (5 min).
-
Sprinkle the tablespoon of flour over the mixture then stir in and cook for 1 minute.
Pour in 250 ml of the stock and stir to combine it with the other ingredients. When bubbling, stir in a further 150ml of stock.
Leave to simmer and thicken, stirring occasionally, adding a little more stock if you think it needs it (10 min).
Tip: if you're baking the pie in advance and reheating later then make the filling a little looser with the extra stock so that it doesn't dry out when reheated.
Check the seasoning, adding more salt and/or pepper if needed.
-
Tip the mixture into a round baking dish or tin 22-24 cm in diameter and leave to cool a little.
Tip: you can roll out the pastry while this is happening.
Preheat your oven to 200C / 180C Fan / Gas 6 with a shelf positioned in the middle.
Build the pie
-
On a lightly floured surface, roll out the pastry into a rough circle approximately 1.5 cm larger than your baking dish or tin.
Cut out a circle the same size as the dish or tin (I use a large dinner plate as a template) and set it aside.
Wet the edge of the dish or tin with water and cover it with the pastry scraps (if necessary, roll the scraps a bit thinner so you have enough). Use some of the scraps to make 4 decorative leaves.
-
Brush a little of the egg yolk on the pastry edging then carefully lay the circle of pastry on the top.
Press down all the way around, pinching the dough so the edging and the circle stick together.
Use the tines of a fork to make a pattern all the way around which will also help to seal the pastry.
Place the leaves in the centre of the pie, then use a knife to cut four slashes to let out steam.
Brush the remaining egg yolk all over the pastry top.
-
Place the pie on a baking tray (this makes it easier to transfer when hot) and put into the preheated oven.
Cook until the pastry is golden and firm and the filling is bubbling hot (25-30 min).
-
Cut the pie into four and serve with mashed potatoes and vegetables.
Tip: before cutting into the pie, go around the outside edge with a knife to remove any excess pastry hanging over the edge.
Leftovers can be stored for 2 days and reheated in the oven at 180 C / 160 C Fan / Gas 4.
RELATED RECIPES


Hi Would be ok to use this recipe to make individual pies
Hi Paul, yes I see no reason why you couldn’t make it into individual pies. I suspect the cooking time would be the same as for the large pie to ensure the pastry is cooked through.
Pie came out looking really ģood. Will use this recipe again. Having it for rea with new potatoes and mushy peas. Would of sent a photo but there’s no option.
So glad you enjoyed it, Lorraine!
Hi I tried your recipe for the Beef & Onion pie today. So please how it turned out and so tasty no extra bits and pieces, and straightforward. So much better than the shop bought pies and the pastry was so light. Looking forward to trying the Ham Chicken & Leek pasties Next😊
Thanks for the great comments, glad you enjoyed it!
Hello. This recipe looks so good!!! Can you possibly tell me the changes I need to make this in the USA??? ALSO, What changes would I need to make to make hand pies???
We had some delicious minced beef & onion hand pies in Wales, but I don’t have their recipe. This LOOKS like the same thing. I would LOVE to make hand pies at home.
Any advice would be so greatly appreciated. ♡♡♡
Hi! thanks for your interest in my Minced Beef and Onion Pie recipe. If you mean the ingredients in US measurements, I’ve no way of quickly converting them I’m afraid. Scales with a grams function will always be more accurate, but otherwise do a search for a cooking conversion website of which there are many.
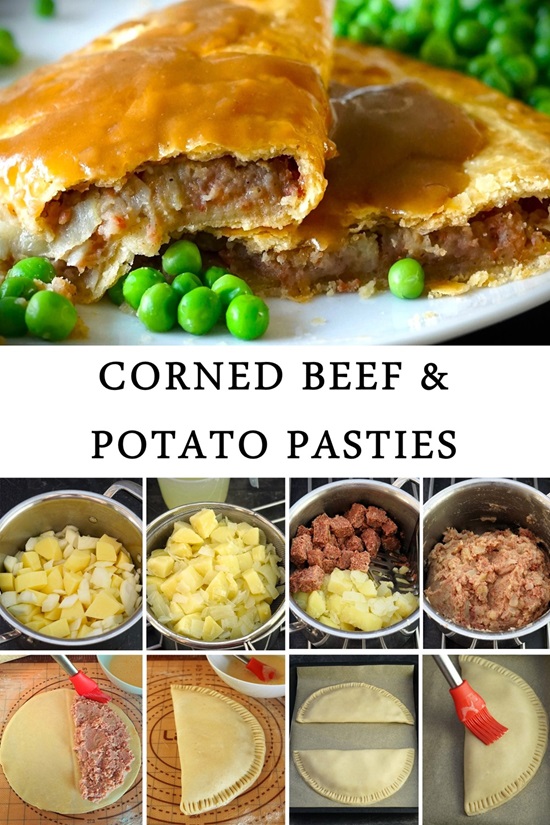
I think what you call hand pies, we would call a pasty. To make the minced beef and onion filling suitable for a pasty, I would reduce the liquid and add a little more flour so you have a thicker gravy: a thin gravy would run out of the pasties. To shape and bake the pasties, you could follow the instructions in my recipe for Chicken Ham & Leek Pasties: https://moorlandseater.com/chicken-ham-and-leek-pasties/
Hope this helps!