Pea & Mint Baked Falafel
Pea & Mint Baked Falafel make a great change from regular chickpea-only falafel.
Replacing half the chickpeas with frozen peas gives a slightly sweeter edge. Mint leaves bring freshness that lifts the coriander and cumin spices.
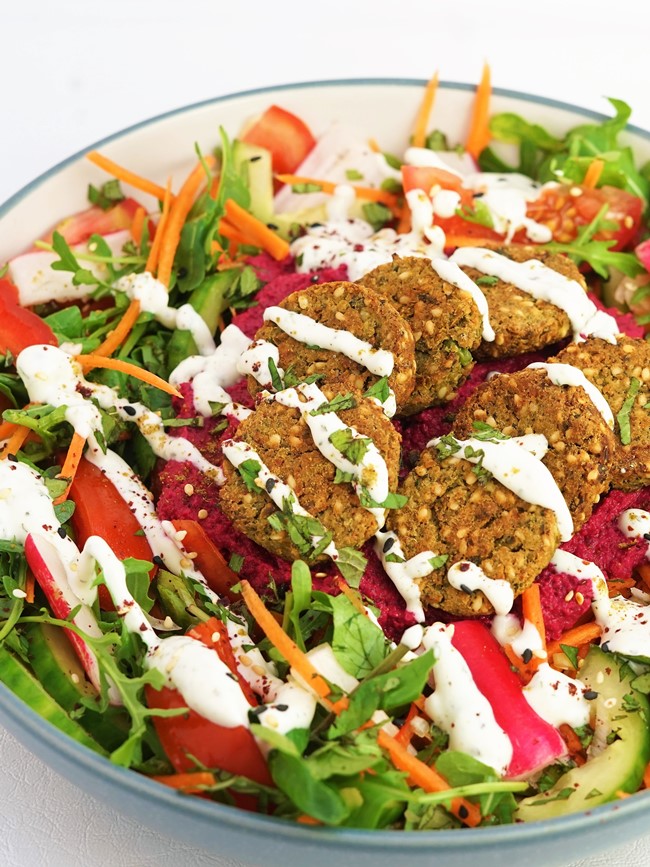
Brushing with oil and baking instead of deep frying makes it even easier to enjoy these great tasting, crispy falafel.
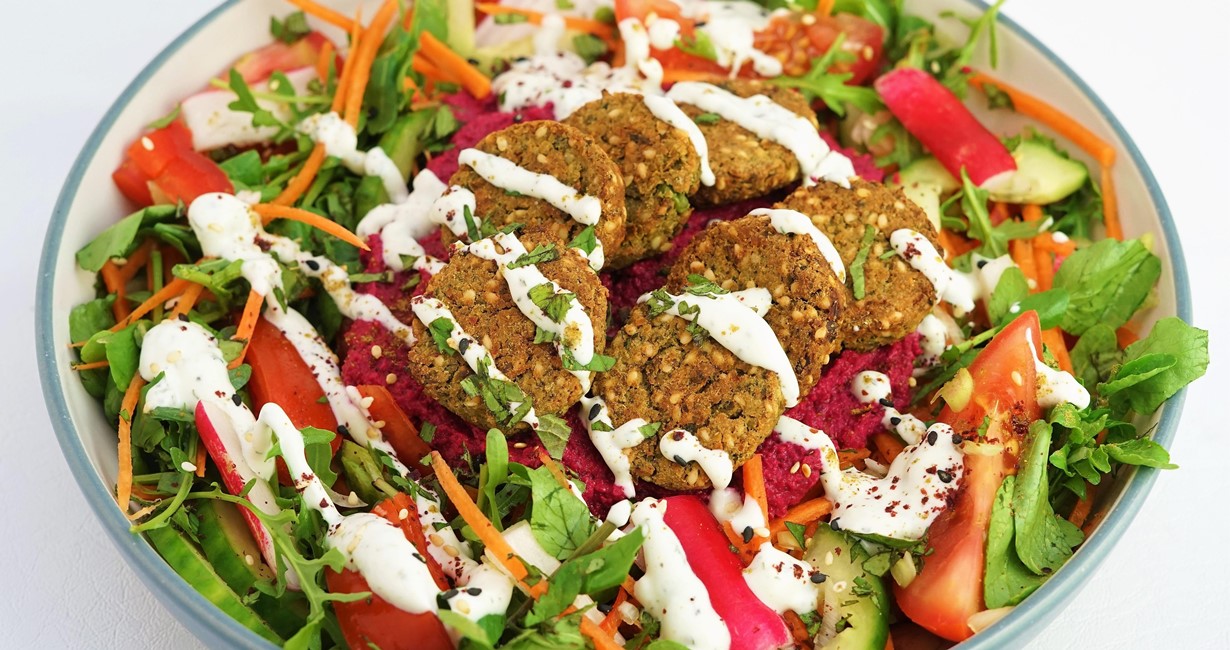
Eat in a wrap with salad or, my favourite, as part of a salad bowl with beetroot hummus and a garlicky mint yogurt.
Jump to Recipe
FALAFEL
How long is it since falafel started to appear everywhere?
Old codger that I am, I’ve been making these little Middle Eastern patties since the early nineties. Back then, they were still something of a niche food in Britain.
Now, falafel are commonplace: both the classic chickpea version and ones made with anything from lentils and quinoa, beetroot, or sweet potato.
But, in my view, there’s nothing wrong with switching things up a bit. In any case, in Egypt, where falafel are thought to originate, they were traditionally made with dried fava beans with no chickpeas at all.
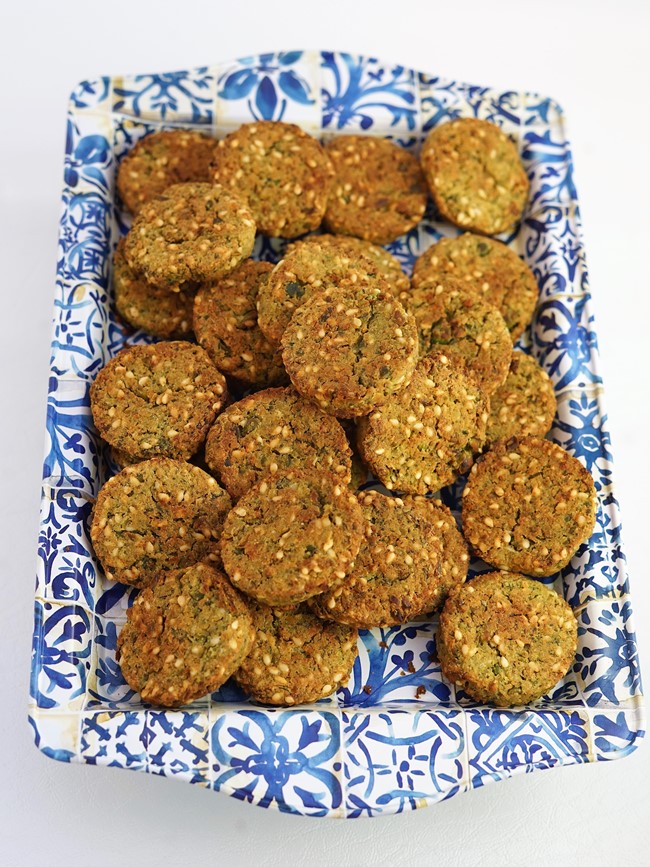
So, stretching a point, I’m still happy to call these lovely half chickpea-half green pea patties ‘falafel’!
CRISPY BAKED FALAFEL
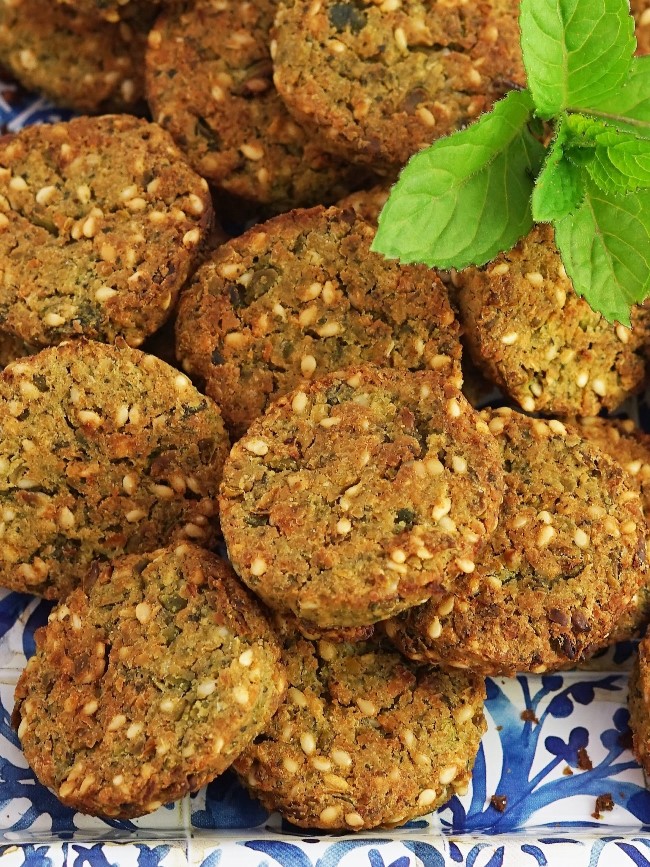
First off, I should say that I like a crispy rather than a soft falafel. And that’s what you’ll get if you follow the recipe at the end of this post. I just think a dryish texture goes much better with the sauces and dips that I like to eat with falafel.
To achieve crispiness without the faff of deep-frying, I use a fool proof baking method. I developed this when I created my all-chickpea Baked Falafel.
All you do, after shaping the patties, is put them on a greased baking tray and brush with oil.
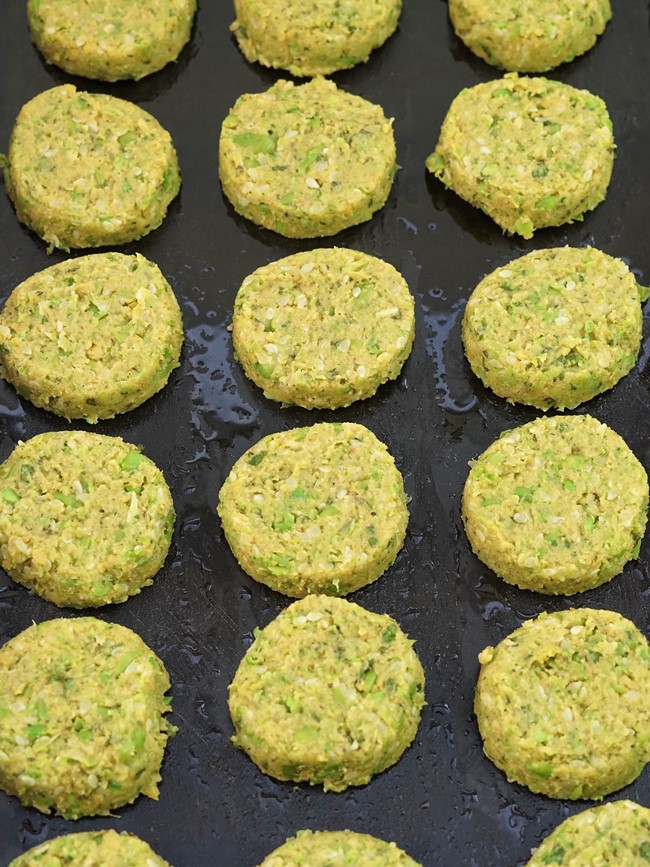
Turn them over halfway through baking and you’ll have evenly browned, crispy falafel. Easy!
Oh, and the other advantage of baking rather than frying is that you can use tinned chickpeas. On the odd occasion I do deep fry falafel, I always use uncooked chickpeas that I’ve soaked overnight. The reason is that cooked/tinned chickpeas are just too soft and wet to deep fry unless you add lots of flour (which ruins the taste and texture).
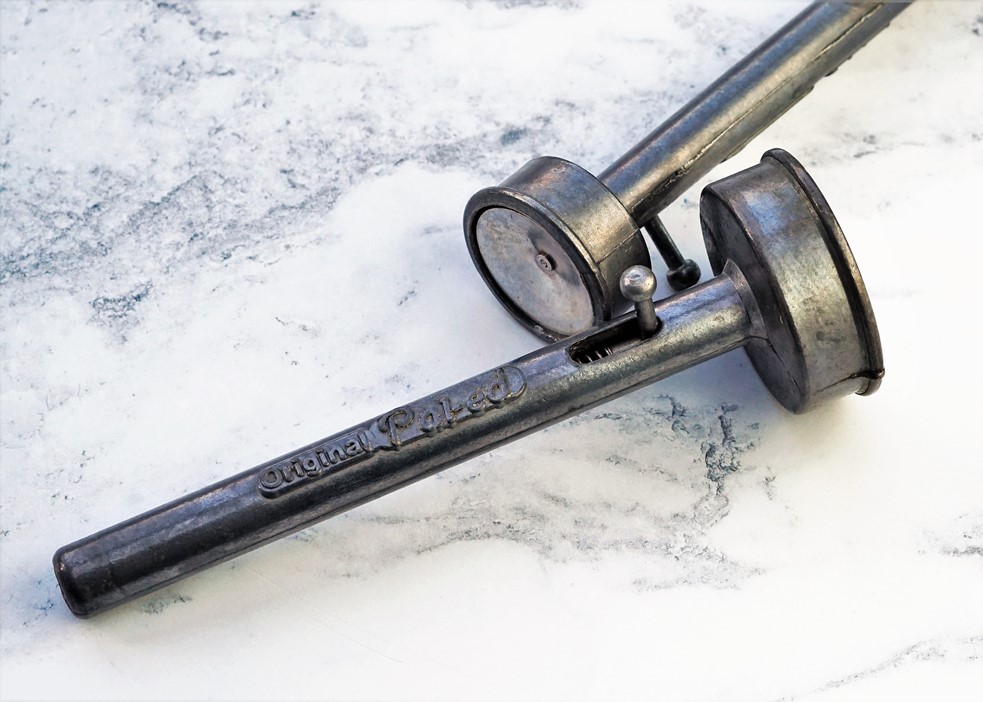
If you’re going to make falafel even occasionally, I highly recommend getting one or more falafel scoops. They’re inexpensive and make shaping the falafel so much quicker and easier.
For small, crunchy falafel, I use my scoop that’s four centimetres in diameter and about a centimetre deep.
If you don’t have a falafel scoop (yet!), take a scant tablespoon of the mixture, shape it into a ball, then flatten into a patty.
PEA & MINT BAKED FALAFEL
Besides chickpeas, green peas (I use frozen ones, quickly defrosted by pouring over boiling water from a kettle), fresh mint and the olive oil already mentioned, for my Pea & Mint Baked Falafel you’ll also need:
- a small onion
- garlic
- ground cumin and coriander
- flour to bind: chickpea/gram flour ideally, but use what you have
- sesame seeds for extra crunch
- salt and black pepper
- a little baking powder
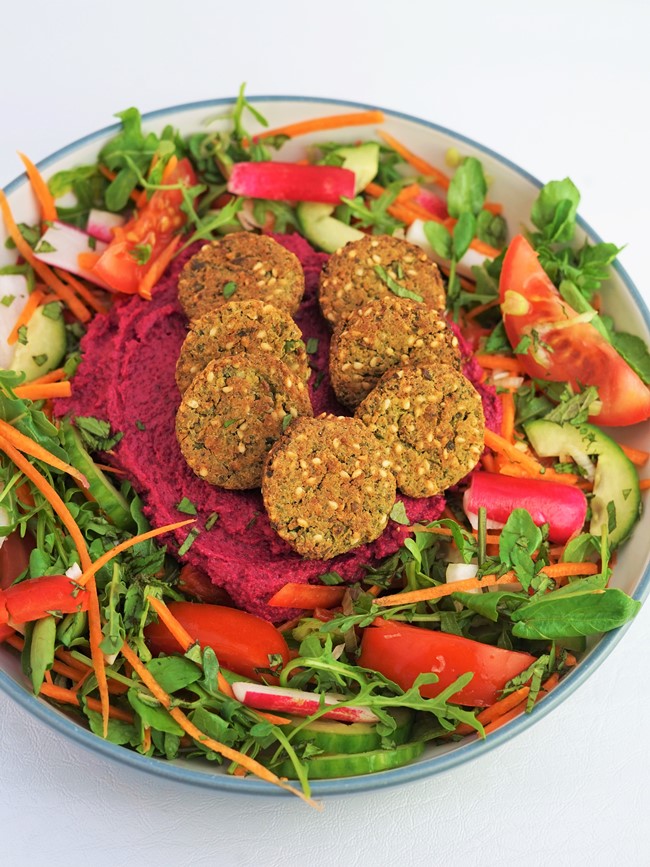
The ingredients are simply whizzed together in a food processor before shaping into falafel as described above.
Twenty to thirty minutes in the oven and your Pea & Mint Baked Falafel are ready.

SERVING
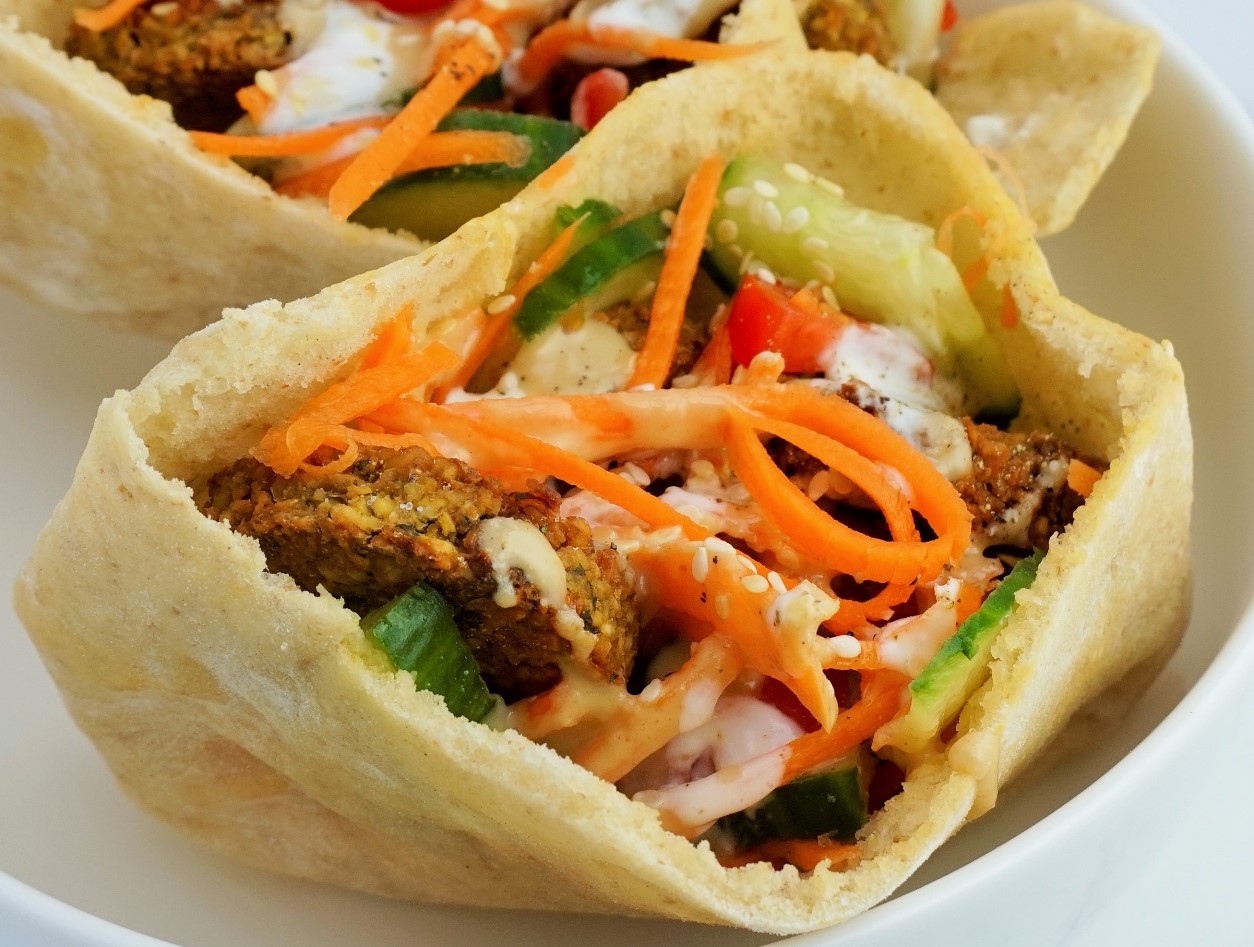
By all means, stuff your crispy, moreish falafel in a pitta bread (easy homemade ones via the link) if that’s what you like.
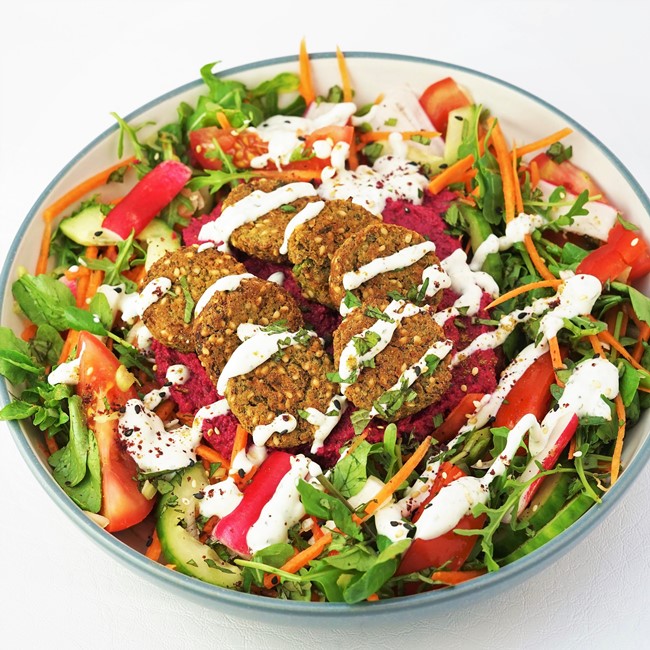
Me, I love a falafel bowl with loads of different veggies plus one or two sauces or dips.
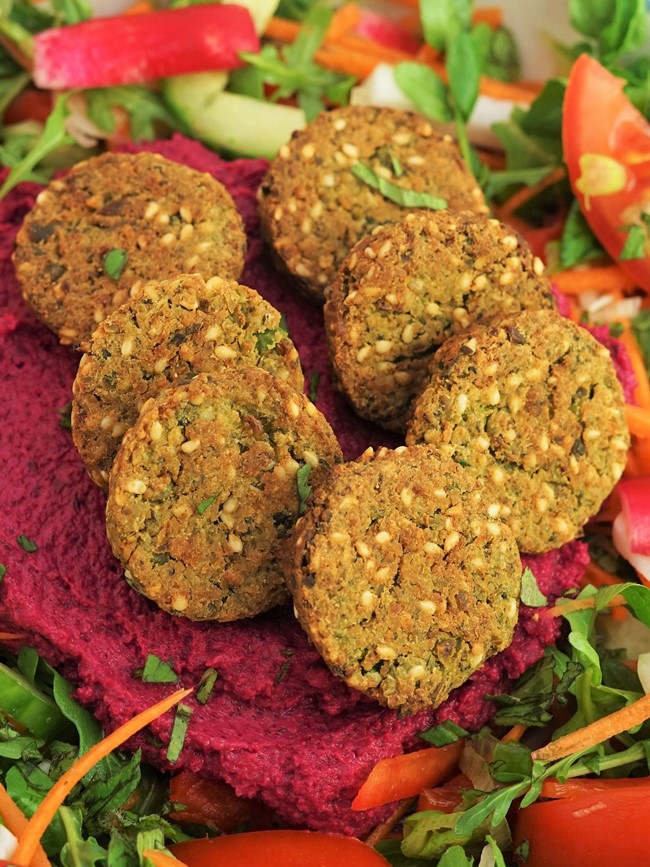
Here, I sat them on some of my lovely earthy Roasted Beetroot Hummus. I think these go particularly well together as, both falafel and hummus not being entirely made of chickpeas, you don’t get the chickpea overload from the classic falafel and hummus combo.
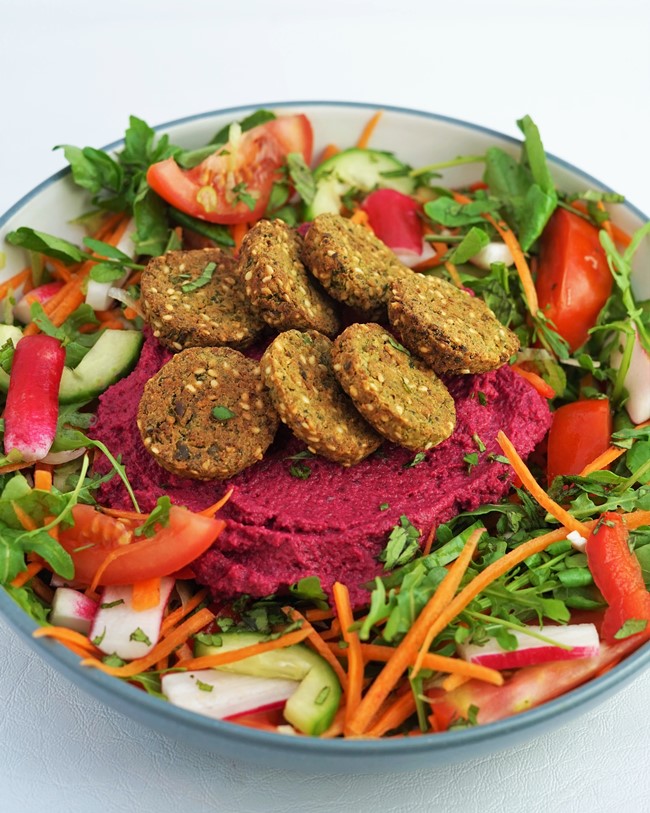
For even more flavour, and to accentuate the mint element, I added a garlicky and minty yogurt drizzle.
To finish, I sprinkled over my Za’atar Spice Blend and more chopped mint.
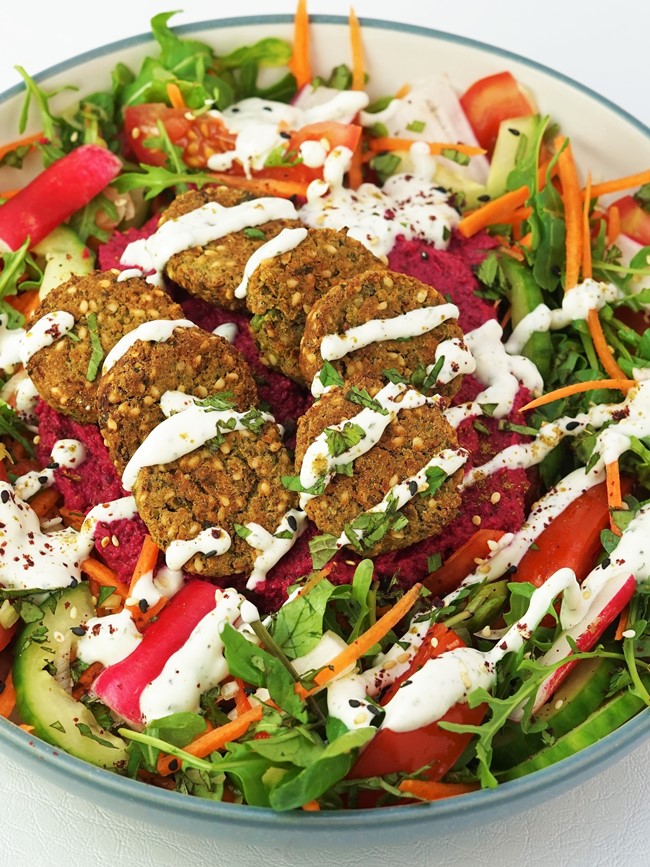
If you want an earthy, sesame and lemon dressing, try my Tahini Dressing.
Or how about a combination of tahini and yogurt? My Herbed Tahini Yogurt, flavoured with mint, is great with these falafel too.

If you want chilli heat as well, combine a tahini or yogurt dressing with my spicy roasted pepper Harissa Dressing.
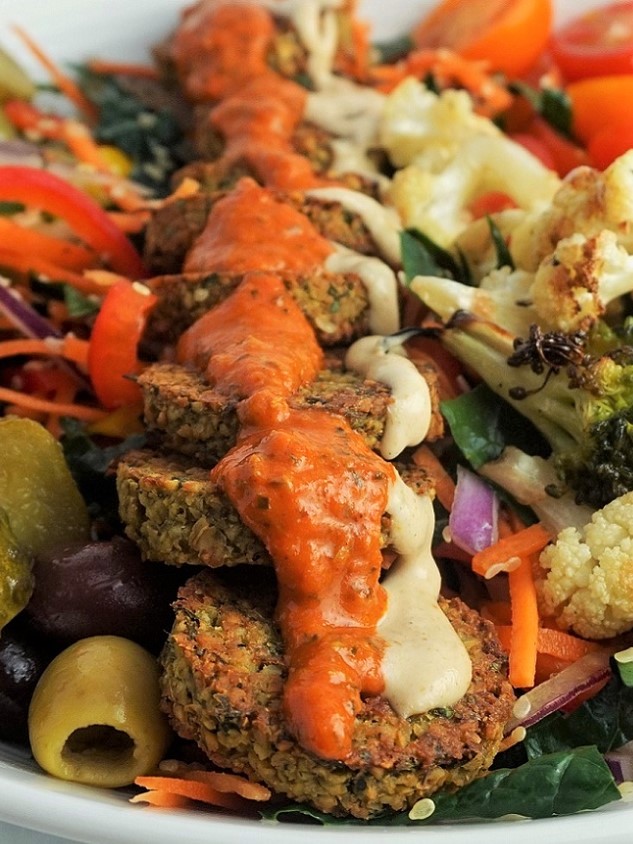
However you eat them, and with whatever sauces, dressings and dips, I think you’ll love the Pea & Mint Baked Falafel.
Tasty, easy and nutritious!
Have you made this recipe?
Leave a comment below and don’t forget to rate it.

Pea & Mint Baked Falafel
A great change from the classic chickpea-only version, these easy, crispy baked falafel are made with equal amounts of peas and chickpeas plus refreshing mint.
Ingredients
- 180 g frozen peas
- 180 g tinned chickpeas drained and dried on kitchen towel
- 1 small onion skinned, roughly chopped
- 2 cloves garlic skinned, roughly chopped
- 2 large handfuls fresh mint leaves
- 3 tsp ground cumin
- 1 tsp ground coriander
- 50 g gram/chickpea flour any other flour can be substituted
- 50 g sesame seeds
- ½ tsp baking powder
- ½ tsp black pepper
- ½ tsp salt
- 2 tbsp olive oil
For the garlic-mint yogurt
- 1 clove garlic skinned
- 1 large pinch salt
- 200 g plain yogurt
- 2 tbsp mint leaves finely chopped
- ½ tsp ground cumin
- ½ tsp ground sumac optional
- ¼ tsp black pepper
Garnishes (optional: as many or as few as you like)
- chopped mint leaves
- za'atar spice blend
- ground sumac
- ground cumin
- toasted sesame seeds
Instructions
-
Preheat the oven to 200 C / 180 C Fan / Gas 6.
Lightly oil two shallow baking trays.
-
Put the frozen peas in a sieve or colander and pour over boiling water from a kettle to defrost.
Set aside on kitchen paper to drain.
-
Put the chickpeas in a food processor and process for a few seconds to start breaking them down.
Add the onion and garlic and process again until you have a grainy mixture, scraping down the sides of the processor as necessary.
Add the peas and mint leaves then pulse until chopped and distributed through the chickpeas.
Add the ground spices, flour, sesame seeds, baking powder, black pepper and salt. Process again until the mixture is evenly combined, scraping down the sides as needed.
Recommended: to check the seasoning, take a heaped teaspoonful of the mixture, shape into a patty and fry in a little oil. Taste and adjust the seasoning of the remaining mixture if needed then proceed with the recipe.
Transfer the falafel mix to a bowl, pressing it down with a spoon so it's one mass.
Can be covered and refrigerated at this point for up to 24 hours if convenient. Otherwise proceed with the recipe.
-
Using either a 4cm diameter falafel scoop or wet hands, take approx 15g of the mixture and press it into a patty 1cm thick, making approx 36 small falafel.
Place the falafel onto the oiled baking trays as you make them.
Gently brush the tops of the falafel with olive oil.
-
Place the trays in the preheated oven and bake for 10 minutes.
After 10 minutes, turn over each falafel then return the trays to the oven.
Continue baking until done: approximately 10 minutes more for a softer middle, or another 20 minutes for falafel crispy all the way through.
Serve with salad and the Garlic-Mint Yogurt drizzled over (see Recipe Notes for more suggested dressings), plus a sprinkle of any of the optional garnishes.
Garlic-Mint Yogurt
-
Roughly chop the garlic then sprinkle with the salt.
Using the flat side of a knife, squash together the garlic and salt until you have smoothish paste.
Put the paste in a bowl or jug.
-
Add the yogurt to the garlic and whisk to thoroughly combine.
Stir in the chopped mint, spices and black pepper.
Taste and add more seasoning if needed.
Recipe Notes
Other sauces, dips and dressing that work well with falafel: Harissa Dressing, Roasted Beetroot Hummus, Tahini Dressing, Herbed Tahini Yogurt.
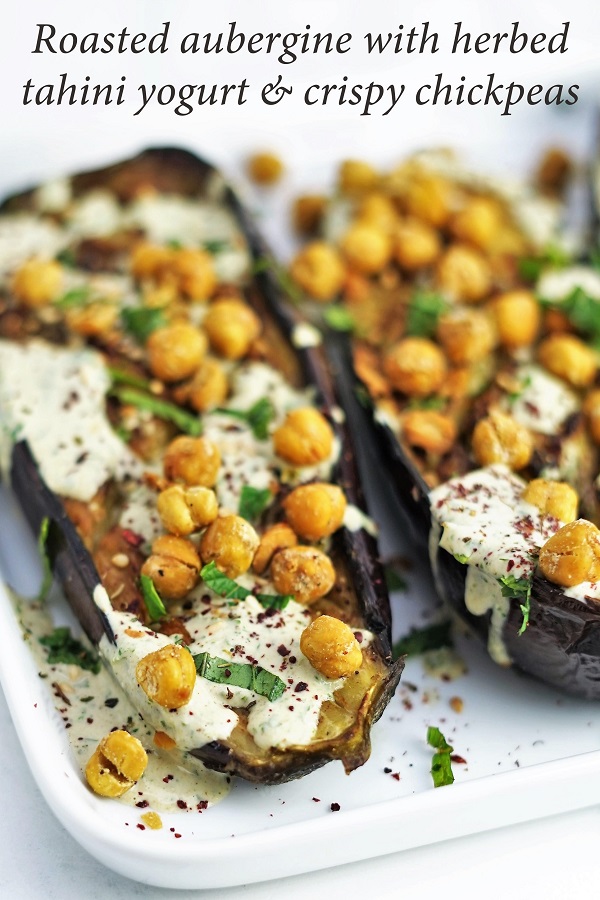
Enjoyed this recipe? Try Roasted Aubergine with Herbed Tahini Yogurt

These are glorious, recipe is easy to follow and they’re so so tasty. They will quickly become a staple in this house!!
Thank you Sarah! Glad you enjoyed the recipe 🙂