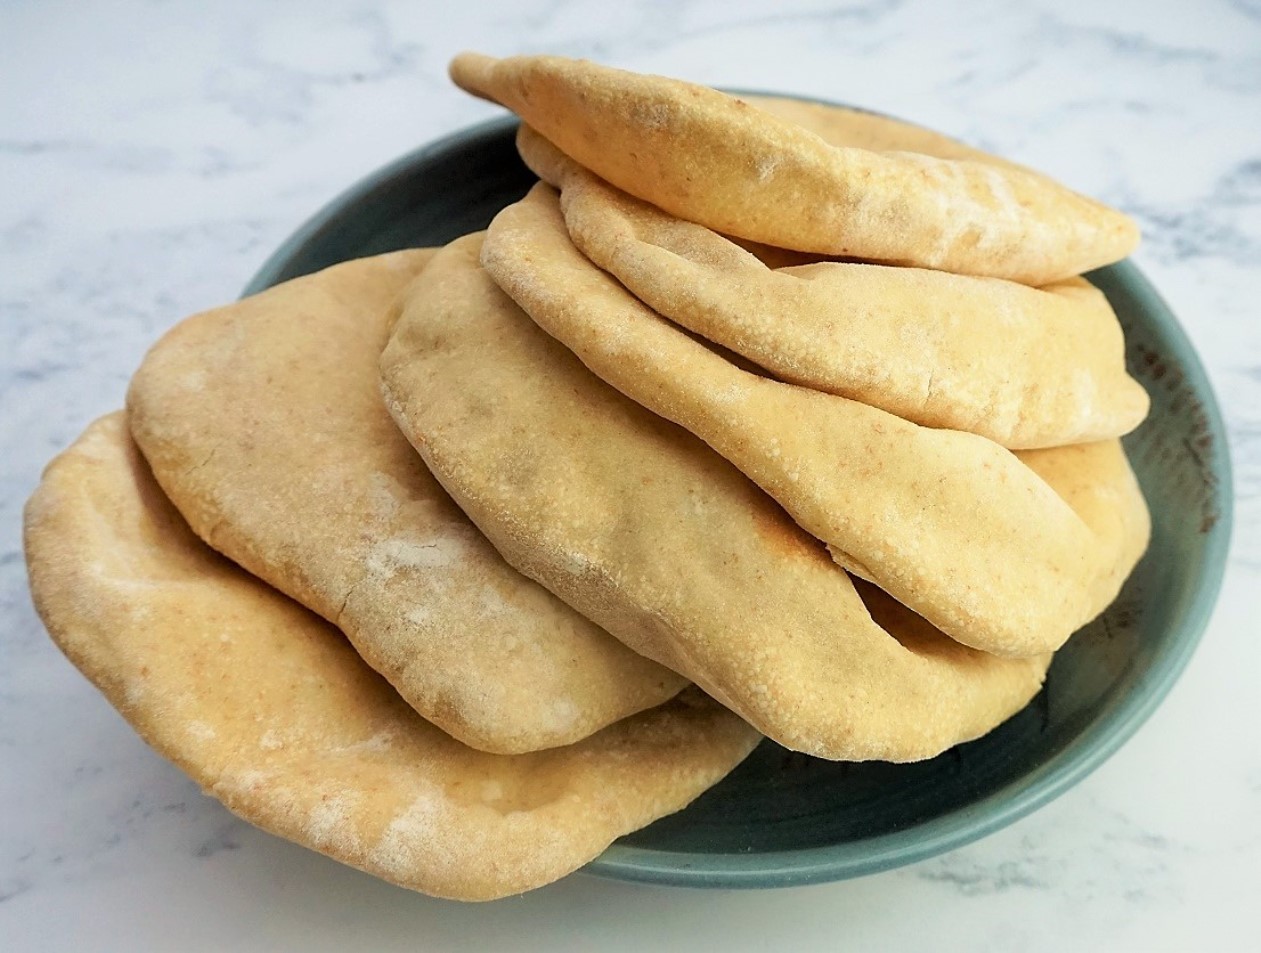
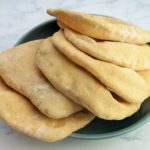
Pitta Bread
An easy recipe for homemade Pitta Bread that will give you soft, delicious pockets every time.
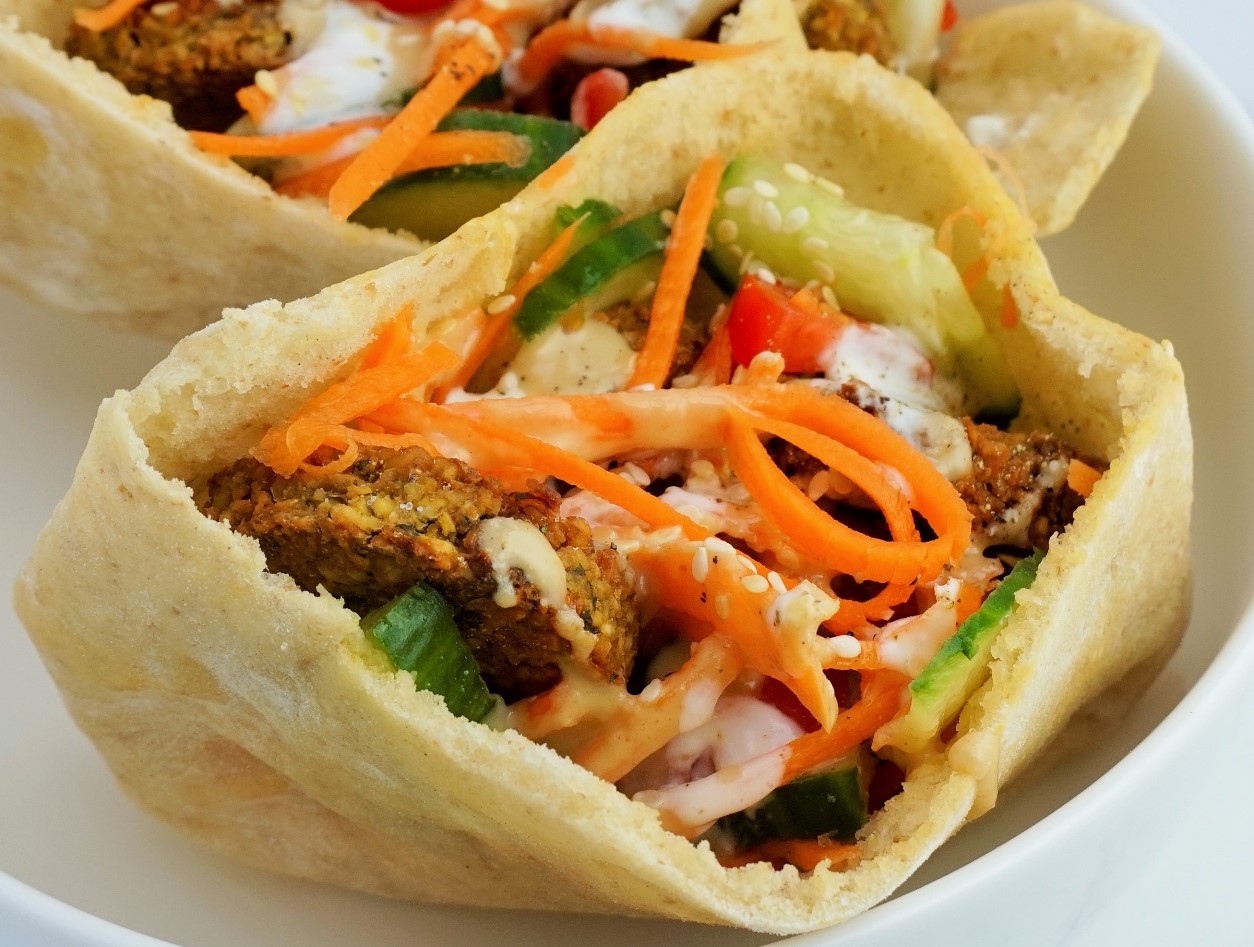
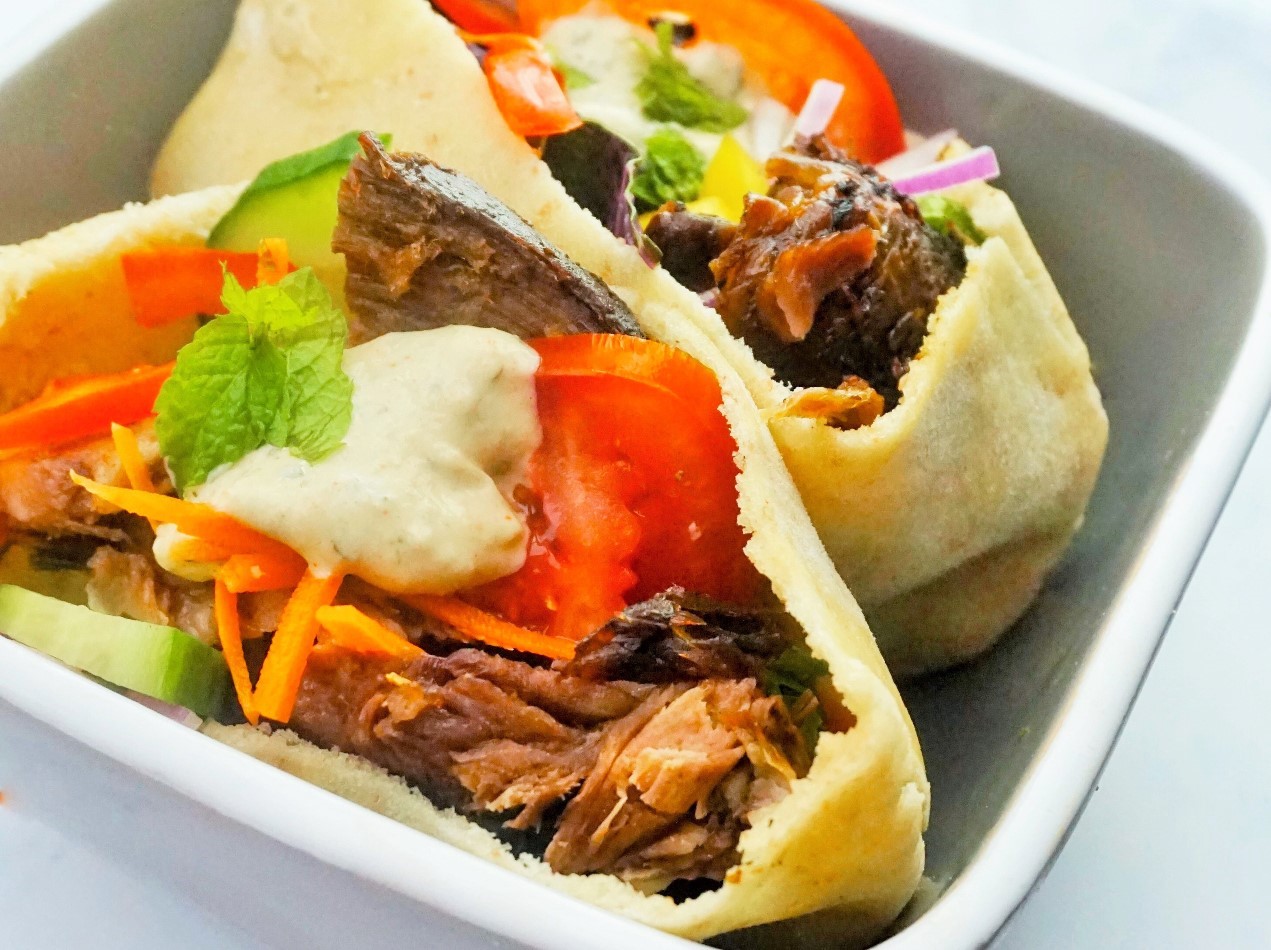
Fill with your choice of salad, falafel, meat, fish or vegetables or use to scoop up dips like hummus.
Jump to Recipe
HOMEMADE IS BEST
I’m a bit of a fanatic when it comes to bread. I think it should be a wonderful, simple, pleasure-giving food. But the mass-produced variety fails on the flavour and texture fronts as well as usually containing ingredients and additives needed for industrial manufacture but which shouldn’t be found in good, honest bread.
That’s why almost all the bread we eat in our house is homemade. I say ‘almost’ because one sticking point has been pitta bread which, until recently, I hadn’t been entirely successful with.
Although well-flavoured, my pitta bread often failed to puff up into pockets that can be stuffed. And a pitta that can’t be stuffed is only half a pitta as far as I’m concerned – good for scooping and dipping, but that’s it.
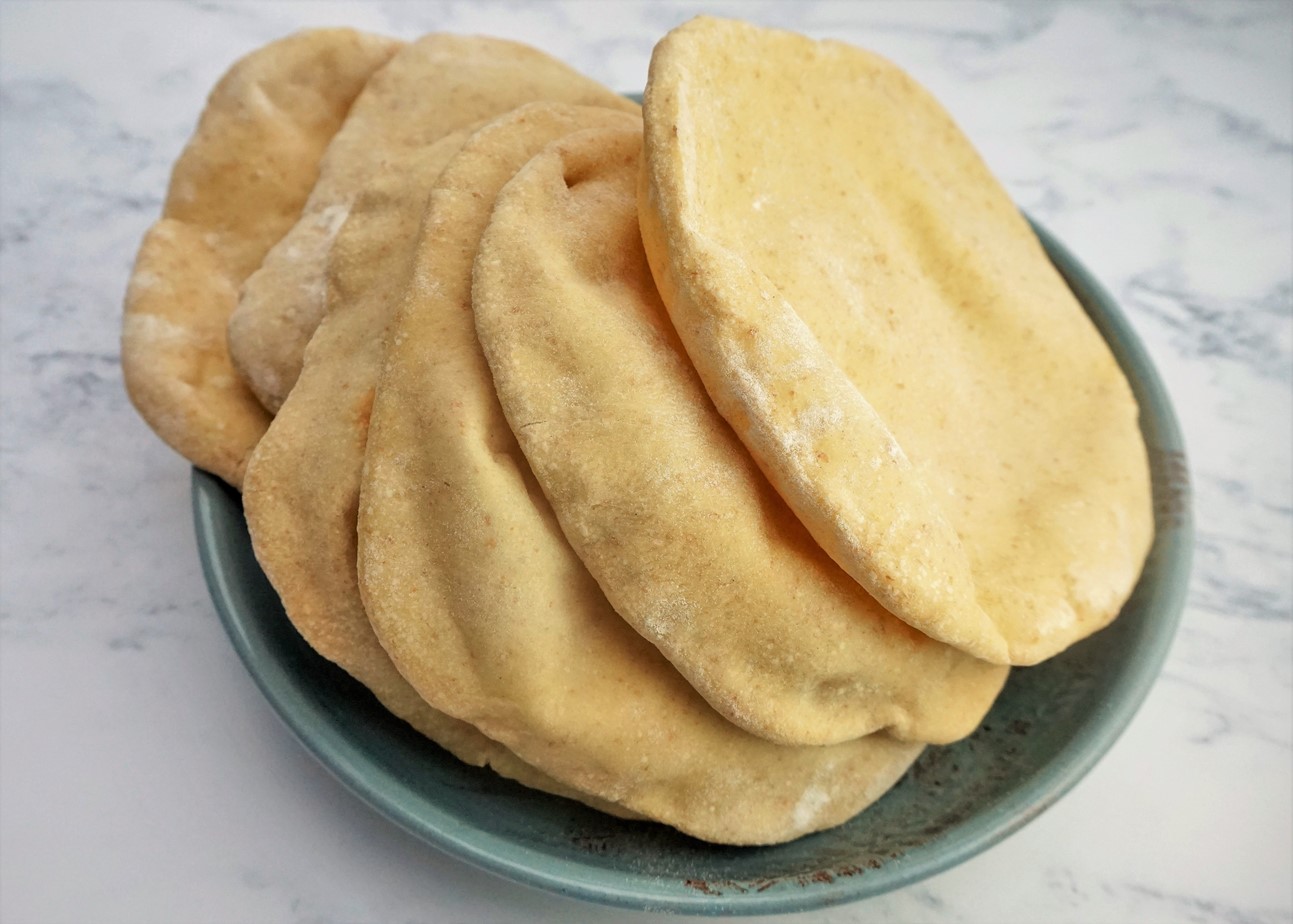
So I was really pleased to find a recipe that gave me the pitta bread I wanted: soft and tasty and which billowed and pillowed up beautifully – just what you need for stuffing with goodies like my homemade falafel.
MY EARLY BREAD BAKING
Ironically, the recipe I’ve adapted here has been sitting on my bookshelf for about 20 years – in The Bread Book by Linda Collister and Anthony Blake. I first learned how to make bread from this book and it’s still an excellent resource whether you’re new to bread making or an old hand. It’s no longer in print, but secondhand copies can usually be found for sale online.
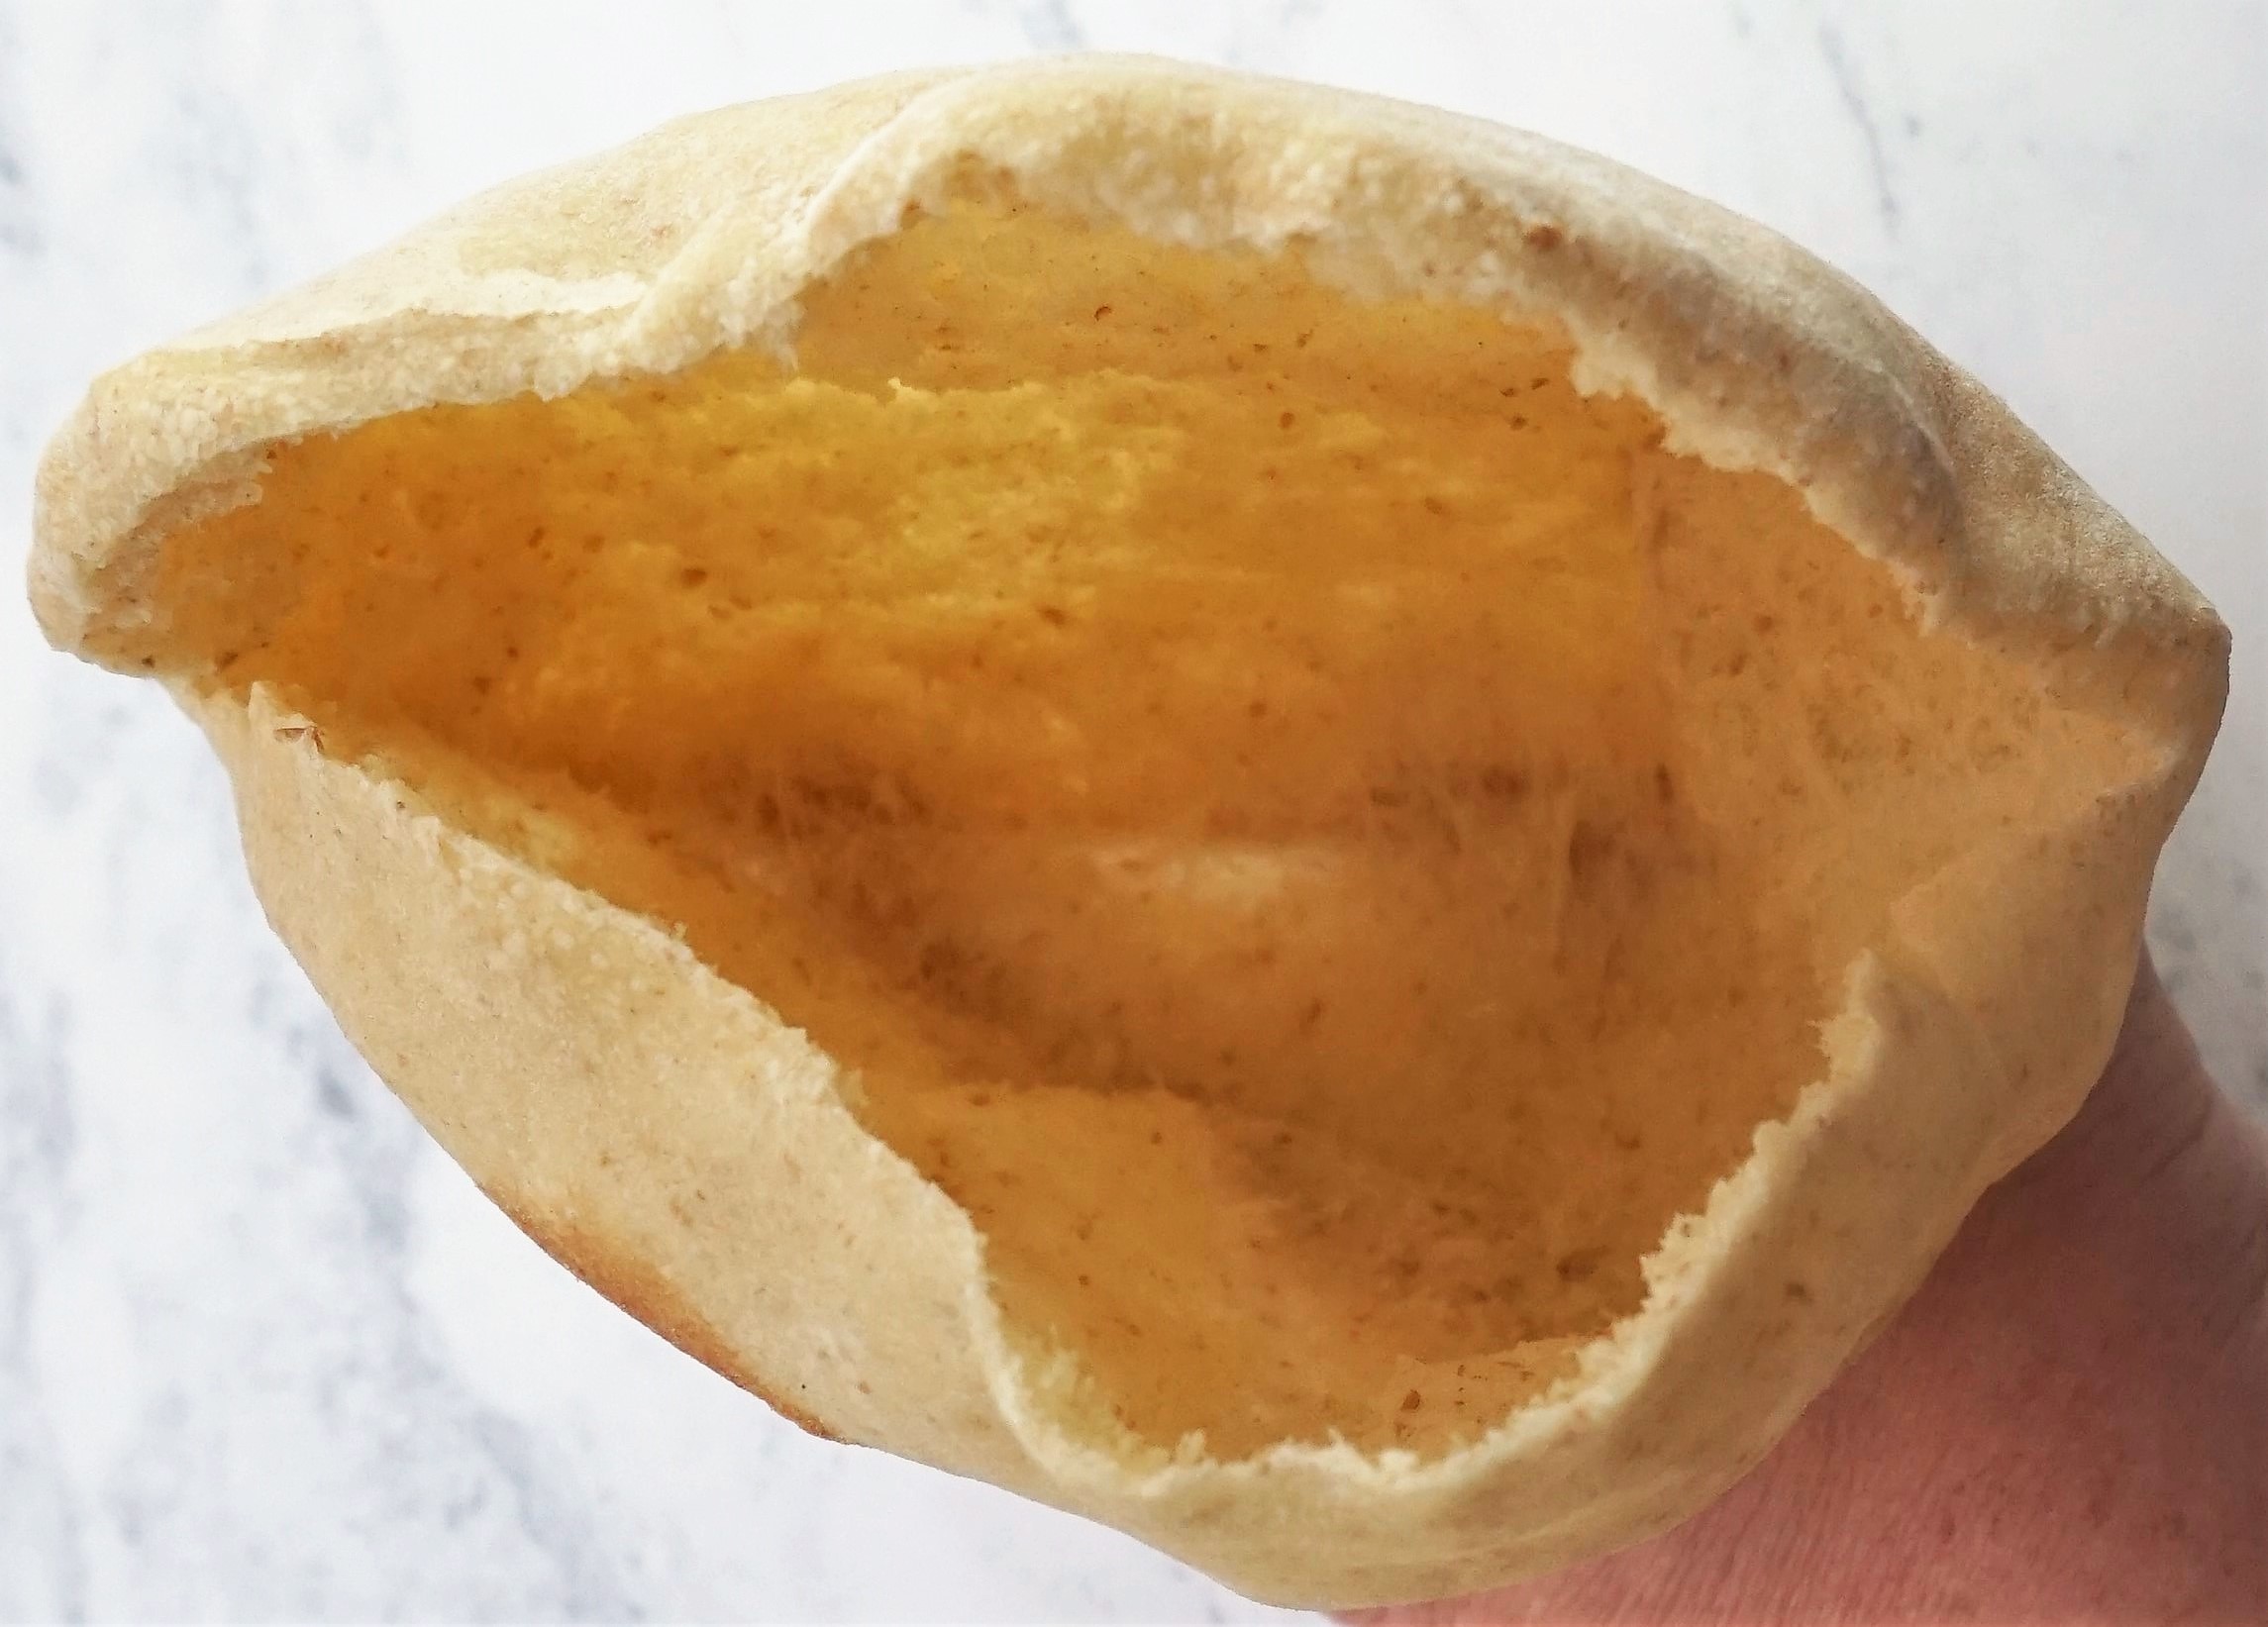
Anyway, why I haven’t tried this pitta bread recipe before I don’t know, because it works like a charm, creating a lovely pocket.
MAKING THE DOUGH
The method for making pitta bread is really simple: first of all, you mix together bread flour, salt and fast-acting dried yeast then gradually combine it with warm water and olive oil to form a dough.
You’ll have to knead the dough until it’s soft and smooth which takes around 7 minutes. If you haven’t kneaded before, don’t worry, it isn’t difficult and you can view a quick video showing how to knead here. After kneading, you can go and do something else for an hour and a half while the dough doubles in size.
To shape the pitta bread, divide the dough into 6 pieces and form each one into a ball before rolling out into a circle. The shaped pitta are left for 30 minutes which, conveniently, is about the same time it’ll take your oven and also a couple of baking trays to get seriously hot.
COOKING THE PITTA BREAD
I can fit four pittas at a time in my oven, two on each shelf and, as they’re done in 2 – 3 minutes, it really doesn’t take long to bake a batch. For that reason though, do watch them like a hawk to make sure they don’t overcook or they’ll go hard.
Consequently, it’s best to check the pitta breads after 2 minutes to see if they’re cooking too quickly – turn the oven down if necessary. Don’t be tempted to open the oven door before then or the steam, vital to the rising process, will escape. I find the pittas usually need another 30-60 seconds before they’re done.
As each pitta bread is cooked, transfer it to a cooling rack. When the whole batch is cooked, put a tea towel over them – this should keep the pittas nice and soft.
SERVING & STORING
Your pitta bread is now ready to split and stuff with your favourite filling. Here I used some tender slow-cooked mature lamb from Troutsdale Farm – fabulous with a drizzle of lemony tahini yogurt, crunchy salad and a few mint leaves from the garden.
If you can resist eating them all straight away, the pitta bread will keep fresh for 2 days in a covered container. They also freeze really well – just make sure they’re completely cold first.
I always keep a supply of homemade breads in the freezer, ready for a quick meal like the ones you see here. And now I’ve got a great pitta bread recipe, I think I’ll be making these much more often.
Pitta Bread
Ingredients
- 225 g bread flour plus extra for kneading & rolling
- 0.5 tsp salt
- 0.75 tsp instant/quick dried yeast
- 140 ml water, lukewarm
- 1 tbsp olive oil
Instructions
-
Stir together the bread flour, salt and dried yeast then set aside.
-
Put the lukewarm water in a large bowl and stir in half a tablespoon of the olive oil.
-
Add a handful of the flour mixture to the water and oil and stir vigorously with a rubber or plastic spoon until there are no lumps.
-
Continue adding handfuls of the flour mixture, combining well after each addition. As more flour is added, you'll need to use your hand instead of the spoon to bring the dough together.
-
Put the dough on a floured work surface, cover with the upturned bowl and leave to rest for 5 minutes.
-
Knead the dough until it is soft and smooth (5-7 minutes).
-
Wash and dry the bowl then put the remaining half tablespoon of oil in the bottom of it.
-
Put the dough in the bowl and turn over in the oil to coat it. Cover with a damp tea towel or cling film and leave at room temperature for 1.5 hours, after which it should have doubled in size.
-
Knock back the dough, put it onto a floured surface and cut into 6 equal pieces. Form each piece into a smooth ball, cover and leave to rest 5-10 minutes.
-
Using a floured rolling pin, roll out each ball to a circle approx 15cm in diameter and 0.5cm thick. Cover the circles with a floured tea towel as you work.
-
Leave the breads to rise for 30 minutes. Preheat your oven to its highest setting and put a baking tray on each shelf.
-
When ready to bake: carefully take the hot trays from the oven, put the first batch of pittas on them, sprinkle with a little water and then put in the oven.
-
Bake for 2 minutes without opening the oven door. After 2 minutes, check that the pittas are not over browning - adjust oven temperature if necessary. Pittas should have puffed up.
-
Cook for a further 30-60 seconds until firm, then transfer to a cooling rack. Do not overcook or the pitta will go hard.
-
Bake the remaining pitta in the same way then cover the cooling rack with a clean tea towel to keep them soft.
-
Best eaten within 2 days or freeze when cold.
RELATED RECIPES
Please can you tell me how you reheat these after freezing so that they don’t go hard? Do you freeze them cooked and just defrost them or can you freeze them uncooked then defrost them and cook as normal?
Love your recipes.
Stephen.
Thank you for your question and kind comment, Stephen. I usually reheat pitta in a microwave as it’s quickest. Either straight from frozen or, if I’ve taken them out of the freezer in advance, microwave when defrosted. Only give them a few seconds as breads such as these can go hard if microwaved for too long. Alternatively, you can wrap pitta in foil and reheat in the oven at 200C (180 in a Fan oven or Gas 6) for around 10 minutes.
I’ve never frozen uncooked dough so can’t say from personal experience whether it would work in this case.