Pea & Pancetta Pasta
Pea & Pancetta Pasta is ideal when you need a filling and tasty meal in double-quick time.
In fact, this recipe is so fast you’ll need to put the pasta on to cook before you start on the simple sauce which is inspired by Rome’s classics.

Tasty pancetta (or bacon), golden fried garlic, plus butter, parsley, black pepper, Parmesan, come together to cloak the pasta in a rich tasting yet light dressing. Add to that the colour and freshness of green peas and you have a satisfying bowlful.
Jump to Recipe
For me, the ideal quick pasta sauce should be doable in the time it takes the pasta to boil.
Of course, I love slow-cooked, complexly flavoured pasta sauces too. A great example of the latter is my divine Beef Short Rib Ragu. But, unless I’ve got some stashed in the freezer, that’s no use when I want to spend no more than 15 – 20 minutes in the kitchen.

The Pea & Pancetta Pasta recipe I’m sharing today fits the bill perfectly though. It’s one of those I come back to time and time again. Because although the ingredients may be simple, they pack loads of flavour into this easy dish.
PEA & PANCETTA PASTA
I think of this uncomplicated pasta dish as being inspired by the traditional food of Rome. In The Food of Italy Claudia Roden says, ‘Roman cooking has few elements and all of them are cheap, simply prepared and without frills… it is their very simplicity which is attractive’.
With pancetta or bacon my recipe has similarities with Rome’s famous spaghetti alla carbonara – although, strictly speaking, the piggy element there would be guanciale or pork cheek. But, without the eggs which must be carefully cooked so they don’t scramble, Pea & Pancetta Pasta is simpler than that. On the other hand, it’s not as spare as another pasta dish Rome’s known for: cacio e pepe which is just spaghetti, black pepper, cheese.
So, purists please note, I make no claims of authenticity for my recipe. However, with its portion of green vegetables in the form of peas, plus fresh parsley, I reckon my dish has some of the wonderful qualities of those classics, albeit as a slightly more balanced meal.
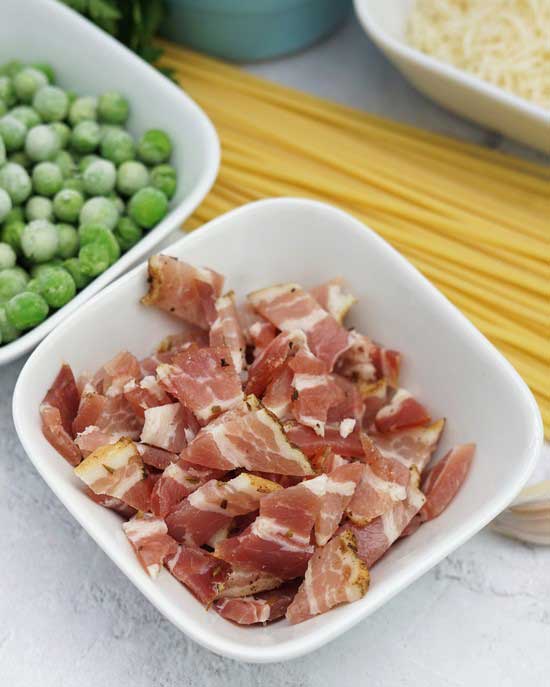
INGREDIENTS
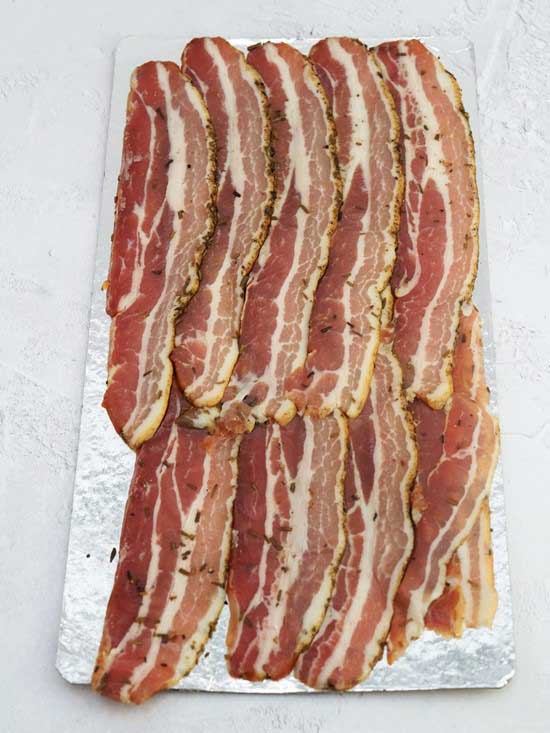
The main flavouring in this dish is pancetta, an Italian-style bacon made from pork belly. If you can’t get pancetta than you can substitute bacon, ideally streaky. Whichever you use, make sure it’s good quality and not overly salty.
I love the herby smoked pancetta made by The Port of Lancaster Smokehouse. For the Pea & Pancetta Pasta you see in this post I used the sliced version, but you can also buy it as a block and dice it.
Linguine or another long, dried pasta is my preference for this dish. You could use other shapes but avoid the larger ones which are better suited to thick sauces.
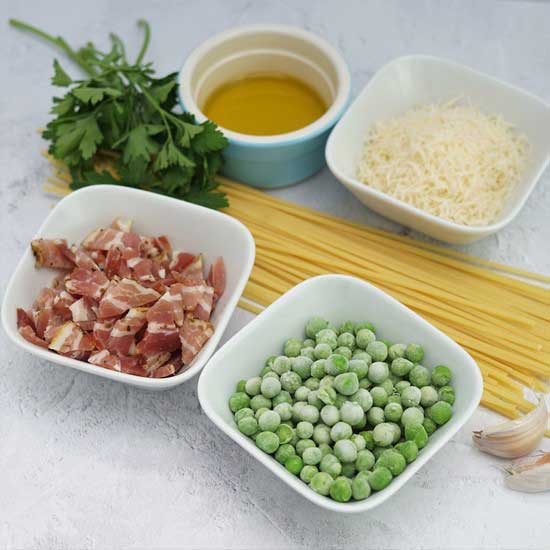
The only other ingredients you need are:
- Olive oil: 1 or 2 teaspoons, depending how fatty your pancetta or bacon is.
- Garlic: finely chopped.
- Peas: I’ve used frozen, but you can use fresh when in season
- Butter: for extra richness
- Parmesan
- Salt and pepper
- Parsley
In the detailed recipe card I’ve given amounts for one serving. That’s because I most often make this pasta dish when I’m cooking just for myself. But there’s no reason you can’t multiply everything up and it won’t take any longer to cook.
QUICK & EASY PEA & PANCETTA PASTA
The first thing to do is pour boiling water from a kettle into a roomy saucepan over high heat. Season generously with salt then add the linguine or other dry pasta as soon as it’s boiling again. Tastes naturally vary as to how al dente we like our pasta. But for most people it’s going to be done in 8 – 12 minutes. Which is plenty of time to make the sauce.
Start by putting a little olive oil in a frying pan over medium-high heat then adding the pancetta. Fry until it’s releasing fat and starting to turn crispy. This should only take 3 – 5 minutes. The chopped garlic goes in next, but make sure you turn the heat to low first. Garlic can burn very quickly, and we only want to take it to the golden brown stage. So a minute or two will be plenty. If your pasta isn’t done yet, take the frying pan off the heat rather than overcook the garlic.

When the pasta seems about a minute away from being ready, tip in the frozen peas. If you’re using fresh peas then, depending how old they are, they’ll need a few minutes longer, so you’ll need to put in a little earlier. When both pasta and peas are done, strain them but keep back some of the pasta water. About 100 ml should be enough.
Now you need to increase the heat under the frying pan again. To medium this time. Tip in the strained pasta and peas, the butter, parsley, two-thirds of the Parmesan, and around 50 ml of the reserved cooking water. Season the whole lot generously with black pepper.

It will only take a few moments for the butter and cheese to melt, combine with the pasta water and other ingredients to make a moist but light coating for the pasta. Add a little more of the pasta water if you think it needs it.
And that’s it. Your Pea & Pancetta Pasta is ready to serve.

A SATISFYING BOWLFUL
For me, the only finishing touch required is to sprinkle over the reserved Parmesan cheese. And another generous grind of black pepper. I think additions such as cream or creme fraiche are totally unnecessary.

You could earn healthy eating points if you served extra vegetables in the form of a side salad. But I don’t bother. Because I tend to eat Pea & Pancetta Pasta when my priority is something fuss-free, filling, tasty. And fast.
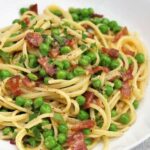
The day I ate the bowl you see in this post I was home alone one Sunday. I had it as a late lunch/early dinner accompanied only by a glass of Italian red. Perfect.
Have you made this recipe? Leave a comment and don’t forget to rate it.
Pea & Pancetta Pasta
Inspired by the simple dishes of Rome, this quick and tasty pasta dish is perfect when you need a satisfying meal in double-quick time.
Ingredients
- 80-100 g dried linguine or other dried pasta
- salt to taste
- 80 g peas frozen or fresh
- 1-2 tsp olive oil
- 60 g pancetta or streaky bacon cut into small pieces
- 2 cloves garlic finely chopped
- 10 g butter
- 1 tbsp chopped parsley
- 25 g Parmesan cheese finely grated
- black pepper to taste
Instructions
-
Pour boiling water from a kettle into a roomy saucepan over high heat and season generously with salt.
When the water is back up to the boil, put in the linguine and cook until done to your liking (8 - 12 minutes). Add the frozen peas for the final minute. If using fresh peas add them for the final 2 - 3 minutes.
While the pasta is cooking, make the sauce as below.
-
Put 1 tsp of olive oil in a frying pan over medium-high heat (use 2 tsp if your meat is on the lean side) and add the chopped pancetta or bacon.
Fry until starting to crisp (3-5 min) then reduce the heat to low.
Stir in the garlic and cook until just golden (2 min): don't allow it to burn and take the pan off the heat if the pasta isn't ready when the garlic's done.
-
Strain the pasta and peas, reserving approximately 100ml of the cooking water.
-
Turn up the heat under the frying pan to medium then tip in the pasta and peas along with the butter, parsley, plus two-thirds of the Parmesan. Season generously with black pepper and add approximately 50ml of the pasta cooking water.
Stir well until the butter melts and combines with the other ingredients, adding more of the pasta water if needed to create a moist but not wet dressing for the pasta.
-
Take off the heat and serve straight away sprinkled with the reserved Parmesan and more black pepper if liked.
Recipe Notes
Note #1 The recipe can easily be multiplied up to serve more. Cooking time remains the same.
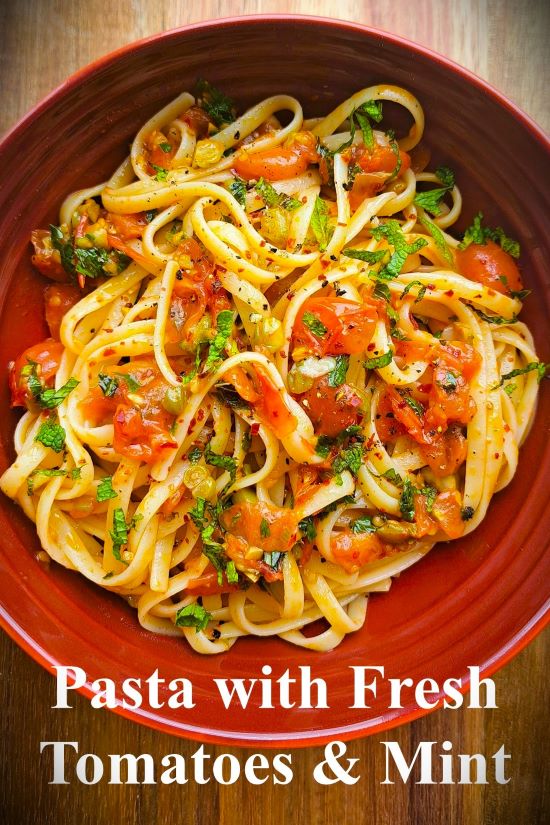
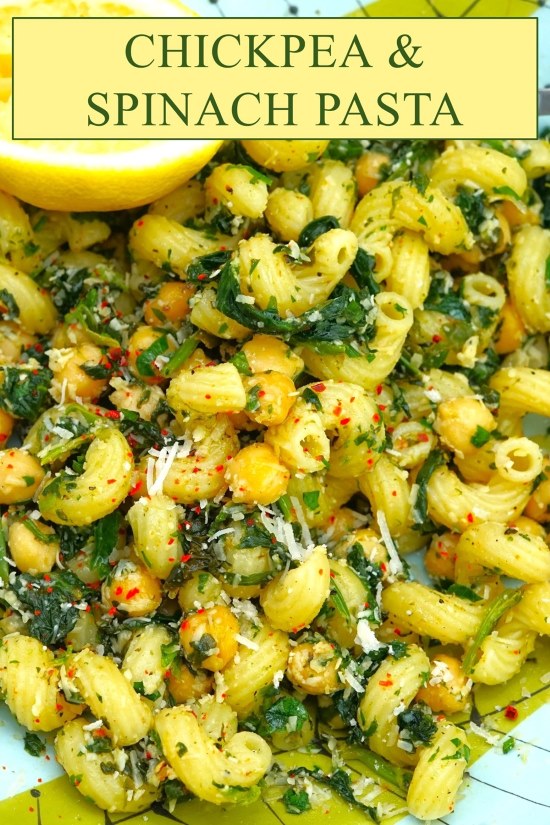
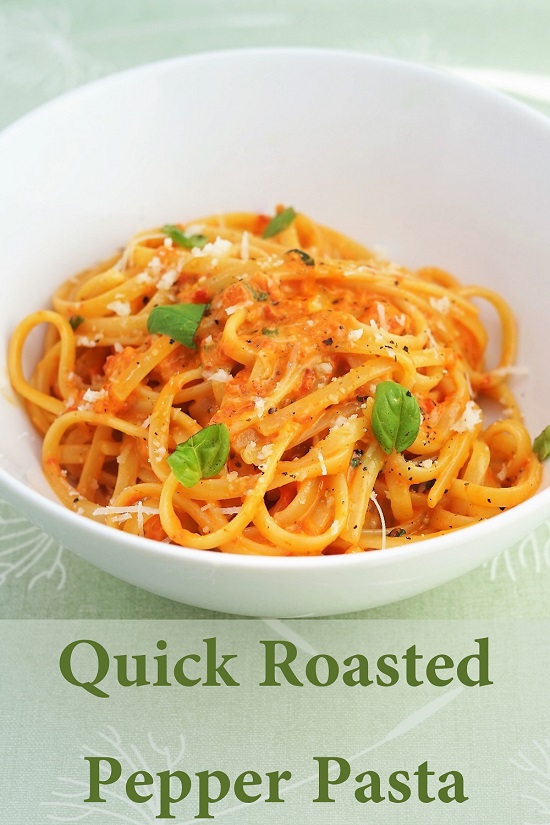
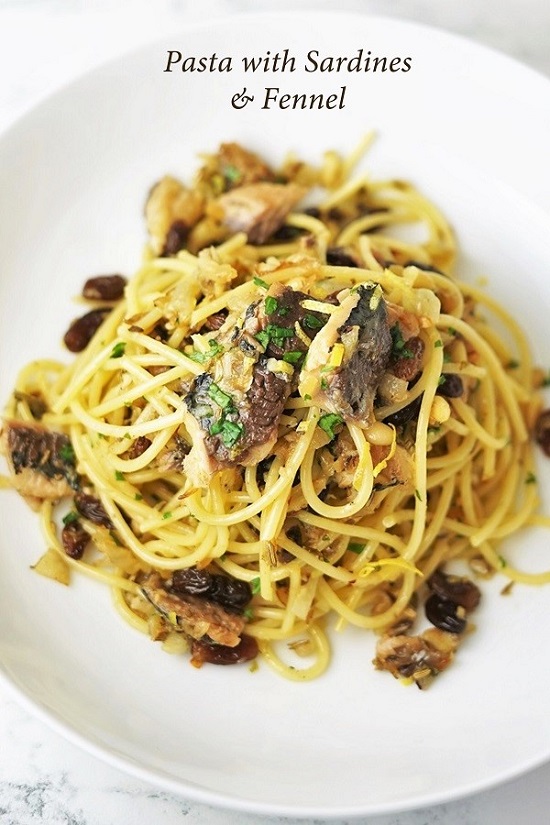
ENJOYED THIS RECIPE? YOU MAY ALSO LIKE THESE