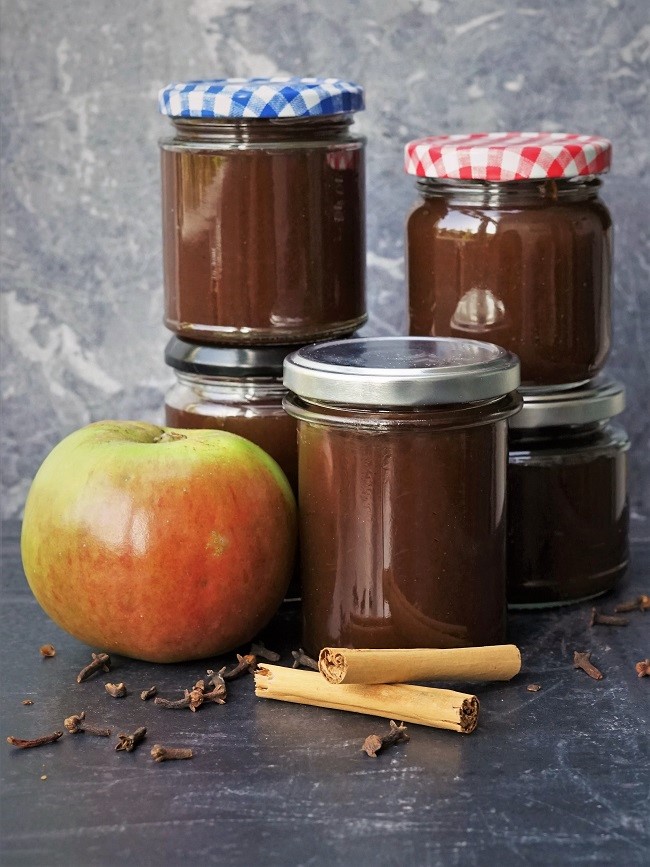
Apple Butter
Apple Butter is a traditional and concentrated fruity preserve which doesn’t actually contain butter. Apples, along with water, sugar and spices, are cooked into a thick puree until they become caramelised and jam-like. For a bittersweet flavour, I include cider, but you could just use water or add lemon juice instead.

My Apple Butter is spicy with cloves and cinnamon: try allspice, ginger or nutmeg if you prefer.
Wonderful on toast, stirred through yogurt or porridge, if you use the lower amount of sugar suggested in the recipe, you can even serve this easy preserve with cheeses (try it in a melting cheese toastie!) or savoury dishes such as pork.

So easy to make, jars of Apple Butter with an airtight seal should keep for six months.
Jump to Recipe
FRUIT BUTTERS & CHEESES
Apple Butter, rather confusingly, is not made with butter.
Fruit butters, along with fruit cheeses, are simply the traditional names for a type of concentrated fruit preserve. Often made by using up the pulp left over from making jellies, they were economical too.

Fruit butters have a smooth, spreadable, butter-like texture, hence their name.
Fruit cheeses take the concentrating a little further to create a firm preserve than can be sliced. Quince fruit cheese, usually referred to by its Spanish name of membrillo, is probably the most widely known.
SUGAR & SWEETNESS
Although you can eat Apple Butter in the same way as you would jam (e.g. spread on your toast), the version I like to make isn’t overly sweet. In fact, fruit butters traditionally have less sugar than jam.
In the detailed recipe at the end of this post, I give two suggested amounts of sugar. Use the lower proportion if you want to eat it with savoury foods like cheese or pork. If you have a sweeter tooth, use the higher amount.
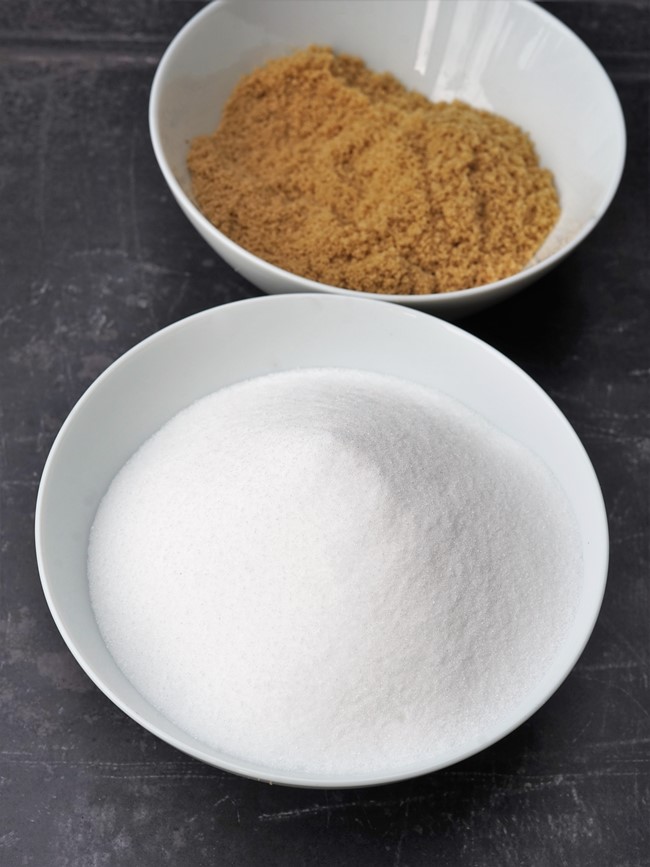
Almost any sugar can be used to make fruit butter. Soft brown sugar intensifies the caramel-like flavour. White sugar is perfectly fine too and is usually cheaper.
For this batch of Apple Butter, I used a combination of light brown soft sugar and ordinary white sugar topped up with golden granulated. These were just what I happened to have in the cupboard.
MAKING APPLE BUTTER
Even if you’ve never made preserves before, I think you’ll find fruit butter pretty easy.
Complete instructions are in the recipe card at the end, but there are basically three stages:
- cooking the apples until soft and sieving them to get a puree.
- calculating the amount of sugar needed.
- simmering the puree and sugar until thick before potting up.
One kilo of apples should be enough to make five or six small jars of Apple Butter.
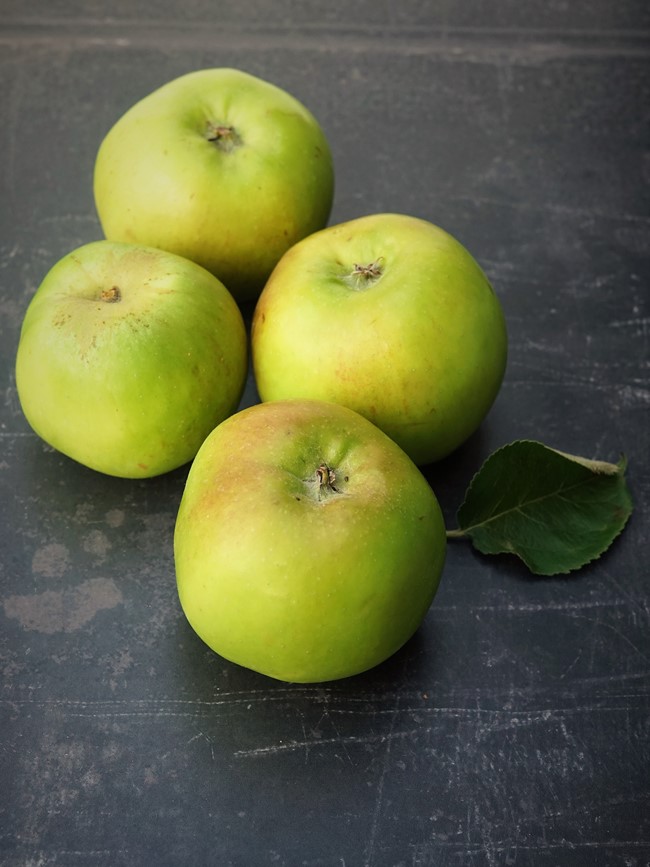
Because we want them to soften and fall apart, cooking apples are the best type to use. Currently at the start of the English apple season, I was able to get some lovely Bramley apples at a local farmer’s market. As a rough guide, four large ones will weigh around a kilo. If you can find crab apples, then include some of those for extra flavour.
STAGE 1: COOKING & SIEVING THE APPLES
Because we’re going to sieve the cooked apple puree, there’s no need to peel or core the fruit. Simply wash and cut into chunky pieces. Leaving in the peel and pips also adds flavour as well as increasing the amount of pectin: a type of fibre which helps preserves set.
Put the apple chunks into a preserving pan or large saucepan. A wider rather than deep one will encourage the evaporation we need.
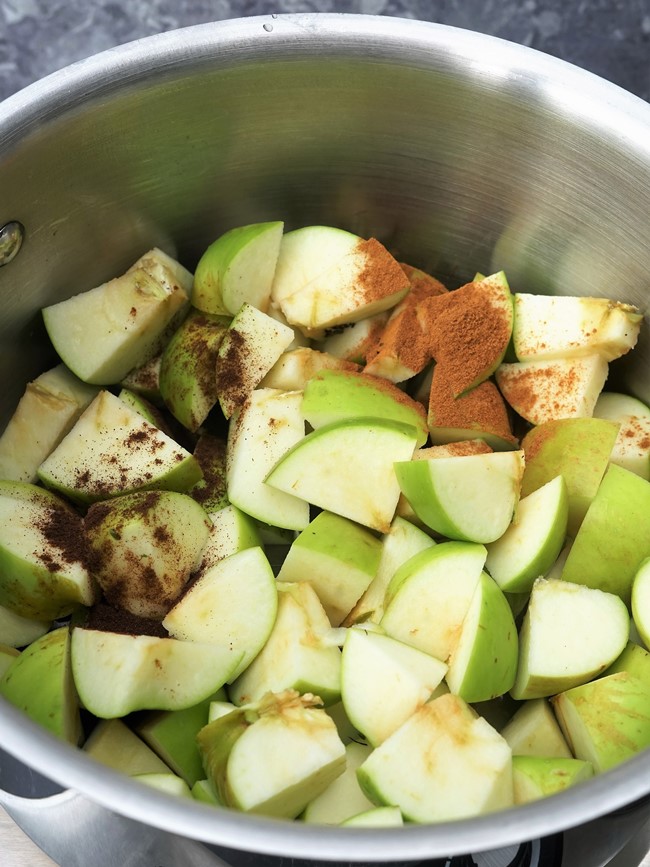
At this stage I add some of the spices. But I don’t want all their flavour to be cooked away so add more later.
I love cinnamon and cloves in my Apple Butter. Other spices that work well include ginger, nutmeg, allspice or the mixed spice blend widely available.
The only other ingredient needed at this point is liquid.
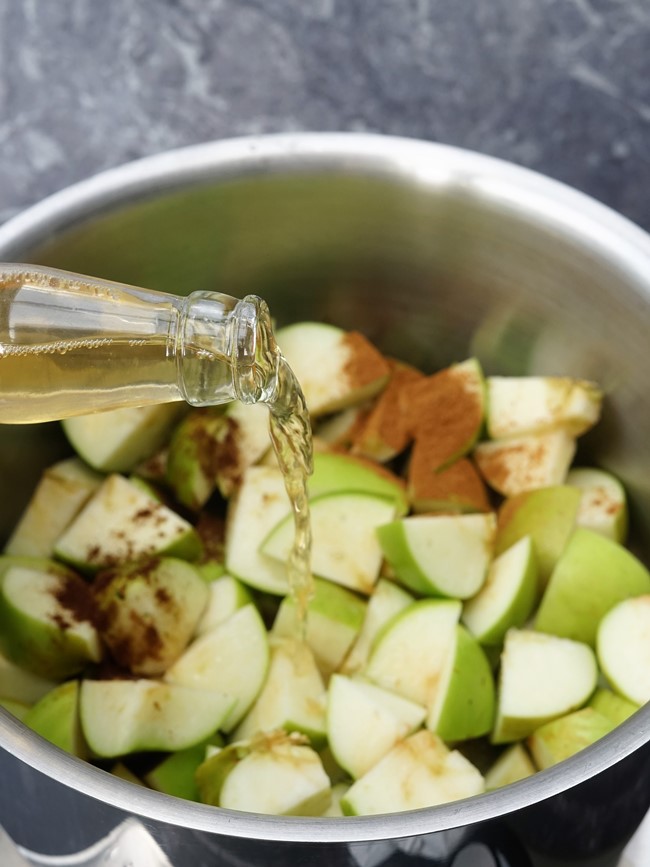
You could use all water. But to get more apple flavour, and because I like its tartness, I include a 500 ml bottle of cider (minus a quick swig!). If you’d like to add some zing without the alcohol, then the juice of a lemon would work.
Add enough water to almost cover the apples, then bring the pan to a boil. Turn down the heat and simmer until soft and falling apart.

For the batch you see here, mine took around 12 minutes of simmering to get to this stage.
To reduce the fruit to a puree while also getting rid of the skin and any pip, first pour everything into a sieve over a large bowl.
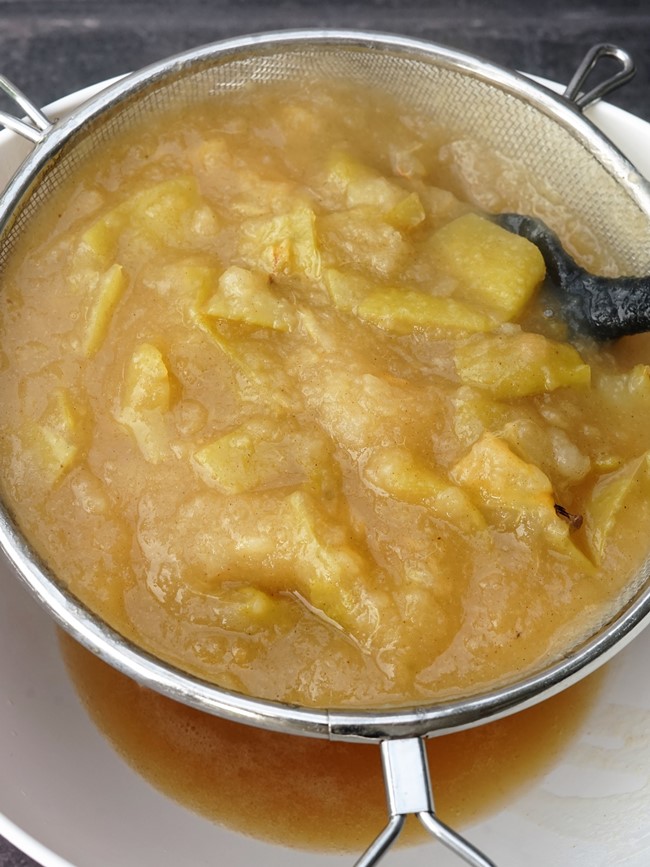
Unless you have a giant sieve, you’ll need to do this in batches.
To extract as much fruit pulp as possible, go in with a spoon to stir and push it through the sieve.
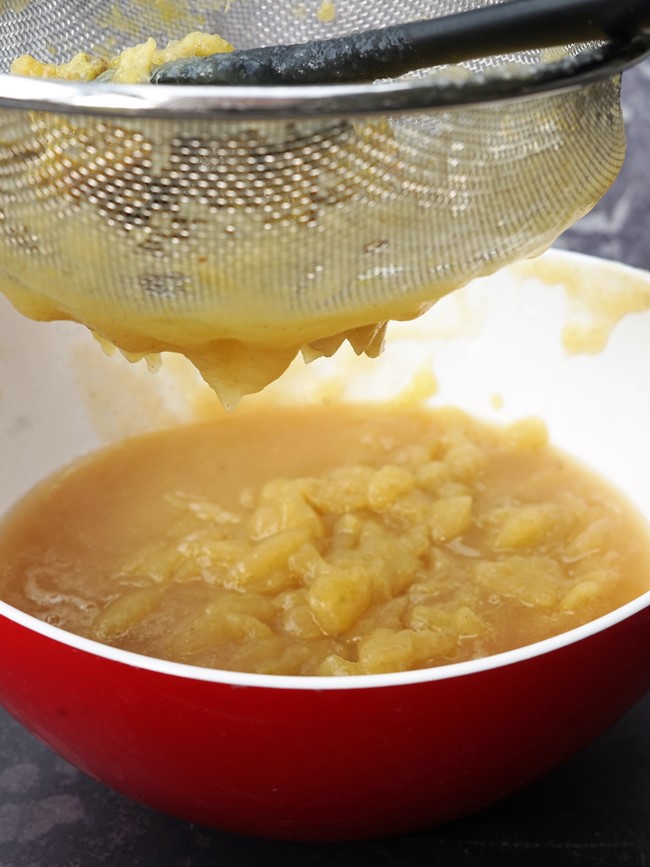
At the end, you should have a bowl of puree plus a sieve with the skin and pips which can be discarded.

At this point, it’s a good idea to wash and dry your saucepan ready for the final stage.
If you haven’t already, thoroughly wash, rinse and drain your jars and lids.
STAGE 2: CALCULATING THE AMOUNT OF SUGAR NEEDED
Rather than giving you exact amounts of sugar to add, I suggest you use a simple method of calculating it. This means that, however big a batch of Apple Butter you want to make, you’ll always know how to work it out.
First, you’ll need to know the volume of apple puree. Do this with a measuring jug (again, you’ll probably need to do it in batches).
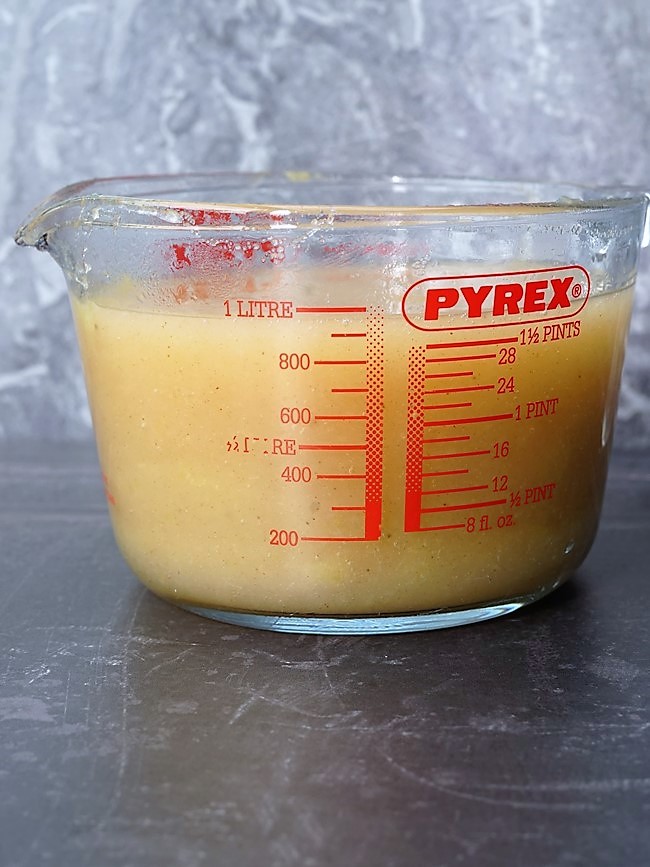
I found that I had just under one and a half jugs of puree or 1,400 millilitres.
Here’s how to work out how much sugar to add, depending on how sweet you want the Apple Butter.
- For an apple butter that is sweet but still good with savoury foods such as cheese use 60% sugar to puree.
Using the example of 1,400 millilitres of puree, that gives us:
(60 x 1400 ml) divided by 100 = 840 grams of sugar.
- For a sweet apple butter use 75% sugar to puree.
Again assuming 1,400 millilitres of puree, that gives us:
(75 x 1400 ml) divided by 100 = 1050 grams of sugar.
Obviously, for your own batch, replace the 1400 ml with whatever volume of puree you have.
The amounts of sugar don’t have to be exact anyway, so feel free to round up or down.
Do note though that reducing sugar to less than 50% may affect the set and keeping qualities of the preserve. So don’t go too low.
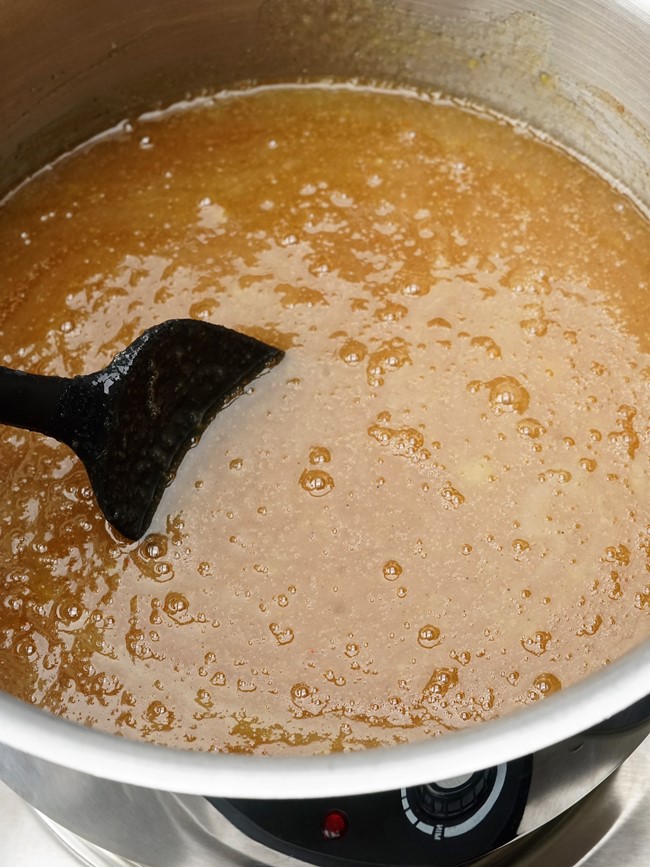
STAGE 3: SIMMER THE PUREE & SUGAR
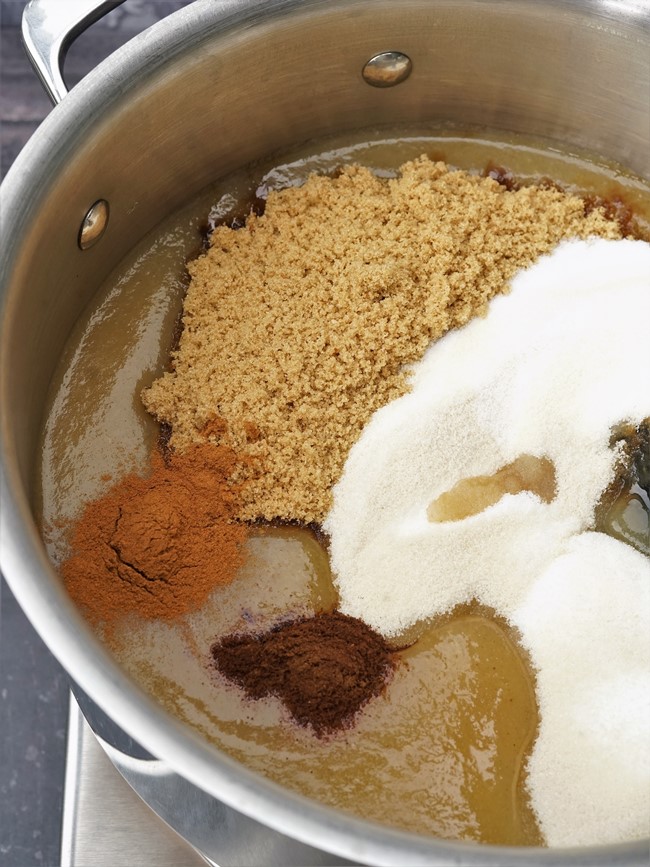
The final stage is to cook the puree with the sugar until it turns thick, dark and caramelised.
I add more ground spices at this point too: at least another teaspoon of each.
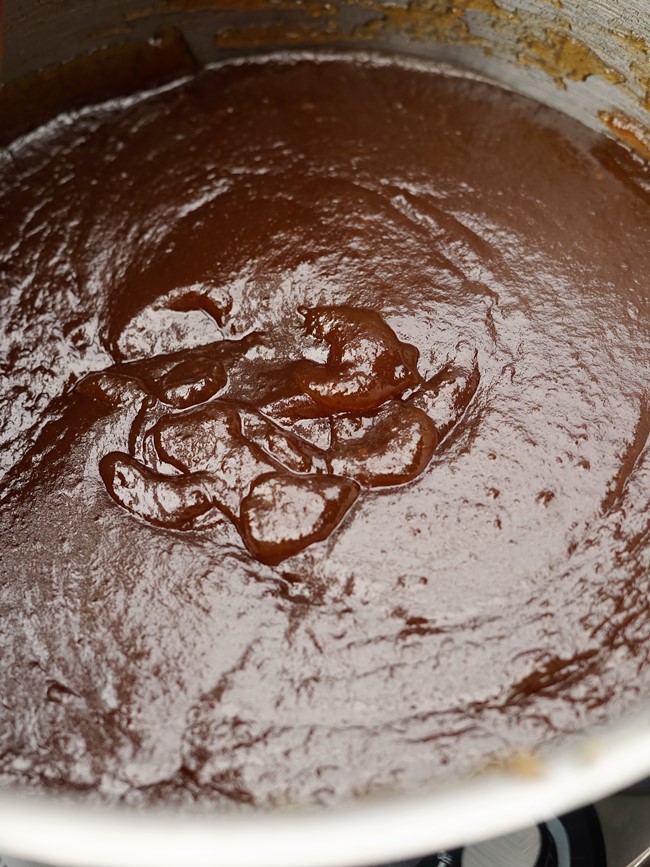
How long the puree takes to turn from a golden colour to rich dark brown will depend on how high your heat is.
Generally, a longer, slower cook will give the best flavour.
Plan for it taking 25-40 minutes (longer if you’re making a double batch).
Make sure you stir the pot often. This will not only stop the puree sticking but will speed up evaporation.
I have a taste now and then too to see if I want to add yet more spices.
While all that’s happening, don’t forget to pop your washed, rinsed and drained jars and lids into the oven on its lowest setting. This will ensure they’re completely dry and should also kill off any lurking bugs.
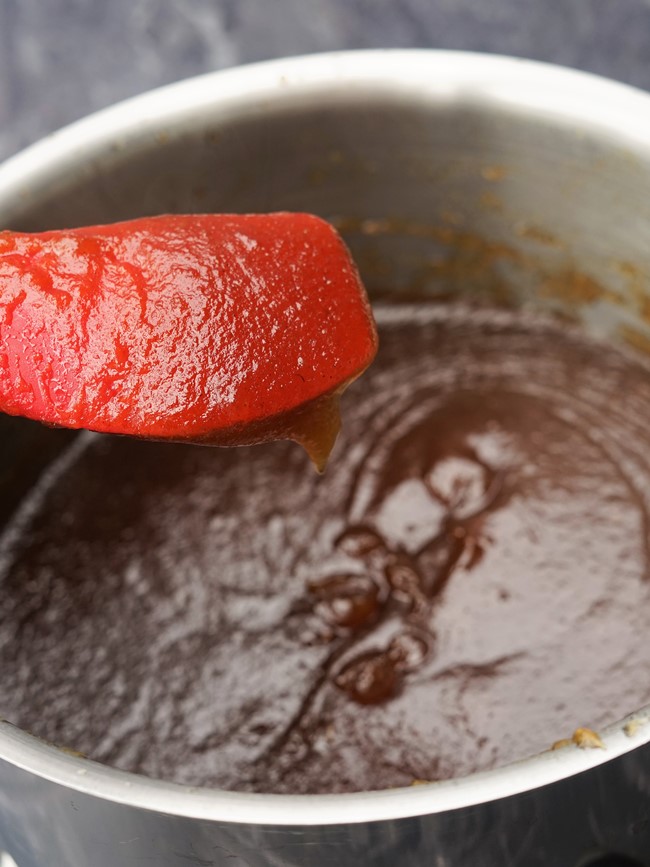
At 25 minutes, the Apple Butter may already have reached setting point. If so, it will easily cling to the stirring spoon.
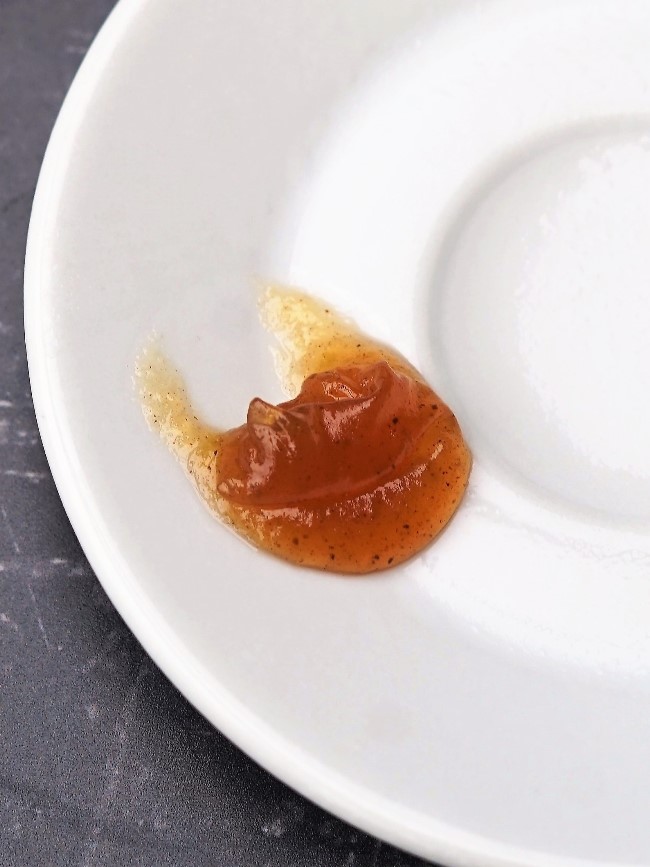
If you want to make doubly sure, at the start of the process you can put a few saucers in the freezer to chill.
Drop a teaspoon of the mixture onto one of them to quickly cool it. If, when you push the blob it wrinkles, then it’s done.
To make the Apple Butter quite firm and on the way to being a fruit cheese, you can simmer 5 to 15 minutes more.
POTTING UP & STORING
As with jams and chutneys, fruit butter should be potted up when it’s still hot and into hot jars. When you’ve filled the jars, screw the lids on straight away while protecting your hands with a cloth.

You don’t need to screw the lids completely tight at this stage. It’s easier if you go back later when they’ve cooled a bit and tighten as much as you can.
When the jars are completely cold, you can check for an airtight seal by pressing down the centre of the lid. If the centre doesn’t pop back up, then you have an airtight seal.
In this case you can store the Apple Butter in a cool, dark cupboard for up to six months. Note that this is less than the 12 months usually recommended for jam due to the lower sugar content.
However, if the lid does pop up you have 2 options:
- Store the preserve in the fridge and use within 2 weeks.
- Remove the preserve from the jars and re-boil it. Re-wash and prepare the jars and lids as before. Pot up again while the preserve and jars are hot. Test for an airtight seal as above when cold.

Once open, jars should be stored in the fridge and used within a couple of weeks. For this reason, it’s best to pot up in smaller jars. I use ones with a capacity of 150 ml.
FRUITY & SPICY, SWEET & SAVOURY
Fruity and spicy, Apple Butter is a lovely preserve to make during apple season. Unlike chutneys, it doesn’t need to mature so you can start enjoying it straight away.
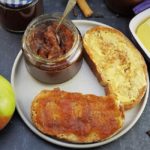
I most often eat it quite simply, on bread and butter or on toast.

But you can also substitute it for jam on Classic Sultana Scones, Apple & Cinnamon Scones, in a Victoria sandwich cake or in dishes like my speedy Microwave Sponge Pudding.
For a quick breakfast or snack, I love jams stirred through yogurt or porridge and Apple Butter would fit the bill there too.
If you make my lower sugar version, don’t forget all the savoury uses for this versatile butter either.

Lovely with hard or soft cheeses on crackers or as part of a cheeseboard, try it on Very Cheesy Cheese Scones along with cream cheese. I can confirm that Apple Butter is also good in a toasted cheese sandwich!

And, just as you might eat redcurrant jelly with lamb, try a few spoons of Apple Butter with pork or in a sausage and bean casserole.
So easy to make, I hope you give this traditional, rich preserve a try.
HAVE YOU MADE APPLE BUTTER?
HOW DO YOU EAT IT?
LEAVE A COMMENT & DON’T FORGET TO RATE THE RECIPE
Apple Butter
Fruit butters (which don't actually contain any dairy) are traditional and concentrated fruity preserves.
Here, apples are cooked with spices, water, sugar and optional cider to make a caramelised spread for toast, stirring into yogurt and porridge, or even eating with cheese or other savoury dishes such as pork and sausages.
Ingredients
- 1 kg cooking apples e.g. Bramleys approx 4 large apples
- 1-2 tsp ground cloves
- 1-2 tsp ground cinnamon
- 500 ml cider see Recipe Notes if you wish to leave it out
- water see Instructions for amount
- 800-1050 g sugar brown, white or a combination
Instructions
-
Wash 5 - 6 small jars (capacity approx 150 ml each) and their lids in hot, soapy water, rinse, then leave upside down to drain.
Optional: put 2 saucers or small plates in the fridge or freezer to test for a setting point later.
-
Wash and roughly chop the apples without peeling or coring them.
Put into a preserving pan or large, wide saucepan.
Add ½ tsp each of the ground cloves and cumin.
Pour over the cider if using.
Add enough water to just cover the apples, stir and put on a lid.
Bring to a boil, take off the lid and reduce the heat to a simmer.
Cook until the apples are very soft and falling apart. (10-15 min).
-
Put a sieve over a large bowl and pour in the cooked apple mixture (you may need to do this in batches).
Stir and press the contents of the sieve so that all the pulp is forced into the bowl, leaving behind just the skin and pips which can be discarded.
Wash and dry the saucepan.
-
Measure the volume of the pulp using a measuring jug, in batches if necessary, then transfer it to the clean pan. If you're at all forgetful, write down the volume!
-
Calculate the weight of sugar required using one of the following formulas. In the examples, I've assumed 1400ml of pulp: replace this with your own measurement.
For apple butter that is sweet but still good with savoury foods such as cheese: use 60% sugar to pulp e.g. (60 x 1400) / 100 = 840g sugar.
For sweet apple butter: use 75% sugar to pulp e.g. (75 x 1400) / 100 = 1050g sugar.
Amounts of sugar do not have to be exact so you can round up or down.
-
Stir the sugar into the pulp in the pan along with another level teaspoon each of the ground cloves and cinnamon.
Put the lid on and bring to a boil, then take it off and reduce the heat to a gentle simmer.
-
Meanwhile: switch your oven to its lowest setting and put the jars and lids on a baking traying inside.
Switch the oven off when the jars are hot, but leave in the oven so they stay hot.
-
Cook until the apple butter is very thick and dark, stirring often to ensure it isn't sticking to the bottom of the pan and to encourage evaporation (25-40 min).
While it's cooking, taste and add the final half teaspoons of the spices if liked.
How to tell when it's ready:
- the mixture should cling easily to a spoon.
- if you draw a spoon across the bottom of the pan, no loose liquid should run into the space.
- if a spoon drawn across the top of the mixture leaves a definite impression then the butter is likely to have a firm rather than soft set.
- if unsure, you can test for a setting point: put a teaspoonful on one of the cold saucers: leave for a few moments until the apple butter is cold then push it with your finger. If it wrinkles then it's set. If not, cook another 5 minutes and test again.
-
Pour into the prepared, hot jars. Protecting your hands with a cloth, immediately put on the lids and leave to cool.
-
When cool enough to handle, tighten the lids a little more if possible.
Label when completely cold.
Can be used straight away, or should keep for at least 6 months in a cool, dark place providing the jars have an airtight seal. See Recipe Notes to check for an airtight seal.
Store in the fridge once opened and use within 7-14 days.
Recipe Notes
Note #1 If you prefer, you can use all water rather than cider. To replace its tartness, you may wish to include the juice of a lemon instead.
Note #2 When the jars are completely cold, check for an airtight seal by pressing down in the centre of the lid.
If the centre does not pop back up then you have an airtight seal. If the centre pops back up then you have 2 options:
- Store the preserve in the fridge and use within 2 weeks.
- Remove the preserve from the jars and re-boil it. Re-wash and prepare the jars and lids as before. Pot up again while the preserve and jars are hot. Test for an airtight seal as above when cold.
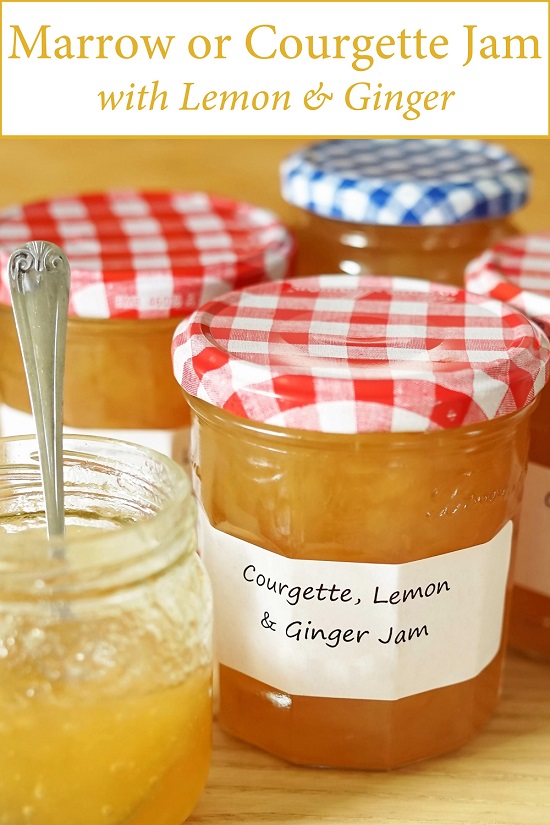
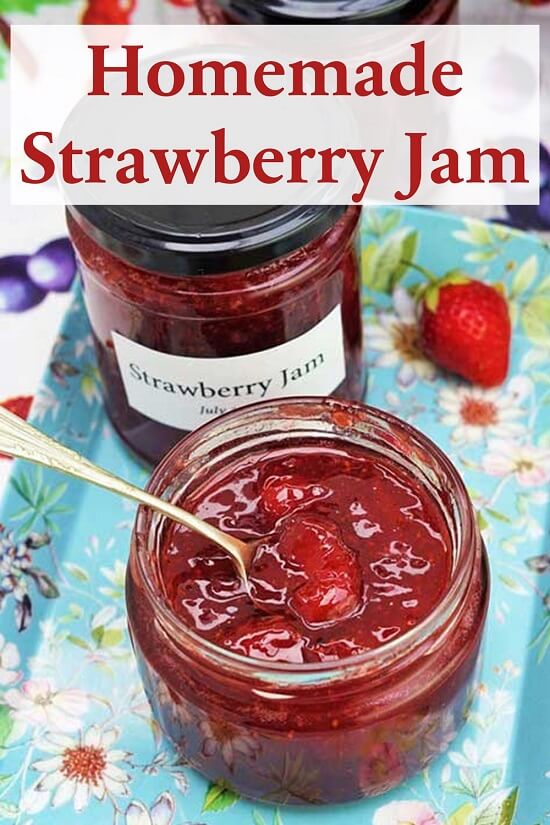
RELATED RECIPES
Love this, spreadable mincemeat !
Never thought of it that way, but I see what you mean!