Homemade Strawberry Jam
Homemade Strawberry Jam is one of my favourite seasonal treats. In this post I’ll show you how to make a beautiful, soft-set strawberry jam filled with luscious pieces of whole fruit. It’s easy to make even for beginners, with no special equipment needed.

If you can resist it, Homemade Strawberry Jam should keep from 6 months to a year, depending on how much sugar you make it with.
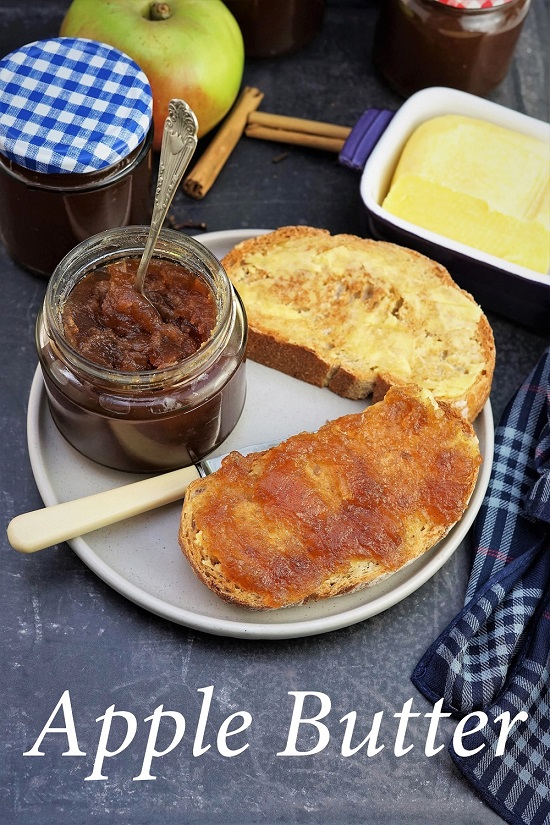
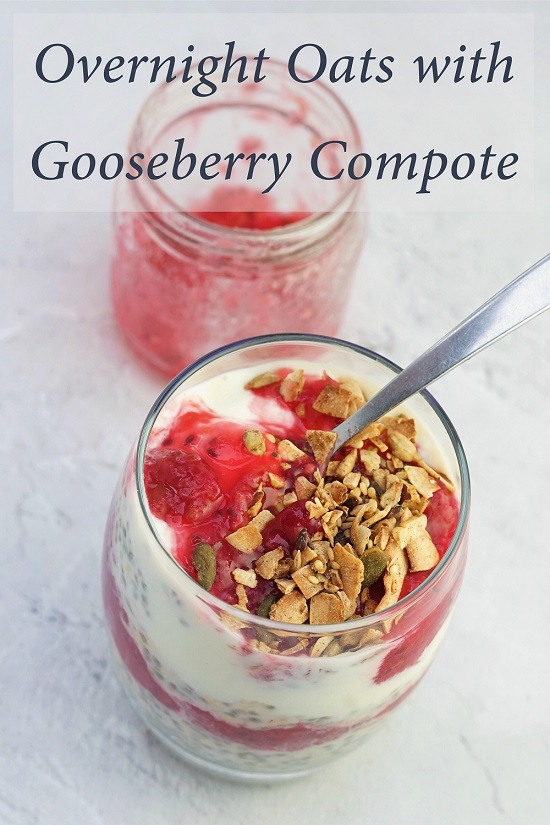
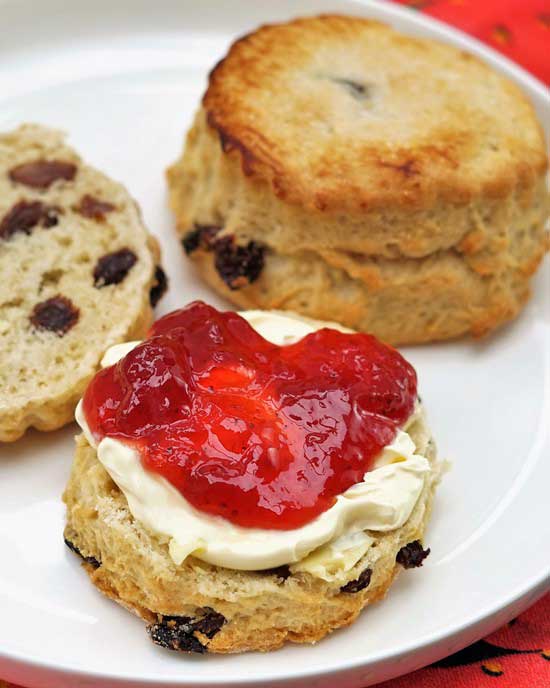
The jam is perfect on scones, bread and butter, toast, pancakes, or in a traditional Victoria Sponge Cake. I love it stirred through yogurt, rice pudding or porridge too.
Jump to Recipe

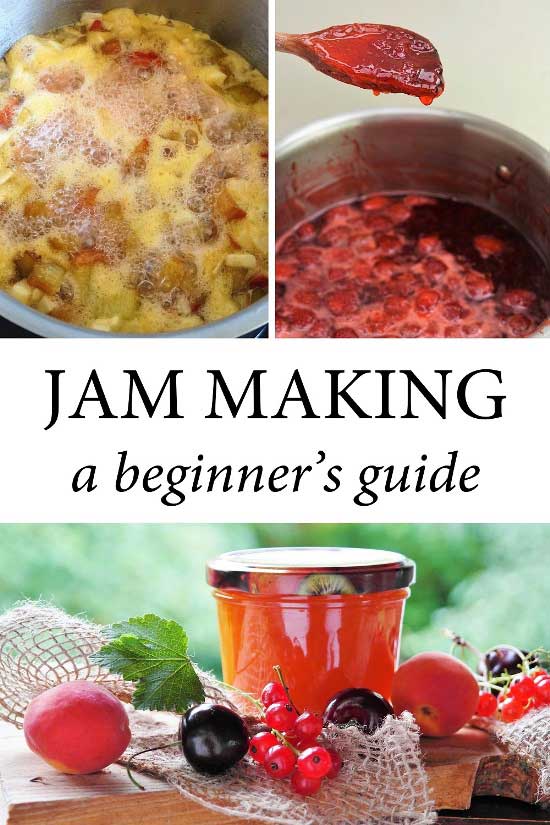
JAM MAKING
I love making jam and have been doing it for over 25 years.
Of course, there are shelves upon shelves of jam at every supermarket, deli, and farmer’s market. But I think there’s so much pleasure to be had making something from scratch. And especially using delicious seasonal ingredients like strawberries.
If you haven’t made jam before, then you might think it’s difficult. But, as I tried to show in my Beginner’s Guide to Jam Making, that really isn’t the case.
In that post I went into detail about the theory and practice of making jam and it’s worth a read if you want to learn more.
However, as with all my jam recipes, you’ll find all the instructions you need in the detailed recipe card at the end of every post.

HOMEMADE STRAWBERRY JAM
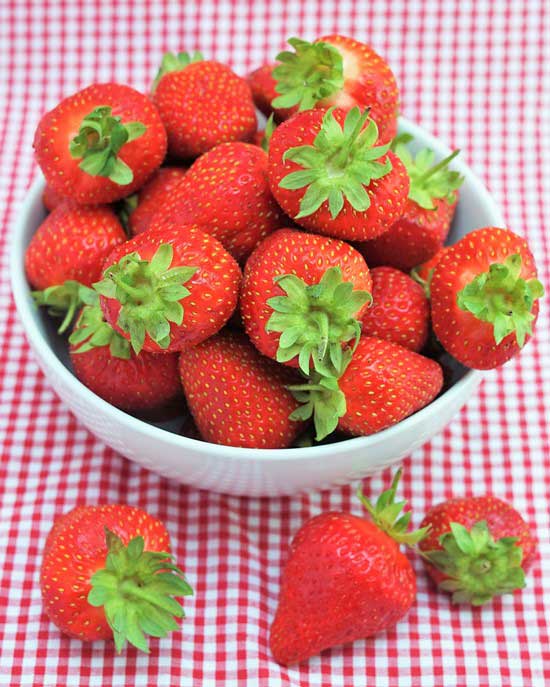
You need just three ingredients to make approximately four medium jars of my strawberry jam.
- 1 kg strawberries
- 750g – 1 kg sugar
- 1 lemon (juice only)
PECTIN: THE JAM MAKER’S FRIEND
If you’ve made jam before or if you’ve read my Beginner’s Guide, you’ll know that it’s a substance called pectin (found naturally in fruits and vegetables in varying quantities) helps jams to set.
Because strawberries are a low pectin fruit, in this recipe I use a special sort of sugar called jam sugar which has had pectin added to it. This will help your jam set more quickly so you need not boil it so long. And a shorter boiled jam is a better, fruitier-tasting jam.
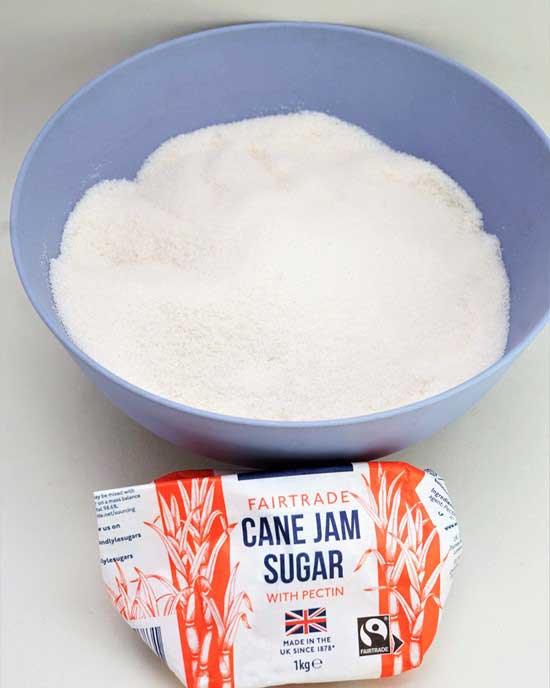
The downside of jam sugar is that it’s more expensive than simple granulated sugar. You can make strawberry jam using granulated, but I personally don’t recommend it. For me, a proper homemade strawberry jam is such a seasonal treat that I think it’s worth the extra cost.
Note, however, that bags labelled preserving sugar do not contain pectin. This is just sugar that dissolves more slowly. Although cheaper than jam sugar, it’s still more expensive than simple granulated.
ACID
Besides pectin, another element that helps jam to set is acid. This is because acid encourages the fruit to release its pectin.
While some popular jam-making fruits such as gooseberries, rhubarb and cooking apples are high in acid, strawberries are not. But this is easily addressed by adding the juice of a lemon when making the jam.

HOW MUCH SUGAR?
Rather than give an exact amount of sugar to use, I’ve suggested a range of 750 grams to 1 kilo per kilo of strawberries. This is because tastes naturally vary: what’s right for one person can seem way too sweet to another.
However, be aware that lowering the sugar content will affect how long the jam can be stored. This is because the high concentrations of sugar found in traditional jams create an environment more difficult for harmful bacteria to grow in.

These means that while a jam made with a 50:50 ratio of sugar to fruit should keep for a year, one with say 40 per cent sugar or less is best used within 6 months. If you reduce the sugar to less than half the weight of sugar, I’d class that as a compote rather than a jam. In which case, store it in the fridge and use within a few weeks.
EQUIPMENT
You can read more about the equipment you need to make jam in my Beginner’s Guide. But the only thing that’s indispensable (apart from jars for storage) is a large, solid saucepan.
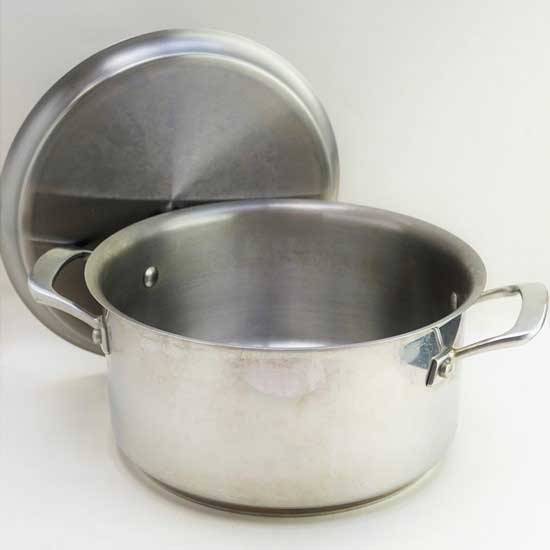
It should be big enough so that, when the jam is bubbling and foaming away, it isn’t going to come up over the sides. A heavy base will distribute heat more evenly so there’s less chance of sticking and burning.
Because evaporation is important to jam making, it’s better if your pan is wider rather than deep as this will speed things up.
EASY HOMEMADE STRAWBERRY JAM
Now we know a little of the theory, making the jam is easy! You’ll find all the details in the recipe card at the end, but here’s an overview in 5 steps

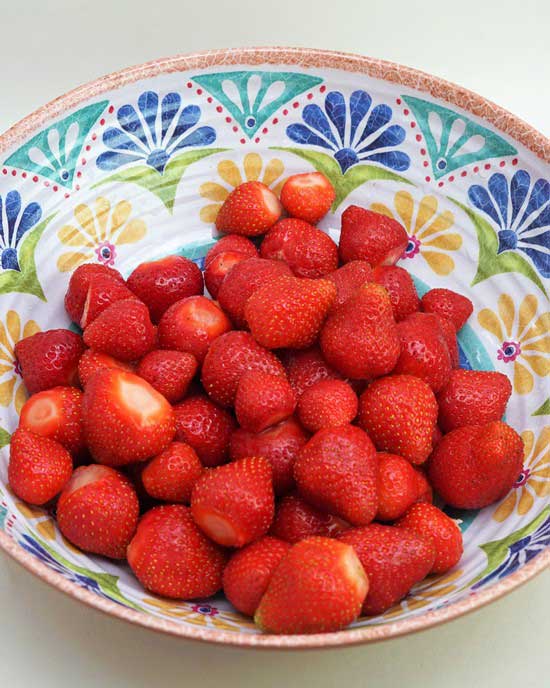
STEP 1. COOK THE STRAWBERRIES
This first stage, cooking the fruit, softens it and starts to draw out the pectin. With juicy fruits like strawberries there’s no need to add any water.
Remember I said that the quicker the cooking, the better the flavour of the finished jam? Well, to cook delicately flavoured strawberries as fast as possible, I first crush half of them with a potato masher.

Then I tip in the rest, cut into chunky pieces of similar size if large.
Next, you put the pan over a low to medium heat and gently cook the strawberries until just tender.

Depending on ripeness, this may take only 5 – 10 minutes.
STEP 2a. ADD & DISSOLVE THE SUGAR
Keeping the heat low, we then tip in the sugar and stir while it slowly dissolves.

Don’t be tempted to rush this as boiling before the sugar’s melted can result in tough pieces of fruit or a grainy jam.
STEP 2b. STERILIZE JARS & LIDS
While the sugar’s dissolving, I sterilize some jam jars and lids – see my Beginner’s Guide for suitable kinds to use.
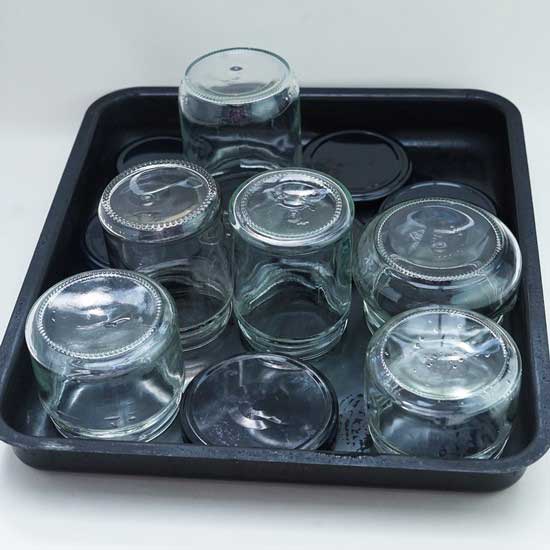
I’ll have already washed them in hot soapy water, rinsed and left them to drain. Now I pop them on a baking tray into the oven at its lowest temperature. I turn off the oven when they’re hot but leave them inside until I’m ready to pot the jam. If they start to cool down before the jam’s ready, I just switch the oven on again.
STEP 3. BOIL
Once the sugar has completely dissolved, add the lemon juice, turn up the heat to maximum, and bring to a boil. To speed things up, I put a lid on for this stage. As soon as the jam comes to the boil, take off the lid so that evaporation can begin.
You need to keep it at a high heat to achieve what’s called a ‘full rolling boil’. The mixture will be boiling hard with its surface completely covered in bubbles.

Resist the urge to stir too much at this stage. This will lower the temperature and so increase the cooking time. It’s ok to stir occasionally though, just to make sure the mixture isn’t sticking to the bottom of the pan.
STEP 4. TEST FOR A SETTING POINT
Knowing when setting point has been reached is the most important thing to learn about jam making.
If you keep boiling past that point your jam will be over-set, hard, sticky and with poor flavour. On the other hand, stop boiling before it’s there and your jam will be runny.
So, how do you know when to start testing? There are a few clues to look out for.
- The surface of the jam will no longer look foamy but glossy and shiny.
- A fast, frothing bubbling will have been replaced by a slow ‘plopping’.
- The sides of the pan may have a build-up of thickened, slightly sticky, jam.
If you see these tell-tale signs, it’s time to get testing.
In theory, setting point occurs at a temperature of 104.5 Centigrade so in theory you could just use a jam thermometer. However, reality is rarely as simple as that. For example, a jam with lots of pectin will often set at a lower temperature. Your thermometer may also not be very accurate.
So, I prefer a combination of two old, simple but reliable methods. They rely on visual clues that, once you’ve made jam a couple of times, will be easy to recognise.
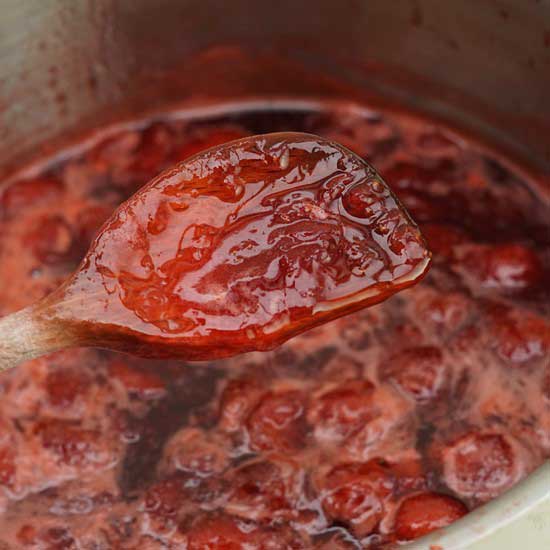
1st THE FLAKE TEST
Take the pan off the heat and get some jam on your spoon. Wait for it to cool then slowly tilt it and let the jam fall off the edge.
Does the jam all run off in a stream? Or do some drops come together into a ‘flake’ and stay on the edge of the spoon?

If it runs off with no flake forming: put the pan back on the heat, boil for another 2-3 minutes, then do the flake test again.
If flakes form: proceed to the Crinkle or Cold Saucer Test
2nd THE CRINKLE OR COLD SAUCER TEST
For this test, before you start making the jam, you should put a few heatproof saucers in the freezer. Then, if the jam passed the flake test, leave the pan off the heat, and take one of the cold saucers from the freezer.
Put a teaspoon of jam on it and leave a minute or so to cool. Gently push the jam with your finger. Does the surface wrinkle up?

If it doesn’t wrinkle but runs back into the gap you made: put the pan back on the heat and boil for another 2-3 minutes, then do the crinkle/cold saucer test again.
If it wrinkles and stays in place: setting point has been reached and your jam is ready to put into jars.
STEP 5. POTTING UP
For hygiene reasons, it’s really important that when potting up, your jars and the jam are both hot.
For jams with large pieces of fruit, like my Homemade Strawberry Jam, I leave it to stand and thicken for around 10 minutes. This helps to suspend the strawberry chunks in the liquid, making it easier to distribute them evenly among the jars. BUT the jam and the jars still need to be hot (technically speaking, no less than 85 degrees Centigrade).
I use a ladle and jam funnel to fill the jars. Or you could pour the jam from the pan into a clean glass jug and fill the jars using that.

Stirring the jam before filling each jar will redistribute any luscious pieces of fruit that are sinking a little.
Fill up the jars almost to the top. This will help to keep out air. If you can’t fill your last jar, then it’s unlikely to become airtight. Keep this one in the fridge and use up within a few weeks, as you would any open jar of jam.
When you’ve filled the hot jars, twist on the lids while protecting your hands with a cloth. Don’t worry if they’re not screwed completely tight at this stage. I usually find I can twist them on a little tighter once they’ve cooled a bit.
STORING HOMEMADE STRAWBERRY JAM
Once the jars are completely cold then the lids, if you press down in the centre, should not spring back with a popping sound. Be pleased: that means you’ve got an airtight seal. Go ahead and label your jars.

Don’t have an airtight seal? Go to the Troubleshooting’ section at the end of my Beginner’s Guide.
The jam should be stored in a cool, dark, dry place. Traditionally, that would be in a pantry but a kitchen cupboard away from the oven or radiators is usually fine. If you have a dry, cool cellar or garage, then even better.
I think my Homemade Strawberry Jam is best eaten within 6-9 months while its flavour is still bright and fresh. But there’s no reason it shouldn’t keep for a year so long as you haven’t greatly reduced the amount of sugar.
FRUITY, DELICIOUS, HOMEMADE STRAWBERRY JAM
It’s no wonder that, so often, strawberry jam is a favourite. To me, it says ‘summer’. Slathered on Classic Sultana Scones or bread and butter, or in a Victoria Sponge Cake at afternoon tea, it seems so traditionally British.

But months later, perhaps on cooler days, I love to be able to open up a jar of Homemade Strawberry Jam and bring back some of that summer sunshine by adding a few spoonsful to porridge or rice pudding.

If you’ve made this jam, please leave a comment and let me know what you thought.
Homemade Strawberry Jam
A beautiful, soft-set strawberry jam filled with luscious pieces of whole fruit.
Ingredients
- 1 kg strawberries, washed and hulls removed weight after hulling
- 750 - 1000 g jam sugar (i.e. sugar containing pectin) see Recipe Notes #1 and #2
- 1 lemon juice only
Instructions
-
Put 2 or 3 small saucers in the freezer; they'll be used to quickly cool teaspoons of jam to find when the setting point has been reached.
-
Wash 4 jam jars and their lids in hot soapy water, rinse, then leave to drain.
-
Put half the strawberries in a large, heavy, wide saucepan and crush with a potato masher.
Cut up the remaining strawberries into roughly equal sized pieces and add them to the pan.
-
Put the pan over a low to medium heat and gently cook the strawberries until just tender (5– 10 min).
-
Turn the heat to low then add the sugar. Stir regularly while it gradually dissolves.
Meanwhile sterilize the jars and lids by putting them on a baking tray in the oven at its lowest setting.
Turn off the oven when the jars and lids are hot but leave them inside until you're ready to pot the finished jam. If they cool before the jam is ready, switch the oven on again.
-
When the sugar has completely dissolved, add the lemon juice then turn up the heat to maximum and bring to a boil: putting a lid on will speed this up, but take the lid off as soon as it boils so that evaporation can begin.
Keep it at a fast, rolling boil until setting point is reached (10 - 30 min) - see below for how to test for this.
-
Test for setting point (see Recipe Note #3 for when to start testing)
Take the saucepan off the heat.
Flake test: Take some jam on a wooden spoon, cool it a little, then let it fall off the edge of the spoon. If the final bits of jam come together into 'flakes' rather than running off in a stream, proceed to the Crinkle/Cold Saucer test. If it doesn't flake, boil for another 2-3 minutes then test again.
Crinkle/Cold Saucer test: Take one of the cold saucers from the freezer, put a teaspoon of jam on it to cool then gently push the jam with your finger. If it wrinkles and doesn't run back into the gap you made, then setting point has been reached. If not, boil for another 2-3 min then test again.
-
When setting point is reached, take the hot jars and lids from the oven and pack the hot jam into them.
Tip: leaving jam to stand for 10 minutes will thicken it a little which helps to suspend any large pieces of fruit and therefore makes it easier to distribute them among the jars. However, for hygiene and therefore safety reasons, the jam and jars must still be hot.
Protecting your hands with a cloth, screw on the lids and leave to cool. When the jars are cooler, it should be possible to tighten the lids a little more.
-
Once the jars are completely cold press down on the middle of the lids. If they don't spring back with a popping sound then you have an airtight seal. Label the jars and store in a cool, dark, dry place..
Don’t have an airtight seal? Go to the Troubleshooting section at the end of my Jam Making Beginner’s Guide.
Recipe Notes
If this is your first time making jam, you may want to read my Beginner's Guide to Jam Making.
Note #1: Jam sugar Strawberries are a low pectin fruit so to get a good set sugar labelled 'jam sugar' is recommended for this recipe. Note that packs labelled 'preserving sugar' do not contain pectin and aren't recommended.
Note #2: Amount of sugar For a sweet jam that should keep for a year, use 1 kilo of sugar per kilo of fruit. For a less sweet jam, use 750g of sugar per kilo and use up the jam within 6 months. If you use a lower proportion of sugar than suggested, the jam will not have good keeping qualities so should be stored in the fridge and used within a few weeks.
Note #3: When to start testing for a setting point. It's not possible to say how long a jam will take to reach setting point, but there are signs that suggest you should start testing for it:
- The surface of the jam will look glossy and shiny instead of foamy.
- There will be a slow 'plopping' of the jam rather than fast bubbling.
- The sides of the pan may have a build-up of thickened, sticky, jam
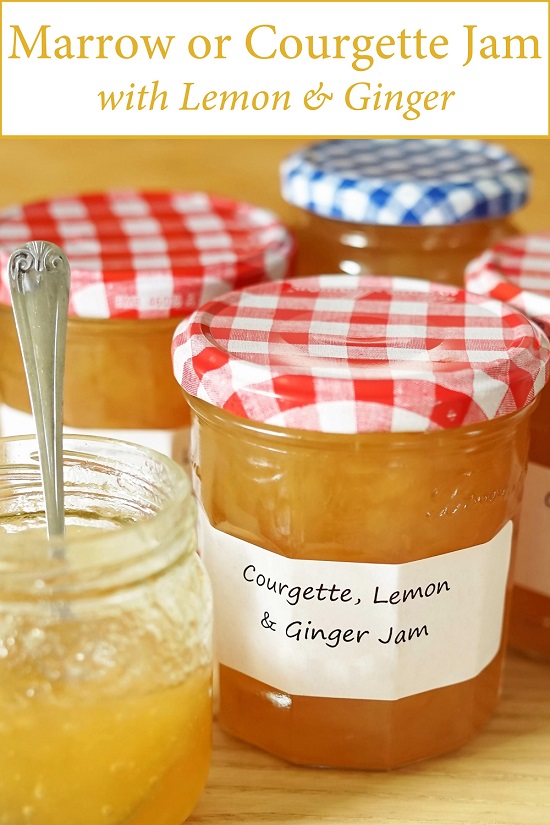
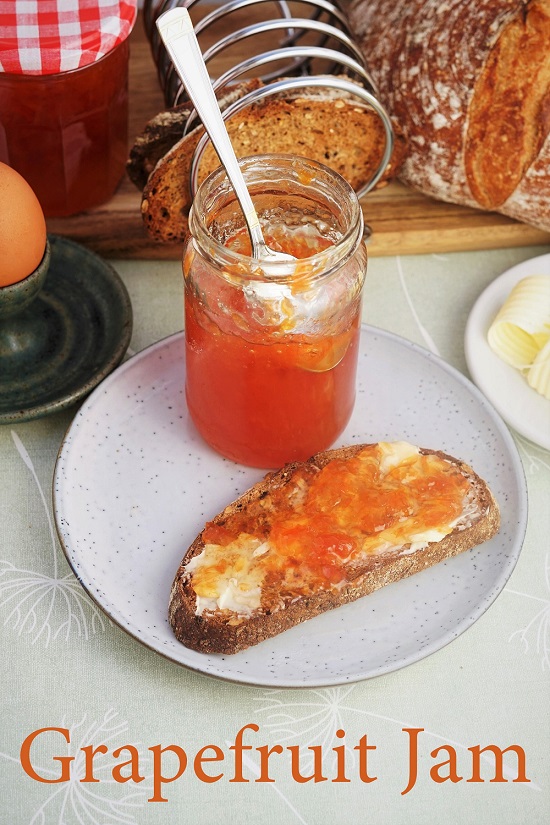
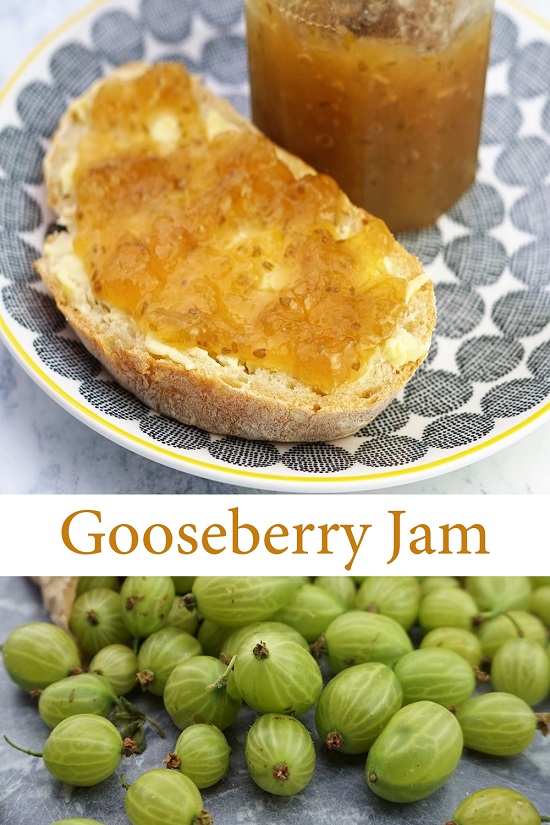
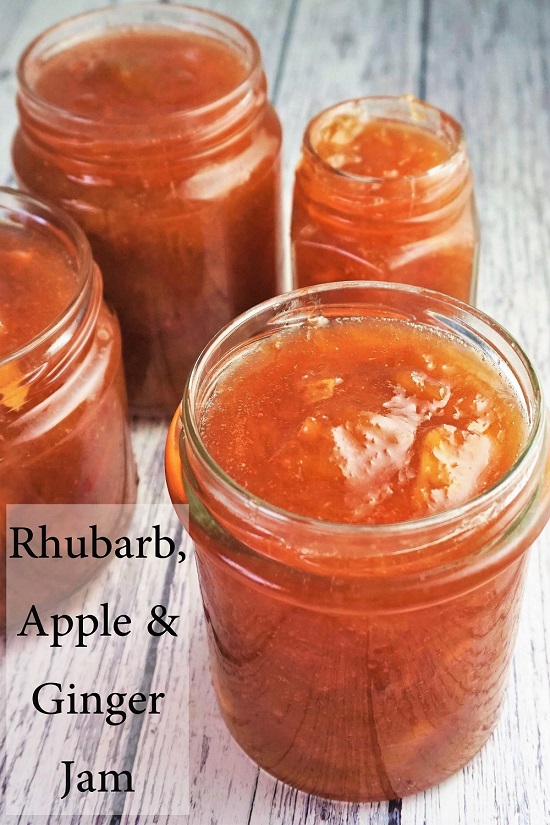
ENJOYED THIS RECIPE? YOU MAY ALSO LIKE THESE