Easy Cheese Straws
Easy Cheese Straws are a crispy and light, flaky, cheesy delight! Perfect as a party nibble with drinks or to eat alongside soups, they really are easy. Simply grate butter and cheese into seasoned flour and mix with iced water to make a dough. Chill for 30 minutes then roll, cut and bake.

Easy Cheese Straws keep for a week in an airtight container. Or you can freeze the dough, the unbaked or the baked straws. Best served warm, these delicious treats reheat to tempting crispness in just a few minutes in an air fryer or regular oven.
Jump to Recipe
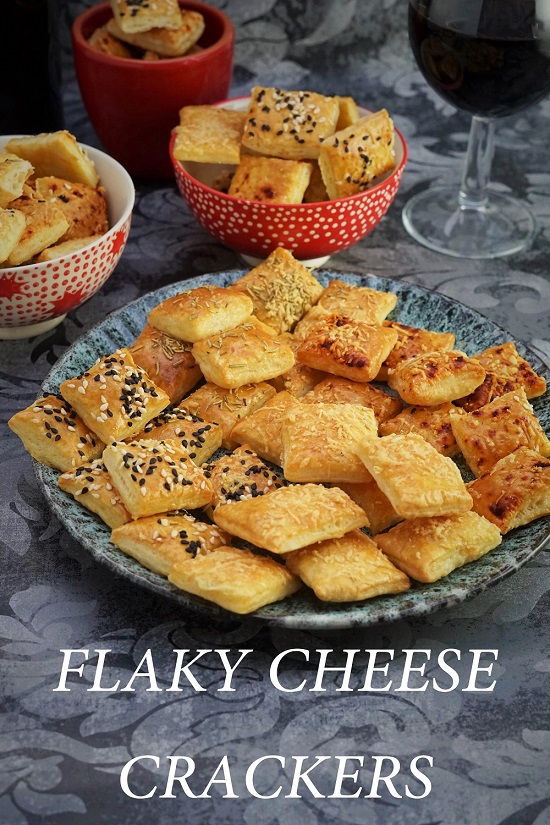
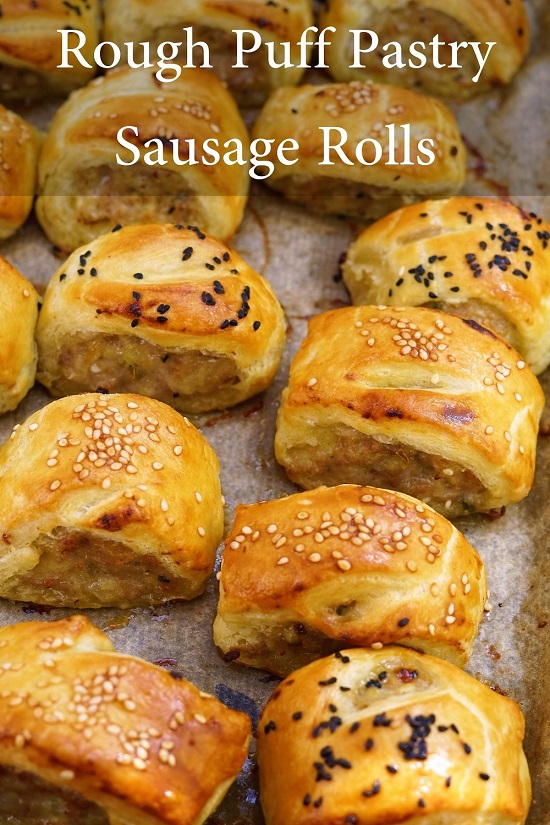
I call my cheese straws easy because, unlike those made with flaky or rough puff pastry, they’re made in one simple stage. For regular flaky, puff, or rough puff, you have to fold and chill the pastry several times to get a series of thin, crispy layers. While not difficult (see my recipes for Flaky Cheese Crackers and Rough Puff Pastry Sausage Rolls), sometimes I want a speedier result.

And that’s where my Easy Cheese Straws come in. You only need about fifteen minutes’ work to bring the dough together and cut it into straws. In between, you’ll chill it for thirty minutes. The cheesy pastry will take another fifteen minutes to get risen, golden and deliciously flaky. So that’s just an hour from start to finish! Whether you eat them as a party nibble with drinks and dips or as contrasting crispness alongside soups, I think you’ll be amazed at how good they taste and for such little effort.

EASY CHEESE STRAWS
You’ll find a recipe card at the end with ingredient amounts and detailed instructions. But I recommend you read this blog post first for extra tips plus step-by-step images.
INGREDIENTS
You need no special ingredients to make my Easy Cheese Straws. In fact, you’ll probably already have them in the cupboard and fridge.
- Plain flour. I recommend white for lightness.
- Salt. Just a little for flavour.
- Butter. Indispensable for its special flavour and to create those flaky layers.

- Cheese. I use a combination of mature Cheddar and Parmesan in the dough plus extra Parmesan sprinkled over just before baking.
- Water. To help bring the dough together.
- Egg. Beaten and brushed over the top of the dough, it gives an attractive, shiny finish once baked, as well as helping the Parmesan to stick.
You can mix additional flavourings into the flour if you like. Try a teaspoon of garlic powder, smoked paprika, dried herbs, or a few grinds of black pepper. But I must admit I prefer a pure, unadulterated cheesy taste.
HOW TO MAKE EASY CHEESE STRAWS
For the best results, use your butter and cheese while they’re fridge-cold and firm. Get the water extra cold too by popping in a few ice cubes. We want everything cold so the butter and cheese stay in relatively large strands when the straws go into the oven. Because that’s what creates the flaky layers we’re after. For that reason I always make this dough by hand rather than in a food processor which could soften and break down the pieces.
To start, all you do is sift the flour and salt into a bowl. Then coarsely grate in the cold butter. To stop it sticking to the grater, dip the block of butter into the flour every few seconds. Give it a stir so that all the butter shreds are separately coated in flour, then stir in the Cheddar and Parmesan.

Finally, gradually add enough of the iced water to bring everything into a dough. Add just a few tablespoons at first, stirring with a round bladed knife until it starts coming together. Sprinkle in more water as needed, but just enough so you can bring it into a dough with your hands.
Pat the dough into a thick oblong, then cut in half. Wrap them separately in foil then pop in the fridge. Chilling in the fridge for thirty minutes will make sure the dough is nice and cold before you roll it out. It won’t come to any harm if it’s convenient for you to leave it longer. You can also freeze the dough if you want to make in advance.
ROLLING, CUTTING & BAKING
My recipe makes around 40 Easy Cheese Straws, the actual amount depending on how thick and long you make them. But in any case, you’ll need several baking trays, either non-stick or lined with baking paper. Prep these while the dough’s chilling and preheat your oven too (details in the recipe card).
Working with one of the pieces of dough at a time, leaving the other in the fridge, roll it into a rectangle approximately 5 mm thick. This will give you cheese straws that are flaky, crispy on the outside, but a little tender in the middle. Roll to half that thickness if you want them crispier all the way through. After rolling, neaten the edges of the rectangle by cutting off the excess, but do save the scraps to make a few extra straws.

Now brush over a good layer of the beaten egg then finely grate over a generous amount of Parmesan. It’s up to you how wide and long you want the cheese straws. I usually go for half to 1 centimetre wide and 10 – 15 centimetres long. As I’m rubbish at making straight lines freehand, I cut across using the edge of a ruler.
Carefully pick up each straw and transfer to a baking tray, leaving just a little space between them. Put into the preheated oven where they’ll take around 15 minutes to get risen, golden, and cooked all the way through. While that’s happening, you can take the other piece of dough out of the fridge and repeat the process.

If you want to get them all prepped in advance, perhaps for a party, you could freeze the cheese straws rather than bake straight away. However, as described below, I cook them all and reheat just before serving.
SERVING & STORING EASY CHEESE STRAWS
When the cheese straws come out of the oven, they’ll be quite delicate. So carefully transfer them to a wire cooling rack where they’ll crisp up a little more in a couple of minutes. But I challenge you not to eat one (or two, or three…) straight away! Looking so tempting and smelling delicious, I can never resist.

While my Easy Cheese Straws must be served warm or just warm to be enjoyed at their crispy, flaky best, it’s no problem to make them in advance and reheat as needed. Just don’t overbake them the first time. Also make sure they’re completely cold before storing in an airtight container. They’ll keep for up to a week or you can freeze for a month.
For smallish amounts, I reheat in my air fryer preheated to 200°C. Depending on how full it is, they’ll be absolutely gorgeous after just 1 ½ – 2 ½ minutes. For larger amounts, I cook a few minutes longer in a regular oven heated to 180°C /160° fan/Gas 4 /350° F.

While I associate cheese straws with parties, especially with a few drinks at Christmas, I do love them alongside everyday soups too. So easy to make, there’s no reason you can’t enjoy them instead of the more usual bread, croutons or cheesy scones.
But however you eat them, I think you’ll agree that Easy Cheese Straws are a tasty, light, crispy and flaky delight! If you’ve made this recipe, do let me know how it went by leaving a comment and rating.


Easy Cheese Straws
Crispy, light, and flaky these simple and quick cheese straws are perfect as a party nibble with drinks or to eat alongside soups.
For best results, make with fridge-cold butter and cheese. To enjoy Easy Cheese Straws at their best, always serve warm (they reheat to crispness in a few minutes in an air fryer or regular oven).
Ingredients
- 300 g plain flour plus extra for rolling
- 1 tsp salt
- 200 g cold butter
- 75 g cold mature Cheddar cheese coarsely grated
- 45 g Parmesan cheese finely grated
- 8 - 12 tbsp iced water
- 1 small egg, beaten (you will not need it all)
- extra Parmesan for sprinkling
Instructions
-
Sift the flour and salt into a large bowl.
Coarsely grate the butter into the flour (dip the block of butter into the flour every few seconds to stop it sticking to the grater). Stir in so the pieces are separate and coated in flour.
Stir in the Cheddar and Parmesan cheeses.
Sprinkle over 4 tbsp of the iced water then use a round bladed knife to start bringing the mixture together. Add enough water, a little at a time, until you can use your hands to form it into a dough.
Pat the dough into a thick oblong block, cut in 2, then wrap each piece in foil. Chill in the fridge for at least 30 minutes. Dough can also be frozen.
-
Preheat the oven to 200°C /180° fan/Gas 6 /400° F.
Lightly grease some baking trays or line them with baking parchment.
-
Lightly flour your worksurface.
Take one piece of dough from the fridge, unwrap and lightly sprinkle with flour.
Roll into a rough rectangle approximately 5 mm thick (this makes cheese straws that are crisp, flaky and a little tender inside; roll to 2.5 mm for crispness all the way through).
Cut the dough into a neat rectangle, reserving any scraps of dough.
Brush with beaten egg then finely grate extra Parmesan all over it.
-
Cut the dough into straws 0.5 - 1 cm wide and 10 - 15 cm long, as preferred.
Transfer to the prepared baking trays, leaving just a little space between them. Cheese straws can be frozen at this point.
-
Bake in the oven until risen, golden and cooked all the way through (approx. 15 minutes - a little longer if baking from frozen).
Tip: if you'll be storing and reheating later, be sure not to overbake.
Carefully transfer to a wire rack where they'll crisp up a little more.
Meanwhile, repeat the process with the remaining half of the dough plus any leftover scraps.
-
These cheese straws must be eaten warm to be enjoyed at their best: if necessary, reheat in an air fryer preheated at 200° C then cooked for 1½ - 2½ minutes, or in a regular oven at 180°C /160° fan/Gas 4 /350° F for 3 - 6 minutes.
To store, make sure the cheese straws are completely cold before transferring to an airtight container where they should keep for up to a week or frozen for a month.
RELATED RECIPES


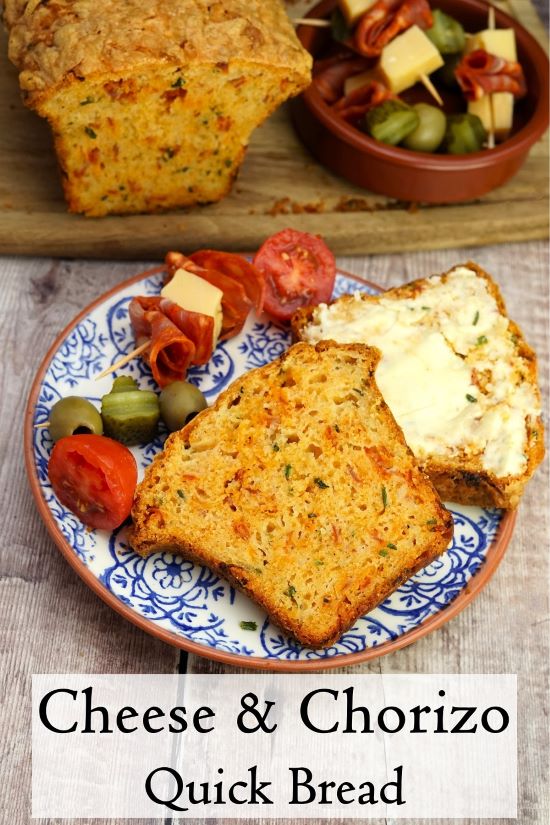
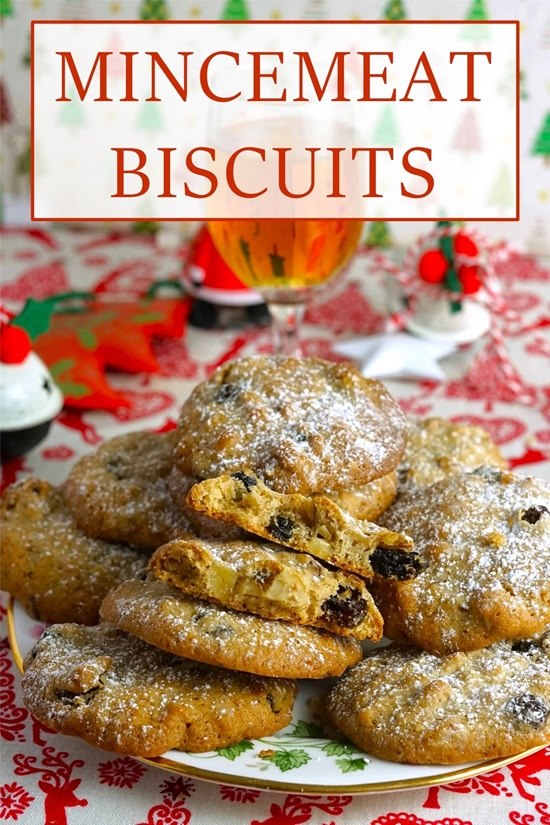

Always like this time of year. Looking at recipes to make for Christmas. As always Moorlands Eater comes up with the goods. The quick bread will be made and frozen in slices for quick “nibbles” and the mincemeat biscuits are on the list – thank you.
Thank you for your lovely comments, Sarah! You might be interested in the mincemeat biscotti I’m making for this Christmas: recipe coming soon!