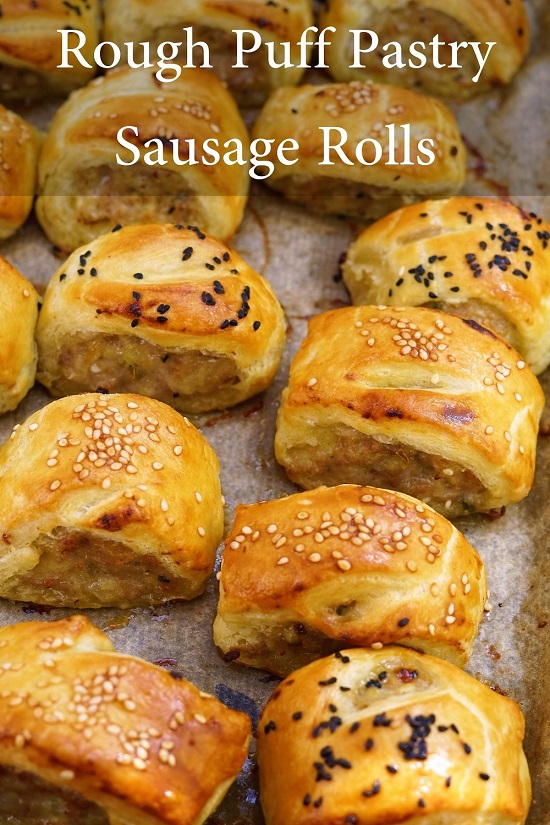
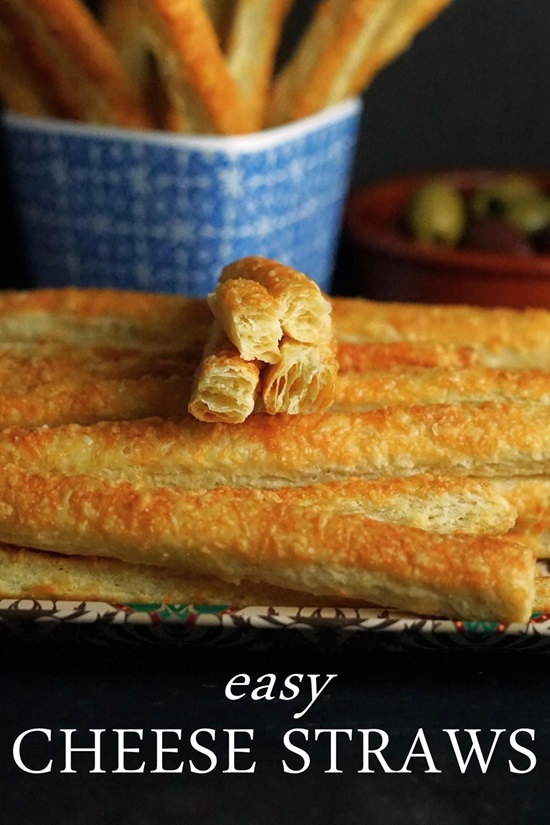
Flaky Cheese Crackers
Flaky Cheese Crackers are a melt-in-the-mouth snack and are perfect as a nibble with drinks. Layers of light, cheesy pastry are created by a simple technique of folding grated cheese into rolled out, buttery dough.

Cut into whatever shapes you like, brush with beaten egg and top with more cheese plus your favourite spices, herbs, or seeds. Bake for 12-15 minutes then marvel at just how good these featherlight biscuits are.

Best eaten on the day of making Flaky Cheese Crackers can be prepped in advance and chilled or frozen. Bake straight from the fridge or freezer to enjoy warm and crispy within minutes. Leftover crackers (or frozen cooked crackers) can be re-crisped in the oven in just 2-3 minutes.
A great nibble for parties and get togethers, to eat with soups, or just treat yourself to this superior snack.
Jump to Recipe
FLAKY CHEESE CRACKERS
I absolutely love these Flaky Cheese Crackers. Little puffy pillows of buttery cheesiness, break one open and you’ll find delicate layers of crispy delight.

Made with mature Cheddar plus Parmesan cheese, the crackers are a superior savoury snack. Perfect as a nibble with drinks, I also enjoy them alongside soups instead of bread or a cheese scone.
I top the crackers with different herbs, spices or seeds just before baking.

This gives me a batch of interesting, really appetizing looking, Flaky Cheese Crackers. But perhaps you’re thinking it must be tricky to achieve those puffy layers? Think again!

Let me show you how easy it is to make fantastic, flaky homemade crackers.
PUFF & FLAKY PASTRY
In classic puff pastry, a block of cold butter is enclosed in a sheet of flour and water dough. It’s then folded and rolled out several times, chilling between each fold. With flaky or rough puff pastry, the butter is added in little pieces. See my Rough Puff Pastry Sausage Rolls for an example.
In both cases, the flaky layers are created by the pieces of cold butter melting as they cook. This means you normally have to chill the dough between each rolling out and folding. However, the great thing about Flaky Cheese Crackers is that no chilling is needed. This means they’re really quick to make!

FLAKY CHEESE PASTRY
The dough for these crackers is basically a flaky cheese pastry. I came across this way of making cheese crackers in one of my retro recipe books: Farmhouse Kitchen (1975). Unfortunately, the resulting crackers were rather uninteresting. Not enough butter. Not enough cheese.
But the method itself was sound. So, I started experimenting with different amounts of dairy until I achieved the perfect Flaky Cheese Crackers.
You make a pastry dough as usual with flour, salt, butter, and iced water. After resting it for five minutes the dough is ready to roll.

The genius bit is that by folding in, in three stages, hard cheeses such as Cheddar and Parmesan (which aren’t going to soften like butter), we can create layers without having to chill the dough between stages.
You’ll find detailed instructions in the recipe card at the end but here’s how it’s done.
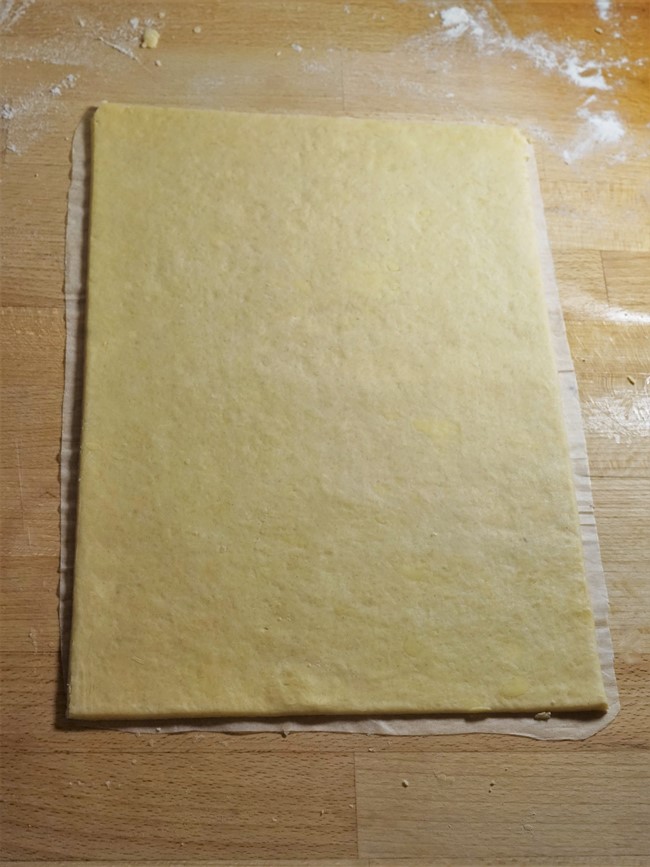
- Start by rolling out a rectangle that’s roughly three times as long as it is wide. Don’t worry if it’s not a neat rectangle. As you can see from the images above, mine certainly wasn’t. As we go through the easy stages it will neaten up as it’s folded.
- Sprinkle one third of the cheese over the lower two thirds of the pastry.
- Fold the top third down, then fold down again to completely cover the cheese.
- Turn the pastry around so the folded edges are now to left and right.
This process is then repeated twice more to incorporate all the cheese.

At the end, you should have a relatively neat piece of dough.
CUTTING OUT & BAKING
I make two trays of crackers with this dough, using 31 x 21 cm baking trays. So, I start by cutting the dough into two pieces.
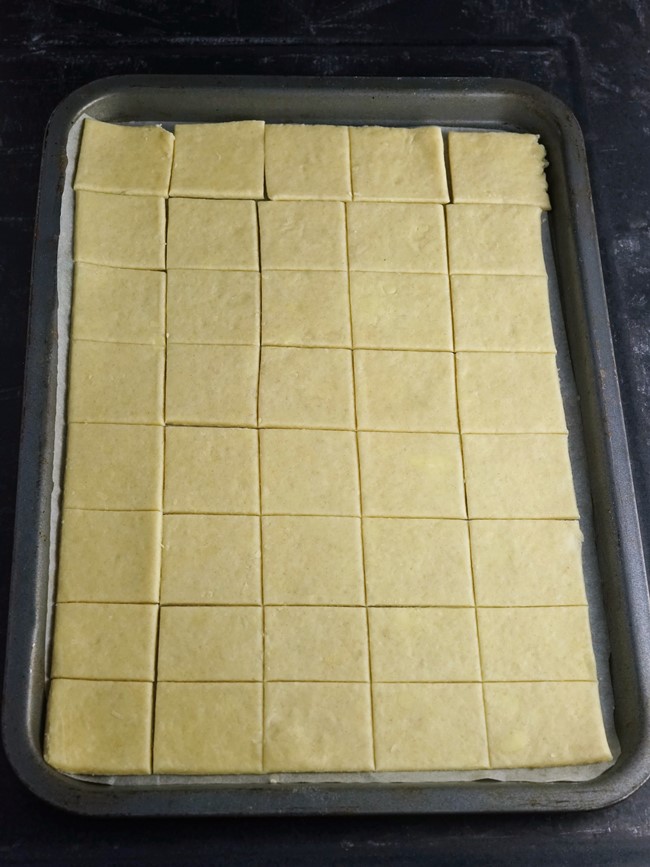
To cut out the crackers, I use a simple technique I developed for my Easy Homemade Crackers. I roll out a piece of dough on baking paper which I’ve cut to the size of my baking tray. I then neaten the edges using a ruler and pizza cutter or pastry wheel.
Next, I slide the paper onto the tray and cut out the crackers. As they’re so intensely flavoured, I like small Flaky Cheese Crackers. Rather conveniently, the width of a ruler is almost the perfect template for this. I get eight rows of five, or forty square crackers per tray.
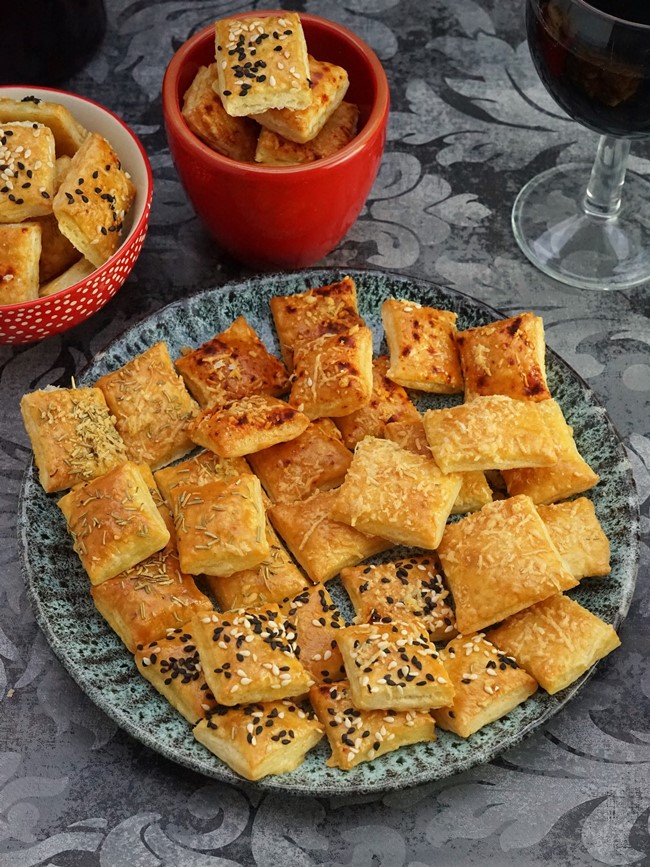
After brushing the dough with beaten egg to give it a glossy finish, you can now add extra flavourings. Here I sprinkled over smoked paprika, Parmesan, black and white sesame seeds, dried rosemary.

But use your imagination. Other seasonings you could try include coarse sea salt, black pepper, homemade za’atar spice mix, chilli flakes or Aleppo pepper, poppy, nigella or fennel seeds.
You then prick the crackers all over with a fork. This is should help give an even rise but, to be honest, I forgot for one batch and didn’t really notice a difference.
In a preheated oven, Flaky Cheese Crackers are going to take just 12-15 minutes. Meanwhile, use the second half of the dough to make another trayful.

When done, the crackers should be risen, puffy and golden. They will also smell wonderful. Transfer the crackers to a wire rack where they’ll crisp up a little more.
SERVING, STORING, FREEZING & REHEATING
I think the crackers are absolutely divine to eat while still a little warm. Crispy, flaky, buttery and with a heavenly cheesy aroma, it’s hard not to sample one. Then another. Then another!
But there’s no denying that Flaky Cheese Crackers do lose crispness after the day of baking. HOWEVER, I have great news. The next day, the crackers can be re-crisped in the oven in just 2-3 minutes.
You should also know that these are a brilliant cracker to prep in advance. Once you’ve cut out and added the toppings, you can put the whole tray in the freezer or chill until later.
Bake straight from the fridge or freezer (no need to defrost) to enjoy warm and crispy within minutes!

You can also freeze freshly baked crackers once they’re cold. Again, just 2-3 minutes in the oven and they’ll be warm and crispy once more.
I hope you’ll try these wonderful, easy crackers.
Light, crispy, and cheesy, they’re a perfect nibble to offer guests. Or just enjoy them all to yourself!
HAVE YOU MADE FLAKY CHEESE CRACKERS?
LEAVE A STAR RATING & COMMENT BELOW

Flaky Cheese Crackers
An easy crispy and cheesy snack or nibble to have with drinks. Delicious warm.
Can be made in advance, chilled or frozen, then quickly baked when needed.
Best eaten on the day of making, although you can briefly reheat crackers to re-crisp them.
Ingredients
- 225 g self raising flour plus extra for rolling out
- ½ tsp salt
- 120 g butter cold from the fridge
- 5 tbsp iced water
- 80 g Cheddar cheese
- 40 g Parmesan cheese
Suggested toppings
- 1 egg beaten
- Parmesan cheese grated
- a few pinches of dried spices or herbs e.g. black pepper, sea salt, paprika, chilli or red pepper flakes, za'atar, rosemary, thyme
- a few pinches of seeds e.g. sesame, poppy, nigella, fennel, caraway
Instructions
-
Preheat your oven to 190C / 170C Fan / Gas 5.
Cut two pieces of baking paper to fit the bases of two baking trays each approximately 31 x 21 cm.
-
Stir together the flour and salt in a bowl.
Grate the butter into the flour (dip the butter in the flour now and then to stop it sticking to the grater) then rub in with your fingers until you have a mixture resembling coarse breadcrumbs.
Add just enough iced water to create a soft, pliable dough: start by mixing in the water with a knife, then switch to your hands.
Cover and leave to rest for 5 minutes.
Meanwhile, finely grate both cheeses and mix together.
-
On a floured work surface, roll out the dough into a rectangle approximately three times as long as it is wide and 3-5 mm thick.
With one of the short sides facing you, sprinkle one third of the cheese onto the lower two-thirds of the dough.
Fold down the top third of the dough, then fold down again so the cheese is completely covered.
Give the dough a quarter turn so that the folded sides are now to the left and right.
-
Roll into a rectangle as before, then repeat the process of sprinkling the lower two thirds with cheese and folding over again.
Again, turn so that the folded sides are to left and right, then roll out and repeat with the final third of cheese.
With your rolling pin, lightly press down the open sides of the dough to stop any cheese falling out.
-
Cut the dough into two pieces and cover one of them.
Lightly flour one of the pieces of baking paper.
Place one piece of dough on it, sprinkle with flour, and roll out 2-3 mm thick or until it covers the paper.
-
Neaten the edges of the dough with a knife or pastry wheel.
Cut the dough into squares or rectangles of your preferred size: try not to cut through the paper.
Tip: using a ruler width as a template, you should get 5 rows of 8 i.e. 40 small square crackers per tray.
Slide the paper and the uncooked crackers onto one of the baking trays.
-
Brush the dough with beaten egg and sprinkle over your chosen toppings.
Prick the crackers with a fork.
Can be chilled or frozen at this point: see below.
-
Put the tray in the oven and bake until the crackers are puffed up and golden brown (12-15 min).
While the first tray is baking, make another batch with the remaining dough then cook as above.
-
When done, transfer the crackers to a wire rack to cool a little.
Eat warm or cold.
Store in an airtight container when completely cold.
Best eaten on the day of making while still crispy but can be re-crisped in the oven: 2-3 minutes, temperature as above.
You can also prepare in advance and chill or freeze after Step 7. No need to defrost, just bake from frozen (or chilled) as per original baking instructions.
Recipe Notes
Inspired by a recipe in Farmhouse Kitchen (1975)
RELATED RECIPES


I haven’t tried your cheese scone recipe yet. I completely agree with you about shop bought cheese scones. So far I have been following – roughly – Felicity Cloake’s recipe in the Guardian newspaper. A good recipe butI stick to Cheddar and hae added Grana Padano for extra bite. I include English mustard, sometime with a little hot smoked paprika. They come out quite well. To mkae them more cheey I cut the butter a little and add more cheese to alter the butter cheese proportions. This is on the basis that cheese is also a fat. I will try your recipe because I have a feeling that the slight acid of the yoghurt will add to the rise.
RICHARD STOKES: Would like to know how your amendments turn out. Good ideas. Also, once you know ratios of fat/dry/wet, then you can be creative with more success in cooking and baking in general. Sauces, dressings, baking, etc. It’s all about balance.