Miso Butter
Miso Butter adds an intense, salty-savoury taste to so many dishes.
From all manner of vegetables, meat and fish, to rice, noodles and eggs, this rich condiment will bring a new dimension to your meals.

Luckily, it’s incredibly easy to make at home: just beat miso into softened butter.
From that simple base you can add flavourings such as garlic, herbs or chilli.
Jump to Recipe
Miso, a paste of fermented beans, has been part of Japanese and Chinese cuisine for centuries.
But perhaps the most obvious sign that it now has a huge following in the West too is the emergence of Miso Butter.

Combining miso, which comes from a region with traditionally very little dairy, with creamy butter is a clear example of fusion food.
As someone who loves both the deeply savoury or umami taste of miso and all things dairy, it was only a matter of time before I got into Miso Butter.
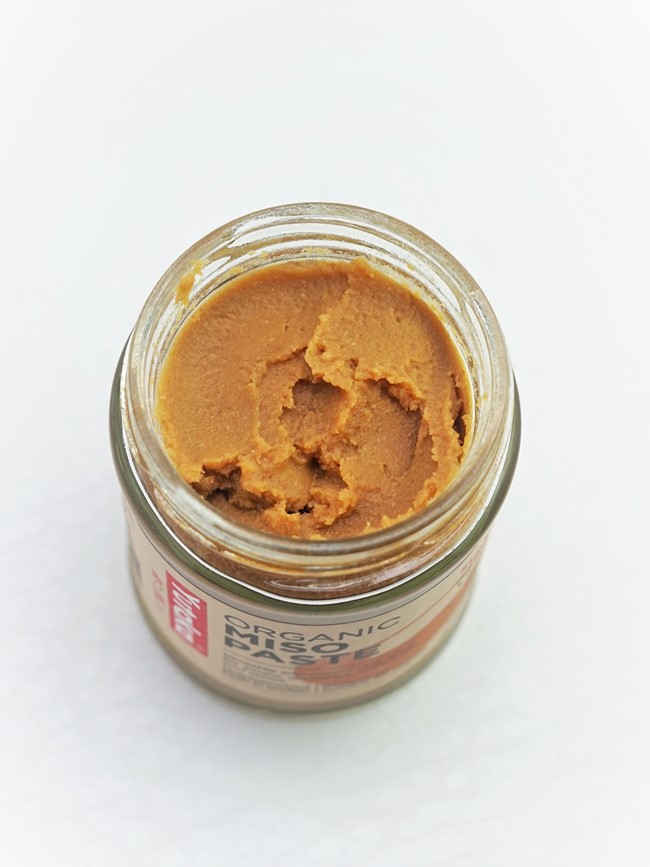
MISO PASTE
You’ll find three types of miso paste usually available: white, yellow and red.
They each taste slightly different and with varying degrees of saltiness. Try a few and see which you like best. But you can use any for this recipe.

Although you’ll find a great range of miso in shops specializing in Japanese and Chinese food, you should also be able to pick a jar in most supermarkets.
The ratio of miso to butter is really up to personal taste as well as the strength of your miso.
I suggest you start with two thirds butter to one third miso and see how you go.
Read more about miso and the types available here
MAKING MISO BUTTER
To beat the miso into your butter, you’ll need the latter to be nice and soft. So make sure you take the butter from the fridge ahead of time. You can soften it in the microwave but do go gently so it doesn’t melt.

I only ever buy salted butter so that’s what I use here. However, if you don’t want to accentuate miso’s already salty taste, then you might prefer unsalted butter.
If you have a small food processor, by all means use that to whip up the ingredients. Personally, I find a bowl and plastic spoon just as convenient, and easier to wash up.

When you’ve beaten in the lower amount of miso suggested in the recipe card at the end of the post, have a taste and see if you want to add more.
And that really is all there is to it.
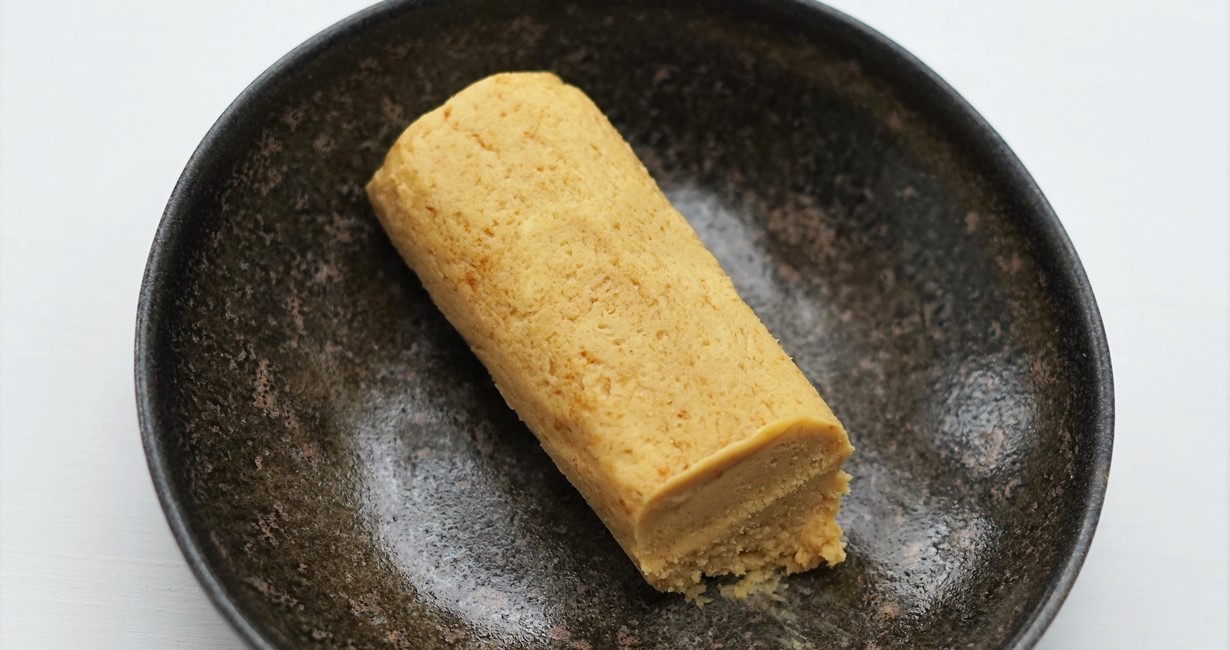
You’ll probably find it most convenient, if not using all the Miso Butter straight away, to keep it wrapped up in the fridge.
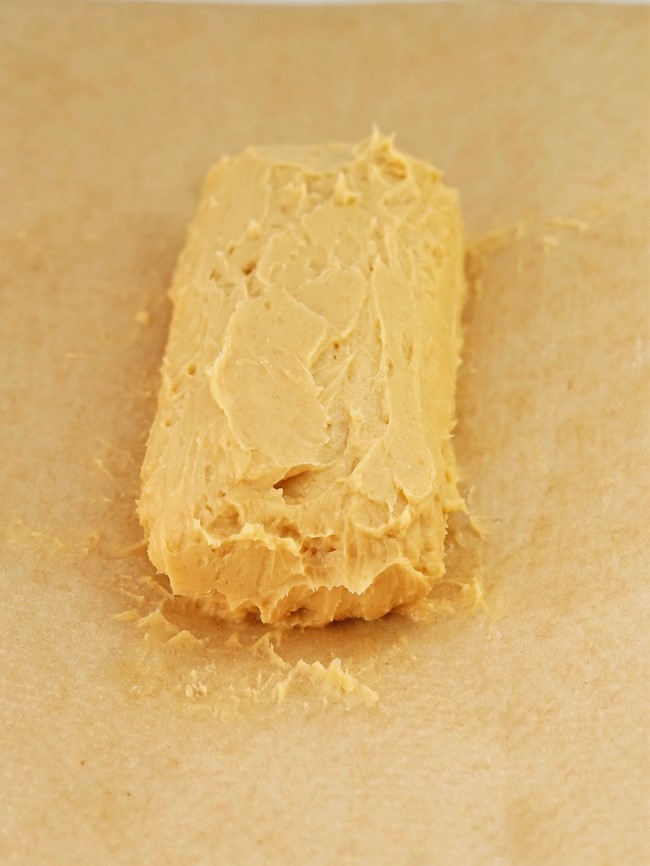
I scrape it onto a piece of baking parchment then roll it up and twist the ends to secure.
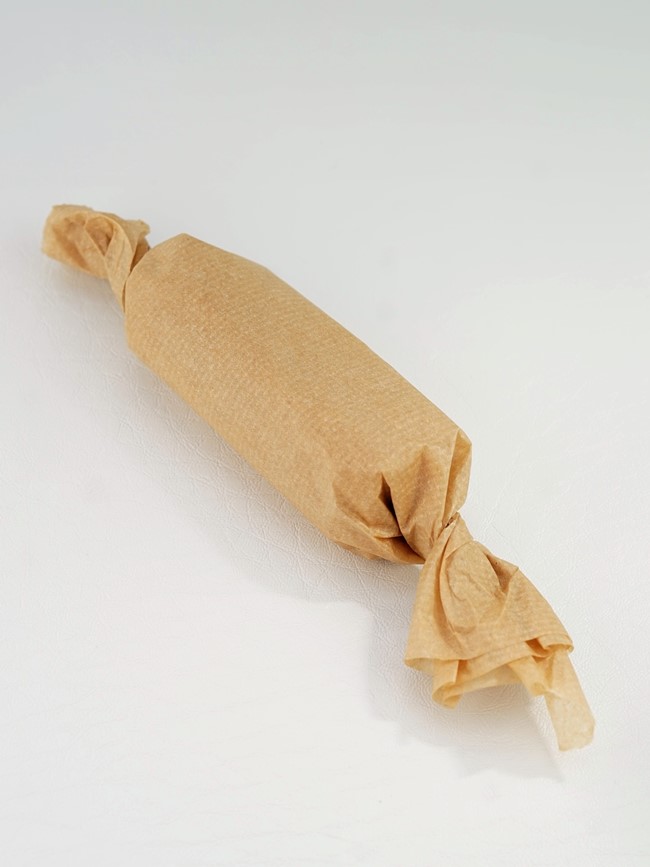
Thirty minutes or so in the fridge and it will have firmed up enough for you to be able to slice it.
Transferred to an airtight container the butter will be good to use for around two weeks.

You can also freeze the butter either before or after slicing. I suggest you use it within a month to eat it at its best.
FLAVOURING MISO BUTTER
What I’ve shown you so far is the very simplest Miso Butter.
But this lends itself to all sorts of flavourings.
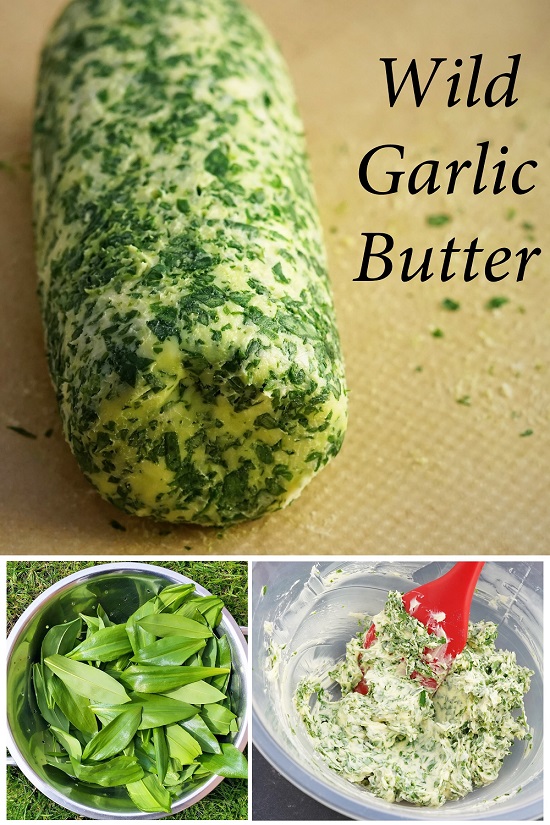
A lovely addition is some finely chopped garlic and herbs.
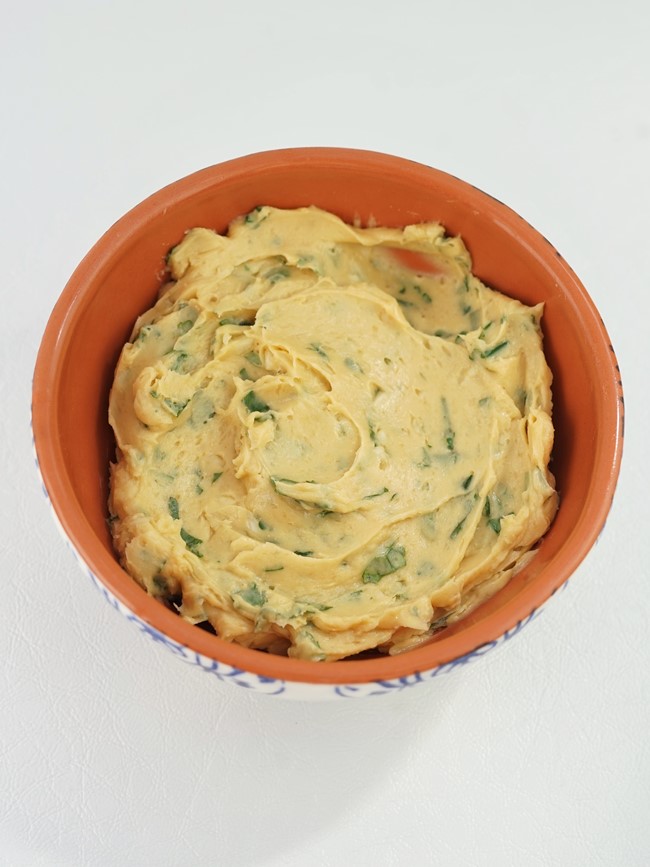
For the butter you see above, as well as a fat clove of garlic I beat in chopped coriander.
Here’s a few more suggestions for flavouring your Miso Butter.
- Other herbs e.g. chives, parsley, wild garlic
- Fresh chilli or dried chilli flakes
- Smoked paprika
- Citrus zest: lemon, orange or lime depending on what you’re eating it with
- Black pepper
- Spring onion
USES FOR MISO BUTTER
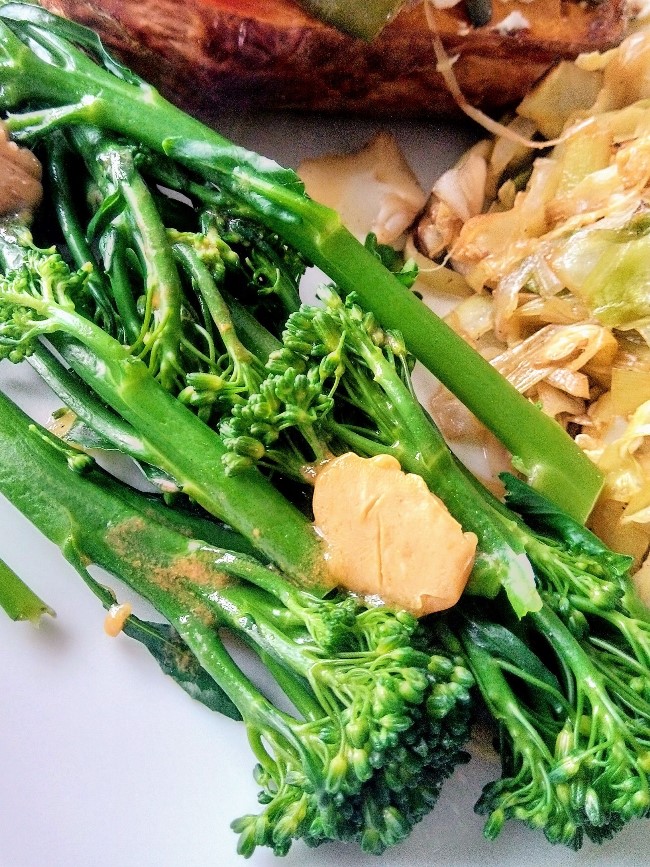
The simplest thing you can do with Miso Butter is to just use it as you would any other butter. Put a big pat of it to melt on cooked fish, steaks, baked potatoes, eat it with noodles, rice or on vegetables such as corn or broccoli.
I even like it on a bacon sandwich or toast. And with a runny poached egg on top, it’s even better!

But by incorporating this wonderful condiment into your cooking you’ll concentrate its flavour.
For example, Miso Butter melted over freshly cooked, seasonal asparagus is of course going to be good.

But lightly blanch the spears first, then quickly roast them with pats of the butter, and it’s a whole different ball game.
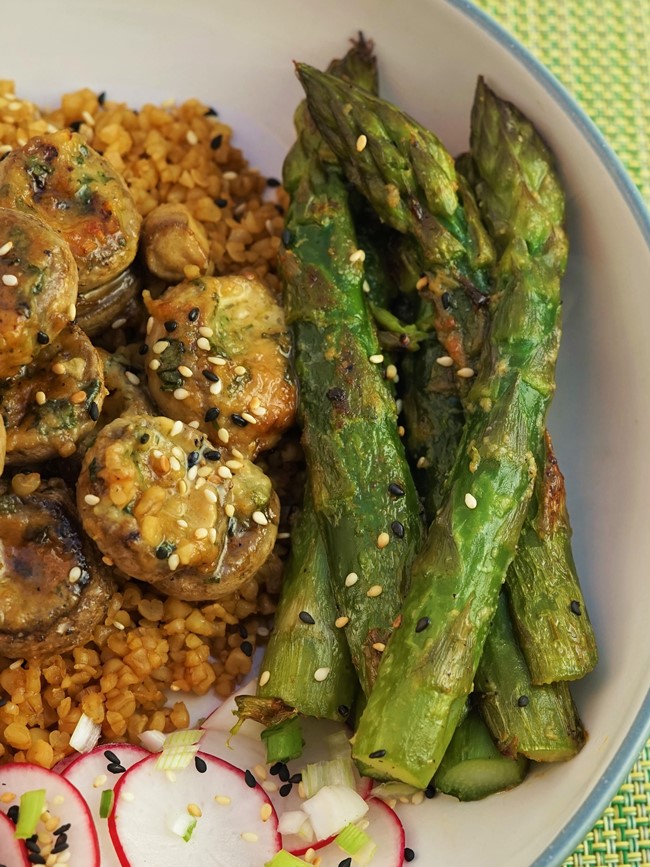
The spears come out lightly charred with a coating of intense, umami-laden, salty, buttery-ness. Gorgeous!
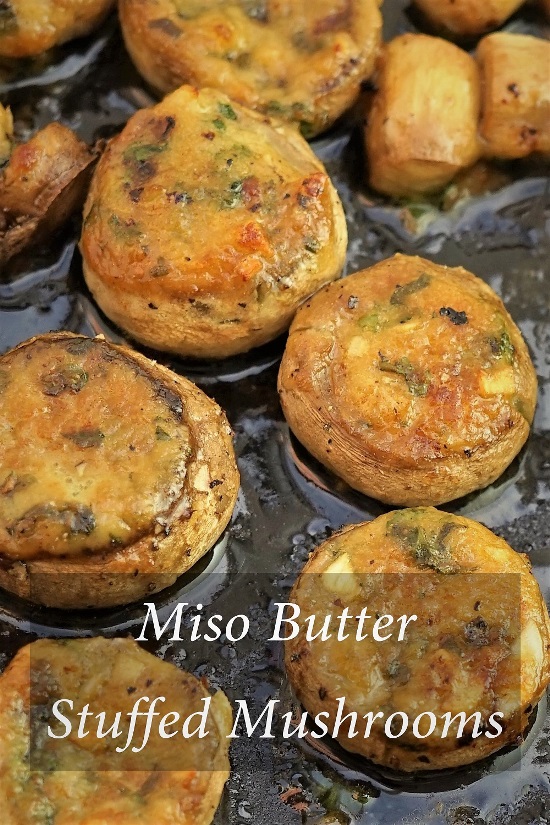
And what are those next to the asparagus in the image above? Mushrooms stuffed with garlic-coriander Miso Butter and baked until bubbling. 😋
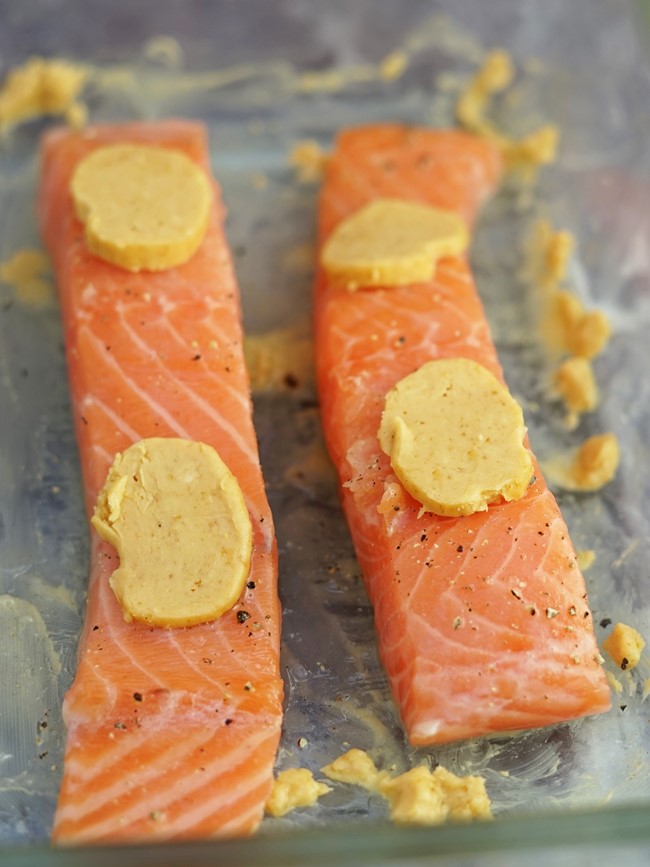
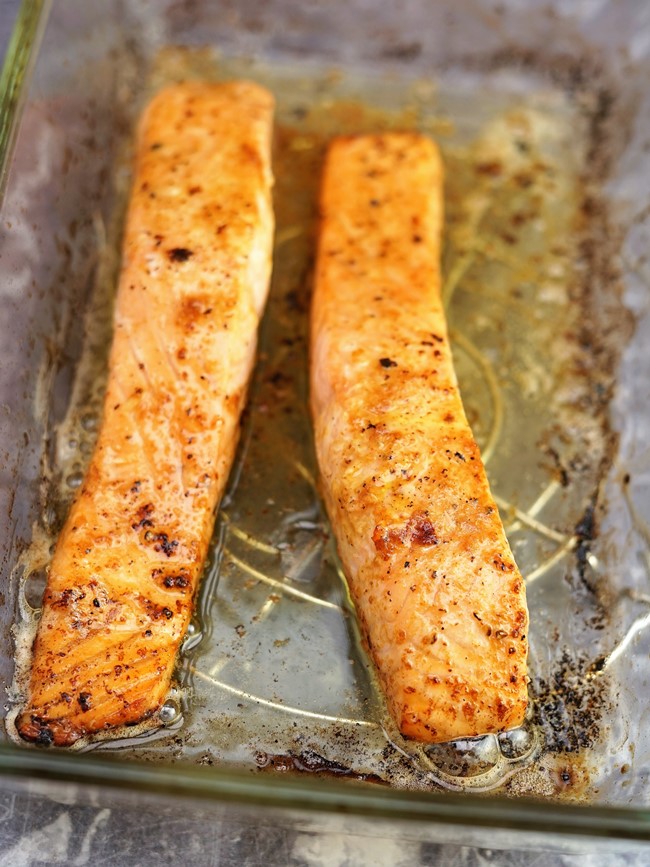
In the same way, instead of just topping cooked fish with the butter, roast it with pats on top.
The result is a lovely shiny, flavour-packed glaze.
EASY & DELICIOUS
I hope my suggestions have inspired you to whip up a batch of Miso Butter for yourself.
So delicious, it’s great to have some squirreled away in the fridge to liven up so many foods.
But, as it’s incredibly easy anyway, it’s really no effort to put a few tablespoonfuls together at a moment’s notice.
Your plates, and your fellow eaters, will thank you for it!
How do you use Miso Butter?
Leave a comment and don’t forget to rate the recipe.
Miso Butter
Adds an intense, salty-savoury taste to vegetables, meat and fish, rice, noodles and eggs.
Add herbs and spices to the base recipe to create your own Miso Butter flavours.
Ingredients
- 150 g soft butter salted or unsalted
- 50-75 g miso paste white, yellow, or red
Optional flavourings
- spring onions finely chopped
- fresh herbs e.g. parsley, coriander, chives, wild garlic finely chopped
- fresh chilli finely chopped
- dried chilli flakes
- orange, lemon or lime zest
- spices e.g. black pepper, smoked paprika, cumin
Instructions
-
Put the softened butter and 50g of the miso paste into a bowl or small food processor.
Beat or blend to combine, then taste.
Add more miso paste if liked, plus any of the optional flavourings, then beat or blend again until thoroughly combined.
-
To store
Scrape onto a piece of baking paper then roll into a log, twisting the ends to secure.
Store in the fridge and use within 2 weeks or freeze for up to 1 month.
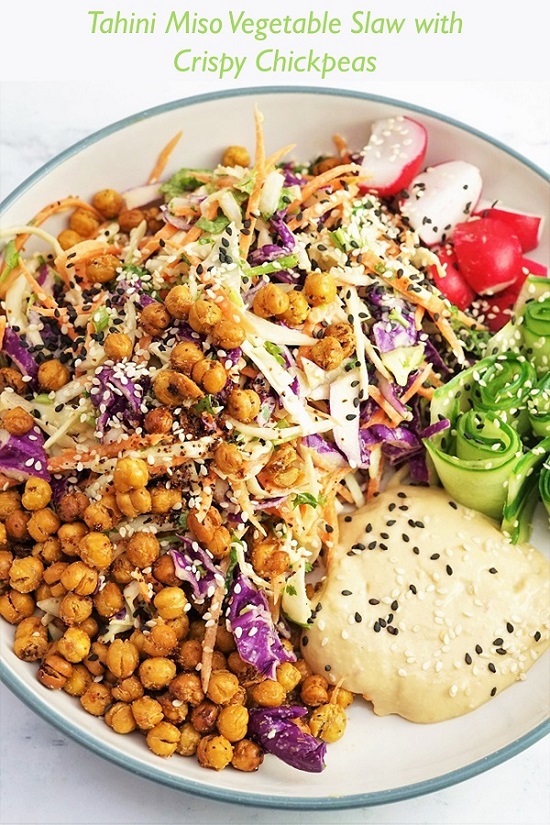
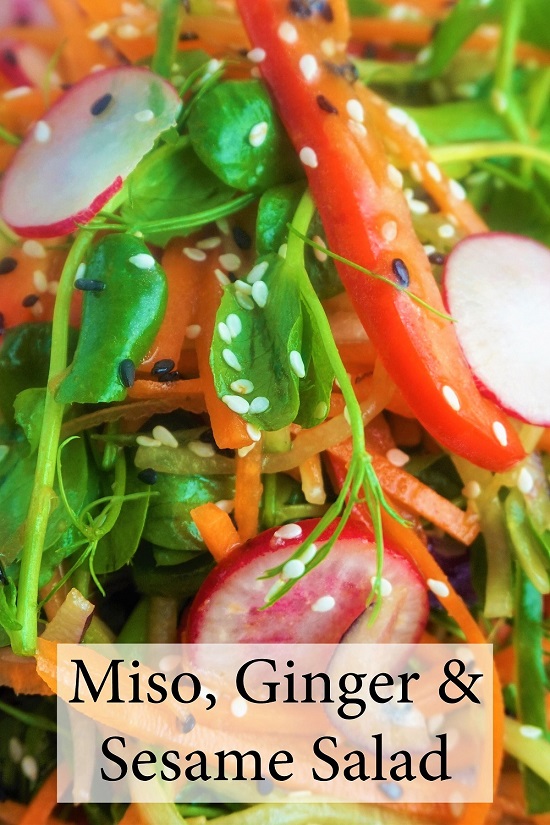
ENJOYED THIS RECIPE? YOU MAY LIKE THESE