Pea Shoots: Grow Your Own
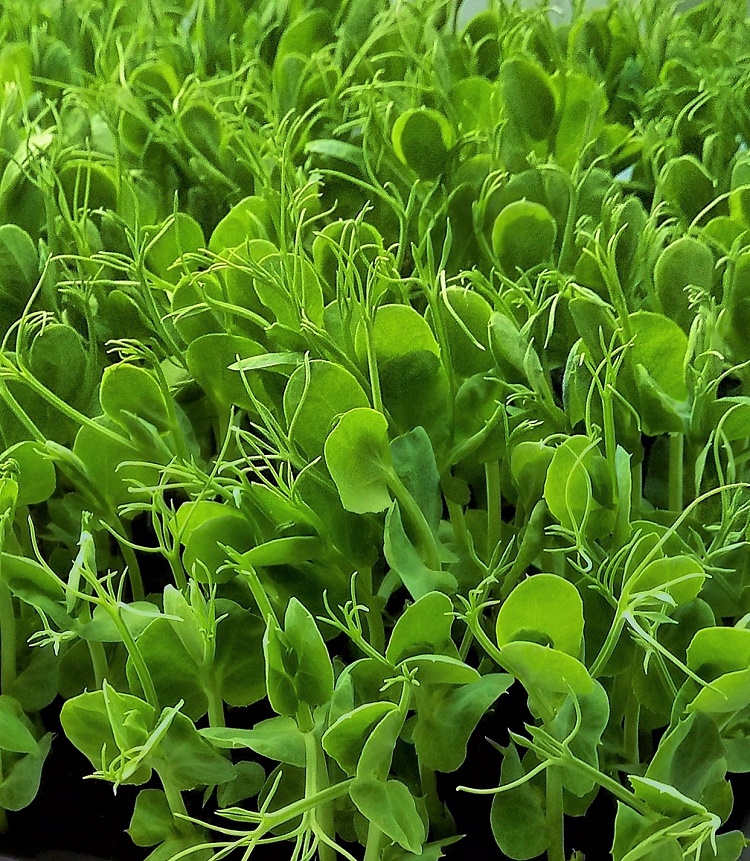
Pea Shoots are really easy to grow at home. All you need is a windowsill. So forget those bags of limp supermarket ones, cut days ago and trucked around the country. Grow your own and you’ll have super-fresh pea shoots whenever you want.
If you’ve seen any of my meals cooked at home during the last few months, you might have noticed that many have pea shoots on the plate.
That’s because, after starting growing them earlier this year, I can’t stop! They take next to no effort, so once you’ve got the bug, you’ll be eating them all the time.
But that’s no bad thing. Because, besides tasting good, pea shoots are a useful addition to a balanced diet. Pea shoots are a form of microgreens, which I wrote about here. If you’ve read that post, you’ll now that, gram for gram, microgreens like pea shoots often contain more vitamins and other nutrients than their full size versions.
Although you’re only likely to eat a few grams of pea shoots at a time, I do think they’re a useful, quick and tasty addition. And when you grow them at home they’re also going to be fresher, with more of those nutrients in tact, than any you can buy.
WHAT YOU’LL NEED FOR HOMEGROWN PEA SHOOTS
The great thing about growing microgreens such as pea shoots is that you don’t need lots of space or equipment. What you will need is:
- dried peas (see below for what type)
- a tray about 6cm deep, with drainage holes
- compost
- a windowsill
The only difference between pea shoots and most other microgreens is that, pea seeds being on the large side, you’re best to use a larger tray and a greater depth of compost.

WHICH PEAS CAN I SOW?
For my first batches of pea shoots, I used dried peas grown specifically for this purpose. I bought them from my usual supplier of seeds for microgreens and they were excellent. All the seeds germinated and produced healthy, tasty pea shoots.
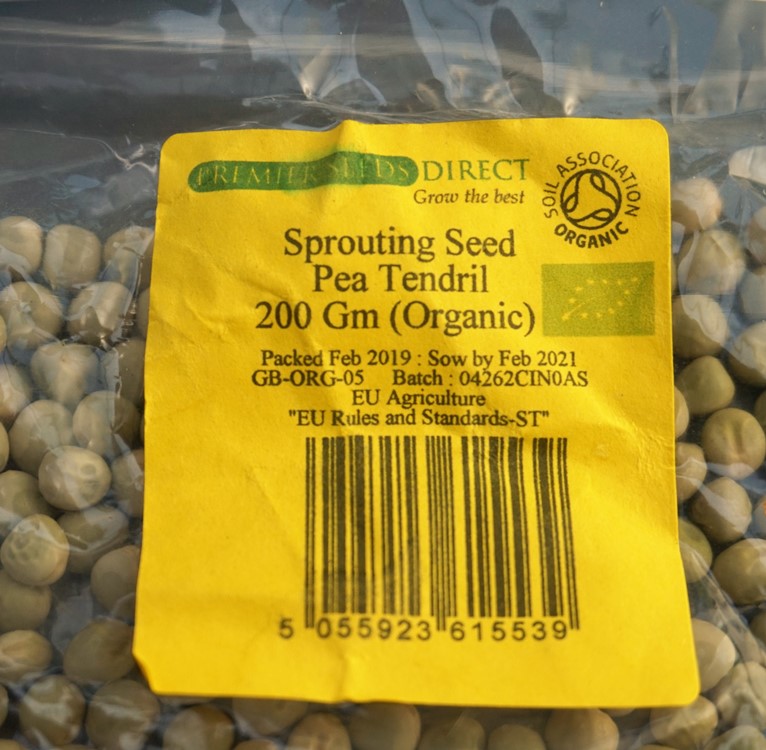
But I subsequently discovered that you can use ordinary dried peas, sold for cooking and often labelled marrowfat peas. The obvious advantage of these is that they’re vastly cheaper. I paid just 82p for 500 grams instead of £3.95 for 200 grams from the specialist supplier.

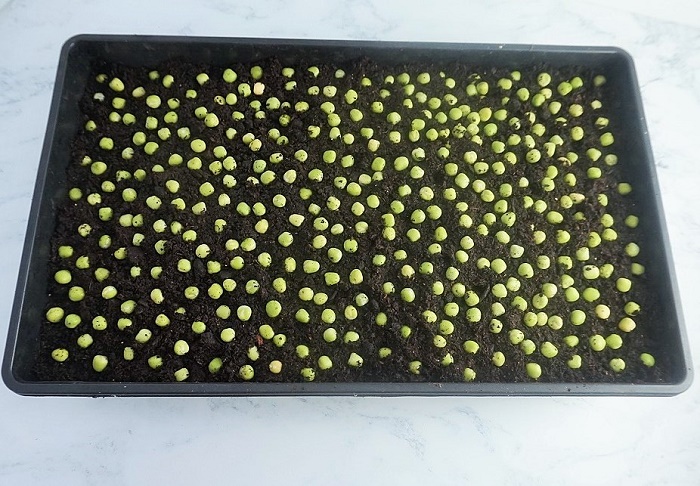
As you can see from the image below (do you ever get the feeling you’re not using your time as wisely as you might?), the supermarket peas were considerably larger than those from the specialist supplier. This means, even if germination and growth rates are the same, you won’t be able to sow as many (and get as many pea shoots) for the same amount of growing space.

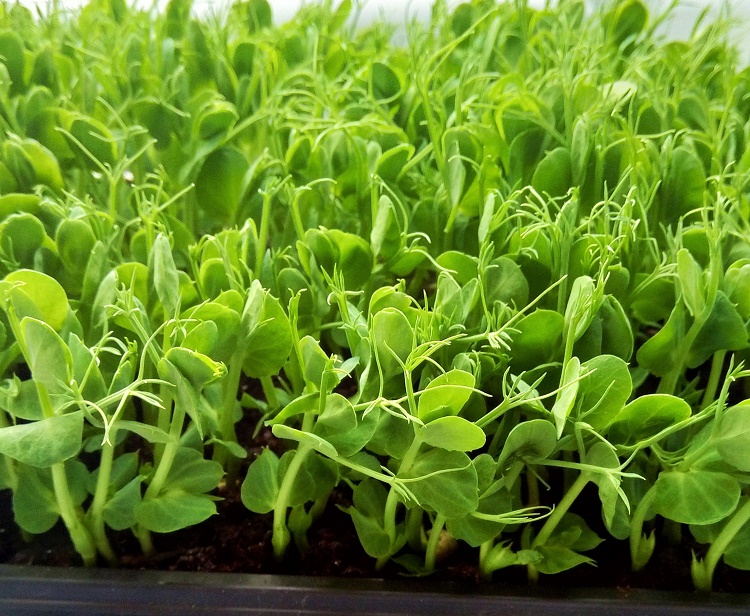
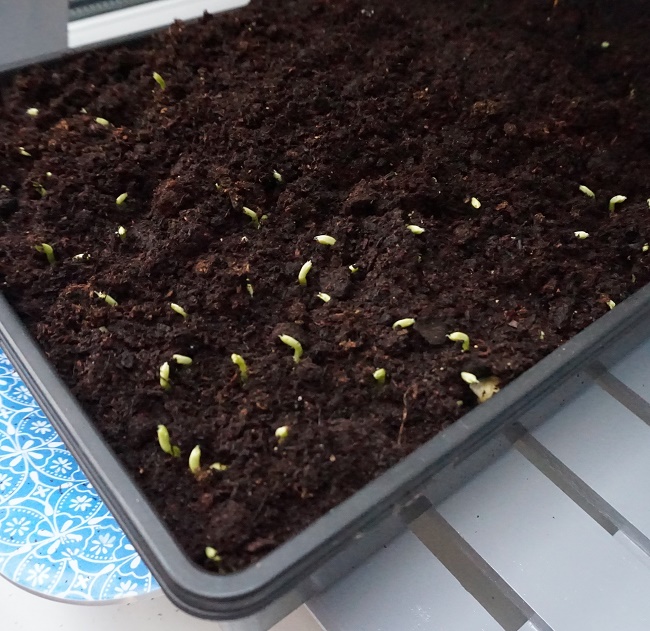
MY EXPERIMENT
But I decided to conduct a little experiment to see if it was worth paying the extra for the specialist seed. I sowed half a seed tray with the supermarket dried peas and half with organic seed sold specifically for growing pea shoots
The image below shows growth after ten days, supermarket peas on the left, specialist seeds on the right.
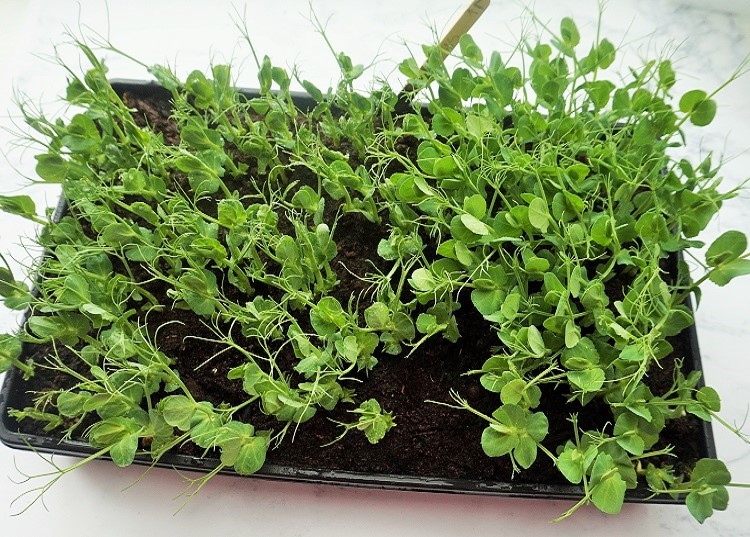
I’d say I definitely got a better germination rate from the specialist seed. They also produced pea shoots which were taller. The leaves and stems seemed finer too, while the marrowfat ones were slightly coarser. I detected a very minor difference in taste. The pea shoots from supermarket seed seemed a little more bitter, which might be because of those thicker leaves and stems.
However, when you consider that you need only spend around 17p for one hundred grams of widely available, ordinary dried peas but £1.49 for the same weight of the specialist seed (assuming you buy the large, 400 gram pack), you might well conclude that spending the extra just isn’t worth it as the difference is hardly noticeable.
Only you can decide if it’s worth it to you. I’ll continue with both seeds until I run out and then see which side I come down on.
SOWING PEA SHOOTS
Whichever dried peas you decide to use, the procedure is exactly the same. Before sowing, you’ll need to soak them in cold water for twenty-four hours. Put them in a jar or bowl and cover with at least twice their volume of water.
When the soaking time is up, drain the peas and refresh under a cold tap. Put about 4cm of compost in the bottom of your tray, lightly pat it down then water it.
You can sow the seeds quite thickly over the compost, leaving a gap between them that’s about the width of a pea. You could just scatter the peas but, besides liking a bit of order, I find it quite relaxing to sit down at a table and take my time.
When all the peas are sown, sprinkle over some more compost to cover them. About the height of a pea should do it. Then lightly water again, put on a windowsill and eagerly wait for the first shoots to appear.
WHERE & WATERING
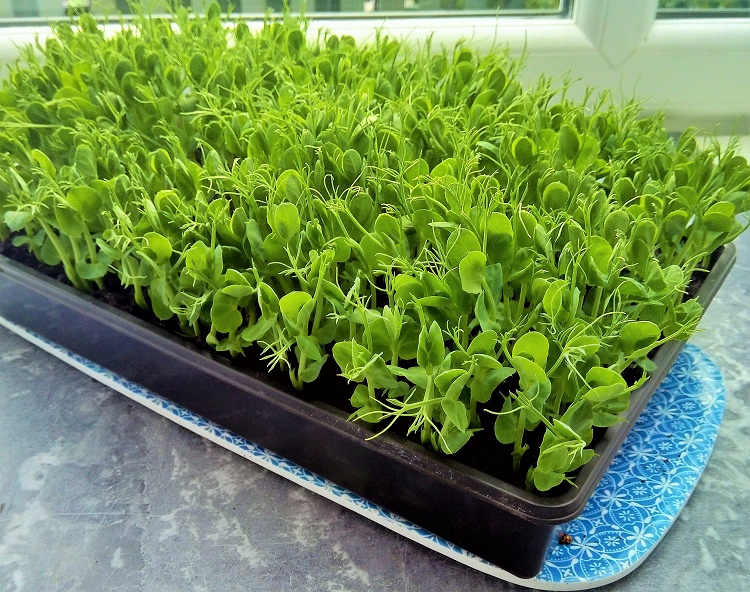
As we’ve a bit of a craze for pea shoots, I tend to grow them in large seed trays from the garden centre. This means they take up a bit too much room on the kitchen windowsill, so I put them out in our little lean-to conservatory. By the way, the ones you can see on the upper shelf are ornamental sweet peas which I was a bit late planting out.

If you’re short of space, then you don’t need to grow them in a big tray. Any small tub you can poke a few drainage holes in will be fine. When I’ve soaked too many dried peas, I sow the over spill in one of the tubs we buy to freeze our dog’s homemade food in (an unused one, of course) and they do fine in there.

You’ll need to keep your seeds nice and moist. So that I don’t over-water, I prefer to use a spray bottle rather than a watering can or jug. You’ll need to water at least once a day, but in hot weather I find they might need a good spritzing three or even four times.
How long the seeds take to germinate will depend on the temperature and the light levels. I find it usually takes around a week. Keep watering so the compost stays moist.
HARVESTING
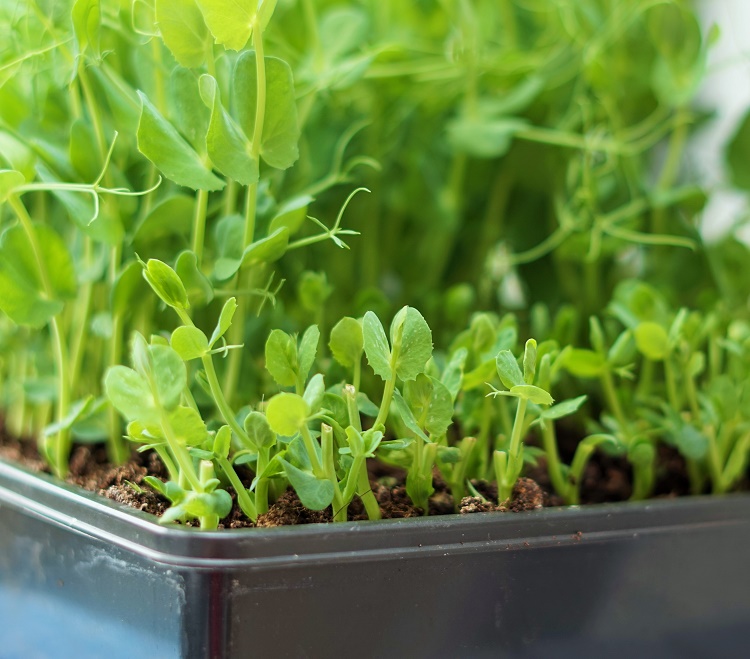
Once your pea shoots are around 5 centimetres tall, you can start harvesting them. Again, this will depend on growing circumstances but will usually be between two and three weeks after sowing.

To harvest, you can pinch off the stems just above the lowest pair of leaves. But I usually just get a pair of scissors and snip off a whole bunch. To enjoy the pea shoots at their best, don’t pick until just before you’re going to eat them.
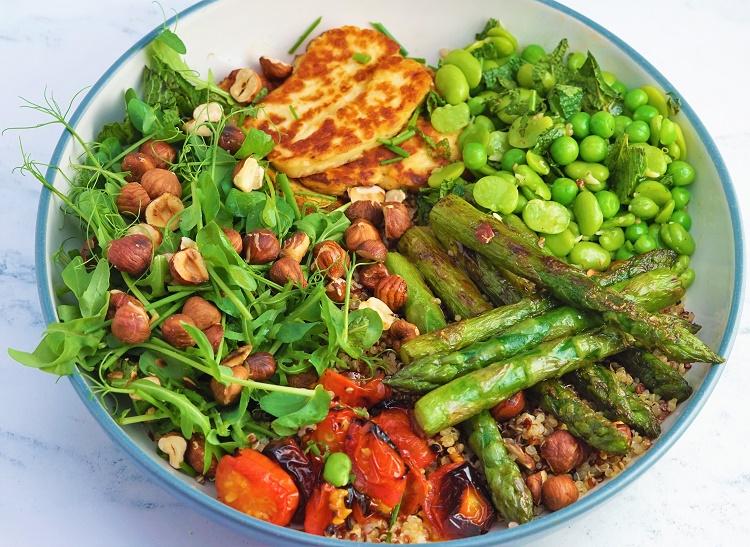
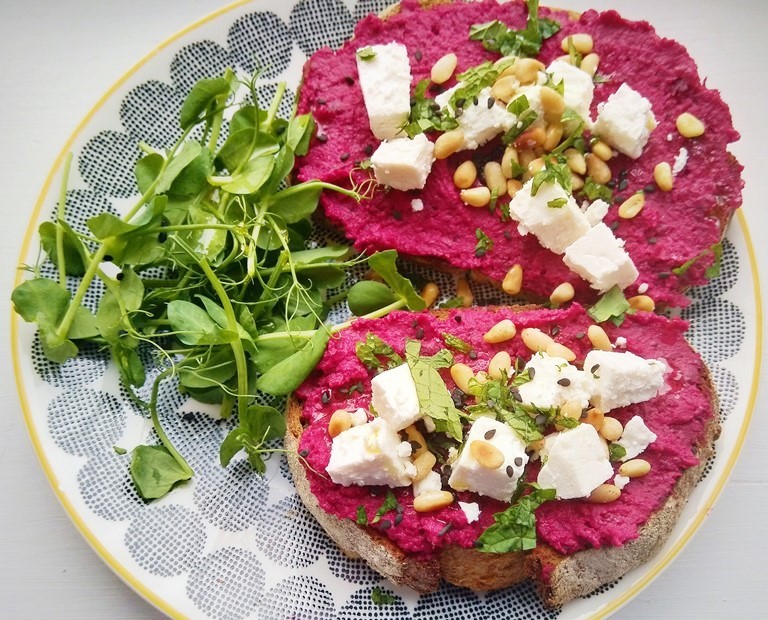
A quick rinse in a sieve or salad spinner and they’re ready to go in a salad, sandwich or add extra nutrition, flavour and interest to just about anything. Here I ate them with tomatoes, seasoning and a drizzle of olive oil to go with Socca: chickpea flour flatbread.

I’ve found that the cut off stems almost always grow again, so get a second or even a third harvest from the same sowing. After that, it’s best to start again. As you’d expect, the pea shoots aren’t as good once the nutrients in the seed and compost dwindle.
SIMPLE, CHEAP & FRESH
In Summer, you can grow pea shoots outside, protecting from birds with netting if necessary. In Winter it’s lovely to have something fresh and homegrown.
I can’t imagine ever going back to shop bought pea shoots now I know how simple, and cheap, it is to grow my own spanking fresh ones.