Rhubarb, Apple & Ginger Jam
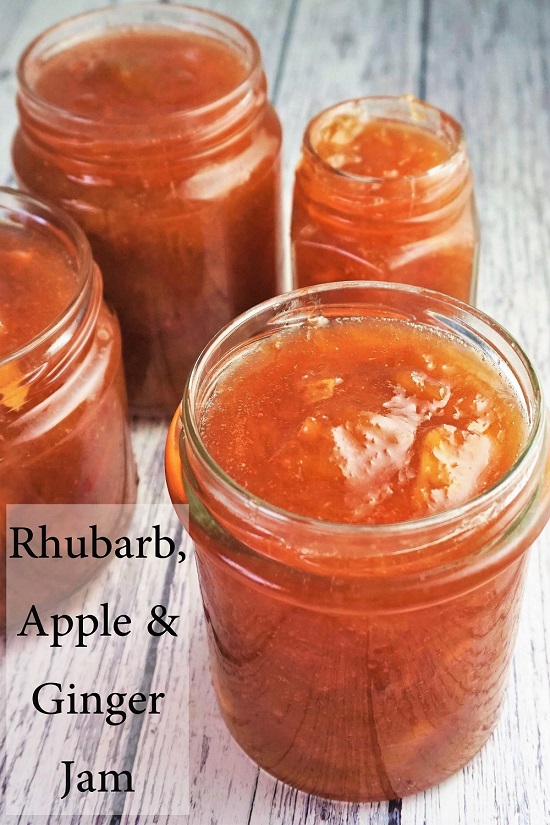
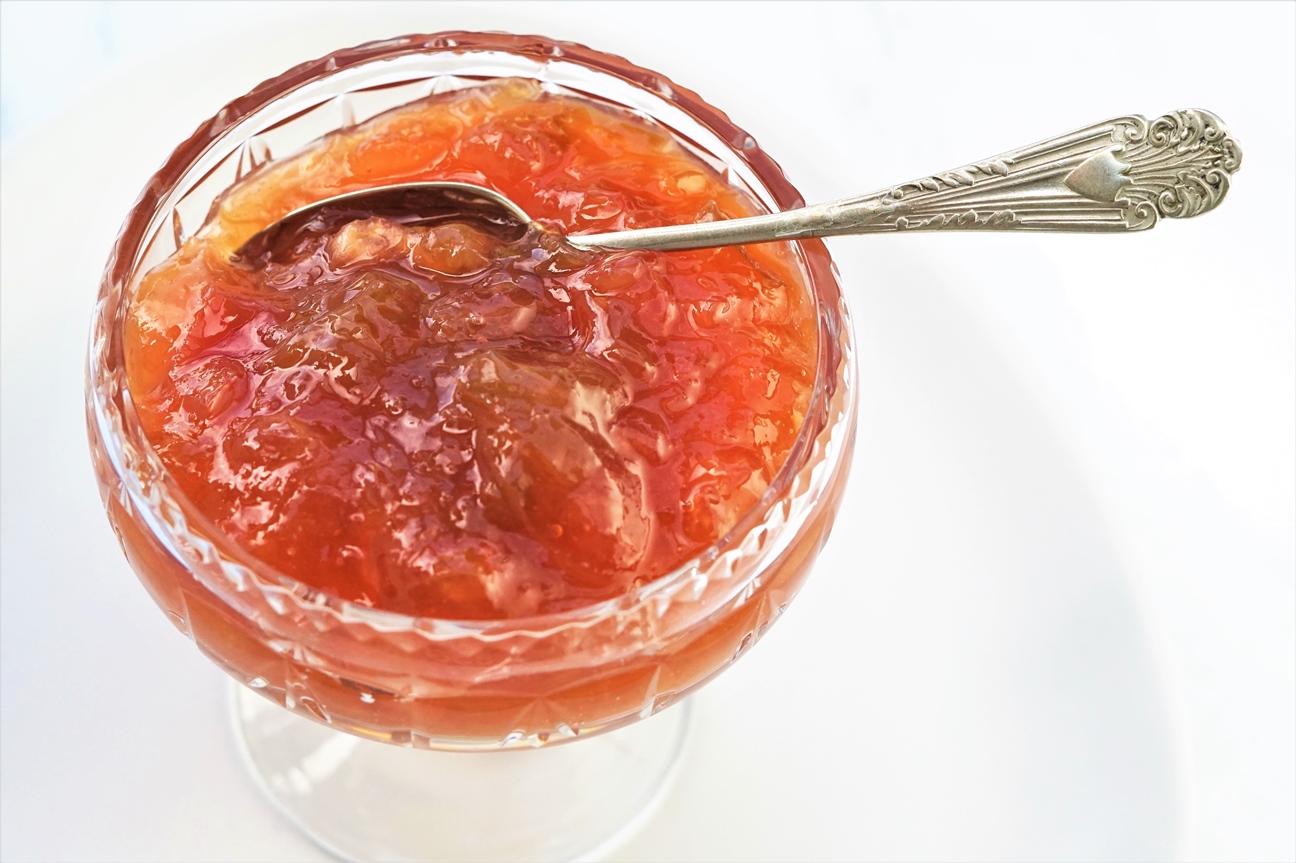
Rhubarb, Apple & Ginger Jam is so good I hope it’ll encourage beginners to get jam making and become a favourite of old hands too.
Great not just on buttered toast or scones, this medium-sweet, tart and slightly spicy homemade jam is perfect over yogurt or ice cream.
Jump to Recipe
HOMEMADE PRESERVES
I love jam and chutney making. As a child I would watch my mother making jam from the various fruits my father grew in our back garden. Strawberry, damson, blackcurrant and, when there wasn’t quite enough of any single fruit: mixed fruit jam.
I started making my own jam and other preserves over 20 years ago. I learned the technicalities and my first recipes from a smashing little Women’s’ Institute (WI) book I found in a second-hand book shop.
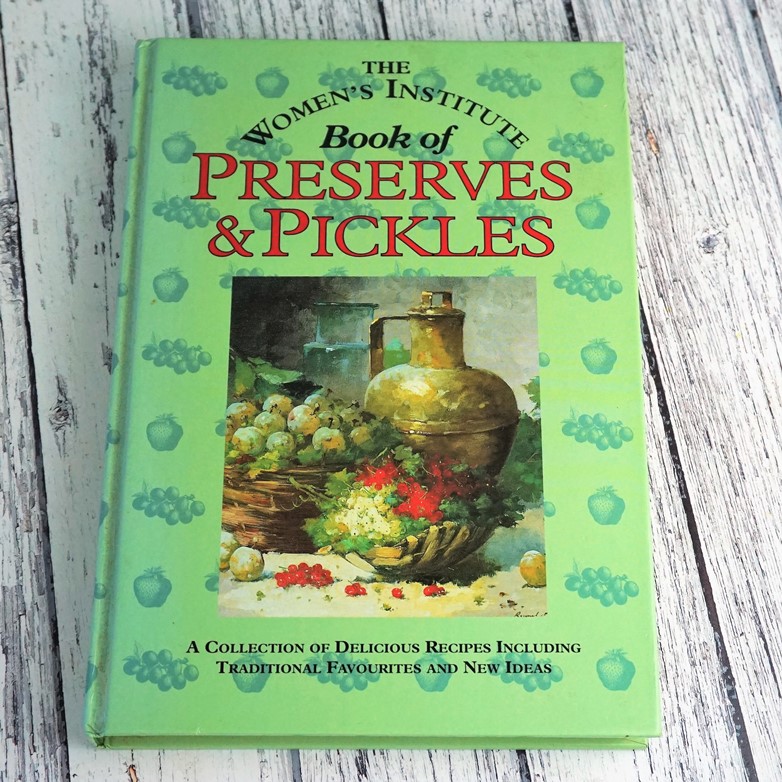
It’s a reprint of a 1970s edition so a little old-fashioned in places. But I still use it today, usually as the starting point for creating my own recipes.
If you’ve never made jam before, rest assured that it’s really not difficult.
Yes, there’s stacks of jam available at every supermarket and farmer’s market. But, as with many things, there’s so much enjoyment to be had by creating something from scratch, and especially using seasonal ingredients.
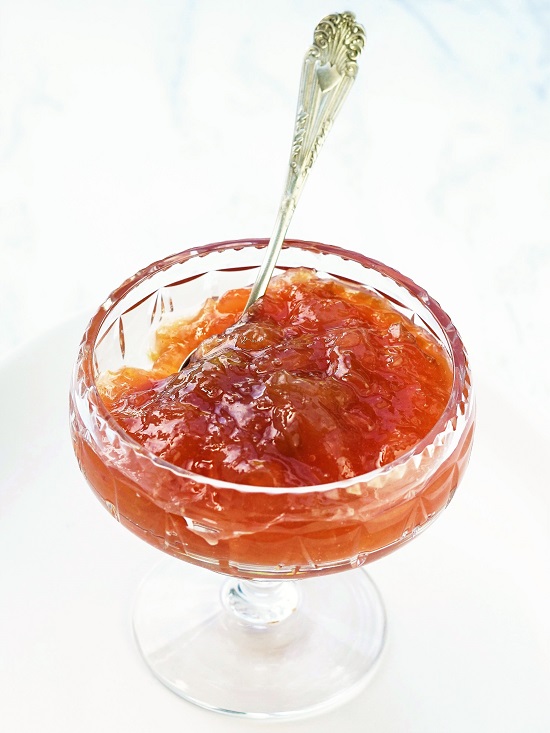
Homemade jams, pickles and chutneys also make wonderful presents.
GET SET: A BEGINNER’S GUIDE TO JAM MAKING
The main thing you need to know about making homemade jam is that it needs to reach ‘setting point’. This means that the jam will not be runny once it’s potted up and cooled down.
Setting is said to occur at 105C so you could invest in a jam thermometer to indicate when you’ve hit this point. However, it’s not always one hundred per cent reliable. If you keep boiling past setting point then the final jam will be over-set, i.e. very sticky, too sweet and with all the fresh fruit flavour gone. I find that using a combination of the ‘flake’ test and the ‘cold saucer’ test, as shown in the WI book and explained below, is the simplest and most reliable method.
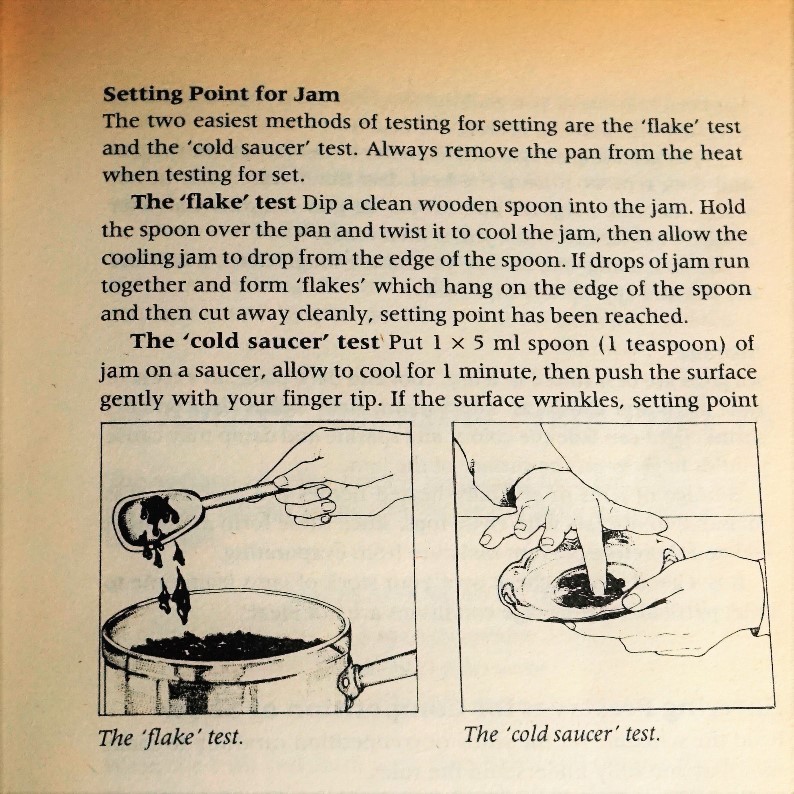
To test if the jam has reaching setting point, put a few saucers in the freezer before you start making the jam. Then, if the jam passes the ‘flake’ test, quickly cool a teaspoonful on one of the cold saucers. If the jam wrinkles when you push it with your finger then it’s done and ready to pot up. If there’s no wrinkle, boil for another 4-5 minutes then test again.
UPDATE: THIS INFORMATION HAS BEEN EXPANDED AND INCLUDED IN MY BEGINNER’S GUIDE TO JAM MAKING
EQUIPMENT
You’ll need a deep and wide, heavy-bottomed saucepan in which to make the jam. Depth means there’s less chance of things boiling over. Width will give faster evaporation and therefore a quicker set. The heavy bottom will help to prevent burning.
Before you start the jam, I suggest you get your jars and lids ready. You can buy fancy jars for homemade jam, but I usually just recycle ones from bought olives, sun-dried tomatoes etc.
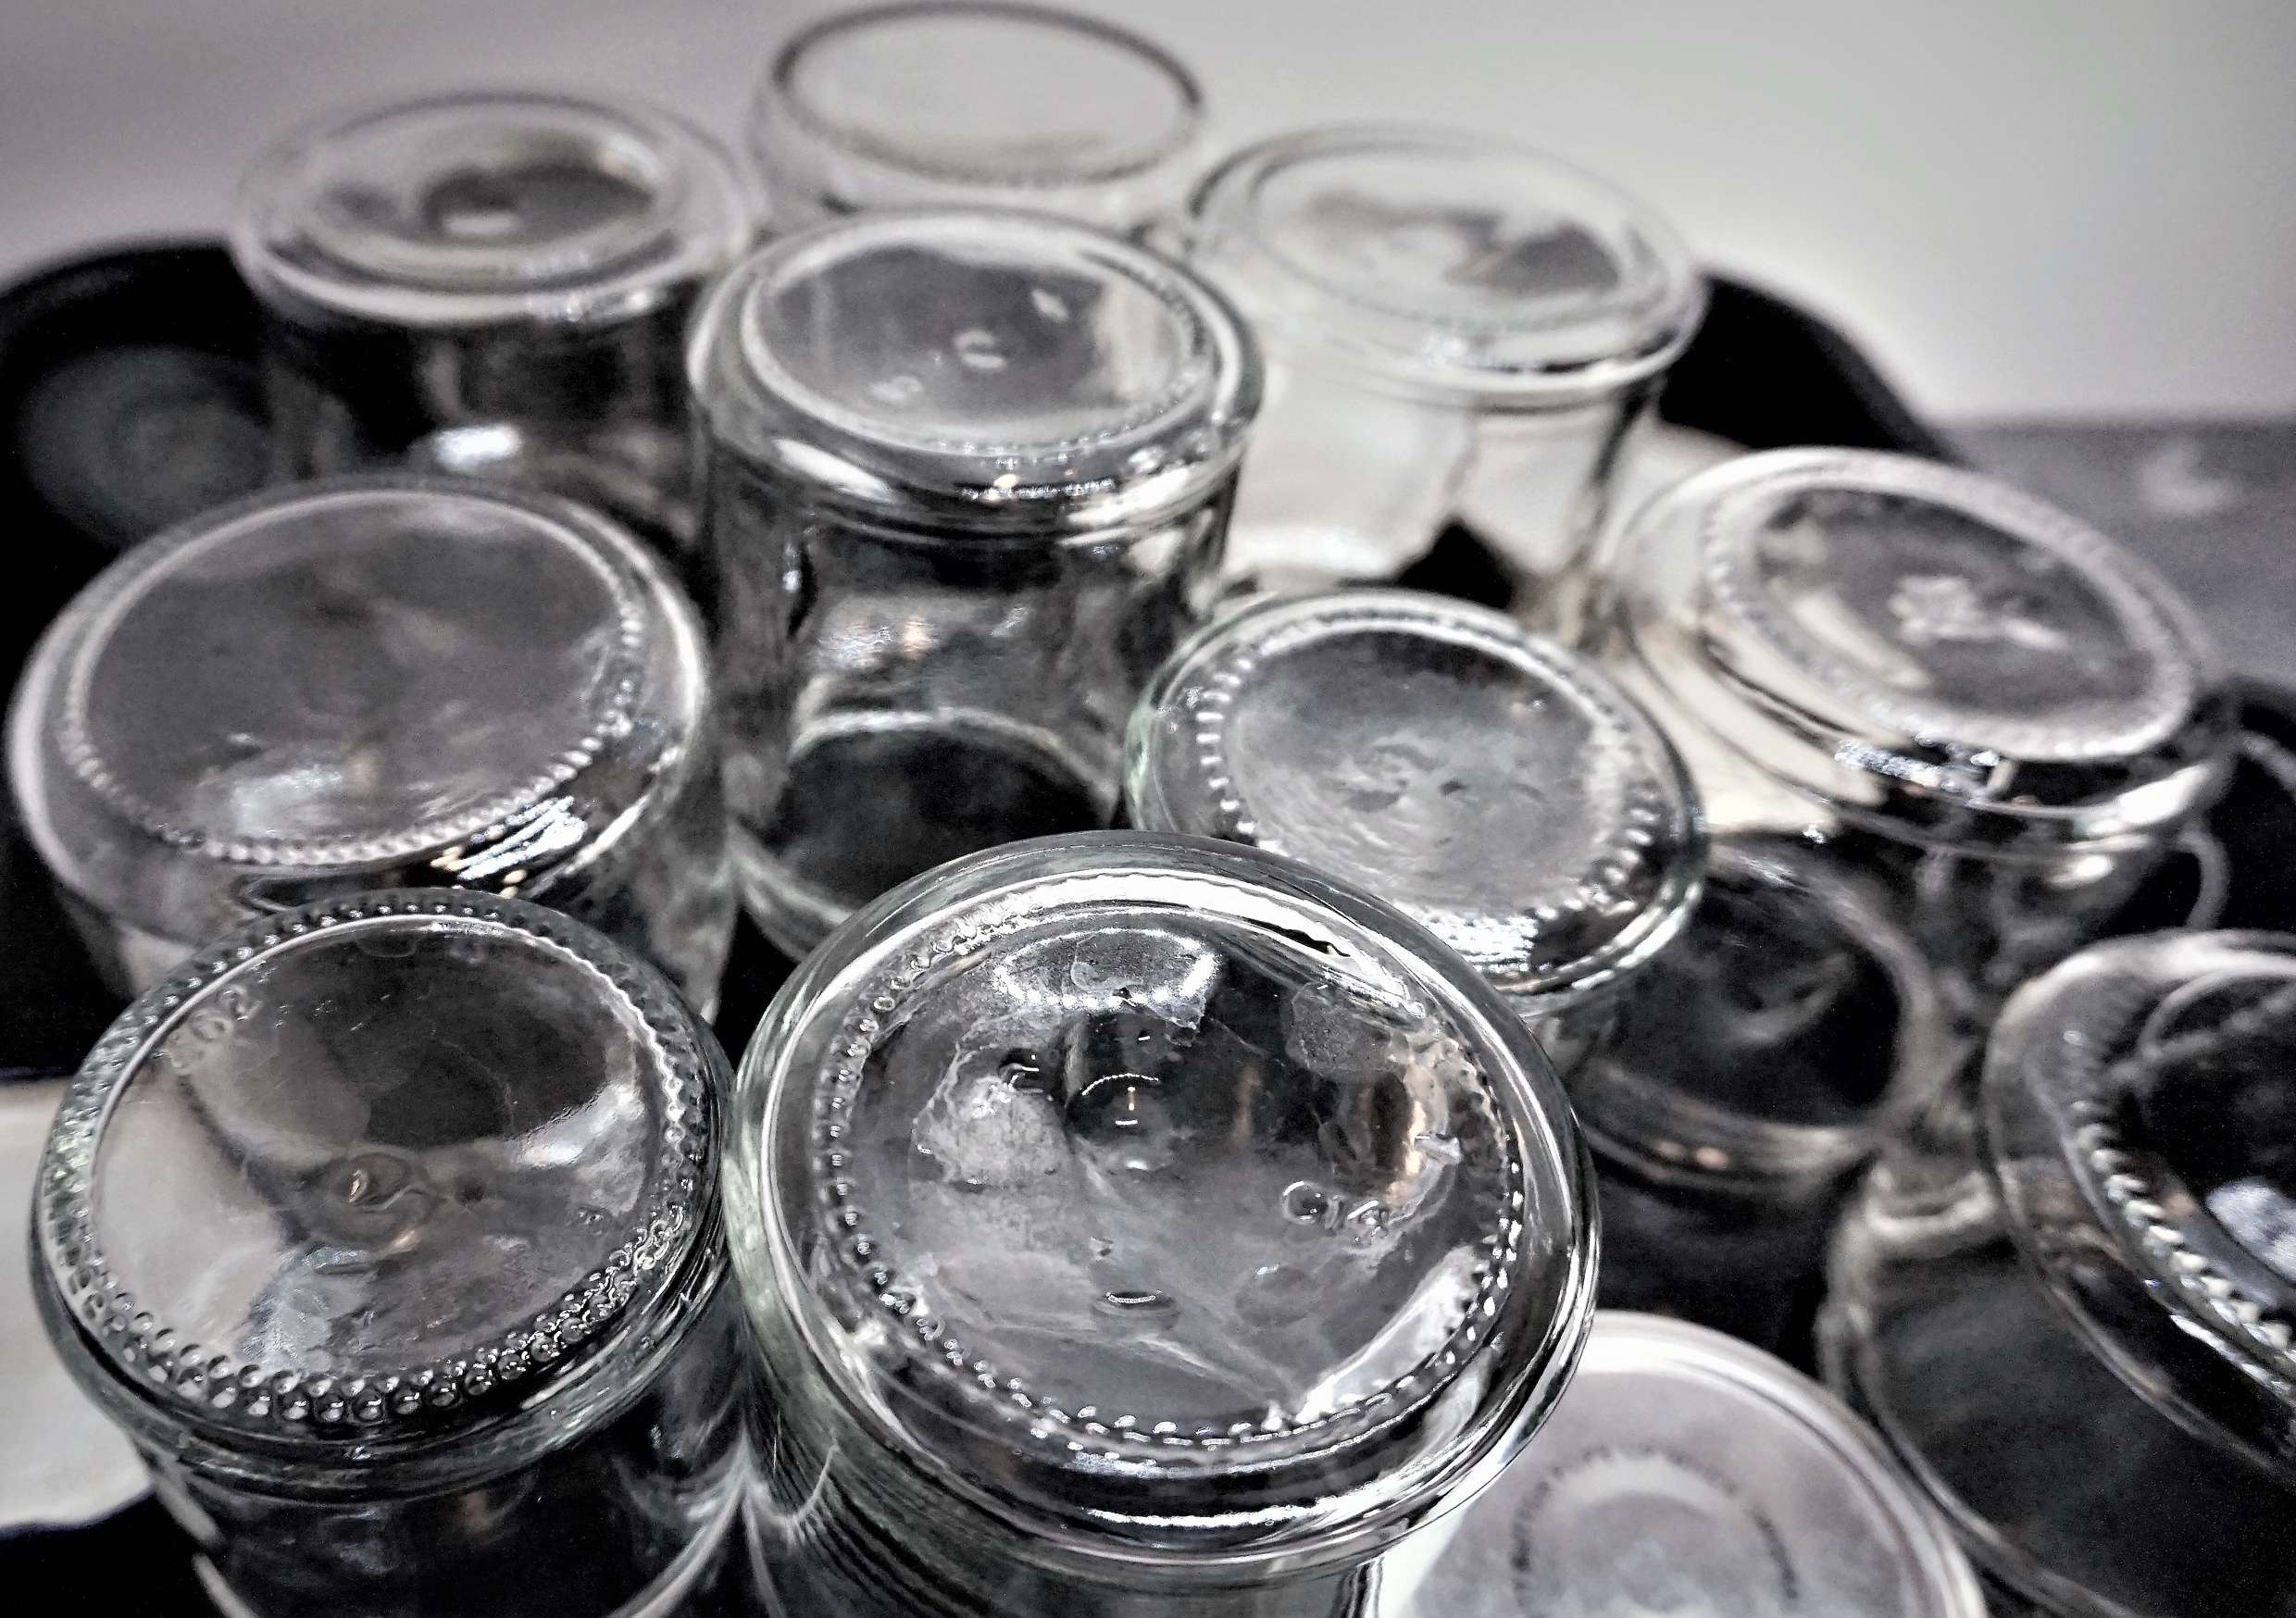
Give them a good wash in very hot, soapy water, rinse in clean water, then leave upside down to drain.
It’s always better to have a few more jars than you think you might need. It’s a pain when you’re potting up and find you don’t have enough. I like to have a few smaller jars ready too in case I can’t quite fill my last regular-sized jar.
EVERYTHING YOU ALWAYS WANTED TO KNOW ABOUT… PECTIN
Whatever your main ingredient, the method for making jam is the same. Fruit or vegetables are cooked with sugar until set. (For convenience I’ll just say ‘fruit’ from now on).
Fruits contain a natural setting agent called pectin which is released during the cooking. But different fruits contain varying amounts of pectin. They generally divided into high, medium and low pectin categories:
- High pectin fruits include: apples, blackcurrants, gooseberries, damsons and citrus fruits
- Medium pectin fruits include: raspberries, blackberries, ripe plums
- Low pectin fruits include: strawberries, pears, peaches, rhubarb
Acid also helps fruit to release pectin, so adding extra acid (such as lemon juice) to low pectin and low acid fruit will help to set the jam. If all that sounds too complicated, then you can just buy jam sugar which already has pectin added to it.
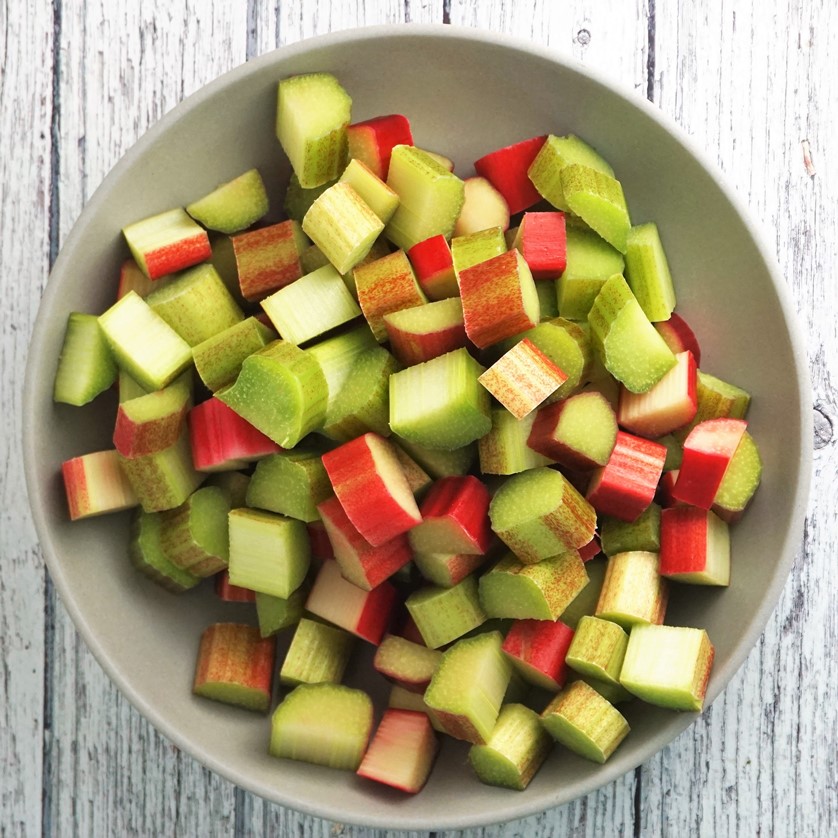
Although rhubarb is highly acidic (and is a vegetable rather than a fruit) it’s unusual in being in the low pectin category as high acidity usually goes with high pectin levels. So my Rhubarb, Apple & Ginger Jam, besides containing higher pectin apples, also has citrus in the form of lemon and orange juice. This means you can retain the fresh and fruity flavour of rhubarb in the finished jam, rather than having to boil hard for a long time in order to get a nice set.
RHUBARB, APPLE & GINGER JAM
The rhubarb and ginger jam recipe in the WI book is for 2.5 kilos, which is a lot more than I want of any one jam. I much prefer a few jars of different preserves so my recipe makes approximately three medium jars.
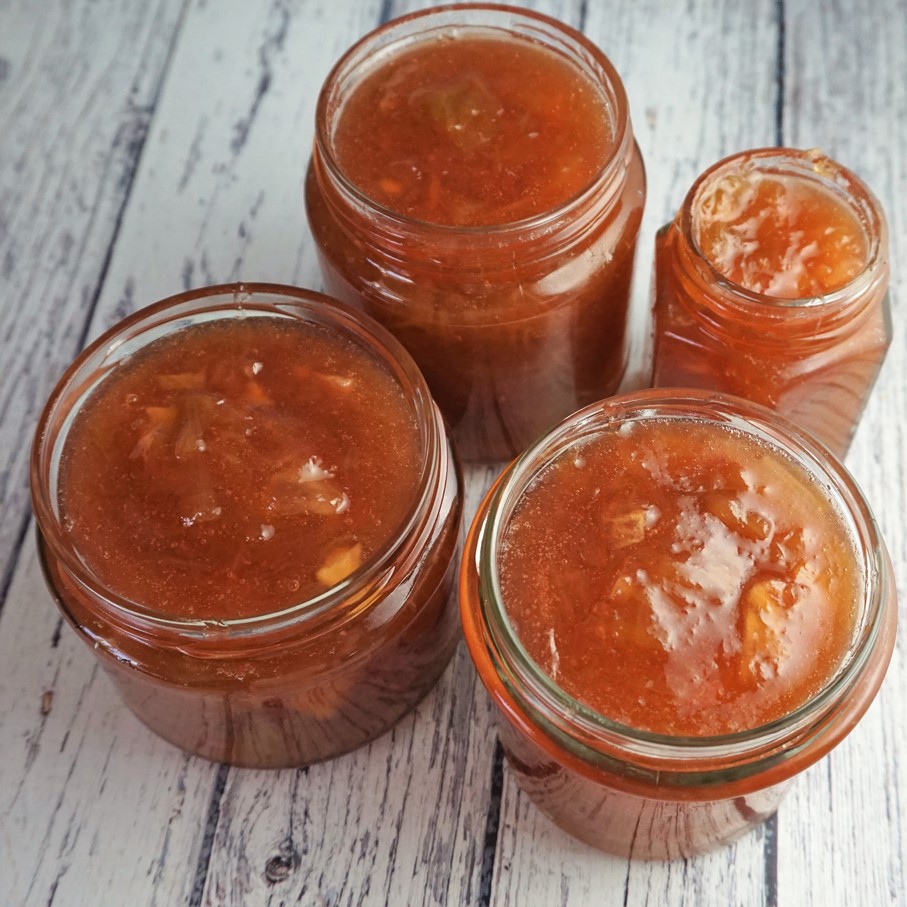
The WI recipe also uses dried root ginger, bruised and tied up in a piece of muslin. However, as it’s now easy to get hold of stem ginger preserved in syrup, I use that instead. Not only is it much nicer, it seems less of a faff to finely chop the stem ginger and cook it along with the rhubarb.
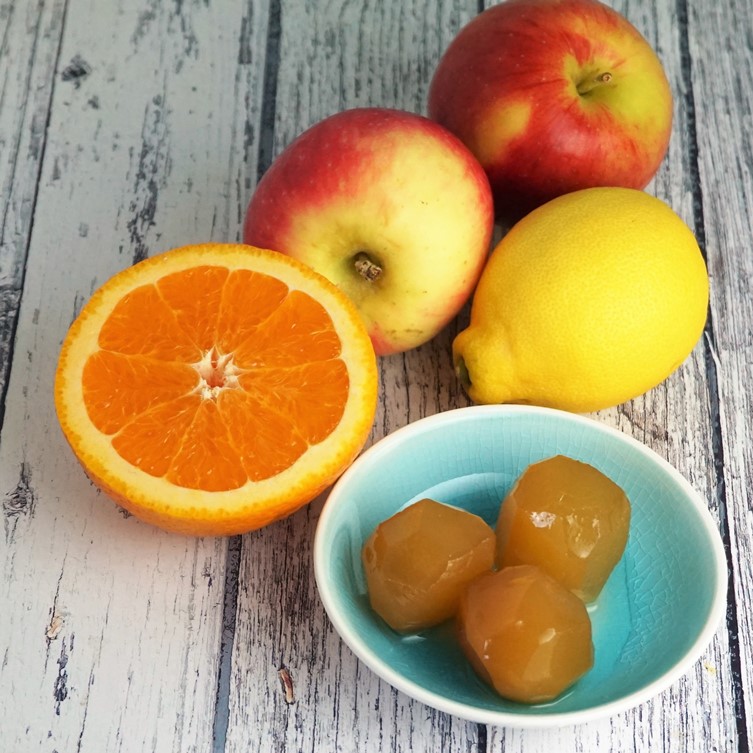
My version includes apple and orange as well as the lemon juice found in the original.
MAKING RHUBARB, APPLE & GINGER JAM
To make the jam, all the prepared ingredients are added to the saucepan: the washed and chopped rhubarb, peeled, cored and chopped apple, sugar, the juice of an orange and a lemon and three balls of stem ginger chopped finely.
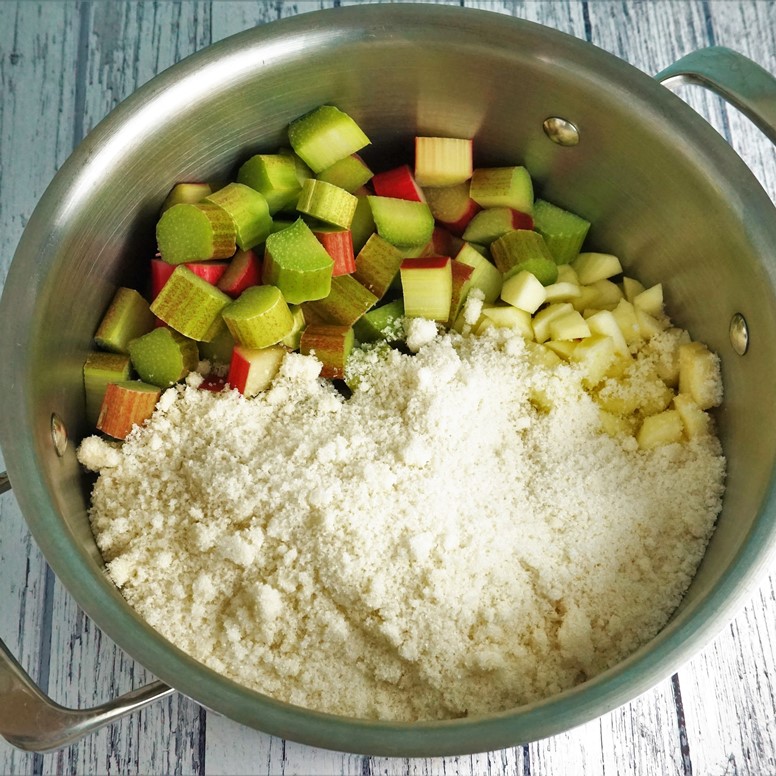
The heat is then switched on to low so that the sugar dissolves slowly while you stir. Don’t try to rush this part by turning up the heat – you don’t want the fruit to start cooking before the sugar is dissolved or it can go tough.
While the sugar’s slowly dissolving, put the oven on to a low heat and place your jars and lids on a baking tray inside. Not only will this thoroughly dry them but it will help to sterilize any lurking bugs that might spoil your jam. Once the jars are hot, turn the oven off but leave them in there while you make the jam.
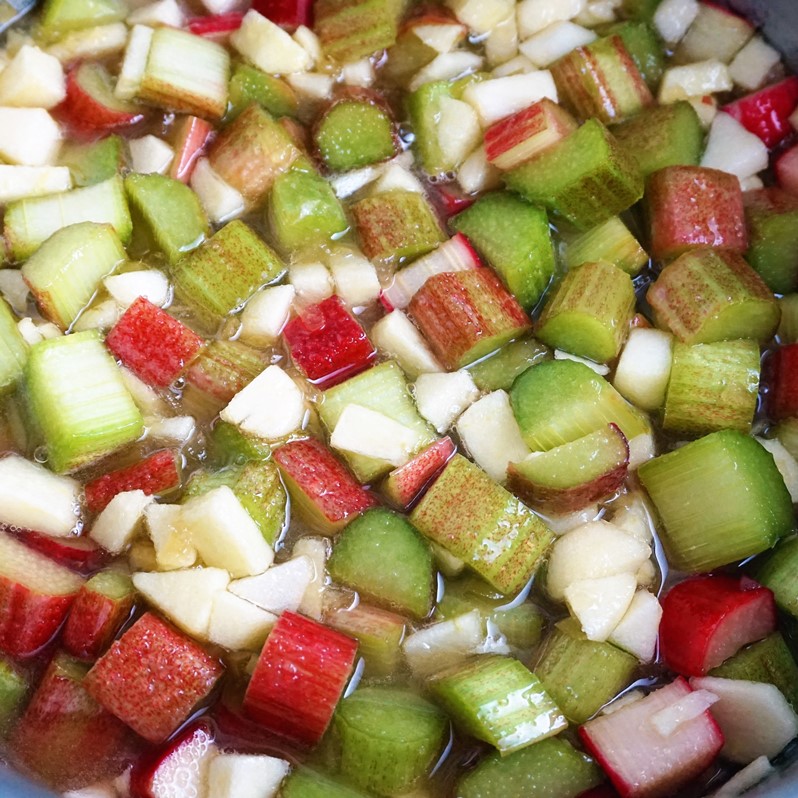
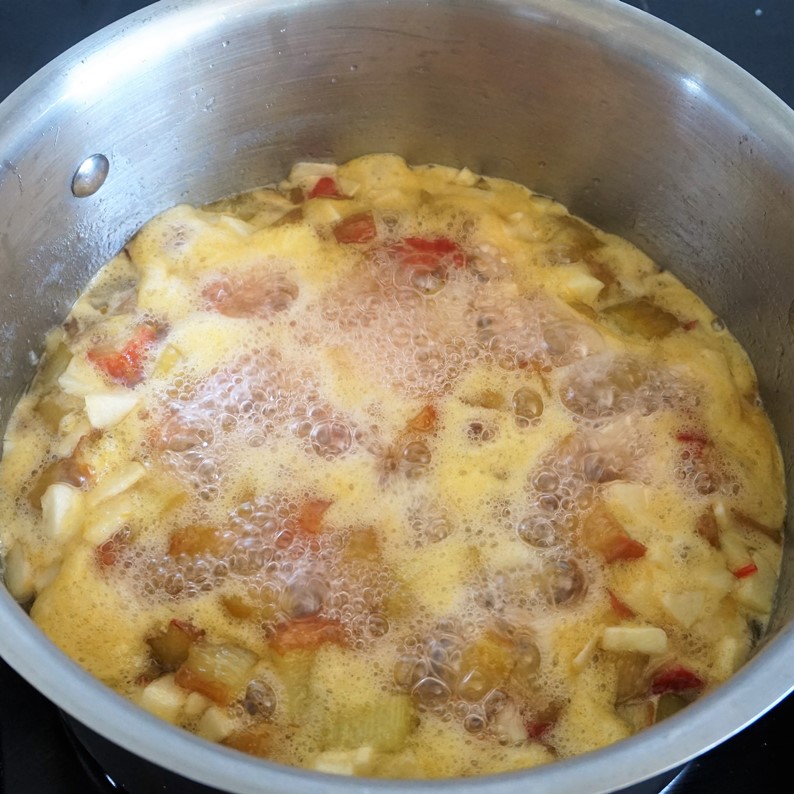
Once the sugar is completely dissolved, turn up the heat and bring everything to a boil – you can put a lid on for this stage to speed it up. As soon as the jam has come to the boil, take the lid off and keep boiling it hard (this is sometimes referred to as a ‘rolling boil’) until setting point is reached. This usually takes between 15 and 25 minutes, but make sure you test for the setting point using the methods described above, taking the pan off the heat while you do so.
Once setting point is reached, take your jars from the oven and pack the jam into them. Because I make preserves every year, I have a jam funnel which makes the job much less messy.
When you’ve filled the jars, screw the lids on while protecting your hands with a cloth. You don’t need to screw the lids completely tight at this stage as it’s much easier when they’ve cooled a bit. You should also find that once the jars are completely cold then the lids, if you press the top, will no longer spring back and make a popping sound. Be pleased: that means you’ve got an airtight seal.
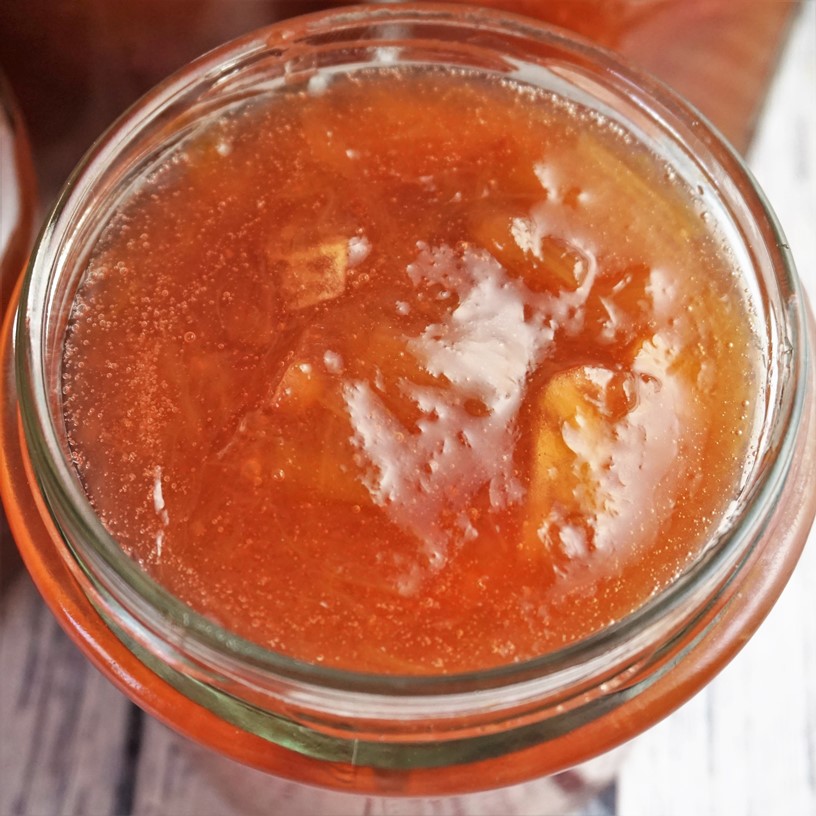
You can now label your jars and put in a cool, dark place – a kitchen cupboard away from the oven or radiators should be fine. However, unlike chutneys, you don’t need to mature jams so you can enjoy homemade jam straight away. If your last jar wasn’t completely full, keep it in the fridge and use it up within a month or so as it won’t be airtight, but full jars of properly stored jam will keep at least a year in a cupboard or pantry.
HOW TO EAT THIS JAM
If you don’t like your preserves overly sweet, my Rhubarb, Apple and Ginger Jam is ideal.
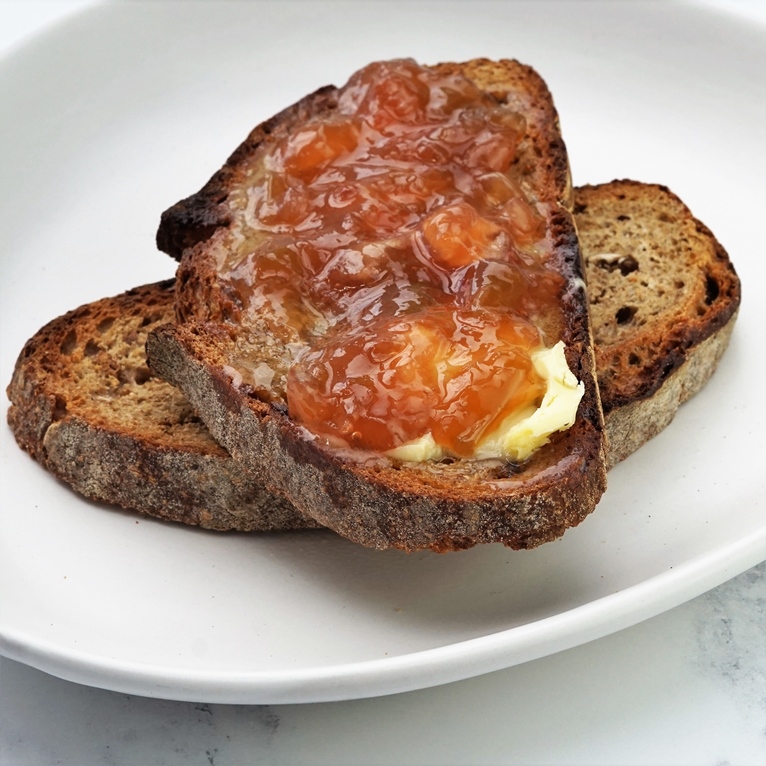
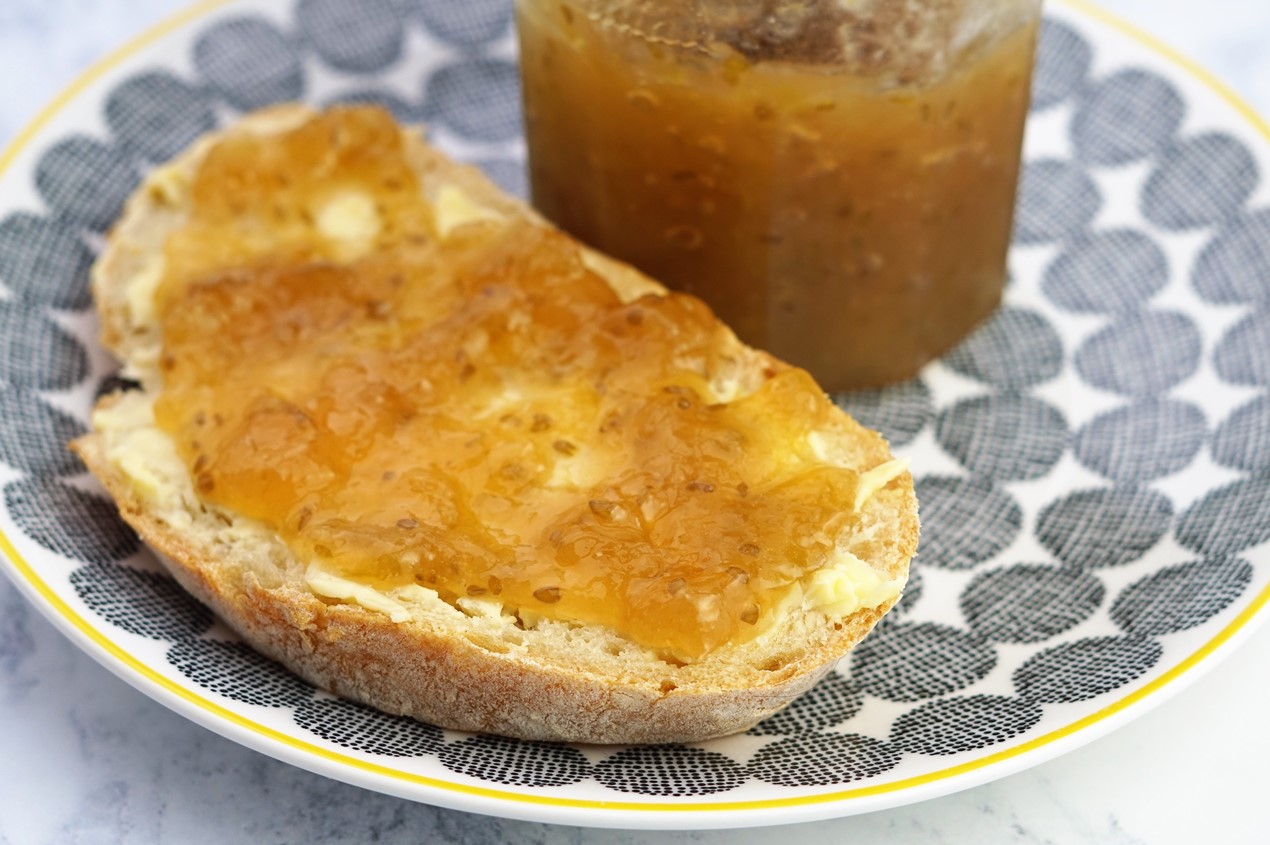
That kick of ginger really lifts the whole thing so it makes for a lovely topping on hot buttered toast. not quite as tart as marmalade, but not your standard sweet jam either. The flavour of the fresh fruit really comes through with little pieces of apple studded amongst the softer rhubarb. Doesn’t it look good on some of my homemade sourdough bread?
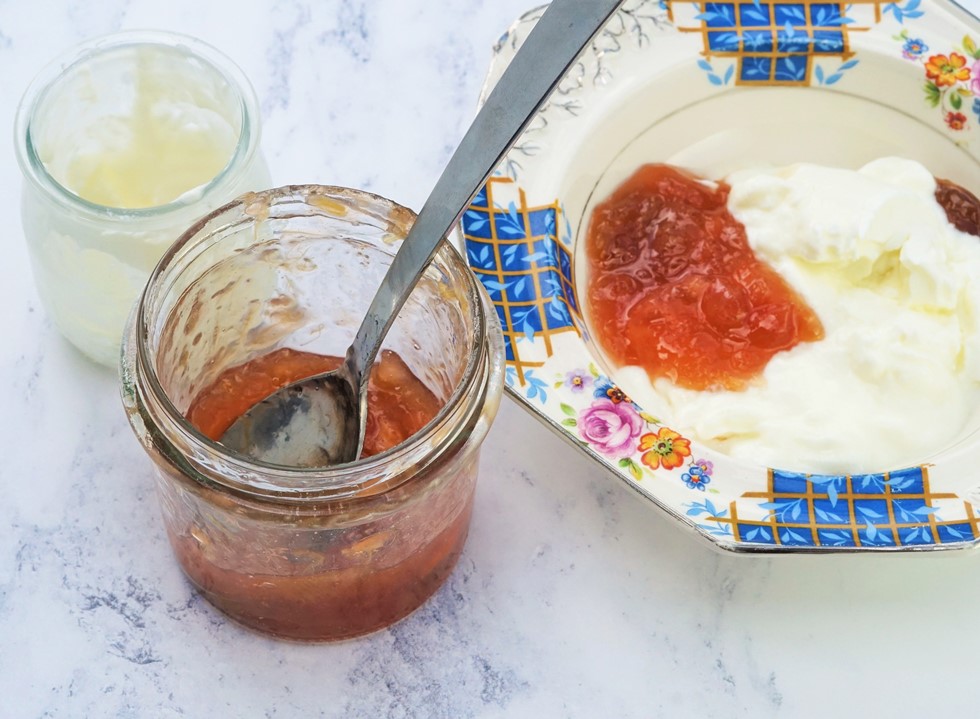
Because it’s not tooth-tinglingly sweet, this preserve is also wonderful for a lower carb breakfast, served with creamy plain yogurt.
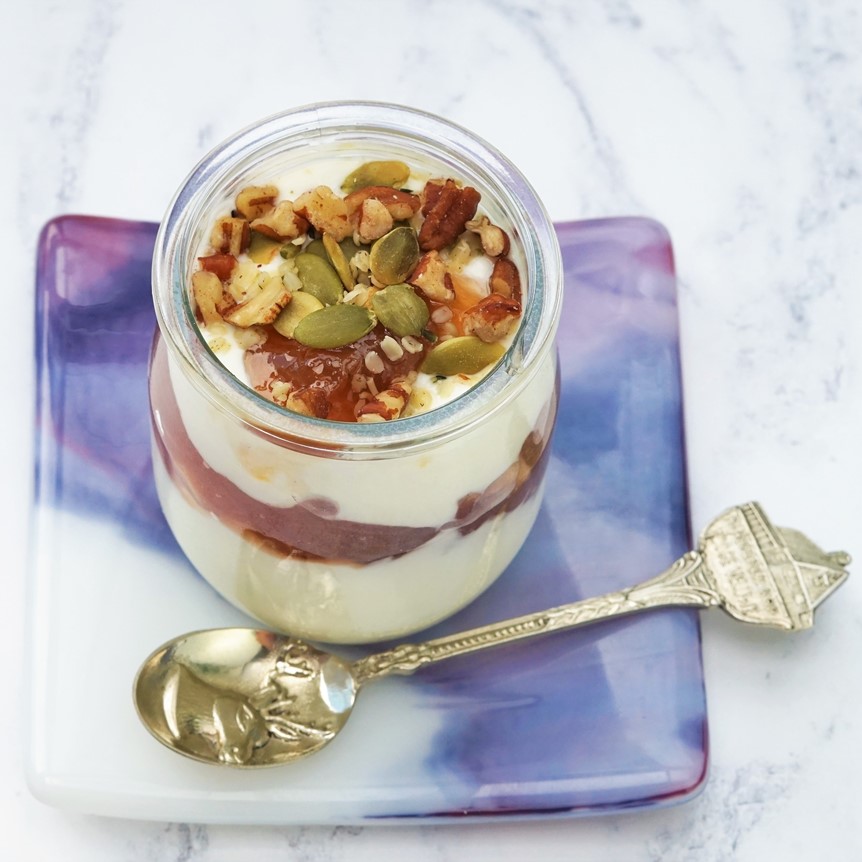
For a breakfast or snack to go, layer up some jam and yogurt in a jar. Top with nuts and seeds for a creamy, tart and crunchy quick breakfast.
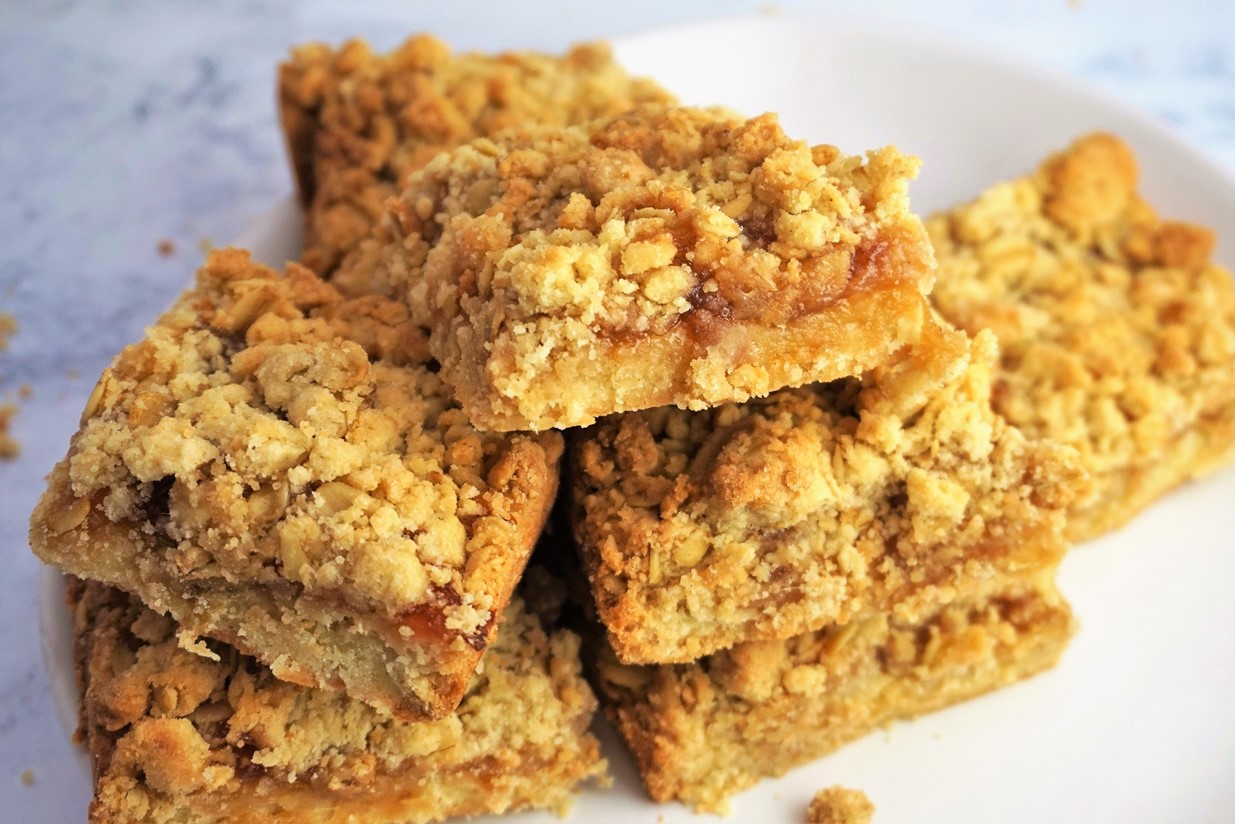
For a fab dessert, use some Rhubarb, Apple and Ginger Jam in Jammy Shortbread Squares with Oat Crumble Topping
Try another jam recipe: Gooseberry Jam
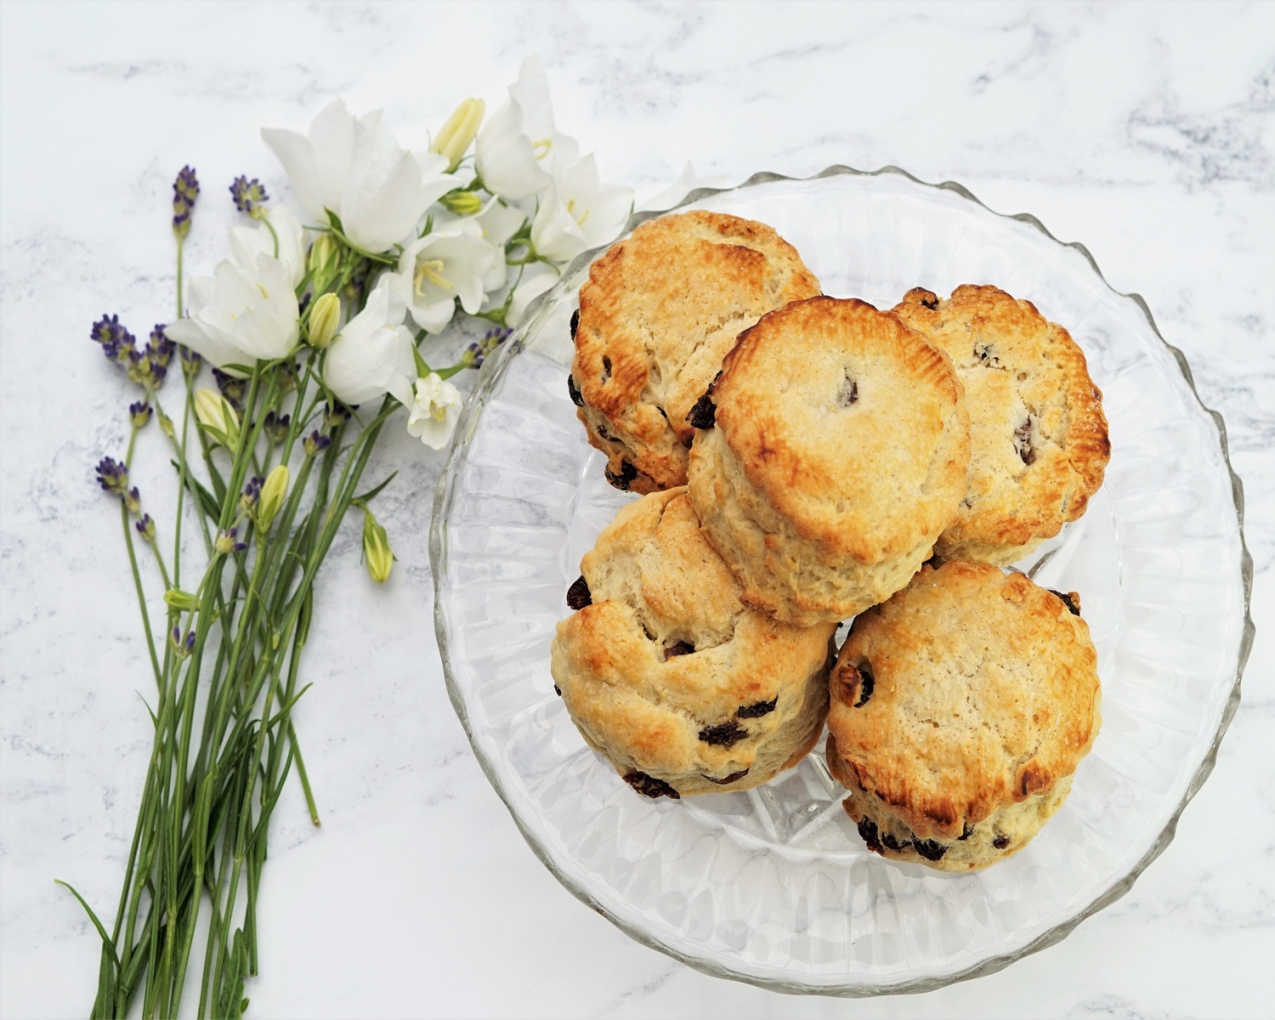
Made for jam: get my recipe for Classic Sultana Scones here
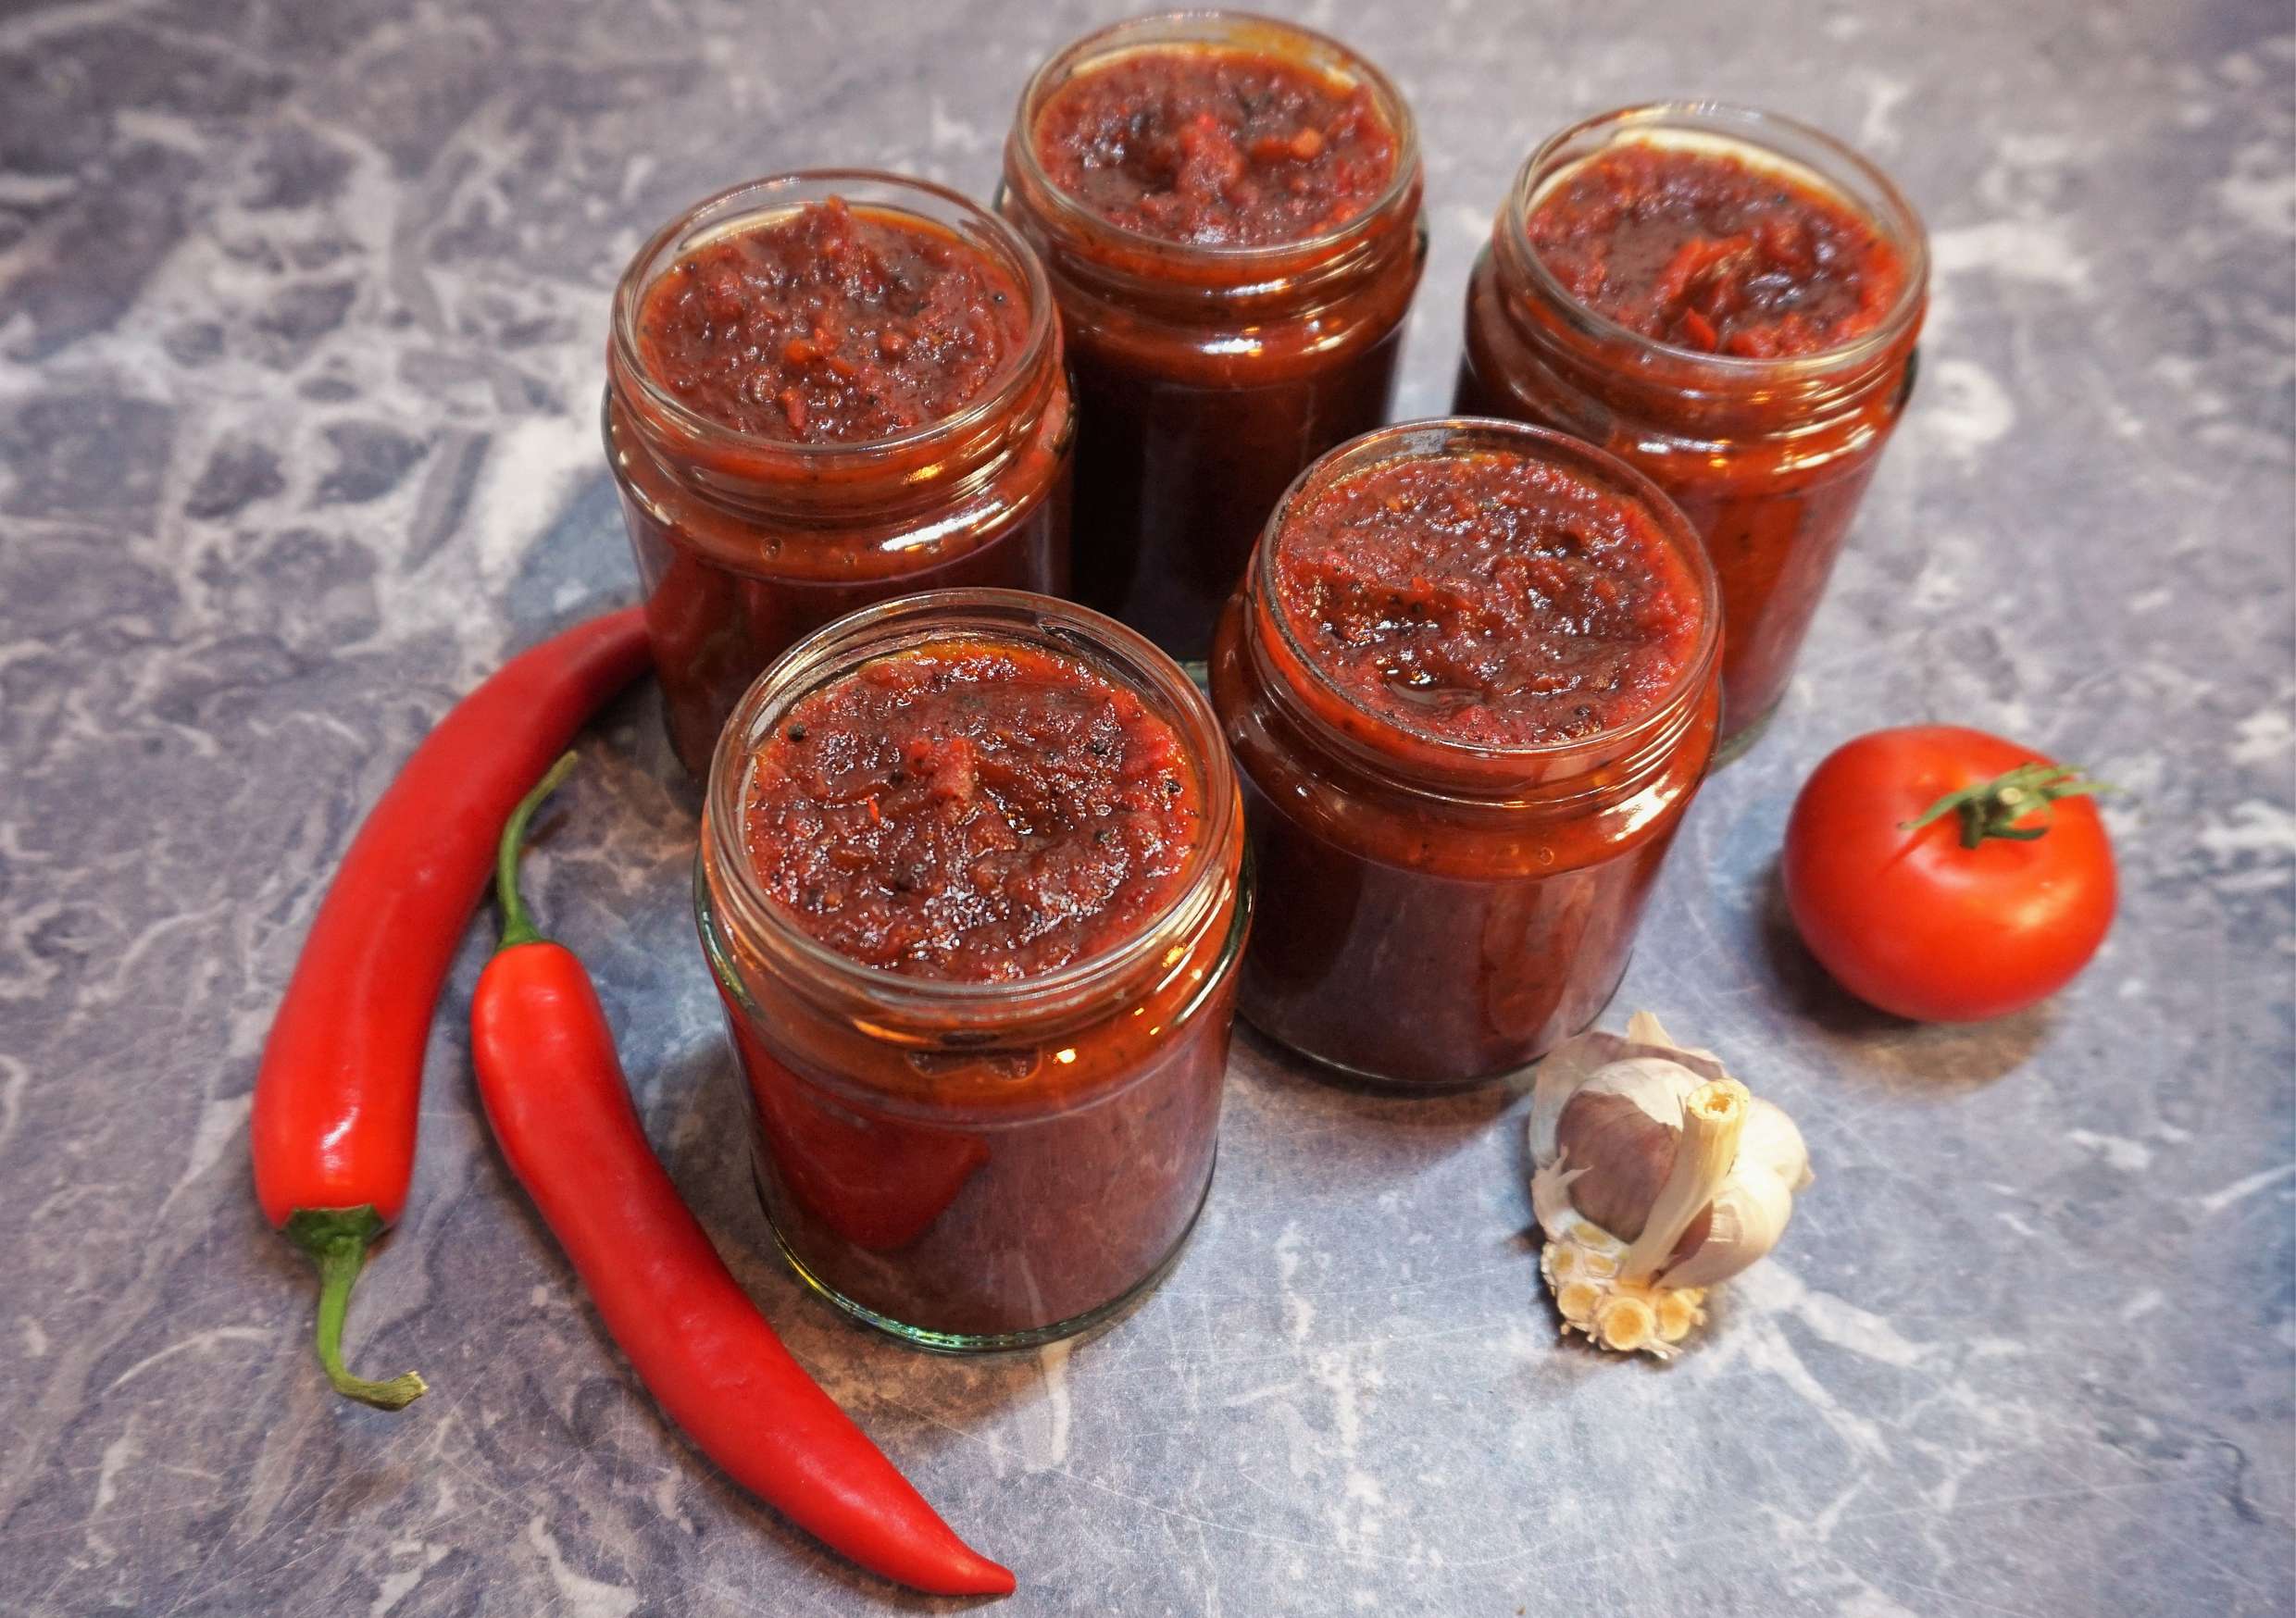
If you enjoy this jam, why not have a go at making chutney? My Smoky Tomato-Chilli Chutney is really versatile: eat it the traditional way with cheeses and cold meats or as a chilli sauce for burgers, falafel, to give a kick to pizza and pasta tomato sauces and loads more. Especially good on cheese scones with cream cheese for a savoury cream tea.
Rhubarb, Apple & Ginger Jam
This sweet, tart and slightly spicy jam is great on buttered toast or scones but also perfect used as a fruit compote over yogurt or ice cream.
Ingredients
- 600 g rhubarb (approx 5 large sticks) chopped into 2cm pieces
- 2 apples peeled, cored, diced
- 3 balls stem ginger from a jar chopped finely
- 1 orange juice only
- 1 lemon juice only
- 700 g sugar
Instructions
-
Put 2 or 3 small saucers in the freezer; they'll be used to quickly cool teaspoons of jam to find when the setting point has been reached.
-
Put 4 washed, rinsed and drained jars and lids on a baking tray and place in an oven at its lowest setting. Turn off the oven when the jars are hot, but leave them inside until you're ready to pot the finished jam.
-
Put all the ingredients in a large, deep and wide saucepan and stir well.
-
Switch on the heat to low and stir while the sugar slowly dissolves.
-
Once the sugar is completely dissolved, turn up the heat and bring contents to a boil – you can put a lid on for this stage to speed it up.
-
As soon as the jam has come to the boil, take the lid off and keep at a rolling boil until setting point is reached (15 - 25 min).
To test for setting point:
Take the saucepan off the heat.
Flake test: Take some jam on a wooden spoon, cool it a little, then let it fall off the edge of the spoon. If the final bits of jam come together into 'flakes' rather than running off in a stream then proceed to the Saucer test. If it doesn't flake, boil for another 4-5min then test again.
Saucer test: Take one of the cold saucers from the freezer, put a teaspoon of jam on it to cool then gently push the jam with your finger. If it wrinkles then setting point has been reached. If not, boil for another 4-5 min then test again.
-
Once setting point has been reached, take your jars from the oven and pack the jam into them. Protecting your hands, put the lids on and leave to cool.
-
When the jars are cold, tighten the lids a little more if possible. Label and store in a cool, dark place.
Ready to use immediately but unopened jars should keep at least a year.

The best I have ever tasted. I used glacé ginger as well as root. I’m thinking of entering it in a local show.
Thank you for your lovely comment and 5-star rating Ita! Would love to hear back if you win that local show – good luck!
Just an enquiry please, would you use cooking or eating apples in this jam.
I used eating apples as that’s what I had. But cooking apples are fine too!
This is possibly the best Rhubarb and ginger jam I have ever tasted. I did make a little alteration, as I only had fresh ginger root, which I grated finally, plus I fancied adding finally grated orange zest too. I am actually tempted to do another batch already, I’ve only just finished the first!
Thank you for your lovely feedback! So glad you enjoyed the recipe 🙂
I actually made another lot straight away, and gifted a jar already! I could just spoon it out of the jar, and straight into my mouth , it’s THAT delicious!!
Lovely!
How much fresh ginger did you substitute?
This sounds lovely – could I make it with rhubarb that has been frozen (uncooked)
Hi Chris,
I don’t see any reason why not. I guess you may find that the structure of the rhubarb may have broken down a bit in freezing, but I wouldn’t think that would affect the flavour of the jam.
Do let me know how it goes if you try it!
Oh my goodness. I made this jam yesterday…and I’m making a much larger bath today. It is wonderful!! Thankfully I came across this recipe, when I did, because we have a bumper harvest of both apples and rhubarb. There will be queues at the door for this delightful preserve
Thanks for the lovely feedback, Averil!
So glad you’re pleased with this great jam.
Rhubarb, Apple & Ginger Jam
Found this recipe through an internet search and it is great – the photos really are beatutiful and look so appetising. I don’t often make jam but found this simple and fun to follow. Tastes great too!
I have 6 jars which will keep us going through the autumn.
I have loads of apples in the garden and so will be making a chutney next, though not sure if there is a recipe here?
But if my tomatos keep doing well I’ll try the Smokey Tomato-Chilli Chutney here!
Thanks Lynne for this great recipe!
Thank you for your lovely comments, Iona!
I don’t have any other chutney recipes on here at the moment, but do let me know if you try the Smoky Tomato-Chilli one!