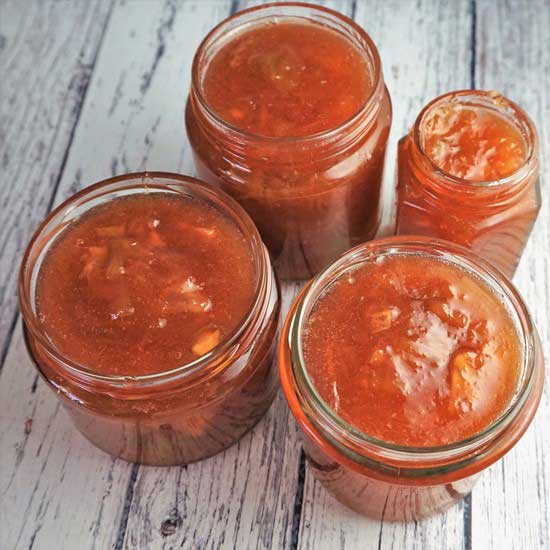
Jam Making: A Beginner’s Guide
Jam making needn’t be difficult or involve lots of fancy equipment. In this beginner’s guide I’ll tell you everything you need to know as well as taking you through the process step-by-step.
Although all the jam recipes on my blog give full instructions, here I’ve dedicated a whole post to the theory and practice of making jam. Understand the principles, follow my tips, and after trying a few trusted recipes, you’ll soon be creating your own delicious jams.

In this guide you’ll learn:
- which fruits (and vegetables!) you can make jam from
- what simple equipment to use
- why pectin and acid are important
- how much sugar to use and how it affects jam’s keeping qualities
- good hygiene
- how to tell if your jam will set
- the best way to store jam
At the end, you’ll find a troubleshooting section in case things go wrong plus links to my jam recipes.
Not just for beginners, even old hands might learn something new about how to capture fresh, seasonal flavours to enjoy months later.
BEGINNER’S GUIDE TO JAM MAKING
I love making jam and have been doing it for over 25 years. As a child I would watch mum making jam from the fruits my dad grew in our back garden. Strawberry, damson (my job was to scoop off the stones as they rose to the bubbling surface), blackcurrant, raspberry, and, when there wasn’t quite enough of any single fruit: mixed fruit jam.
Yes, there’s stacks of jam available at every supermarket, deli, and farmer’s market. But, as with many things, there’s great enjoyment to be had creating something from scratch, and especially using seasonal ingredients.
While all the jam recipes on my blog include full instructions, I thought it would be useful to dedicate a whole post to the theory and practice of jam making. So here it is. My jam making guide for beginners.
WHAT IS JAM?
Jam is a sweet preserve made by cooking whole, chopped, or pulped fruit (occasionally vegetables) with sugar until it reaches setting point. Yes, it really is as simple as that.
In previous times, with no canning or freezing, making preserves such as jam was a way to store fresh produce. The preserves could then be eaten at times in the year when fresh fruits and vegetables were scarce. But even though we no longer need jams, many of us still love to eat – and make – them.
By the way, if you’re in the US, you probably know what we in Britain call jam as jelly. But here, the preserves known as jellies are made by straining the cooked fruit and only using the juice – usually because the fruit is one with lots of troublesome pips.
WHICH FRUITS (OR VEGETABLES) CAN I USE TO MAKE JAM?
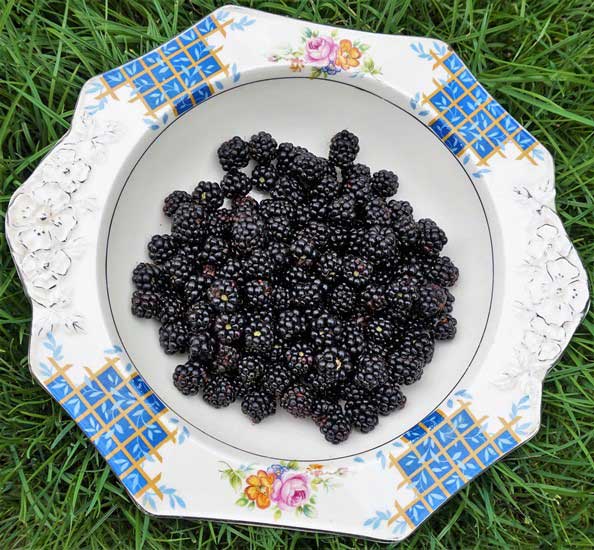
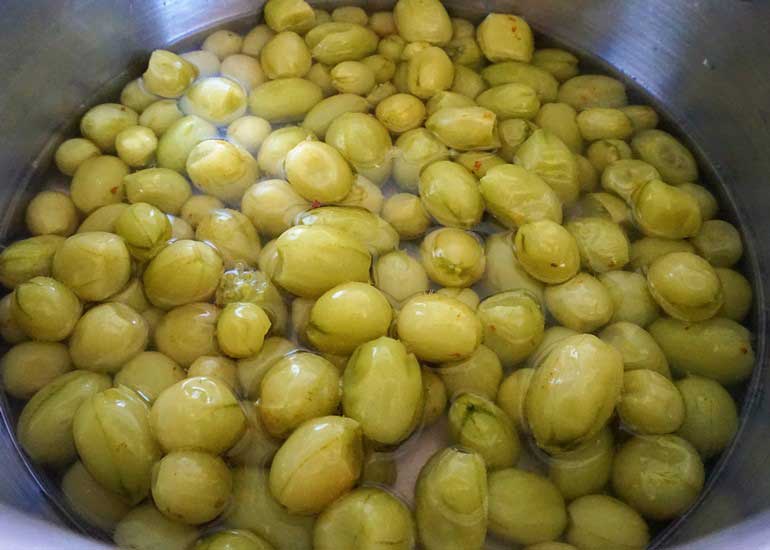
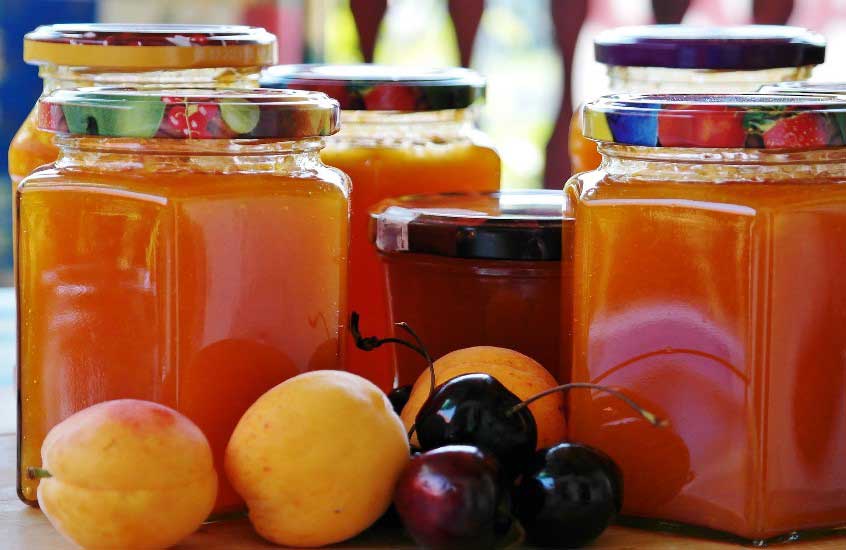
Almost any fruits, and some vegetables, can be used to make jam. Some of the most popular include strawberries, raspberries, damsons and other plums, blackberries, gooseberries, rhubarb, marrow, pumpkin, and courgette. For simplicity, from now on I’ll just say ‘fruit’ instead of ‘fruit and vegetables’.
Traditionally, jam is made with fruits in season that are plentiful, perhaps ones you’ve grown yourself in the garden or on an allotment.
If you’re buying fruit, local markets or a trip to a ‘pick your own’ farm can be cheaper than the supermarket. An even cheaper option is to make the most of free and wild fruits: windfall apples, blackberries, elderberries, rowan berries (admittedly, something of an acquired taste!), and hips from wild roses and hawthorn.
But don’t go thinking you need huge amounts of produce to make homemade jam worthwhile. I much prefer to make small batches: perhaps just a kilo of fruit to make 2 – 4 jars rather than loads of the same thing.
There’s also no reason why you can’t use frozen rather than fresh fruit. This is particularly useful if you can only pick a small amount at a time. Just pop it in the freezer, add to it as and when, then make the jam when you’ve collected enough.
PECTIN: THE JAM MAKER’S FRIEND
The main point to get about making jam is that the cooked fruit and sugar needs to reach setting point. This means that the jam will not be runny once it’s potted up and cooled down. Later on you’ll learn how to tell when setting point is reached.
Happily, fruits contain a natural setting agent called pectin. Pectin is released during cooking, but different fruits contain varying amounts of pectin. The more pectin there is, the easier and quicker your jam will set. And it’s always better to get a quicker set as the shorter the cooking, the more the fresh fruity flavour is retained.

Fruits and vegetables fall into high, medium, and low pectin categories. Here’s a few examples:
- High pectin: apples (especially cooking apples like Bramleys), blackcurrants, gooseberries, damsons and sour plums, citrus fruit (mainly in their peel).
- Medium pectin: raspberries, early blackberries, ripe plums.
- Low pectin: strawberries, late blackberries, pears, peaches, cherries, rhubarb, marrow.
Slightly underripe fruit generally has more pectin than very ripe. Note that freezing fruit reduces the pectin a little.
The level of pectin can also affect how much sugar you use to set the jam. I explain more in the Sugar section but traditionally, you use more sugar with high pectin fruits and less with lower pectin fruits.
Recipes used to advise that you test how much pectin is in a batch of fruit before making jam. This involved messing about with methylated spirits and I’ve never bothered with it. I find that lists such as the one I’ve given showing high, medium, and low categories, is accurate enough alongside considering how ripe the fruit is.
Low pectin fruits are often combined with higher pectin fruits to get a good set. For example, my Rhubarb, Apple & Ginger Jam.
If you are making jam with only low pectin fruits, you can buy bottles of pectin or even make your own pectin stock with high pectin cooking apples. However, my preference is to buy a special type of jam sugar. I’ll tell you more about that in the Sugar section.
ACID
Besides the natural pectin found in fruit, another factor which will affect the setting of your jam is the level of acidity. And, as with pectin, there are fruits with high, medium, and low acidity.
Acid is important because it helps fruit to release that all-important pectin. Fruits that are both high in pectin and acid include cooking apples, blackcurrants, redcurrants, damsons, plums, gooseberries. No wonder that these are popular fruits for making jam.

Where acid is low, it’s very easy to add some in the form of lemon juice. The juice of one lemon or approximately 60ml per kilo of fruit will help to set the jam.
THE ROLE OF SUGAR
There’s no getting away from the fact that sugar is an important ingredient in making traditional jams. Added not just for sweetness, sugar has a role in both setting the jam and preserving it.
When making jam, the pectin and the acid combine with the cooking fruit and sugar to make the mixture set. Sugar also helps to stop pectin breaking down as the fruit is cooked.
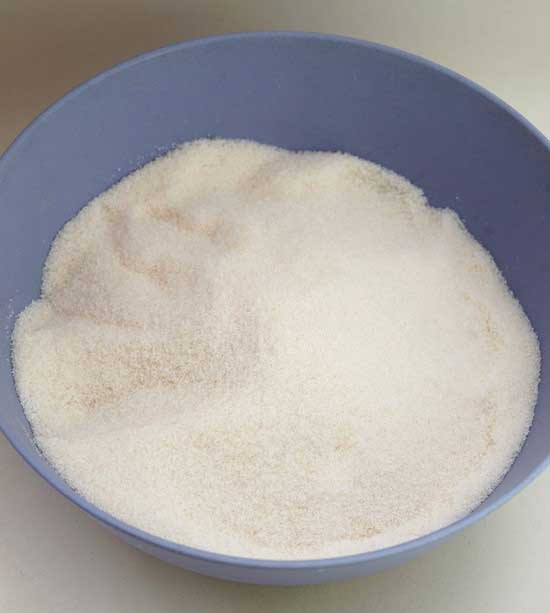
TYPES OF SUGAR FOR MAKING JAM
It’s perfectly possible to use ordinary granulated sugar to make jam. This has the great advantage of usually being the cheapest option. If you’re using high pectin fruits, or those with medium pectin plus high acid, then it’s the obvious choice.
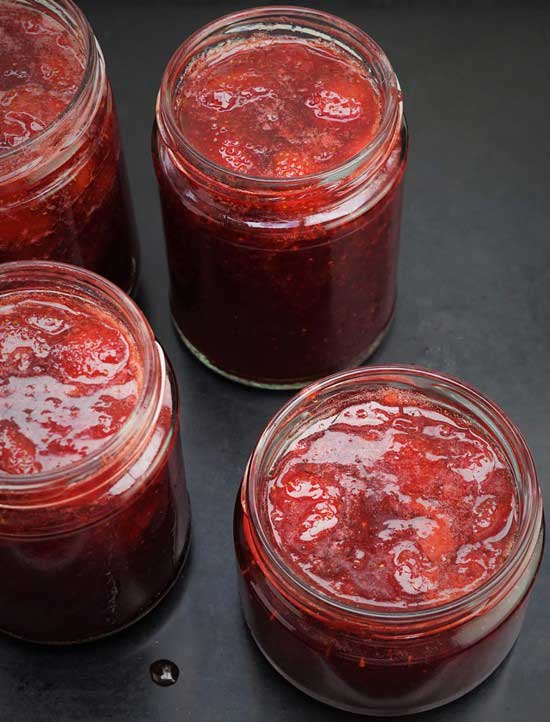
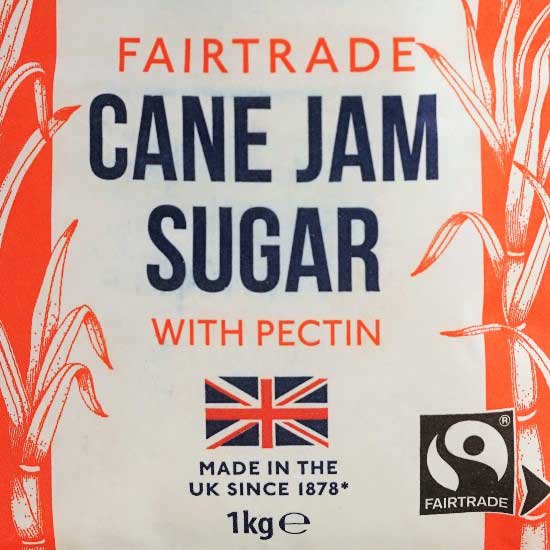
However, granulated isn’t suitable for low pectin fruits. For those, I use a special sort of sugar called jam sugar. This has pectin already added and should give a quick and easy set. The disadvantage of jam sugar is that it is considerably more expensive than granulated. However, a proper Homemade Strawberry Jam is such a seasonal treat that I think it’s worth the extra cost.
You’ve perhaps also seen something labelled preserving sugar. However, this doesn’t contain pectin. It’s simply large crystal sugar which dissolves more slowly than granulated. This makes it less likely that the cooking jam will stick and is said to give it a better colour. However, although cheaper than jam sugar, it’s still a lot more expensive than simple granulated.
If you do use granulated sugar, it’s best to stick to flavourless white rather than brown or golden – both the latter can detract from the taste of the fruit.
HOW MUCH SUGAR TO USE?
The high concentration of sugar in traditional jam plays an important part in preserving it. This is because it’s more difficult for nasty microorganisms to grow in such an environment. It’s generally accepted that the percentage of sugar in a jam should be greater than 60 per cent to get this benefit.
Note that it’s 60 per cent sugar after cooking. Boiling the fruit and sugar together evaporates the water and so helps the sugar reach that percentage – it doesn’t mean you have to add 60 per cent sugar to the other ingredients!
For high pectin fruits: it’s traditional to use a greater proportion of sugar than fruit. This is because the higher pectin can set more sugar and so gives you more jam. If you want to do this, use 640 – 750g of sugar per 500g of fruit.
For medium pectin fruits: use equal amounts of fruit and sugar.
For low pectin fruits: use more fruit than sugar – approximately 380g of sugar for every 500g of fruit.
But these are only guidelines. Using equal amounts of sugar and fruit (with added pectin if necessary) will generally give you a jam that is sweet and should keep for at least a year. If you prefer a less sweet taste, then you can add sugar at the same proportion shown above for low pectin fruits. However, this will reduce the jam’s keeping qualities, so you’ll need to use it up within 6 months.
For a semi sweet ‘jam’ (which I think is really more of a compote), you can use half the amount of sugar to fruit. However, it’s best to store this in the fridge and use within a few weeks.
JAM MAKING HYGIENE
Hygiene is important in any food preparation, but even more so when it’s a preserve that’s going to be stored for some time.
The high temperatures and high concentrations of sugar and acid in most jams should kill off most nasty bugs. You also need to make sure that jars, their lids, and any utensils you use when potting up the jam are scrupulously clean.
Jars and lids should be sterilized. This isn’t as complicated as it sounds, and you can choose one of several methods.
- Boil in a pan of water for 10 minutes.
- Put them in a hot dishwasher cycle.
- Wash in hot soapy water, rinse, heat in a low oven.
- Wash in hot soapy water, rinse, heat in the microwave (NOT metal lids)
My preference is for method 3 which can easily be done at the same time as making the jam.

Note for US readers: these methods aren’t recommended by the USDA but they’re standard practice here in Britain.
Jars should be filled while they are still hot from whichever method you used to sterilize them. This is so the temperature of the jam (which should also be hot) doesn’t fall before the lid goes on.
Jars need to have an airtight seal to stop them going bad. I tell you how to achieve this in the section on Potting Up.
JAM MAKING EQUIPMENT
There’s very little equipment needed for making jam that most home cooks won’t already have.
LARGE SAUCEPAN
I think the saucepan that you boil the jam in is the most important bit of kit. While you can buy special preserving pans, I’ve never found it necessary. I just use a large, lidded, two-handled saucepan.

The pan should have the following properties:
Large: boiling jam can foam and rise up quickly so your pan should be big enough to allow for this. The ingredients shouldn’t more than half fill the pan. I rarely make jam with more than 1-2 kilos of fruit and find my 5.4 litre pan plenty big enough. If you plan to make large amounts of preserves, then you’ll need a capacity of 9 litres.
Shallow and wide: this will give faster evaporation which means a quicker set and a better flavoured jam.
Heavy and solid: heat will be distributed more evenly so there’s less chance of the jam sticking and burning.
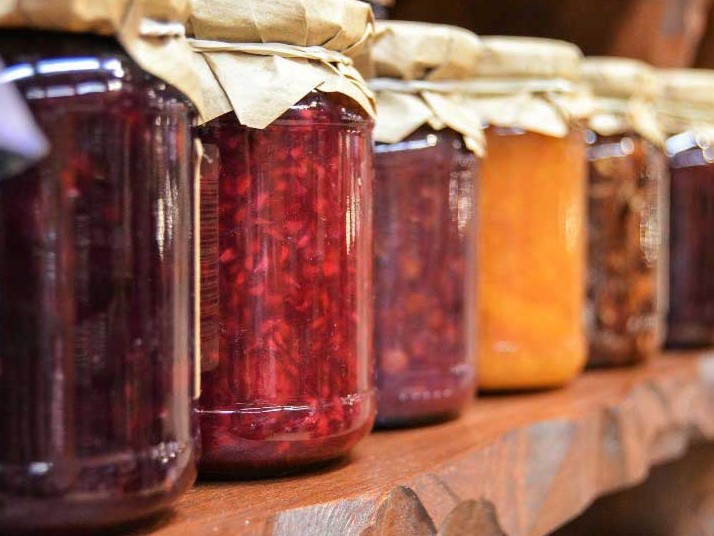
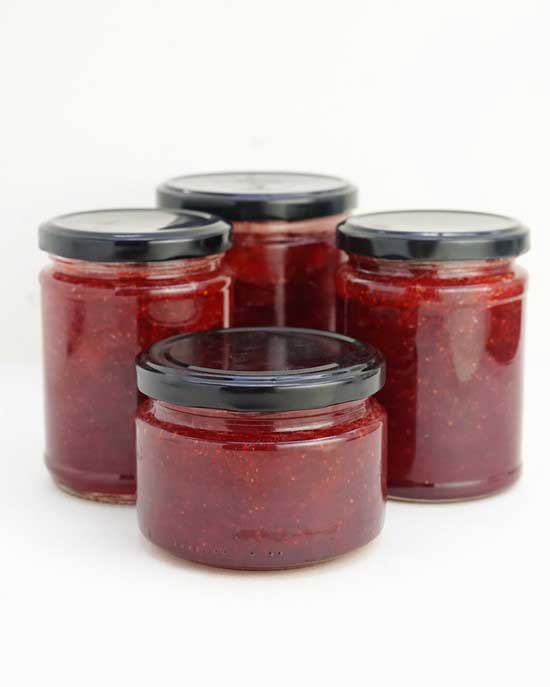
JARS
While you can buy fancy jars for homemade jam, I usually just recycle ones from bought jams, olives, sun-dried tomatoes etc.
Lids should be screw-on type and, ideally, plastic-lined. This makes them suitable for acidic preserves which could corrode metal. Most jars repurposed from commercial preserves will meet these criteria.

It’s always better to have a few more jars ready than you think you might need for a particular batch. It’s a pain when you’re potting up and find you don’t have enough. I like to have a couple of differently sized small jars ready too, just in case I can’t quite fill my last regular-sized jar.
OTHER EQUIPMENT
The only other essential items are scales for weighing ingredients, a wooden spoon for stirring and a ladle for transferring the cooked jam to the jars. To make the latter job less messy, I use a jam funnel. Alternatively, carefully pour the jam into a large, clean heatproof jug and fill the jars from that.

You may have heard that you need a jam thermometer to find when jam is at setting point. But this isn’t the case and I explain why in the next section.
TESTING FOR A SETTING POINT
Before guiding you through the steps of making jam, I first want to talk a little more about setting point.
Knowing when your jam has reached setting point is important because if you keep boiling past that point your jam will be over-set. This means it will be hard and sticky, too sweet, and with all the fresh fruit flavour gone. On the other hand, pot up too soon, before it reached setting point, and your jam will be runny.
WHY YOU DON’T NEED A THERMOMETER
In theory, setting point occurs at a temperature of 104.5 Centigrade. So, in theory, you could just use a jam thermometer and pot up once that sweet spot is hit.
However, reality doesn’t work quite like that.
For example, a pectin rich jam will set at a lower temperature. From personal experience I can tell you that I’ve had jams clearly at setting point before the thermometer was anywhere near 104.5.
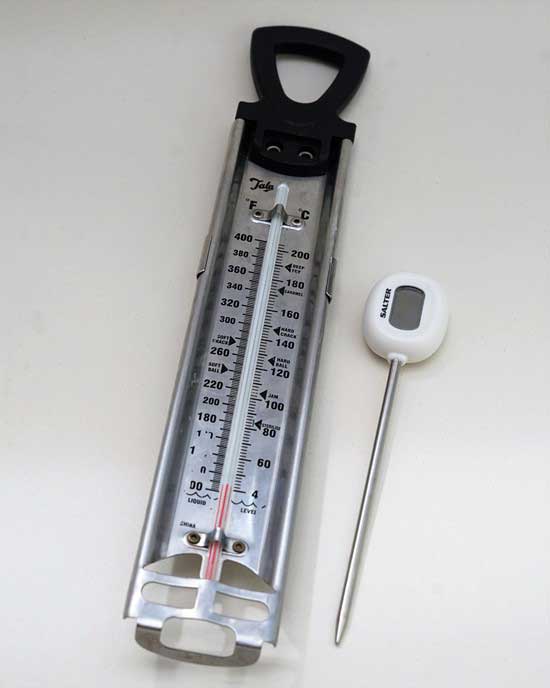
I also wouldn’t be surprised if many thermometers for the home cook aren’t pinpoint accurate anyway. To illustrate why I wouldn’t rely on one, my old thermometer once told me a batch of jam was 110 degrees Centigrade. However, it definitely wasn’t over-set.
So, while a thermometer can be an interesting addition to your jam making kit, it isn’t absolutely necessary. Even worse, relying on an inaccurate one could mean you jam is over or under set. If do you choose to use a thermometer, take your readings at the centre of the pan which should be the most accurate.
SETTING POINT WITHOUT A THERMOMETER
For my jam making I use a combination of two old, simple but reliable methods to test for a setting point. They rely on visual clues that, once you’ve made jam a couple of times, will be easy to recognise. Before you start making the jam, put a few heatproof saucers in the freezer. These will be used later to quickly cool little samples of jam for testing.
In the Method section below, I tell you when to start testing for a set, but here’s how to do it.
1st THE FLAKE TEST
Take the pan off the heat and get some of the jam on your wooden spoon. Wait for it to cool a little then slowly tilt it and let the jam fall off the edge.
Does the jam all run off in a stream? Or do some drops come together into a ‘flake’ and stay on the edge of the spoon?

If it runs off with no flake forming: put the pan back on the heat, boil for another 2-3 minutes, then do the flake test again.
If flakes form: proceed to the Crinkle or Cold Saucer Test
2nd THE CRINKLE OR COLD SAUCER TEST
If the jam passed the flake test, leave the pan off the heat, and take one of the cold saucers from the freezer.
Put a teaspoon of jam on the saucer and leave it a minute or so to cool – note that the test won’t be accurate if the jam is still warm. Gently push the jam with your finger. Does the surface wrinkle up?

If it doesn’t wrinkle but runs back into the gap you made: put the pan back on the heat and boil for another 2-3 minutes, then do the crinkle/cold saucer test again.
If it wrinkles and stays in place: setting point has been reached and your jam is ready to put into jars.
JAM MAKING METHOD
After quite a bit of theory, you might be surprised at how simple the practical jam making process is! Although timings can vary depending on which fruits you’re using, the method is largely the same.
Before you start, I suggest you get your jars and lids ready. Give them a good wash in very hot, soapy water, rinse in clean water, then leave upside down to drain. As mentioned before, I use the oven method to sterilize them which can be done at the same time as making the jam.
1. COOK THE FRUIT
The first stage, cooking the fruit, softens it and, as we’ve learned, draws out the pectin. Larger fruits or widely different sized fruits should be cut into similar sizes.
Soft fruits like raspberries and strawberries will usually cook down without the need to add any water. But you’ll need to add water to cook harder fruits such as apples, currants, and gooseberries.
As sugar can toughen the outer layer of fruit, this stage is normally done before adding any sugar.
It’s up to you how soft you want the fruit. You may want it to be completely cooked down into almost a puree. Or you may want to leave some chunkier pieces.
2. ADD & DISSOLVE THE SUGAR
Once the fruit is soft, you can add the sugar. This stage is done over low heat, so the sugar slowly dissolves while you stir. The aim is to dissolve the sugar before the mixture boils, otherwise it can stop the fruit breaking down.

It’s sometimes recommended to first warm the sugar in the oven to speed up the dissolving. But I’ve never bothered.
Meanwhile: sterilize the jars During this stage, I switch the oven on to its lowest setting and put the clean jars and lids inside on a baking tray. I turn off the oven when they’re hot but leave them inside until I’m ready to pot the jam. If they start to cool down before the jam’s ready, I just switch the oven on again.
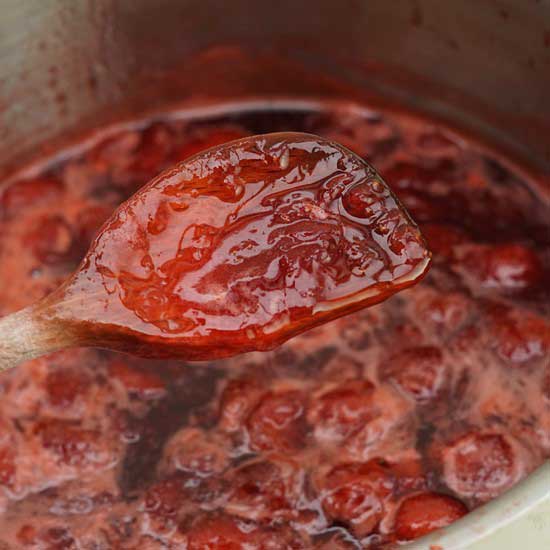
3. BOIL
Once the sugar is completely dissolved, you turn up the heat to maximum and bring everything to a boil. To speed it up, I put a lid on for this stage. As soon as the jam has come to the boil, take off the lid so that evaporation can begin.
You need to keep it at a high heat to achieve what’s called a ‘full rolling boil’. The mixture will be boiling hard with its surface completely covered in bubbles.

Resist the urge to stir too much at this stage as it will lower the temperature. This means it will take longer to cook which gives less good flavour and colour. However, you can stir occasionally to make sure the mixture isn’t sticking to the bottom of the pan.
A quick word about scum. Scum’s an unpleasant word but, providing the fruit was clean, any scum you see in the pan is just bubbles which can usually be dispersed at the end of cooking. If bothered by it though, you can add a knob of butter (10g per 500g of fruit) at the same time as the sugar.
We keep the rolling boil going until setting point is reached. Depending on the fruits used, their ripeness, level of pectin, how full your pan is, etc. this could take anything from 5 to 25 minutes or more.
4. WHEN TO TEST FOR SETTING POINT
So, how do you know when to start testing? There are a few clues to look out for.
- The surface of the jam will no longer look foamy but glossy and shiny.
- A fast, frothing bubbling will have been replaced by a slow ‘plopping’.
- The sides of the pan may have a build-up of thickened, slightly sticky, jam.
Before testing for setting point, always take the pan off the heat. Otherwise, if you do find you have a set, you run the risk of overcooking the jam.
Follow the instructions for the flake test. If that’s positive, follow up with the crinkle/cold saucer test. If the jam fails the tests, cook for another couple of minutes before testing again.
Once you’ve reached setting point, your jam is ready pot up.
POTTING UP
As we learned in the Hygiene section, both the jam and the sterilized jars and lids need to be hot at the potting up stage.
If you want to disperse any bubbles (‘scum’) then stir the jam. Try to do this in one direction though: this will let less cooling air in.
If your jam has large pieces of fruit, then you can leave it to stand for around 10 minutes before potting up. During this time, it will thicken which will help to suspend the fruit in the liquid and make it easier to distribute evenly among the jars. BUT the jam still needs to be hot (technically speaking, no less than 85 degrees Centigrade).
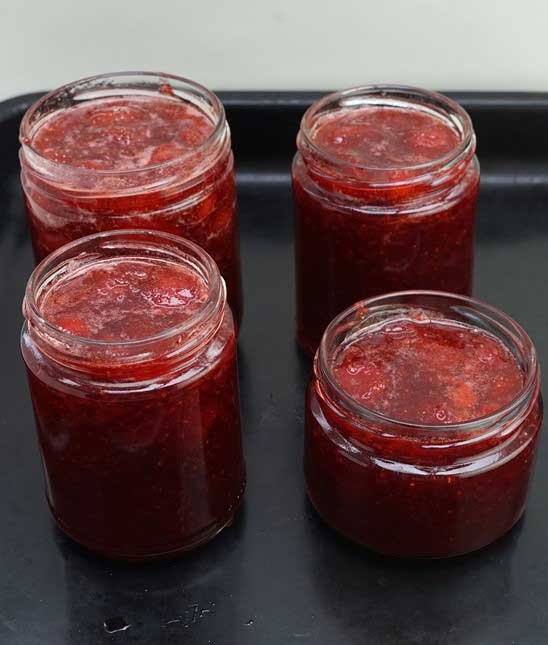
Before transferring the jam to the jars, give it a stir to evenly distribute any pieces of fruit. To fill the jars, use a ladle and jam funnel or pour the jam into a clean glass jug and fill the jars using that.
Fill up the jars almost to the top. This will help to keep out air. If you can’t fill your last jar, then it’s unlikely to become airtight. Keep this one in the fridge and use up within a few weeks, as you would any opened jar of jam.
GETTING AN AIRTIGHT SEAL
When you’ve filled the hot jars, twist on the lids while protecting your hands with a cloth. Don’t worry if they’re not screwed on completely tight at this stage. I usually find I can twist them on a little bit tighter once they’ve cooled a bit.
Once the jars are completely cold then the lids, if you press down on the top, should not spring back with a popping sound. Be pleased: that means you’ve got an airtight seal. If that doesn’t happen, I tell you what to do in the Troubleshooting section below.
If you’re going to add a label, wait until the jars are cold. Otherwise, the heat could melt the glue and they’ll just peel right off again.
STORING JAM
You should store your homemade jams in a cool, dark, dry place. That’s because excess heat can cause the jam to shrink, and light will fade the colour. Jams can also go mouldy if stored in a damp place.
Traditionally, jams and other preserves were stored in a pantry – I’m pleased to say that I’m in the process of creating one in my house. But otherwise, a kitchen cupboard away from the oven or radiators is fine. If you have a dry, cool cellar or garage, then either of those would be good.
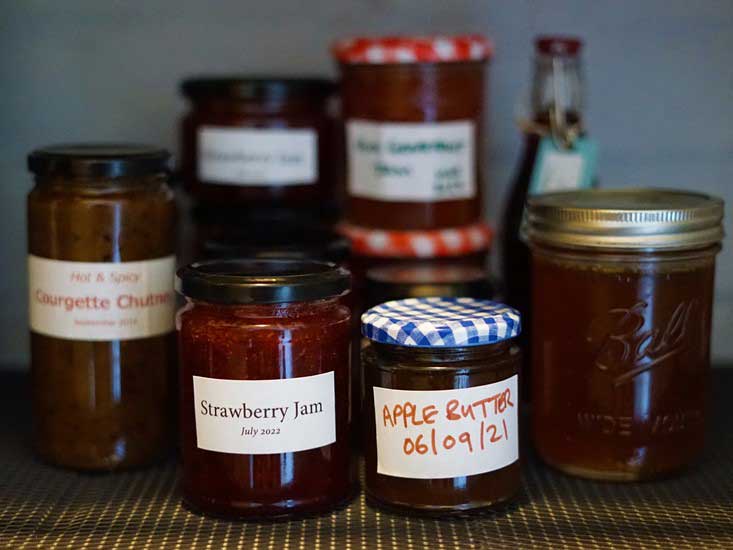
Unlike chutneys and pickles, jams don’t need any maturing. So you can enjoy them straight away. Once opened, store in the fridge and use within a few weeks.
The usual advice is that full jars of properly stored jam should be used within a year. However, I and many others eat homemade jam that’s been stored longer than that. But stick to the 1-year guidance if you prefer. As mentioned previously, if you decided to reduce the sugar in your jam then it’s probably wiser to use within 6 months or even store in the fridge.
TROUBLESHOOTING
Although making jam is not difficult, there are a few things that could go wrong, especially for the beginner. Here I look at the most common problems.
WHY IS MY JAM NOT SET?
The most likely answer is that you didn’t cook it long enough, so that setting point wasn’t reached.
Remove the jam from the jars and re-boil it, carefully testing for a setting point. You will need to re-wash and sterilize the jars and lids again before potting up.
If you didn’t use fruit with enough pectin and didn’t use sugar containing pectin you can briefly re-boil it with pectin from a commercial bottle or make your own pectin stock.
MY JARS DON’T HAVE AN AIRTIGHT SEAL
If, when the jars of jam are completely cold, the centre of the lids come back up with a popping sound when you press them down, you do not have an airtight seal. This means that the jam will not keep well.
The most likely cause is that the jam and/or the jars weren’t hot when you potted up. Alternatively, the jars or lids could be faulty. You have two options.
1) Store in the fridge and use within 2 weeks.
OR
2) Remove the jam from the jars and re-boil it. Re-wash and sterilize the jars and lids as before. Replace with new ones if damaged. Make sure you pot up while the jam and jars are hot. If you still don’t have an airtight seal once the jars are cold, you’ll need to store in the fridge and use as 1) above.
JAM IS VERY SET OR HARD WHEN COLD
Unfortunately, this means you overboiled the jam and there’s really no way to rectify this. Make sure you start testing earlier for a setting point next time.
WHY IS MY JAM GRAINY?
You may have started boiling the jam before the sugar completely dissolved. Next time, slowly dissolve the sugar over a low heat before bringing the mixture up to the boil.
STORED JAM HAS GONE MOULDY
You most likely did not sterilize the jars properly or else potted up when the jam and jars had gone cold. The jam will have to be thrown away. Pay more attention to good hygiene next time and make sure you pot up while jars and jam are still hot. Store your jams in a cool, dry place.
STORED JAM HAS FERMENTED IN THE JAR
Your fruit may have been overripe, or you didn’t boil it long enough. You may have added too little sugar. Jams that are poorly sealed and left in too warm a place may also ferment.
I hope you’ve enjoyed and learned something from my guide to making jam. Whether you’re a beginner with more questions or are experienced and have your own tips to share, I’d love to hear from you via the Comments.
JAM RECIPES
Here are links to all the jam (and jam-like) recipes currently on Moorlands Eater. I’ll update this list as more are added.
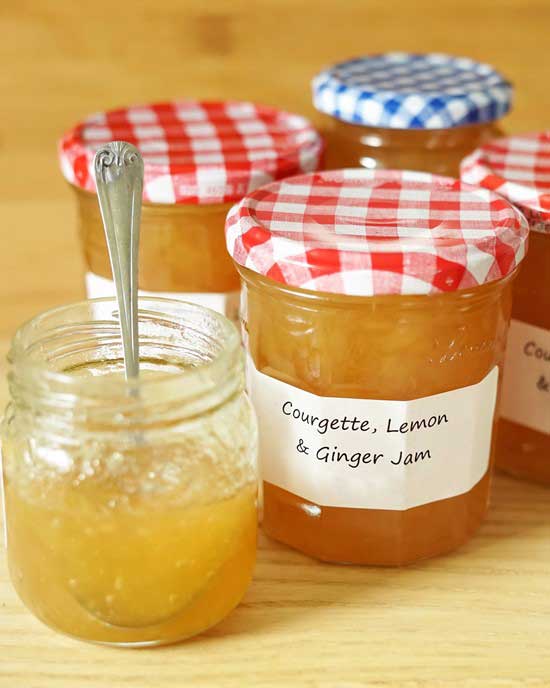
MARROW OR COURGETTE JAM WITH LEMON & GINGER