Cheese Sandwich Crackers
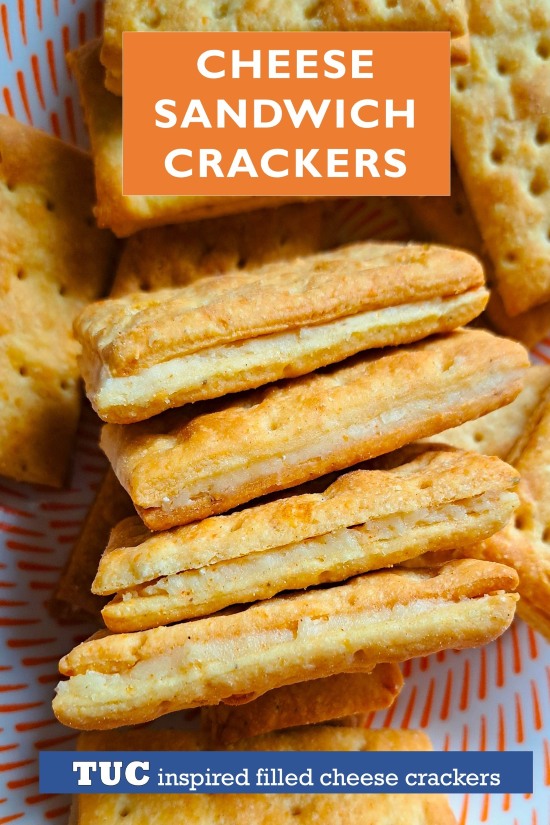
Cheese Sandwich Crackers are light, crispy and cheesy biscuits sandwiched together with an intensely cheesy filling. Perfect for snacking, they’re inspired by TUC brand cheese sandwich crackers but with no palm oil or ultra processed ingredients. Plus, instead of their measly 5 per cent dried powdered cheese there’s loads of Parmesan and Cheddar. So good, you can even enjoy the melt-in-the-mouth crackers on their own without the filling.
Disclosure: this post contains affiliate links. As an Amazon Associate I earn commission on qualifying purchases.
Jump to Recipe
I’ve always thought TUC was a strange name. If you’re not familiar with TUC, they’re a savoury cracker that’s been manufactured since the 1950s. Originally just a salty but light and crispy cracker, you can now also buy them as sandwich crackers: two joined together with a flavoured smooth filling. Weirdly, it turns out the name comes from the acronym for ‘Trade Union Corporation’ after their Belgian creator saw it in a newspaper.
Sadly though, like so many mass-produced biscuits and crackers, TUC now contain palm oil and all sorts of ultra-processed ingredients. But I think the idea of a sandwich cracker, double the crispiness and with extra flavour from the filling, is a pretty good idea.
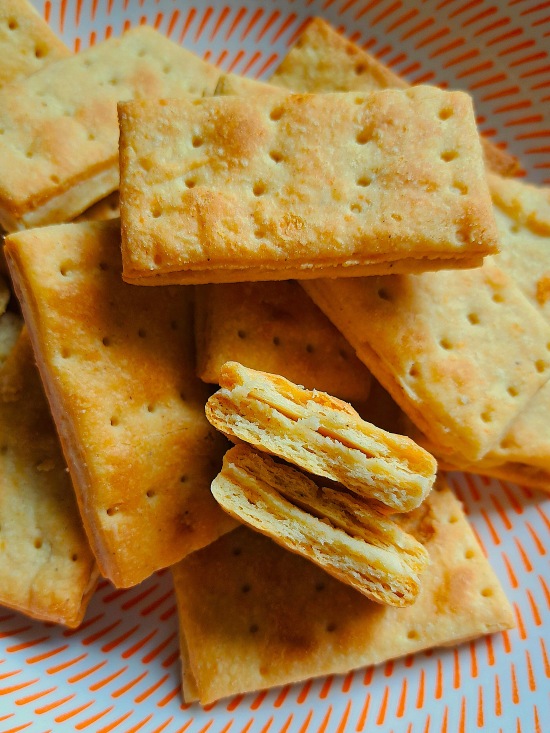
So, already a fan of homemade savoury biscuits and crackers, I decided to make my own Cheese Sandwich Crackers inspired by the original. But I think they’re much nicer!
CHEESE SANDWICH CRACKERS
The first thing to say is that my homemade Cheese Sandwich Crackers are NOT a replica of TUC sandwiches. Made with real everyday ingredients, they were never going to be identical. But more than that, I think they taste loads better. The originals contain just 5 per cent cheese. And that’s dried and powdered stuff. Mine have loads of freshly grated Parmesan and Cheddar, and not just in the filling. Unlike the originals, my light, crispy biscuits are cheesy too!
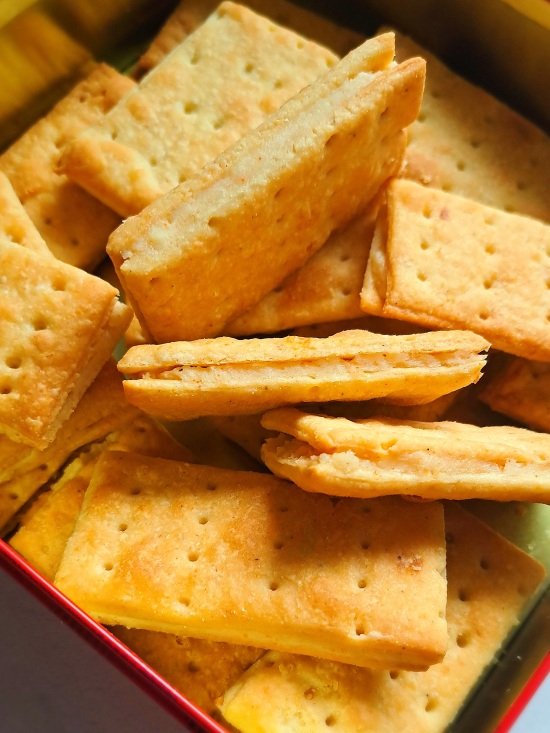
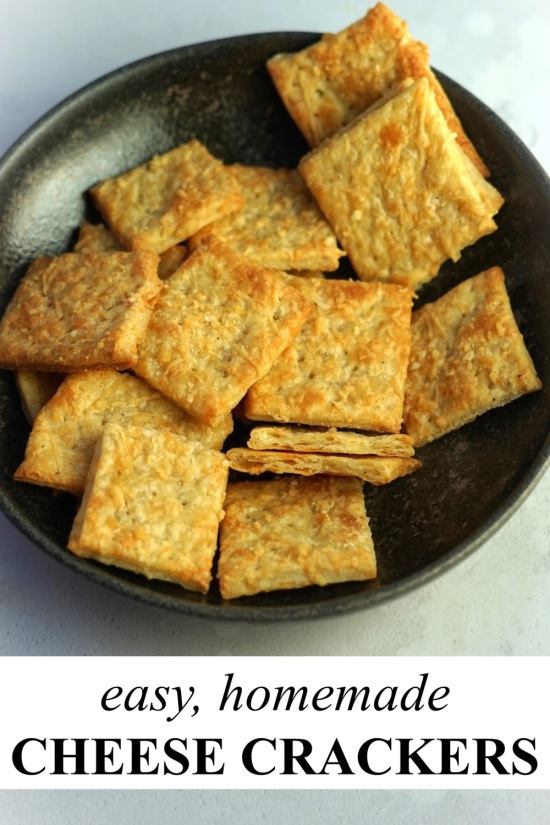
My starting point was my easy Homemade Cheese Crackers recipe. Now, I’ve adapted it to be even more buttery and cheesy. So good, you can certainly eat them on their own. But they become an extra special treat with a cheesy filling based on my classic yet dead simple British Potted Cheese.
You’ll find a recipe card at the end with ingredient amounts and full instructions. Please read the whole of this post first though as it has extra tips plus step-by-step images to guide you. You should also use digital scales and metric measurements as these were used to test the recipe.
INGREDIENTS FOR HOMEMADE CHEESE SANDWICH CRACKERS
If you do any baking at all, and you’re a fan of cheese, then you’ll probably already have everything you need to make these moreish and intensely savoury crackers.
For the crackers themselves you’ll need the following.
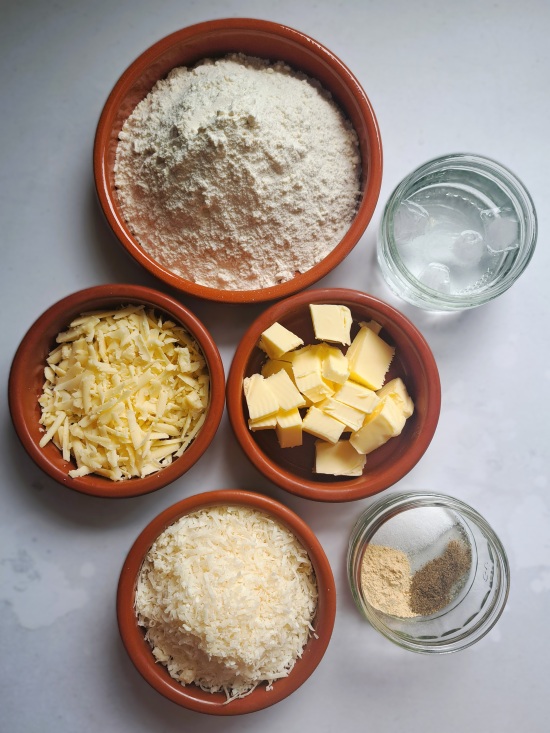
- Self-raising flour. White flour keeps the crackers light and crispy. Swap in plain/all-purpose flour plus baking powder if necessary.
- Garlic powder. This is entirely optional, but I like a subtle hint of garlic with the cheesy flavour.
- Salt & Black Pepper. I prefer fine rather than coarse for these crackers.
- Butter. For binding the dough and flaky, delicious flavour.
- Cheese. A combination of 60 per cent Parmesan and 40 per cent mature Cheddar gives knockout flavour and texture.
- Iced water. Helps bind the dough.
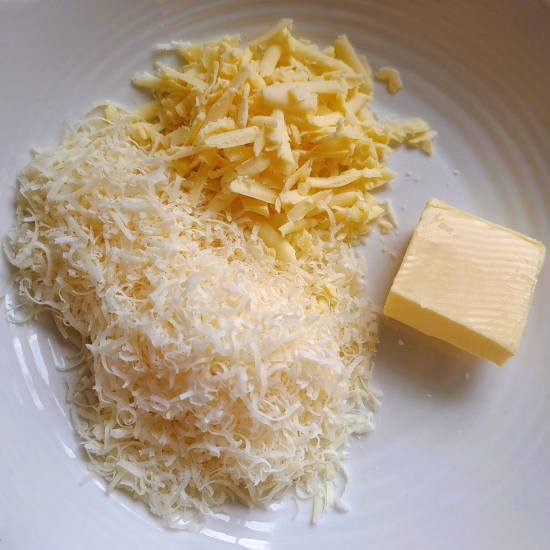
For the savoury cheese filling you’ll need more butter, Parmesan, and Cheddar. I also like a few simple optional seasonings, but I’ll talk about those later.
MAKING THE CHEESE CRACKER DOUGH
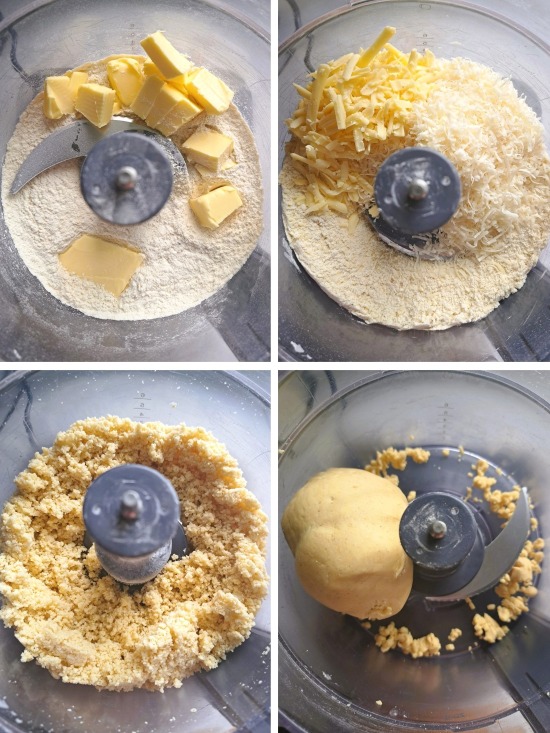
You’ll see from the photos that I’ve used a food processor to make the dough for my Cheese Sandwich Crackers. But you can easily make it by hand too, so I’ve included instructions for both.
Using a processor. Briefly whizz the flour, salt, pepper, plus garlic powder if using. Add the cold butter, diced, then whizz that until you have a fine breadcrumb texture. Tip in both grated cheeses then start blending them in. With the machine still going, gradually add the iced water until a dough forms.
Making by hand. First sift the dry ingredients into a bowl. Then grate in the cold butter and rub in with your fingertips. Stir in the grated cheese, then gradually add the water to start bringing the mixture together. Switch to your hands to create a dough that leaves the sides of the bowl clean.
To make rolling out and cutting the dough easier, it needs to be chilled in the fridge for 20 – 30 minutes. Whichever method you used to make it, transfer the dough to your clean worksurface. To reduce sticking, for this and loads of baking jobs, I cover my worktop with a silicone mat. It means you can use less flour when handling the dough (which can make crackers hard) and makes clean up easier too.
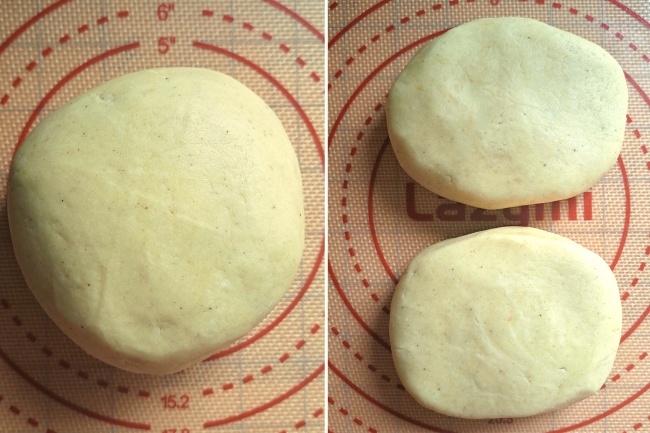
If it isn’t already a smooth ball, briefly fold the dough until it is. Only add extra flour if necessary. Now divide the dough in two, using scales for accuracy. Flatten slightly, then wrap and put in the fridge.
ROLLING & CUTTING THE DOUGH
Those of you familiar with TUC may have noticed that my crackers are not the same shape as those. The originals are a sort of elongated octagon. Basically, a rectangle with the four corners cut off. But I much prefer the simple rectangle achieved by my tried and tested, quick and easy method for cutting out homemade crackers.
I roll and cut the dough straight onto baking paper. This not only makes it easier to transfer the crackers to a baking tray, but cutting the paper to the right size means it’s your template for rolling the dough to the correct thinness.
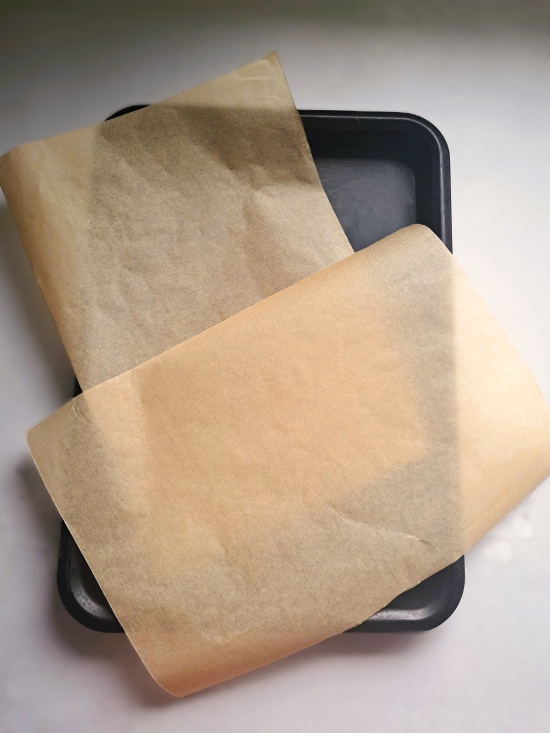
We’ll be baking two trays of crackers, so cut out two pieces of baking paper each 30 x 20 centimetres. You’ll also need a shallow baking tray at least a little larger than the paper.
ROLLING THE DOUGH
All you do is lightly flour one of the pieces of paper then put one piece of the chilled dough on it. Lightly flour the dough then roll out evenly until it completely covers the paper. This will give you a thin cracker that will be perfectly crispy. I roll slightly past the edges of the paper so I can neaten the edges using a ruler and pizza wheel.
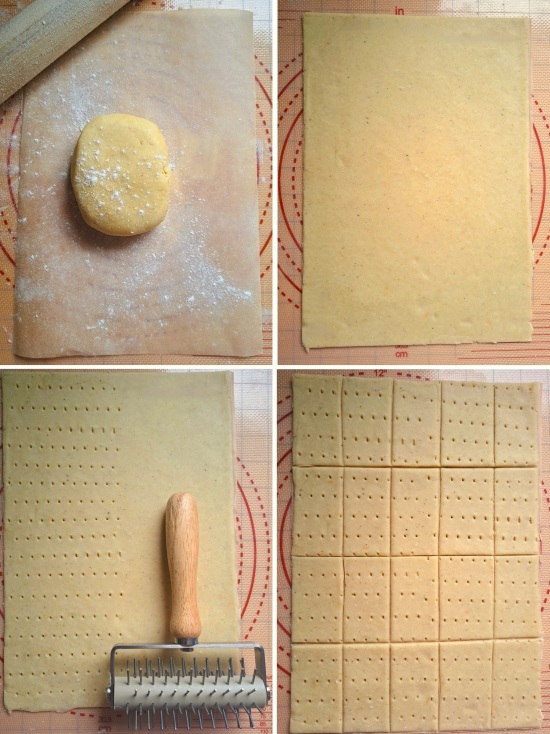
So that the crackers don’t bubble up too much when baked, prick holes all over the dough. You can use a fork, cocktail stick, or the non-pointy end of a bamboo skewer. But I love my pastry docker which gets the job done quickly and evenly in about 30 seconds.
CUTTING THE CRACKERS
What size you make your crackers is up to you. Because they’re much richer than the original that inspired them, I’ve gone for smaller Cheese Sandwich Crackers. Cutting the dough into 5 columns by 4 rows (use a ruler to get them as equal as you can) gives 20 crackers per tray. We’re making two trays, so that’s 40 in total to make 20 filled sandwich crackers.
BAKING THE CRACKERS
When you’re ready to bake (chill the cut out crackers if it’s more convenient to make in advance), slide the paper and crackers onto your baking tray. Transfer to your oven, preheated to the temperature shown in the recipe card. They should take between 9 – 12 minutes to become crispy and golden.
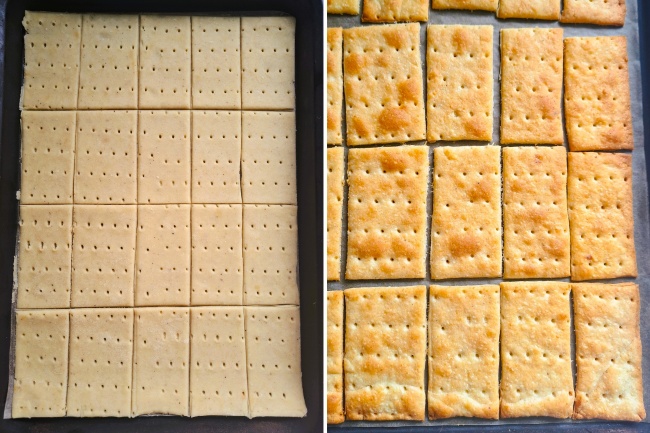
However, ovens do vary so here’s a few tips to get them perfect.
- If your oven cooks unevenly, turn the tray around after 6 minutes.
- Crackers at the edges, especially the corners, can cook more quickly than those at the centre. Move any that are done to a cooling rack and return the rest to the oven.
- If some of the middle crackers seem a little soft underneath, turn over for the final couple of minutes.
While the first tray of crackers is cooking, roll and cut out the remaining half of dough. Alternatively, you could first cut out both halves of dough and bake at the same time. Before storing or adding the cheesy filling, cool on a rack until completely cold.
ADDING THE CHEESE SANDWICH FILLING
To make the filling which takes Cheese Sandwich Crackers above a regular cheese cracker, your butter should be soft (but not melting) rather than straight from the fridge. This is so you can work in the Parmesan and Cheddar plus any seasonings you want to add.
Start by breaking down the butter with a fork then gradually work in the cheeses. At first, you may think there’s rather a lot of cheese and not very much butter. But keep going and it will come together.
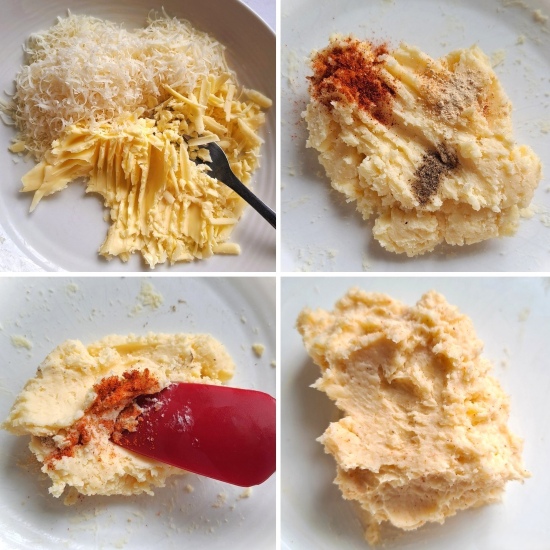
Now add your seasonings. I’ve gone for a few pinches each of paprika (unsmoked), black pepper, and garlic powder. You might want to switch to a silicone spoon for this bit. Not only can you lightly beat the butter until smooth, but you can make sure you scrape every delicious bit from the bowl.
Before sandwiching the crackers with the buttery cheese, be aware that the crackers can become a little softer a few hours after filling. They still taste good, but if you want them at maximum crispness it’s better to make up the sandwiches no more than an hour or two before eating.
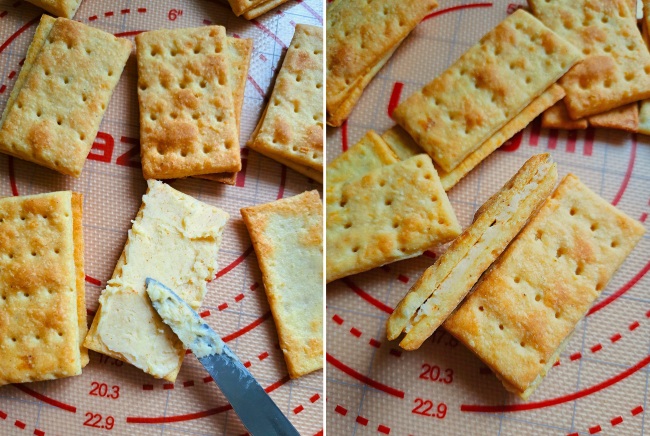
Divide the flavoured butter between half of the cheese crackers, using a knife to spread it evenly over their flatter undersides. Top with another cracker, holey side up, and press lightly together.
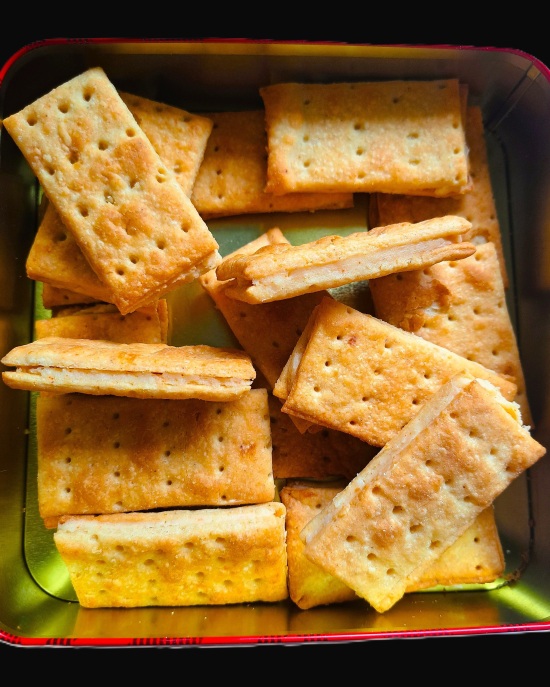
If you’re not eating straight away (but I defy anyone not to snaffle one or two immediately!) store in an airtight container. They should be ok at room temperature for an hour or so unless it’s warm. Otherwise, store in the fridge where they’ll keep at least three days. Ideally, bring out 15 – 20 minutes before you want to tuck (TUC?) in.
CHEESE SANDWICH CRACKERS: EASY & DELICIOUS
I don’t claim that my Cheese Sandwich Crackers are a replica of the manufactured version. While I took (TUC?) those as my starting point, mine have real ingredients including plenty of flavoursome cheese in the savoury biscuit as well as the smooth filling.
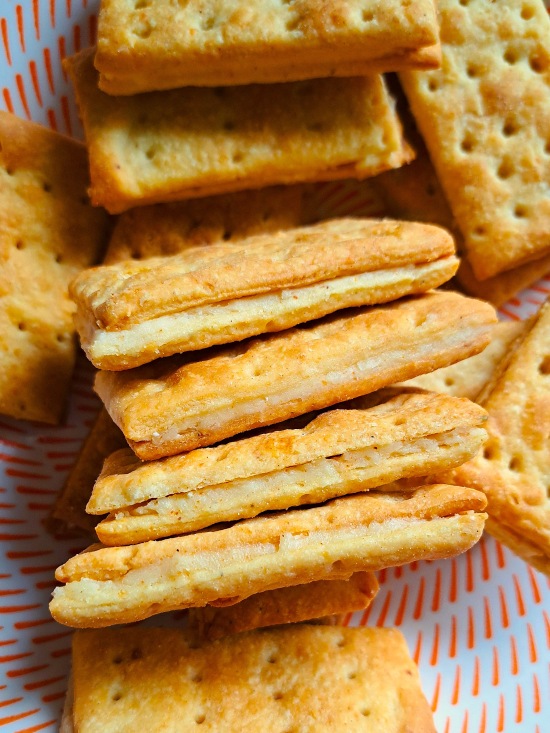
Over the years, I’ve found that homemade crackers are surprisingly easy to make once you know how. And I think these super cheesy, buttery, light and crispy delights with the added fun and taste of being a sandwich cracker will be adored by everyone who loves cheese.
If you’ve made this recipe, I’d love to know what you thought. Please do leave a comment and rating.

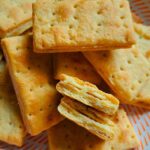
Cheese Sandwich Crackers
Light, crispy and cheesy biscuits with an intensely cheesy filling. Perfect for snacking, you can even enjoy them without the filling.
Please read the accompanying blog post before starting, use digital scales and metric measurements as these were used to test the recipe.
Ingredients
For the cheese cracker dough
- 175 g self-raising flour (or plain/all-purpose + 2 level tsp baking powder) + extra for rolling out
- 1 level tsp garlic powder (optional)
- ½ tsp salt
- ¼ tsp finely ground black or white pepper
- 75 g cold butter (salted or unsalted)
- 60 g Parmesan cheese (finely grated)
- 40 g mature Cheddar cheese (coarsely grated)
- 2 - 4 tbsp iced water
For the cheese filling
- 30 g soft butter
- 45 g Parmesan cheese (finely grated)
- 30 g mature Cheddar cheese (coarsely grated)
- a few pinches paprika powder (optional/to taste)
- a few pinches black pepper (optional/to taste)
- a few pinches garlic powder or granules (optional/to taste)
Instructions
Make the dough
-
Food processor
Tip the flour, garlic powder if using, salt and pepper into the food processor bowl. Briefly process until combined.
Dice the butter, add to the machine and process until the mixture looks like fine breadcrumbs.
Add both the grated cheeses and process again to combine.
With the motor running, add 2 tbsp of iced water and keep processing until a dough comes together. Add more water as necessary but drop by drop so you don't make the dough wet.
By hand
Sift the flour, garlic powder if using, salt and pepper in to a mixing bowl.
Grate in the cold butter, dipping it into the flour now and then if it sticks to the grater. Rub the butter into the flour using your fingertips.
Stir in the grated cheeses.
Add 2 tbsp of the iced water and stir in with a round bladed knife until the mixture starts coming together. Gradually add a little more water if necessary but don't make the dough wet.
Switch to your hands to bring together into a dough that leaves the bowl clean.
-
Transfer to a clean work surface, ideally covered with a silicone mat to reduce sticking, and briefly knead/fold into a smooth ball. Add a little extra flour if it seems sticky.
Cut in half, using scales for accuracy, then flatten into discs and wrap each half in cling film, foil or put in a reusable polythene bag. Chill in the fridge for 20 - 30 minutes.
While the dough is chilling
-
Preheat your oven to 200° C /180° Fan /Gas 6 /400° F with a shelf in the middle position.
-
Cut two pieces of baking paper into rectangles 30 x 20 cm.
Have ready a shallow baking tray larger than the cut baking paper.
Roll and cut the dough
-
Lightly flour one of the pieces of baking paper (using too much flour can make the crackers hard).
Place one piece of dough on it (leave the other in the fridge), sprinkle with a little flour, and roll out very thinly until it covers the paper.
Prick all over with a fork, cocktail stick, blunt end of a bamboo skewer, or dough docker.
Neaten the edges of the dough with a knife or pizza wheel plus a ruler then cut into equal sized shapes: 5 columns by 4 rows will give you 20 rectangles (or choose your preferred size and shape).
Tip: can be chilled or frozen at this stage if liked.
Bake the crackers
-
Slide the paper and the cut crackers off the work surface and onto the baking tray.
-
Put in the preheated oven and cook until crisp and golden (approximately 9 - 12 min but watch carefully as ovens vary and the crackers can darken quickly).
Tip 1: If your oven cooks unevenly, turn the tray around after 6 minutes.
Tip 2: Crackers at the edges of the tray may cook more quickly than those at the centre, so move these to a cooling rack and return the rest to the oven.
Tip 3: If necessary, turn the crackers over for even cooking.
While the first tray is baking, roll and cut another batch with the remaining dough. When the first tray is done, bake the second.
-
Transfer all the cooked crackers to a cooling rack and leave until completely cold before storing in an airtight container and/or adding the cheese filling.
Make the cheese filling
-
Put the soft butter into a bowl and start to break it down with a fork. Add both cheeses and work them into the butter with your fork: it may look like a lot of cheese and a small amount of butter but keep going until combined.
Add a pinch or two of your chosen seasonings then use a silicone spoon or similar to beat until thoroughly combined and smooth. Taste and work in more seasoning if needed.
Make the Cheese Sandwich Crackers
-
Note. The crackers can become a little softer a few hours after filling. They still taste good, but if you want them at maximum crispness it's better to make up the sandwiches no more than an hour or two before eating.
Divide the cheese filling between half the crackers, spreading it evenly with a knife over their undersides.
Top each with another cracker, top side up, and press gently together.
-
Storing
If not eating straight away the sandwiched crackers can be kept in an airtight container at room temperature for 1 - 2 hours unless it's warm.
Otherwise, store in the fridge where they’ll keep at least three days. For the best flavour bring out 10 - 15 minutes before eating.
RELATED RECIPES