Chicken and Bacon Crispy Pancakes
Chicken and Bacon Crispy Pancakes are a tasty homemade version of a retro classic. Folded pancakes filled with diced chicken and bacon in a creamy sauce, sealed in a crumb coating, fried until crispy. Adults and kids will love this teatime treat, especially on Pancake Day. In this post I also give you more filling ideas using my recipe as a base.

Jump to Recipe
Growing up in 1970s and 80s Britain, most of the food we’d eat would be made from scratch by Mum. Which was no small achievement in a household with seven children, not a lot of money, and Mum’s advancing disability. But in later years, when my brothers and most of my sisters had left home (I’m the youngest), a few more convenience foods started to creep in. And one I loved was Findus Crispy Pancakes.

These were frozen, orange-crumbed, semi-circular pancakes with savoury fillings that would ooze out lava-hot when you cut into the crispy coating. Chicken and bacon flavour were a favourite (minced beef or cheese were others) so that’s the one I went for when I decided to make homemade crispy pancakes for a Pancake Day treat. The recipe is also great at any time of year for using up leftover cooked chicken.
HOMEMADE SAVOURY CRISPY PANCAKES
While those original crispy pancakes were probably what we’d now call ultra processed food, I think the concept is a good one with loads of potential. Because there’s no reason why we can’t make the same thing but with everyday ingredients.
There are 3 elements to all savoury crispy pancakes, whatever the flavour.
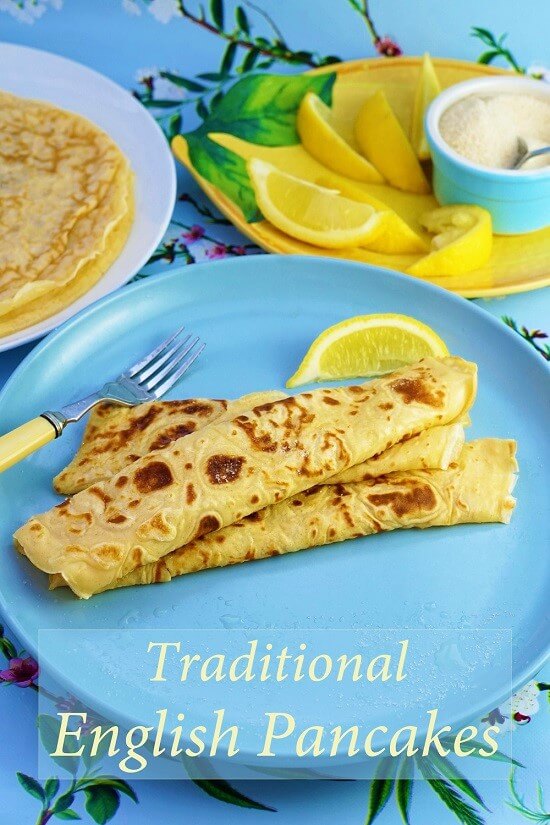
- Pancakes. You’ll need thin, crepe-style pancakes. If you don’t already have a favourite recipe, I recommend my Traditional English Pancakes.
- Filling. Often based on a white/bechamel sauce (i.e. butter, flour, milk) plus added flavours e.g. chicken, cheese, ham, bacon, sweetcorn, mushroom. A popular non-bechamel filling is minced beef and onion in gravy.
- Coating. To seal in the filling, the pancake is folded over then given a classic flour-egg-crumb coating. The technical term for this is to pané and results in a wonderfully crispy outer layer once fried.

As we’ll see, understand the basic process and you can recreate your old favourites or devise new filling ideas.
CHICKEN AND BACON CRISPY PANCAKES
I admit my homemade crispy pancakes aren’t quick to make. But I think they’re delicious and so worth it. You can also stretch the workload over a couple of days if it’s more convenient. For example, you could make the pancakes and filling one day (they need to be cold anyway), then fill, fold and fry the next.

You’ll find ingredient amounts and full instructions in the recipe cared at the end. But I strongly recommend you read the whole of this post for extra tips and step-by-step images to guide you.
INGREDIENTS
My recipe makes 8 large crispy pancakes, about twice the size of the original manufactured ones. For these you’ll need 8 thin pancakes approximately 15 centimetres in diameter. Of course, you can make smaller crispy pancakes if you start with smaller pancakes.

You’ll also need oil for frying; what I think of as halfway between shallow and deep frying. Note: although some people bake crispy pancakes rather than fry, the result won’t be the same.
Below, I’ve split the rest of the ingredients into those for the filling and the coating.
FOR THE FILLING
As well as salt and pepper you’ll need:
- Chicken. Boneless and skinless cooked chicken. I used breast meat (roughly 250 grams) saved from a roast chicken.
- Smoked bacon. Try to get the smokiest bacon you can as it makes such a difference to the flavour.
- Oil. Any bland oil, e.g. sunflower, to cook the bacon.
- Butter. Adds flavour and, along with plain flour, forms the roux that thickens the creamy sauce.

- Onion. Gives savoury background flavour.
- Garlic. Also for background flavour.
- Milk. Whole milk is best for a rich sauce.
- Parsley. You could leave out, but I like the flecks of green in the sauce.
FOR THE COATING
To seal and coat the filled pancakes you’ll need:
- Plain/all-purpose white flour.
- Beaten eggs. You may need 2 or 3 depending on their size.
- Breadcrumbs. To recreate the look of the original orange-hued Findus Crispy Pancakes I bought fine golden breadcrumbs. But fresh white, homemade or bought, including panko crumbs, are all suitable.

HOW TO MAKE CHICKEN AND BACON CRISPY PANCAKES
STEP 1. MAKE THE PANCAKES
I haven’t included instructions here as I’ve a whole post about them: Traditional English Pancakes. There, I use the batter to make 8 thin pancakes that are 18 – 20 centimetres in diameter. For crispy pancakes I recommend using the same batter but make them a little thicker and 15 – 16 centimetres in diameter.

This will still give you 8 pancakes. As mentioned above, you can of course make smaller pancakes if you wish. When they’re done, stack the pancakes and leave to cool. I then cover with cling film and put in the fridge until needed.
STEP 2. MAKE THE FILLING
To make the filling, start by frying the chopped bacon in the oil until cooked through and starting to go crispy. If your bacon has released a lot of fat, remove all but 3 teaspoons. Now add the butter along with the onion and garlic. Season with pepper plus a little salt unless your bacon is particularly salty. Cook until the onion is softening and has taken on some colour.

Stir in the flour next, cooking for just a minute before adding the milk. It’s important to add this gradually, stirring all the time, so no lumps form. Gently bubbled, the sauce will take just a few minutes to thicken.

Before adding the cooked diced chicken and the chopped parsley, the sauce should now be cooled. I transfer the sauce out of the pan and into a bowl to speed this up. When it’s barely warm, stir in the chicken and parsley, cover and put in the fridge until needed.

Note: I don’t recommend adding the chicken to the hot sauce as the temporary rise in its temperature could encourage the growth of harmful bacteria.
STEP 3. FILL THE PANCAKES
Take one of the cold pancakes and spoon ⅛ of the filling onto half of it. As you can perhaps see in the image below with its smear of filling on the left side of the pancake, I temporarily fold over the other half to check it’s in the right place. Also be sure to leave a 1- 2 cm bare edge all around.

Using a little of the beaten egg you’ve prepared for the coating, brush some on that bare edge. Then fold the pancake over the filling so you have a semi-circle shape. Gently press down on the filling to expel any air. Now go around the edge, pressing down firmly with your fingers to completely seal.
Set aside and repeat with the rest of the pancakes and filling.
STEP 4. COAT AND FRY THE PANCAKES
It’s up to you whether you coat the pancakes immediately before frying or in advance, putting in the fridge until needed. Either way, you’ll need three wide shallow dishes that will comfortably fit at least one folded pancake. In the first put a generous amount of plain flour. The beaten eggs go in the second dish and the breadcrumbs in the third.
Put the first pancake in the dish of flour and turn it over until completely covered. Pat or shake off any excess flour then put the pancake into the beaten egg. Now comes the messy bit!

Carefully turn the pancake over so it’s covered in egg, pick it up so excess can drip off, then put it in the dish of crumbs. While for smaller pancakes you might be able to use one hand and keep the other for the dry coatings, with these large ones you’ll need both hands. So you’ll have to wash and dry your hands before proceeding. Turn the pancake in the crumbs until completely covered then transfer to a board or tray. Repeat with the remaining pancakes.
When you’re ready to fry, heat up some oil in a suitable deep frying pan or deep fat fryer. You’ll need enough oil to come halfway up the sides of the pancakes without making the pan more than two-thirds full.

Not experienced at deep-frying? Tap here for a guide and safety tips
When the oil’s reached medium heat, carefully slide in a pancake (or more than one if they’re small and your pan’s big enough). Cook until crispy golden on the outside and very hot inside, turning at least once. This should take approximately 4 minutes. If you want to keep the pancakes warm while you cook the rest, put them on a preheated tray in a moderate oven.
SERVING & STORING CHICKEN AND BACON CRISPY PANCAKES
Growing up, we’d most often eat crispy pancakes with mashed potato and peas. These days, I often have just salad with them. But I’m also partial to the classic accompaniment of baked beans and chips, either Homemade Oven Chips or air fryer chips.

Any pancakes not eaten straight away can be stored in the fridge or frozen. Reheat in a moderate oven or air fryer. You can quickly microwave them, but they’ll be soft rather than crisp. Also, however you reheat, don’t do it too quickly or the pancakes could split open.
VARIATIONS: MAKE YOU OWN CRISPY PANCAKE FILLINGS
Once you get the basic idea, it’s so easy to adapt my Chicken and Bacon Crispy Pancakes to your own favourite fillings. Here’s just a few ideas.
Chicken and Mushroom Crispy Pancakes. Instead of bacon, fry sliced or chopped mushrooms.
Chicken and Sweetcorn Crispy Pancakes. Leave out the bacon and stir in drained tinned sweetcorn at the same time as the chicken.
Chicken and Ham Crispy Pancakes. Leave out the bacon and stir in chopped ham at the same time as the chicken.
Cheese and Ham Crispy Pancakes. Leave out the bacon, reduce the oil to 2 tsp. Make the white sauce as per the recipe and stir in plenty of grated mature Cheddar. Leave until barely warm then stir in chopped ham. Leave until completely cold then proceed with the recipe.
Cheesy Crispy Pancakes. As above minus the ham. Add flavourings such as mustard or chives if liked.
Minced Beef and Onion Crispy Pancakes. Make a half batch of the filling from my Minced Beef & Onion Pie recipe, but add 30 grams of flour (instead of 12.5 grams which would be half) so the gravy is thicker.

If you’ve tried my homemade crispy pancakes recipe, I’d love to know what you thought. Please do leave a comment and rating.


Chicken and Bacon Crispy Pancakes
A tasty homemade version of a retro classic. Folded pancakes filled with diced chicken and bacon in a creamy sauce, sealed in a crumb coating, fried until crispy. Adults and kids will love this teatime treat, especially on Pancake Day.
Please read the accompanying blog post before starting the recipe.
Ingredients
- 8 English-style pancakes, cold (see Recipe Notes)
- oil for frying
For the filling
- 1 - 3 tsp oil (e.g. light olive oil)
- 150 g rindless smoked bacon (roughly chopped)
- 30 g butter
- 1 medium onion (finely chopped)
- 2 - 3 cloves garlic (finely chopped_
- salt
- black pepper
- 30 g plain flour
- 400 ml whole milk
- 250 g cooked chicken, diced small (weight after removing any skin and bone)
- 1 rounded tbsp parsley (finely chopped)
For the coating
- 2 - 3 large - med eggs (beaten)
- plain flour
- fine breadcrumbs (golden or natural coloured)
Instructions
Make the filling
-
Depending on how fatty your bacon is, put 1 - 3 tsp of oil in a deep frying pan over medium-high heat.
When the oil's hot add the bacon and cook, stirring often, until it's cooked through and turning crispy.
Tip: if there's now a lot of fat in the pan remove all but 3 tsp.
-
Reduce the heat to medium and add the butter, onion and garlic. Season with a pinch of salt (omit if your bacon is particularly salty) and ¼ tsp of pepper.
Cook, stirring often, until the onion has taken on some colour and is softening (approx. 8 minutes).
-
Take the pan off the heat and stir in the flour so it is combined with the other ingredients. Put back on the heat and cook for 1 minute stirring all the time.
-
Off the heat again, stir in approximately 150 ml of the milk while you stir to prevent any lumps forming. Gradually add the rest of the milk while stirring so it's completely smooth.
-
Put back on the heat and keep stirring until it thickens and bubbles. Cook for 1 minute then turn the heat off and remove the pan from the burner.
Taste and add more salt and pepper if needed.
Set aside until only just warm (transferring the filling from the pan to a bowl will speed this up).
When it's at this stage, stir in the diced chicken and the parsley then transfer to the fridge until completely cold.
Tip: can be stored covered in the fridge for 24 hours.
Fill the pancakes
-
Take 3 wide shallow dishes and in the first put a generous amount of plain flour. Beat the eggs in the second dish. Put the fine breadcrumbs in the third.
-
Take one of the cold pancakes and put it on a board.
Place ⅛ of the filling on one half of the pancake, leaving a 1 - 2 cm bare border.
Brush some of the beaten egg all around the border then fold over the other half of the pancake to enclose the filling: you should have a semi-circle shape.
Press down gently to remove any air, then go around the edge pressing down firmly to seal.
Set aside on a board or tray and repeat with the remaining pancakes and filling.
Coat the pancakes
-
Put the first pancake in the dish of flour and turn it over until completely covered.
Pat off excess flour then put the pancake in the beaten egg. Carefully turn so it's covered in egg and allow excess to drip off.
Place in the dish of crumbs then wash and dry your hands.
Turn the pancake in the crumbs until completely covered then transfer to a board or tray.
Repeat with the remaining pancakes.
Tip: can be stored in the fridge for 24 hours.
Fry the pancakes
-
Optional if you want to keep the fried pancakes warm preheat your oven to 180°C /160°C Fan /Gas 4 / 350°F with some trays inside.
-
Add oil to a deep frying pan or deep fat fryer so that it will come halfway up the sides of the pancakes but without the pan being more than ⅔ full. Heat to medium.
-
Carefully slide a pancake into the oil (you can fry more than one at a time if your pan is big enough) and cook until golden, crispy and very hot inside, turning at least once (approximately 4 minutes in total for each pancake)
Transfer to the oven to keep warm then repeat with the remaining pancakes.
Tips
- If the pancakes darken too quickly reduce the heat.
- If the pancakes split (perhaps because you didn't press out all the air or there were gaps in the coating) finish cooking in the oven.
-
Serve hot.
Leftovers can be stored in the fridge or frozen.
Reheat gently in a moderate oven or air fryer. Can also be reheated in microwave but will not be crispy.
Recipe Notes
English-style pancakes are large and crepe-like rather than small, thick and fluffy. For crispy pancakes I recommend my Traditional English Pancakes recipe with a couple of changes: use a pan with a maximum diameter of 15 - 16 cm and make the pancakes slighter thicker so they don't tear. If you want to make them smaller you can, in which case you'll get more than 8 from the recipe.
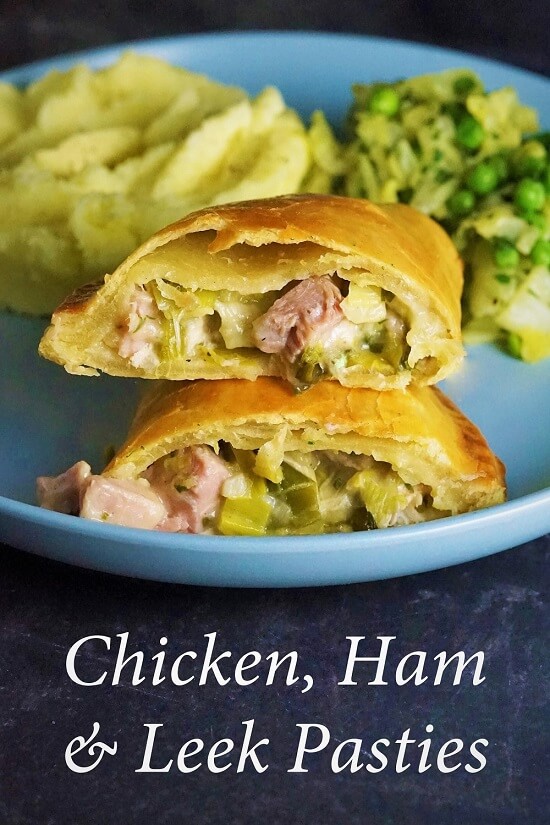
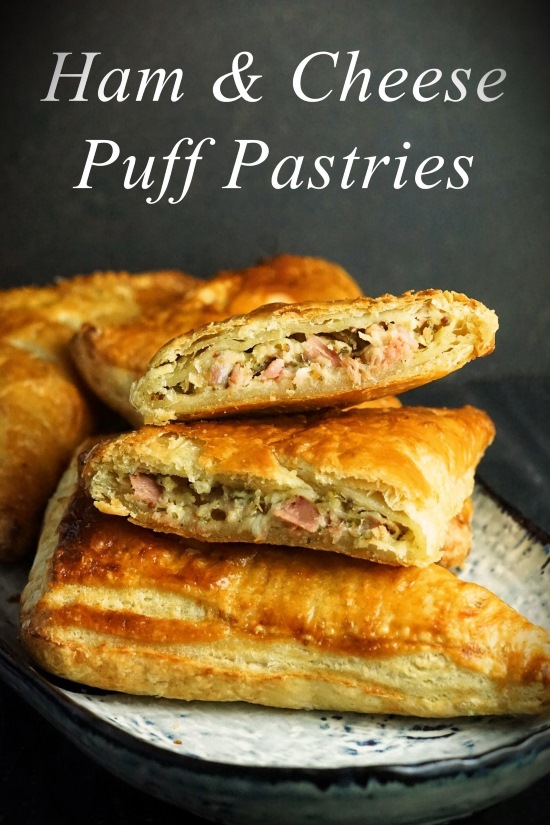
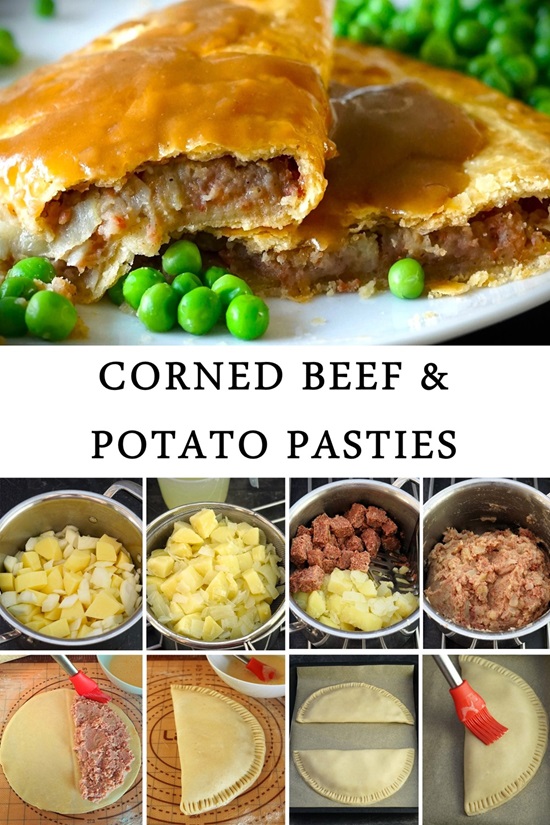
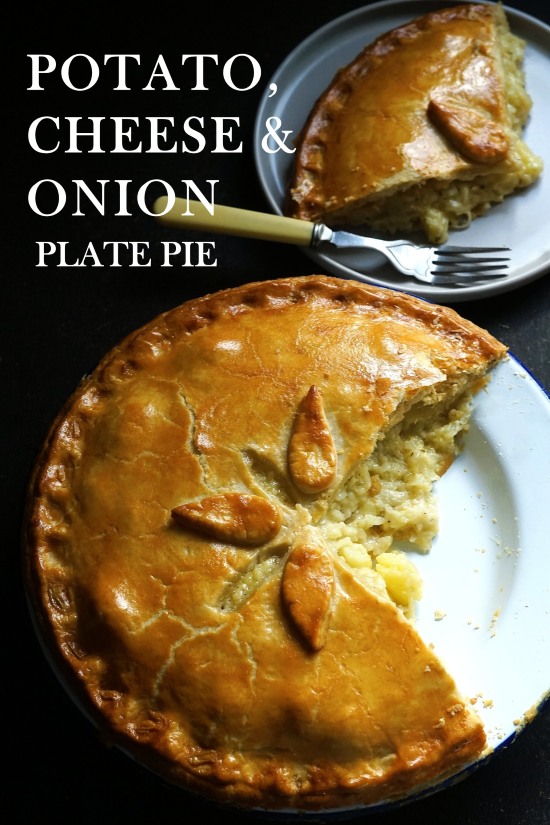
RELATED RECIPES
I made the crispy pancakes today ( 17/2/2026) and they were absolutely delicious. I made the fillings, chicken & mushroom and ham & cheese and the pancakes yesterday so it wasn’t such a big job all at once. They are time consuming but worth it, I’d recommend giving them a go.
Thanks so much for trying my recipe and for your lovely feedback!