Homemade Oven Chips
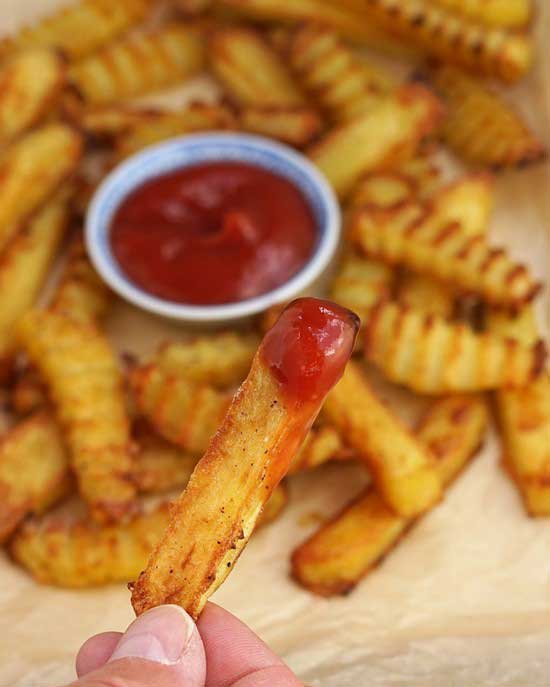
Homemade Oven Chips, crispy and moreish, are so easy. Whether you like classic straight, or crinkle cut, my fool proof recipe will give you crispy oven chips every time.

Costing less than most store-bought chips and fries, and using less oil than the deep-fried version, I think that a simple recipe for tasty oven chips should be in every home cook’s repertoire.

Jump to Recipe
Dare I say that I prefer Homemade Oven Chips to deep-fried? Yes, I think do.
Of course, I’m not talking about traditional British chip shop deep-fried chips. These provide a particular pleasure that’s impossible to replicate at home. What I’m talking about are homemade chips.
Like many home cooks, I started making oven chips as deep frying seemed too much faff. Besides the fire and burn risks, there’s the lingering smell, the messy clean up, plus the question of how to sensibly dispose of all that used oil?
I have occasionally bought frozen oven chips, but I have a few problems with them too. Cheaper ones I find tasteless. Better tasting ones are pretty expensive for what are basically potatoes plus a few seasonings and a little oil.
So, these days, it’s Homemade Oven Chips in our house.
THE SECRET TO CRISPY HOMEMADE OVEN CHIPS
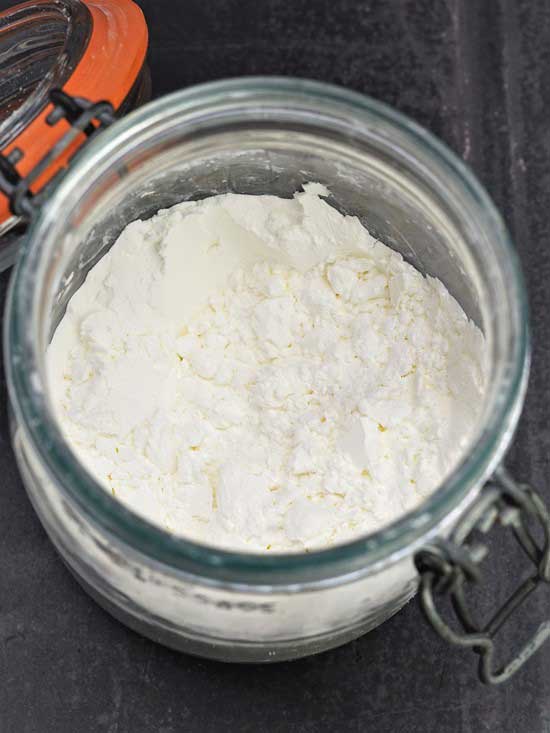
My first forays into Homemade Oven Chips weren’t always entirely successful. But that was before I took a tip from the store-bought version and added a little protective coating. For me, that means cornflour.
Sometimes called corn starch, don’t confuse cornflour with cornmeal. With its distinctive golden colour and often gritty texture cornmeal is used to make things like cornbread. Cornflour, however, is white and very fine textured. It has practically no flavour.
Some say potato flour or rice flour also work for crisping up oven chips. But, as I haven’t tested those in my recipe, I can’t recommend them. Anyway, I always have cornflour in the cupboard to use in dishes like Chinese Pork Meatballs and homemade proper custard. It’s also more widely available than the alternatives and relatively cheap.
Amazingly, just a few teaspoons of cornflour will make all the difference to the crispiness of your oven chips.

Update: as pointed out to me by a Facebook followers, using cornflour instead of the wheat often found in store bought oven chips, also makes these gluten free.
EASY STEPS TO PERFECT HOMEMADE OVEN CHIPS
You’ll find a recipe card at the end of this post with full instructions to help you get perfect, crispy, Homemade Oven Chips every time: Jump to Recipe.
But here I’ve divided the process into 10 easy steps, complete with images to guide you.
1. CHOOSE THE RIGHT POTATO
As with deep-fried chips, the oven-baked variety will be much better if you use the right type of potato.
Most, but not all, potatoes are either waxy or floury. Waxy potatoes hold their shape when cooked so are useful when you want to serve them boiled, in salads etc. Floury potatoes on the other hand go fluffy and are perfect for making chips (as well as roast potatoes).
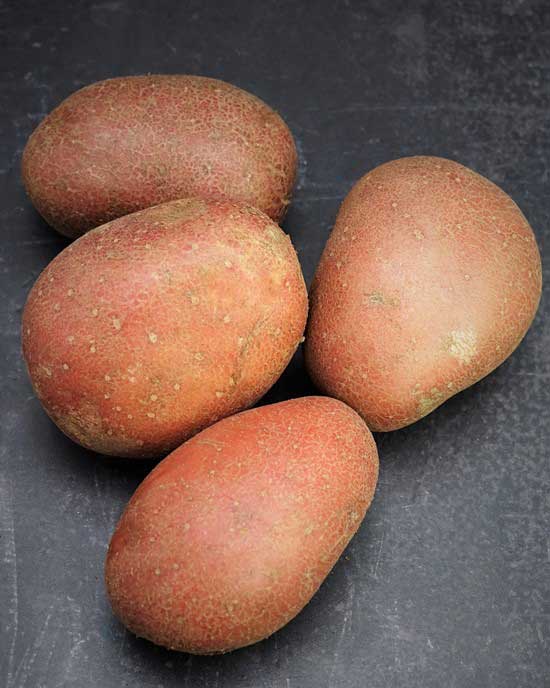
Here I’ve used Rooster potatoes. But Maris Piper, King Edward or Russet are all good, floury choices for chips.
Depending on appetites, you’ll need one medium to large potato or approximately 175 grams per person.
2. CUT INTO CHIPS
I usually prefer my chips skin-off, but there’s no need to peel the potatoes if you don’t want to. For medium-sized chips, cut the potatoes into slices 1 – 1½ centimetres thick. Then cut the slices into 1 – 1½ cm chips. You can cut them thicker or thinner than this but you’ll need to increase or decrease the cooking time accordingly.
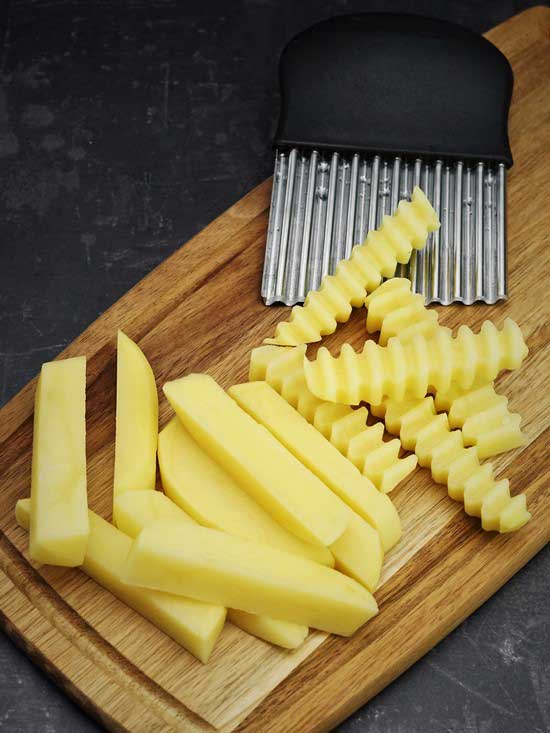
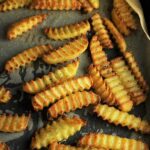
Earlier this year, I got myself a crinkle cutter and I love it. The idea is that it creates more surface area on the potato which means more opportunities to get fabulously browned and crispy chips. Cut crinkle chips the same as you would straight ones, just using the wavy blade instead of a knife.
3. SOAK THE CUT CHIPS
Soaking the cut chips in cold water helps to get rid of some of the starch from the potato. This is a good idea as starch is gummy so excess starch is likely stick your oven chips to the baking tray. Removing some of the starch should also help your chips get crispier without browning too quickly.
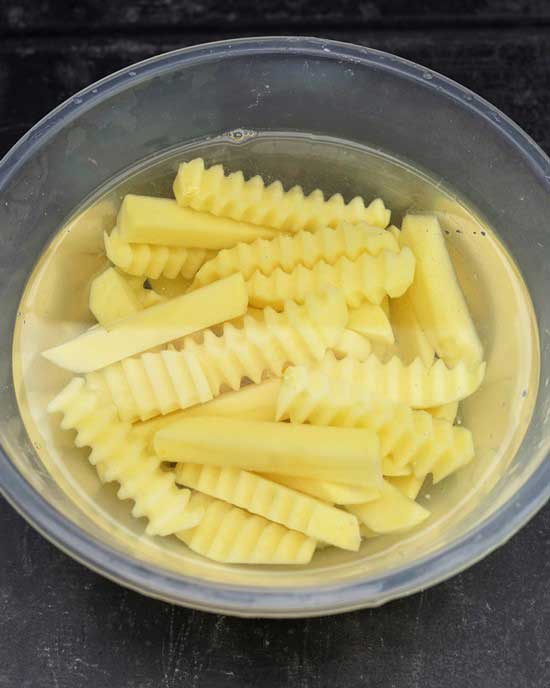
Put the cut chips into a large bowl and cover with cold water. Soak for a minimum of 30 minutes and up to 3 hours. If you want to soak longer you can leave them up to 24 hours so long as it’s done in the fridge.
Tip: alternatively, you can parboil the cut chips in salted water for 2 minutes then drain and leave to dry in the colander.
4. DRY BEFORE COOKING
After soaking, it’s important that you dry the cut potatoes. Waterlogged ones are just going to create steam once they start cooking – which is not the way to get nice and crispy Homemade Oven Chips.
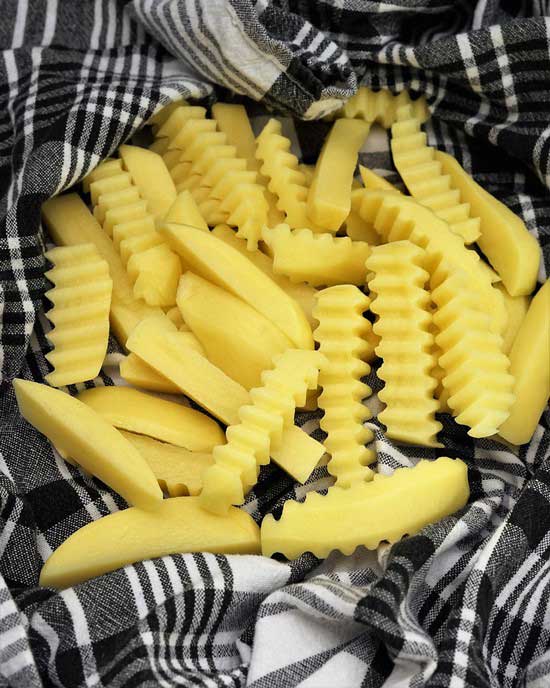
I put them on a clean tea towel, fold it up around the potatoes and give it a good rub and scrunch. Be extra diligent with crinkle cut chips – it’s easier for water to hide in those ridges.
5. SEASON + DRIZZLE WITH OIL
Now it’s time to season your potatoes. I tend to keep it simple with just salt, pepper and, sometimes, garlic granules or garlic powder. But you could add paprika (smoked or unsmoked), chilli flakes, or your favourite spice mix.
I dry out the bowl I soaked the potatoes in, pop them back in and sprinkle with the seasonings along with 3 tablespoons of oil. My preference is for olive oil, but almost any oil will be fine. It’s often said that olive oil has too high a smoke point to use like this, but I have no problem with it.

To ensure that the potatoes are thoroughly coated in the oil and seasonings, I find it best to go in and massage them with my hands. Again, pay special attention to the nooks and crannies of crinkle cut chips.
6. PUT IN A BAKING TRAY & ADD CORNFLOUR
To make it less likely that my Homemade Oven Chips stick to the tray, I line it with baking paper. Then I tip in the seasoned, oiled potatoes.
Next, I sprinkle over the not-so-secret ingredient: cornflour. Just two rounded teaspoons are enough for this amount of potatoes.
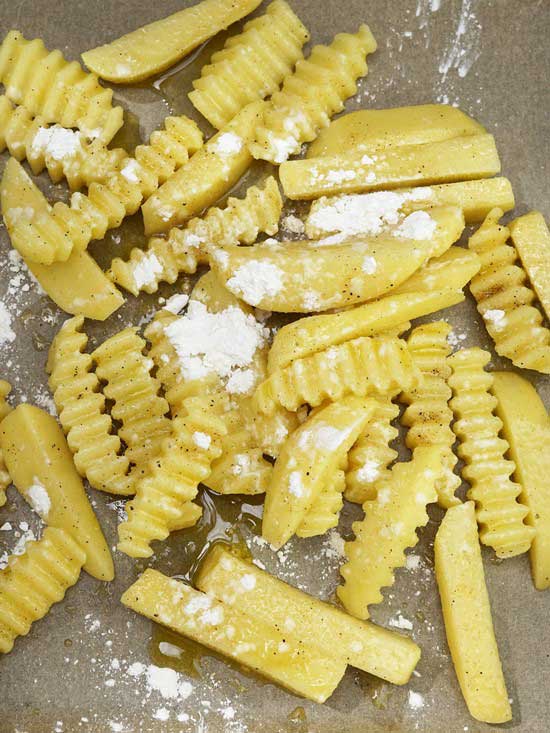
Use your fingers to rub the cornflour evenly into the chips. When you’re done, you shouldn’t be able to see any dry bits of flour.
7. LEAVE PLENTY OF SPACE AROUND EACH CHIP
To get properly browned, crispy oven chips, each one needs its own space. This will stop them sticking together and allow hot air to circulate around them evenly. If that means using two trays instead of one, then so be it.
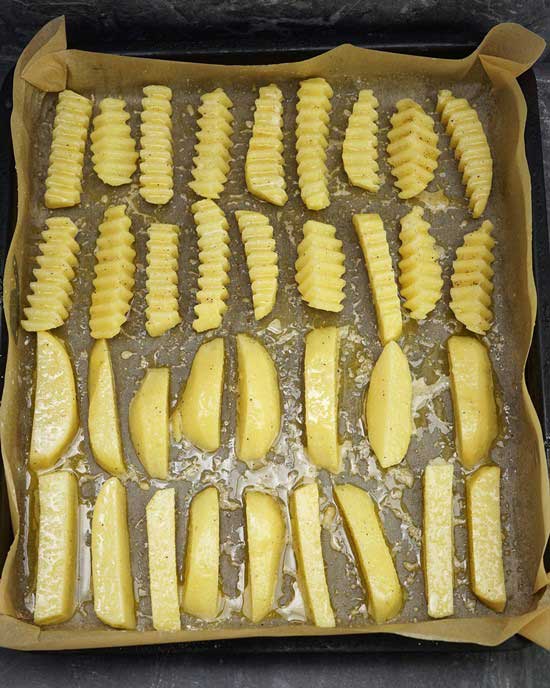
I think it’s worth taking the time to line up the chips neatly. This makes it easier to ensure you’ve left enough space and will also help at step 9.
8. BAKE AT LOWER TEMPERATURE FOR 20 MINUTES
You’re now ready to bake your oven chips! Yes, I know these instructions seem long. But it will probably only have taken you around 10 minutes of hands-on time to get to this point.
I first give them 20 minutes in an oven that’s been preheated to 190 C / 170 Fan / Gas 5. After this time, they should have softened nicely and be starting to take on some colour.

9. TURN, THEN BAKE AT HIGHER TEMPERATURE FOR 10 MINUTES
Take the tray out of the oven at the 20-minute mark and increase the temperature to 220 C / 200 Fan / Gas 7.
While the oven reaches temperature, turn over each chip in turn. This is when you’ll be glad you placed them in neat rows rather than a jumble: it’s much easier to see which you’ve turned and which you haven’t.

I use a small silicone palette knife to nudge them off the paper (despite all the precautions, they can still stick a little) and turn them. By the way, don’t try and turn the chips before the 20 minutes are up. Although they will have softened, without a crispy exterior starting to form they may well break up.
Then it’s back into the oven for 10 minutes at the increased temperature.
10. FINAL FEW MINUTES COOKING
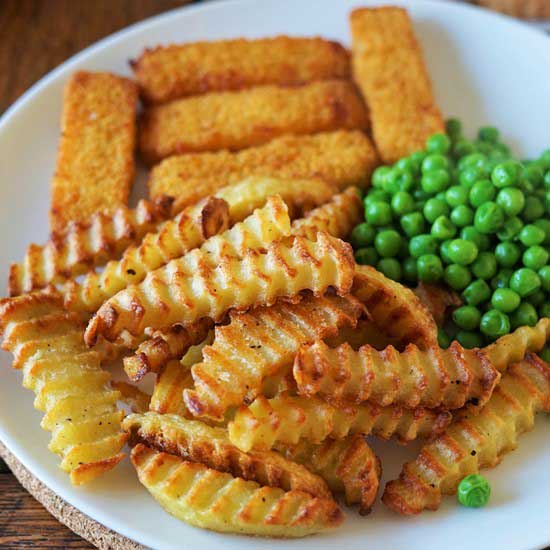
After 10 minutes at the higher temperature, your Homemade Oven Chips should be almost there. They’ll have a golden colour all over, with darker, enticingly crispy bits on the edges and ridges.
I recommend you take the tray out and check whether ones at the sides are cooking more quickly than those in the middle. If so, use tongs to swap their places before returning to the oven until done to your liking.

How much extra time they need is down to personal taste. I don’t like my chips overly dark. But neither do I want them pale. I’d guess that 3 – 5 minutes should probably be plenty for most people.

And that’s it. Crispy, golden, moreish Homemade Oven Chips ready to eat.
SERVING HOMEMADE OVEN CHIPS
If you think it’s necessary, blot the chips on kitchen paper to remove any excess oil. Then have a quick taste to see if they need an extra sprinkle of salt – and because it’s the cook’s perk to immediately snaffle one!

You don’t need me to tell you that you can enjoy chips as a side to all sorts of meals. But do my Homemade Oven Chips pass the chip butty test?
I’m happy to report that yes, they do!

A generous number stuffed between thick slices of well-buttered bread stay crispy even with both a squirt of ketchup and a blob of mayonnaise. There’s something so good about the butter melting over the browned chips as you bite into the sandwich. A real treat despite the simple ingredients.
The tasty, easy oven chips are also great with food that’s perhaps a little more upmarket. Here I served them straight cut with a glorious beef Stroganoff (rump steak, onion, garlic, mushrooms, brandy, beef stock, cream, mustard) and lightly roasted Romanesco broccoli.

Again, the chips stayed crispy thanks to their light coating of cornflour. Great to dip into that rich sauce!
If you’ve made these Homemade Oven Chips, I’d love to hear what you thought. Please leave a comment below and rate the recipe.
Homemade Oven Chips
Homemade Oven Chips, crispy and moreish, are so easy. Whether you like classic straight cut or crinkle cut, my failproof recipe will give you crispy, non-greasy oven chips every time.
Ingredients
- 4 med-large floury potatoes (approx 700 grams in total) see Recipe Note #1
- 3 tbsp oil e.g. olive, sunflower, rapeseed, vegetable
- ½ - 1 tsp salt
- ¼ tsp black pepper
- 1 tsp garlic granules or powder (optional) or use other spices such as paprika, chilli etc.
- 2 rounded tsp cornflour see Recipe Note #2
Instructions
-
Peel the potatoes, or leave skin-on if preferred, then wash them.
Using a knife or crinkle cutter, slice the potatoes 1 - 1½ cm thick. Then cut each slice into chips 1 - 1½ cm thick. See Recipe Note #3
Put the chips in a large bowl and cover with cold water. Soak for a minimum of 30 minutes and up to 3 hours. If you want to soak for longer than this, then do so in the fridge.
-
Preheat your oven to 190 C / 170 Fan / Gas 5 and position a shelf just above the middle.
Line a large baking tray (minimum size 31 x 28 cm) or two smaller ones with baking paper.
-
After soaking, drain the potatoes then dry them in a clean tea towel.
Dry out the bowl then put the potatoes back in.
Drizzle with the oil and season with salt, pepper, and the garlic or other spices if using.
Using your hands, toss well so that the potatoes are evenly coated in oil and seasonings.
-
Tip potatoes into the baking tray then sprinkle with the cornflour. Use your hands to massage the cornflour into them: there should be no dry flour visible.
Space out the chips so they aren't touching.
-
Put the tray in the oven and bake for 20 minutes.
After 20 minutes, take the tray out of the oven and increase the temperature to 220 C / 200 Fan / Gas 7.
Carefully turn over each chip (a palette knife is helpful) then return the tray to the oven.
Cook for a further 10 minutes.
-
Take the tray out of the oven and check whether chips at the sides of the tray are cooking more quickly than those in the middle. If so, use tongs to swap their places before returning to the oven.
Continue cooking until the chips are browned, crispy and done to your liking (approx 3 - 5 minutes more).
-
If necessary, blot the chips on kitchen paper to remove any excess oil then serve, sprinkled with extra salt if liked.
Leftovers can be reheated in a medium oven.
Recipe Notes
Note #1 Floury potatoes such as Maris Piper, King Edward, Russet or Rooster are best for making chips.
Note #2 If you don't have cornflour, then rice flour or potato flour should work but please be aware that the recipe has only been tested with cornflour.
Note #3 You can cut the chips thicker or thinner but will need to increase or decrease the cooking time accordingly.
ENJOYED THIS RECIPE? YOU MAY LIKE THESE