Cinnamon Raisin Oat Bread (no-knead, overnight recipe)
Cinnamon Raisin Oat Bread is delicious sliced and spread with butter for breakfast, at teatime, or as a snack. A few days after baking, try it toasted to bring out even more flavour.
Soaking the raisins before adding to the dough ensures they’re plump and juicy. Combine with honey, nutritious oats, and the warm spiciness of cinnamon, and you have a classic. Made with my no-knead, overnight method, you need just 20 minutes of hands-on time for this easy but tasty loaf.

Disclosure: this post may contain affiliate links. If you buy via my links, I may earn a small commission at no extra cost to you.
Jump to Recipe

Cinnamon Raisin Oat Bread is a variation on the Oatmeal Bread recipe I shared last year. Soft, tender, and flavoursome, that bread is delicious as a sandwich loaf. After a couple of days, toasting it brings out the oats’ almost nutty notes. I think oats also have a slightly sweet flavour. Both traits lend themselves perfectly to fruit and spice breads that are so popular at breakfast, teatime, or as a snack.
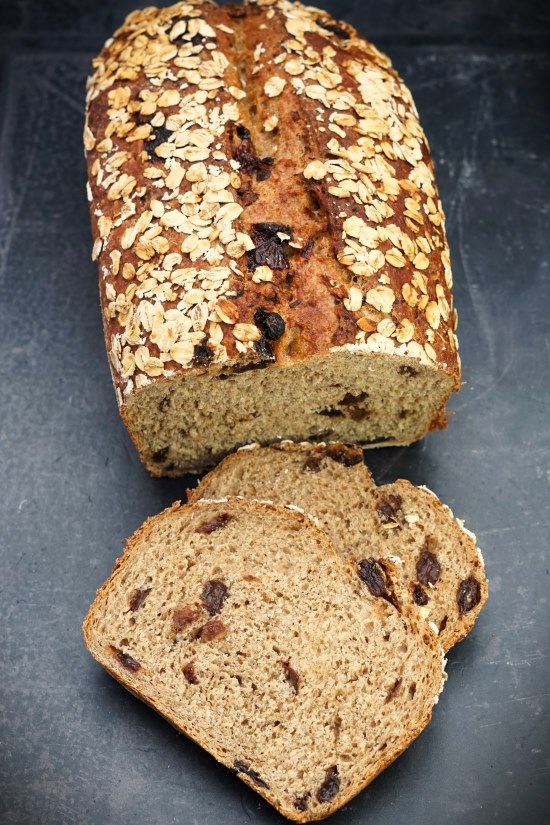
With its topping of rolled oats, a few fat raisins peeking out the top, I think my Cinnamon Raisin Oat Bread looks just as good as it tastes.
NO KNEAD CINNAMON RAISIN OAT BREAD
Apart from the great flavour, soft texture, and appetizing appearance, one of the other things I love about my Cinnamon Raisin Oat Bread is that there’s no kneading. We can omit this thanks to a wetter than usual dough and a long, overnight first rise (sometimes called first proof, prove, or fermentation). Together, these promote the development of gluten which is normally achieved by kneading. And it’s gluten that gives bread its rise and structure. Which means this dough really doesn’t require much work from you at all.

The only vital equipment is a loaf tin (preferably non-stick) with a capacity of 900 ml / 2 lb. Not necessary but highly recommended for all kinds of baking is one of these silicone mats to cover your work surface and reduce sticking. If you plan to make bread often a dough scraper is useful; note that you usually get one free with the silicone mats I’ve linked to.
If you eat porridge or oatmeal and do any baking, you’ll probably have all the ingredients you need to make this satisfying loaf.
INGREDIENTS
- Fine oatmeal. Oats add a pleasant nutty, sweetish flavour and make doughs softer. If you can’t find oatmeal (look in health/wholefood shops rather than supermarkets), you can easily make your own. Simply whizz rolled or porridge oats in a food processor or coffee grinder.
- Bread flour. Because oats are naturally gluten-free, bread made only with oat flour would be very dense. That’s why it’s usual to only substitute a certain percentage of wheat flour for oats. To make one medium loaf of Cinnamon Raisin Oat Bread, I use 450 grams of bread flour plus 150 grams of fine oatmeal. To keep it light-ish, the bread flour is made up of 350 grams of white and 100 grams of wholemeal. If preferred, you can leave out the wholemeal or increase it a little.
- Salt. As well as enhancing flavour, salt helps give structure to the dough.
- Instant yeast. For my method, you must use the type of dried yeast that doesn’t need to be activated before use. Often labelled ‘fast acting’ or similar, it’s added to the flour straight from the pack.
- Ground cinnamon. I like a good strong spicy flavour in this bread so add 3 heaped teaspoons. Add less for a more subtle taste. My preference is for cinnamon labelled ‘sweet cinnamon’ which is actually ground cassia rather than true cinnamon.
- Raisins. To make them juicy and plump, I soak in hot water until cool then drain before adding to the dry ingredients. The soaking liquor is then used as part of the liquid in making the dough.
- Honey. I find that a tablespoon added to the raisin soaking water adds just the right amount of sweetness to this bread.
- Milk. Combined with the raisin soaking liquor, adds extra richness to the bread.
EASY CINNAMON RAISIN OAT BREAD
Because the long first fermentation needs to be 12 – 14 hours at room temperature, it makes sense to mix up the dough the night before you want to bake. To extend the time further, perhaps for convenience or just to get more flavour development, you can ferment the dough in the fridge for up to 24 hours.
THE DAY BEFORE BAKING
I start by soaking the raisins in 200 ml of hot water sweetened with the honey. This is then set aside until cold. When ready, I strain everything through a fine sieve, making sure it’s over a jug to catch the liquid. So the raisins aren’t too wet, I gently press down with the back of a spoon to get a bit more liquid out.
Next, I take a big bowl and stir together the dry ingredients. Flour, oatmeal, ground cinnamon, 2 teaspoons of salt, and 2 teaspoons of instant dried yeast. Then I tip in the raisins and toss them around so each has a coating of the spiced flour.
Now I top up the soaking liquid with milk. You’ll need to add enough to make 360 ml of liquid in total. You then gradually stir this into the flour to create a wettish but not sloppy dough. As different flours absorb different amounts of liquid, you may not need it all. On the other hand, you might need to add a splash more – water or milk is fine.

Now cover the bowl with cling film, a wet tea towel, or pop the whole thing in a reusable polythene bag. Leave on the work surface overnight or 12 – 14 hours. If the room is particularly warm, or you just want to extend the fermentation because it’s convenient, you can put it in the fridge instead. Just be sure to bring it back to room temperature before proceeding with the next steps.
ON THE DAY OF BAKING
In the morning, the dough may well have spread out more than it’s risen upwards. But don’t worry. This is perfectly normal with wetter, overnight doughs. Scrape it onto your lightly floured work surface and fold the dough over itself several times until it’s smooth. As you fold, shape the dough to fit the length and breadth of the loaf tin. Because sweetened doughs are more likely to stick to the tin, I grease it with butter then sprinkle with flour before putting the dough in.

The bread now needs its second rise or proof, ideally somewhere warm. I preheat my main oven (to 180°C / 160° Fan / Gas 4 / 350°F) and put it in the unheated small oven above. After 30 – 45 minutes, depending on the temperature, it should have almost doubled in size.

But the best way to test whether dough is ready to bake is to gently poke a finger into it. If the dough slowly springs back but leaves a slight indentation, then it’s ready. If the dough springs back quickly then it’s not ready, so leave a little longer and check again.
ADD OAT TOPPING & BAKE
I think oat breads look and taste lovely with a rolled oat topping on top. In the case of Cinnamon Raisin Oat Bread, the oats help prevent the sweetened dough getting too dark. So the oats don’t fall off, I brush over a little egg white beaten with a splash of water. Then I make a long slash along the top (so the bread won’t split at any random weak point as it rises) before sprinkling on the rolled oats. I gently press them down then seal with another layer of egg white. Now the loaf can go into the oven where it’s baked for an initial 30 minutes.

To prolong the rising period and delay the forming of a crust, I create some steam. I do this by putting a deepish metal roasting tin on the lowest shelf of the oven when I preheat it. Then, when I put in the bread in, I pour cold water into the hot roasting tin and immediately close the door. Use a METAL dish, NOT glass: hot glass could crack when the cold water hits it.
After 30 minutes, carefully open the door (keep your face and hands out of the way as lots of hot steam may billow out) and remove the loaf from its tin. Then put the loaf back in the oven, sitting directly on the oven shelf. Give it another 6 – 10 minutes or until the bottom of the loaf sounds hollow when tapped. When it’s done, place on a wire rack and leave until cold.

SERVING & STORING CINNAMON RAISIN OAT BREAD
As soon as this lovely loaf is cold, I can rarely wait before cutting off a slice or two, spreading thickly with butter, and eating straight away. I think the combination of plump fruit, warm spice with soft, slightly oaty, moist bread is wonderful.

After a few days, when it’s still good but not quite so soft, Cinnamon Raisin Oat Bread is wonderful toasted golden brown before buttering. Served like this, I think the oat and spice flavour is even better.

If we’re not going to eat the whole loaf in 2 – 3 days, then I cut it into slices and freeze. This way we can take out just as many slices as needed. You don’t even need to defrost if you’re going to toast it: just pop straight into the toaster for a delicious, quick breakfast or snack.
If you’ve made this recipe I’d love to know what you thought. Please leave a comment and rating.

Cinnamon Raisin Oat Bread (no-knead, overnight recipe)
A lightly sweet, spicy and fruity bread that's delicious sliced and spread with butter for breakfast, at teatime or as a snack. Also good toasted to bring out the nuttiness of the oats and the warm spice flavour. If you prefer a less sweet taste, you can leave out the honey.
Please read the accompanying blog post before starting the recipe.
Ingredients
- 1 tbsp honey (or other sweetener)
- 200 ml hot water (from a kettle)
- 125 g raisins
- 350 g white bread flour
- 150 g fine oatmeal (or rolled/porridge oats ground in a blender)
- 100 g wholemeal bread flour (can be replaced with more white bread flour)
- 3 tsp ground cinnamon (level or heaped tsp depending how strong a flavour you want)
- 2 level tsp instant dry yeast i.e. the kind that does not need activating in liquid before use
- 2 level tsp salt
- 160 - 180 ml milk
For the oat topping
- 1 egg white beaten with a splash of water
- rolled oats
Instructions
The day before baking
-
Dissolve the honey in the hot water and pour over the raisins. Stir then leave to soak until plumped up and the liquid is cold.
Over a jug to catch the soaking liquid: strain the raisins through a sieve then press with the back of a spoon to get more of the liquid out.
-
Pour enough milk into the reserved soaking liquid to make it up to 360 ml.
-
Put the flours, oatmeal, cinnamon, yeast, and salt in a large mixing bowl and stir together.
Stir in the raisins, ensuring each is coated in the dry mixture.
-
Make a well in the centre of the flour mixture then start pouring in the liquid, stirring to start bringing the ingredients together.
Add as much of the liquid as needed to form a wettish but not sloppy dough (see image in blog post for how it should look). Stir well so there are no dry bits of flour, adding an extra splash of water or milk if necessary.
-
Cover the dough and leave overnight or 12 - 14 hours.
Tip: If the room is warm, or if you'd like a longer rise for convenience or to allow more flavour to develop, you can put the dough in the fridge for up to 24 hours. Bring the dough back up to room temperature before proceeding with the recipe.
On the day of baking
-
Grease a 900 g/2 lb loaf tin with butter and lightly dust with flour.
-
The dough should have risen, spread out, and look a little bubbly. If not, leave longer.
Lightly flour a work surface, ideally covered with a silicone mat, and scrape the dough onto it.
Fold the dough over itself several times until it's smooth, at the same time shaping it to fit the length and breadth of the loaf tin: try not to add much more flour but only just enough to prevent sticking to the work surface.
Put the dough in the prepared tin and place in a large polythene bag or cover with cling film or a wet tea towel. Set aside somewhere warm for 30 - 45 minutes or until almost doubled in size.
While the dough is proving: preheat the oven to 180°C / 160° Fan / Gas 4 / 350°F with a shelf in the middle and a deep METAL roasting tray on the bottom shelf (this will be filled with cold water later to create steam and help the bread rise: DO NOT USE A GLASS DISH as it could shatter).
-
Check that the dough is proofed:
If, when a finger is gently poked into the dough, the dough slowly springs back but leaves a slight indentation then it is ready to bake.
If the dough springs back quickly then it's not yet fully proofed: leave another 5 -10 minutes and check again.
-
When ready to bake, add the oat topping:
Brush a layer of the beaten egg white and water over the top of the dough.
With a sharp knife or baker's lame, make a slash all along the length of the top. Sprinkle over the rolled oats (try not to let them fall into the slash), very gently press down to help them stick, then brush over another layer of egg white.
-
Place the loaf tin in the oven then pour cold water from a jug into the hot roasting tin in the lower part of the oven. Immediately close the door.
Bake for 30 minutes.
After 30 minutes carefully open the oven door (caution: lots of hot steam may billow out so keep your face, hands etc. out of the way) and remove the tin of water.
Take the loaf out of its tin and place back in the oven directly on the middle shelf. Cook for another 6 - 10 minutes or until the bottom of the loaf sounds hollow when tapped.
-
Place on a wire rack until completely cold before slicing.
Best eaten within 2-3 days or can be frozen. Also good toasted.
Tip: slice before freezing so you can take out just as much as you need without wastage.
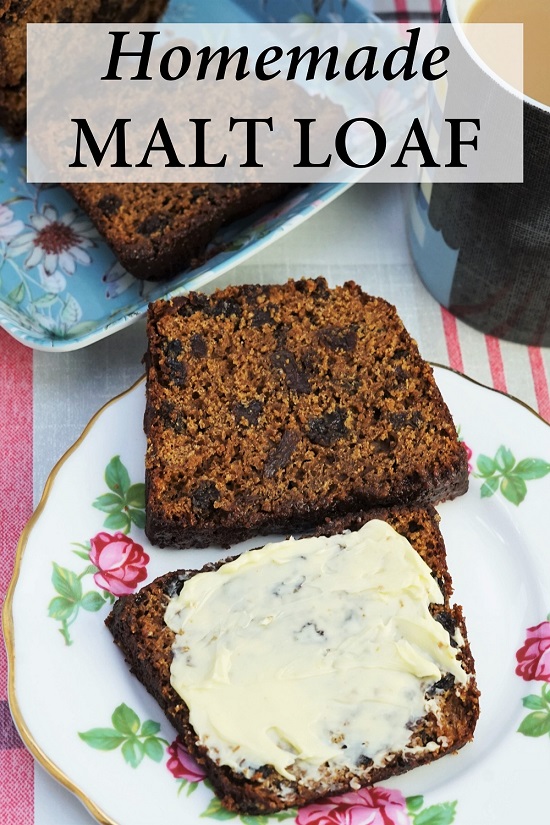
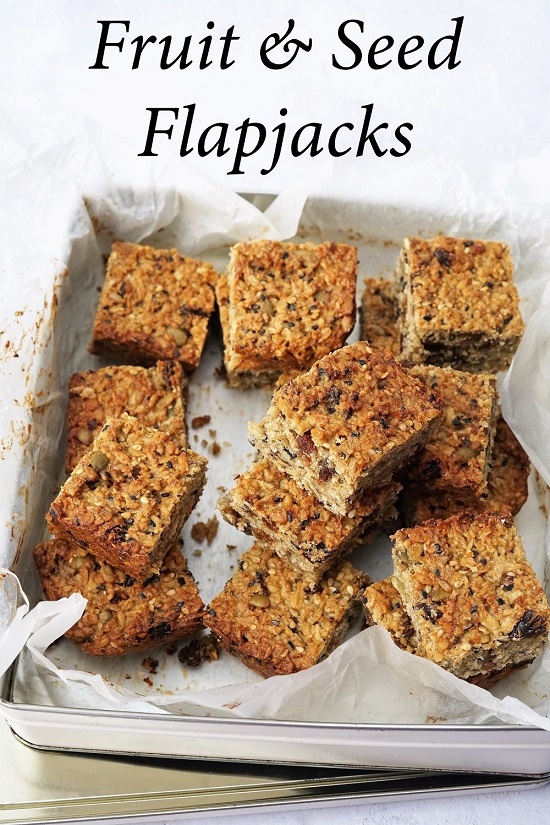
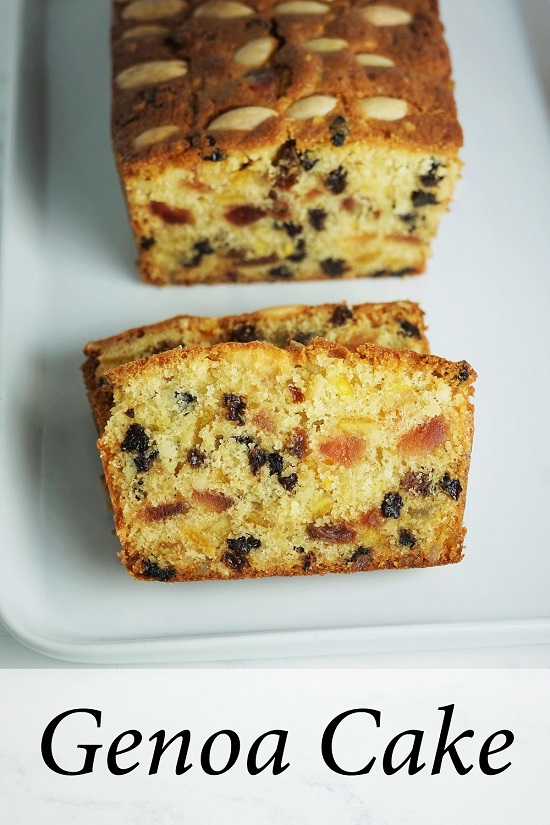
RELATED RECIPES


Hi there, just found your website looking (and found) your amazing oatcakes. It sounds like you would not suggest to use 100% whole meal flower apart from the oat flower?? I am German and grew up with firm bread.
Cheers
Sigi
Hi! There’s no reason you couldn’t use wholemeal flour if you’re happy for it to be heavier. The joy of making your own baked goods is you can create something exactly to suit your tastes 🙂.