Corned Beef Plate Pie
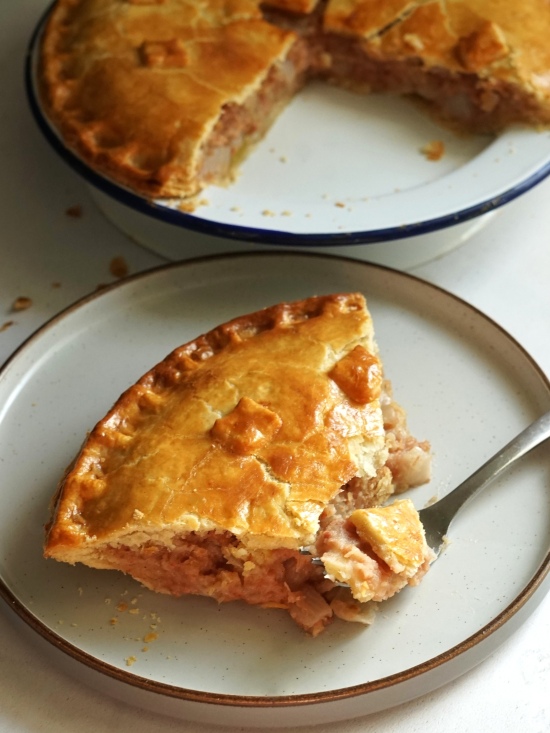
Corned Beef Plate Pie is an economical way to stretch half a can of corned beef to feed at least four people. Needing just potatoes, corned beef, onion, salt and pepper, the filling is full of savoury flavour. Bake it in a simple homemade shortcrust pastry and you’ve great tasting comfort food.
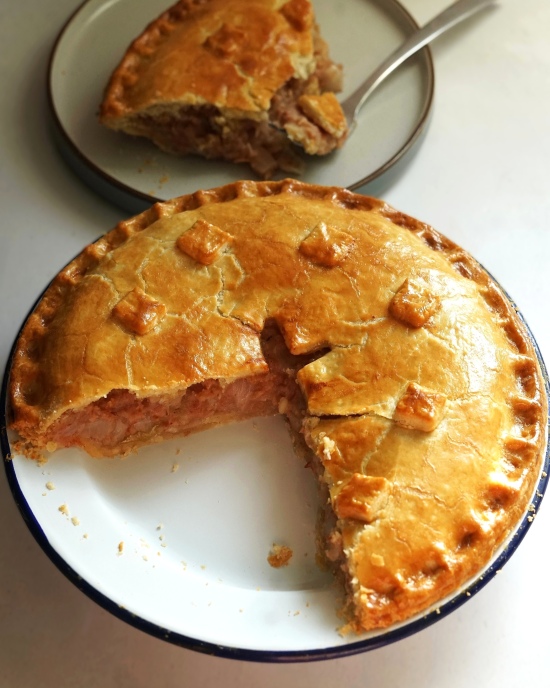
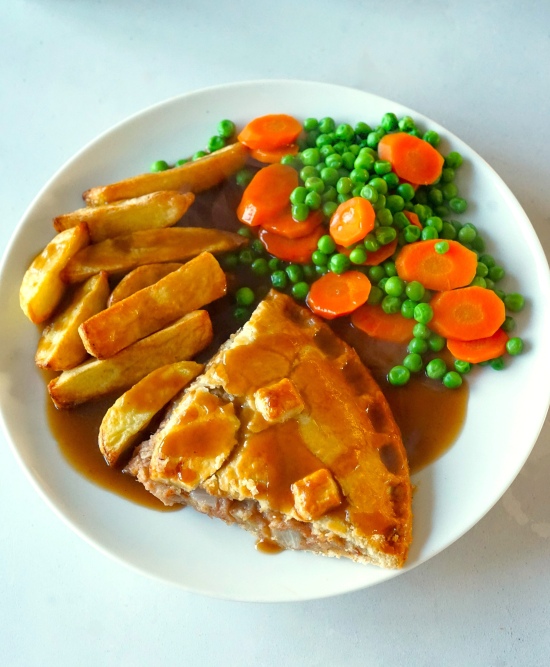
This easy pie always goes down well whether you serve hot with gravy, veg and/or chips, or baked beans and salad. Great cold in packed lunches and picnics too.
Disclosure: this post contains affiliate links. As an Amazon Associate I earn commission on qualifying purchases.
Jump to Recipe
FROM PASTY TO CORNED BEEF PIE
Tinned corned beef has been a staple of thrifty British cooks for generations. A product of the industrial revolution, the canned meat (which is not the same as true corned beef i.e. salt-cured brisket) it was originally called Bully Beef, possibly from the French bouef bouilli or boiled beef. It was an important part of soldiers’ rations and eventually became a staple for working class Britons.
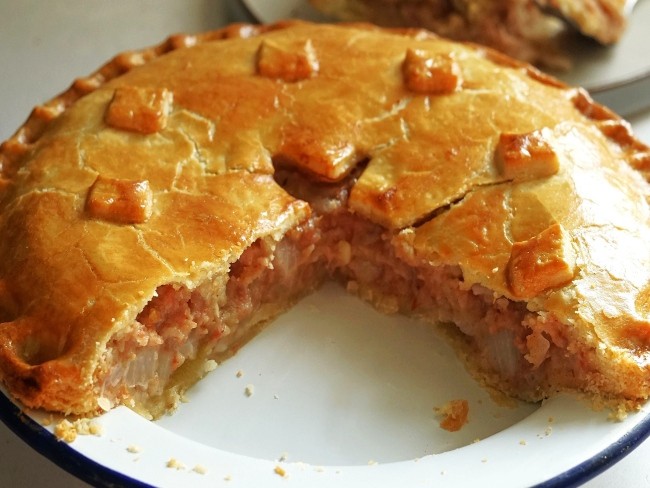
Growing up in the 1970s and 80s, one of my favourite weeknight dinners was Mum’s corned beef, potato and onion pasties. With little money to spare, meals were based around small portions of cheaper cuts of meat bulked out with potatoes and other carbs like bread or pastry. The tasty, satisfying pasties fitted the bill perfectly, and I still make them today. While a can of corned beef may no longer seem particularly cheap, it’s well-flavoured so a little goes a long way.
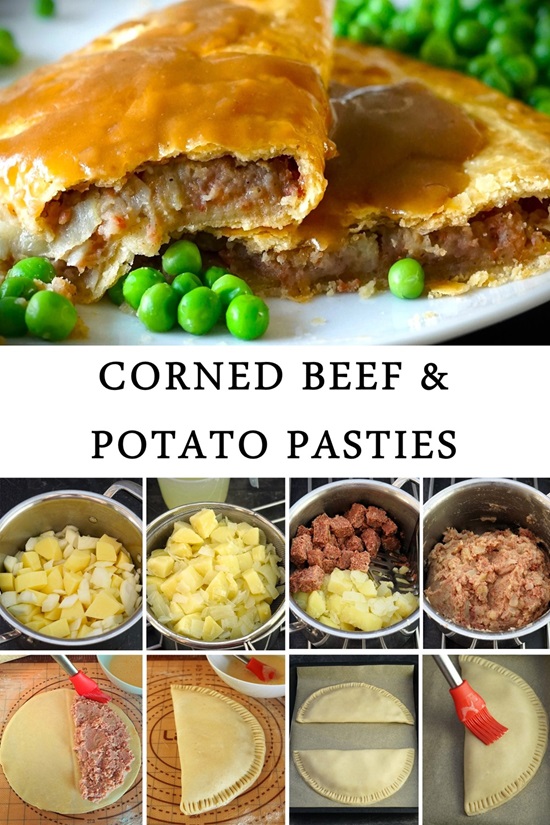
After I posted my recipe for Corned Beef & Potato Pasties, readers got in touch to tell me about their own fond memories of corned beef pies as well as pasties. So I decided to make another version, this time an even easier Corned Beef Plate Pie.
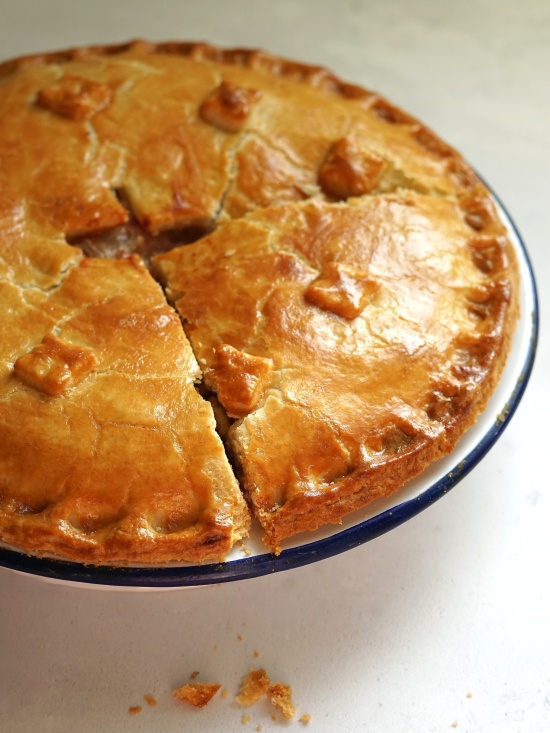
Needing just half a tin of corned beef, it’s great for smaller households or to use up the last of a can. Like the pasties the pie is lovely served hot with gravy, veg and/or chips, or baked beans and salad. But it’s great cold for packed lunches and picnics too.
PLATE PIES
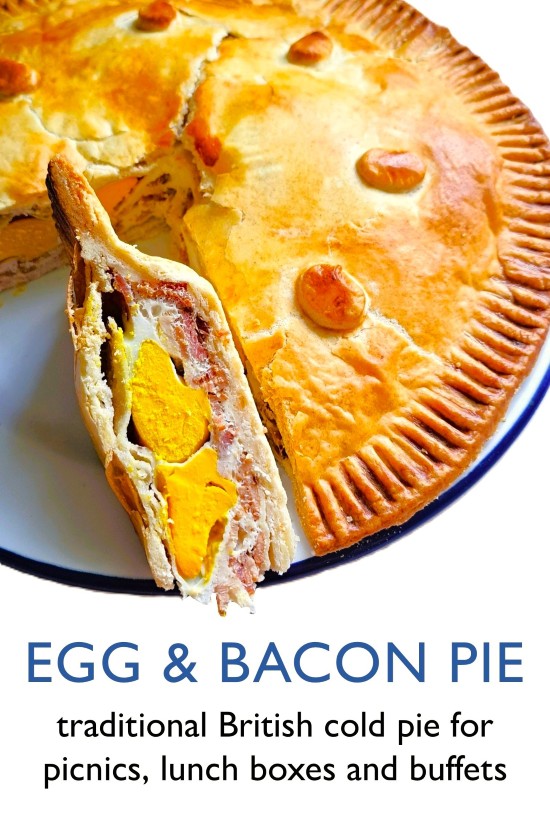
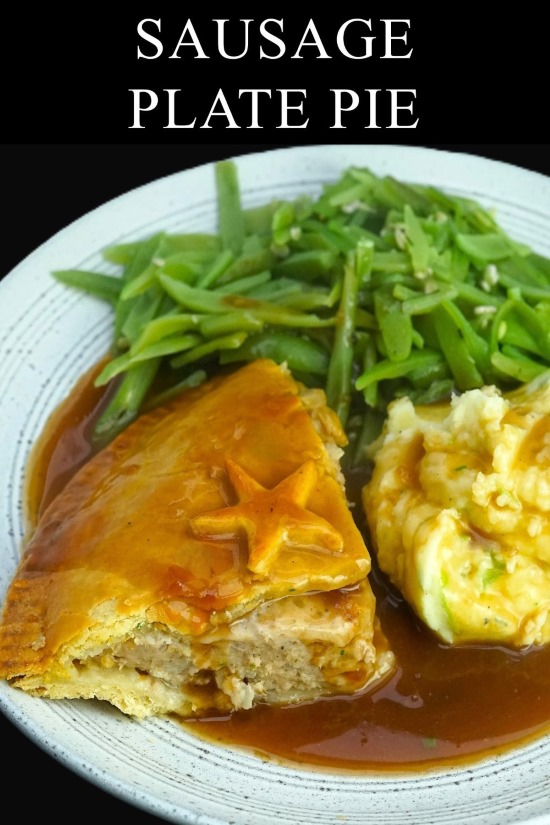
Plate pies are a British tradition particularly associated with the Midlands and north of England. Being shallow, you don’t need as much filling as a deeper pie. The fillings also tend towards the economical and homely, for example see my Sausage Plate Pie, Egg & Bacon Pie or Potato, Cheese & Onion Plate Pie.
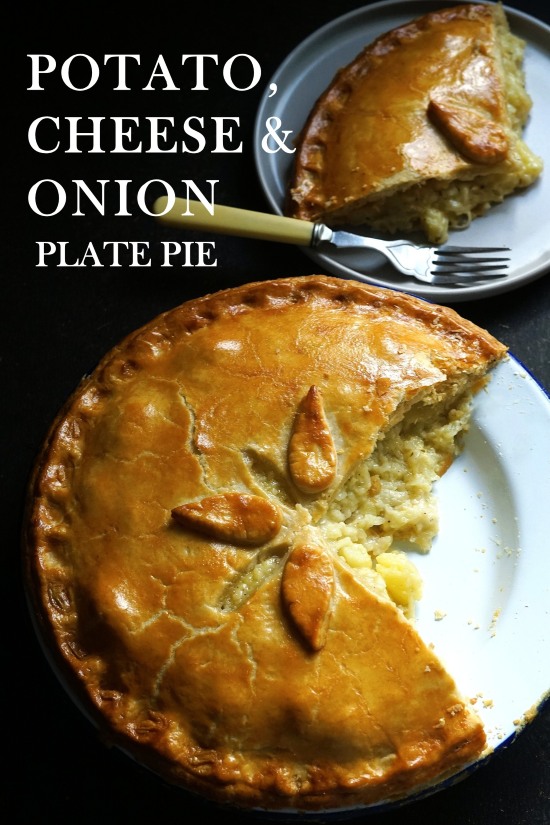
The pies are often baked on enamel plates as the material is a good conductor of heat. This helps create a nice crispy base.

Most familiar are the white enamel plates with a dark blue rim originally made in the 1920s in the Black Country near Birmingham. But any baking plate or shallow dish with a diameter 22 – 24 centimetres is fine.
CORNED BEEF PLATE PIE
You’ll find a recipe card at the end with ingredient amounts and full instructions. But I recommend you read the whole of this post first for extra tips plus step-by-step images to guide you. For the best results, use digital scales and metric measurements as these were used to test the recipe.
CORNED BEEF, POTATO & ONION FILLING
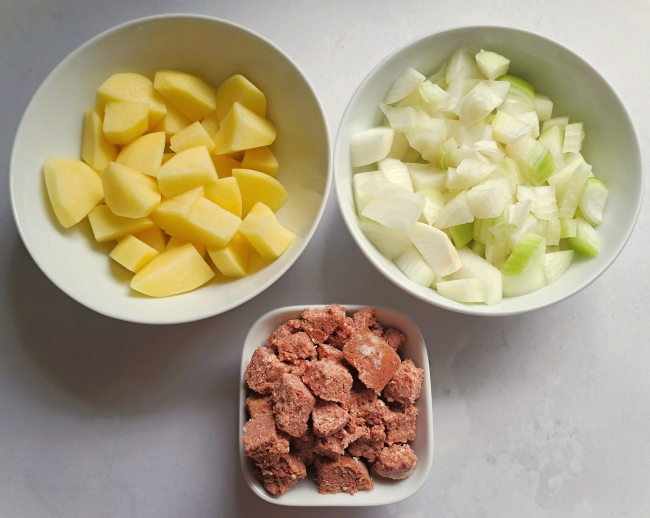
Because the filling needs to be cold when it goes into the pie, I suggest you get started on that first. The ingredients are:
- HALF a standard tin of corned beef. These usually weigh 340 grams, so 170 grams.
- Potatoes. Use any floury variety suitable for mashing e.g. King Edward, Maris Piper, Rooster. You’ll need 250 grams after peeling.
- Onions. For lots of savoury flavour use 1 large or 2 medium.
- Salt & Pepper. Use black or white pepper, whichever you prefer, but I like plenty.
Start by chopping the potatoes and onions into rough chunks and putting them into a roomy saucepan. Cover well with cold water, add salt to taste, then bring to the boil. Turn the heat down and simmer until the potatoes are just tender. Drain in a colander but save the cooking liquor: it has loads of flavour and I use it as the base of a gravy to serve with the pie. I leave the veg in the colander for a few minutes to make sure it’s nice and dry.
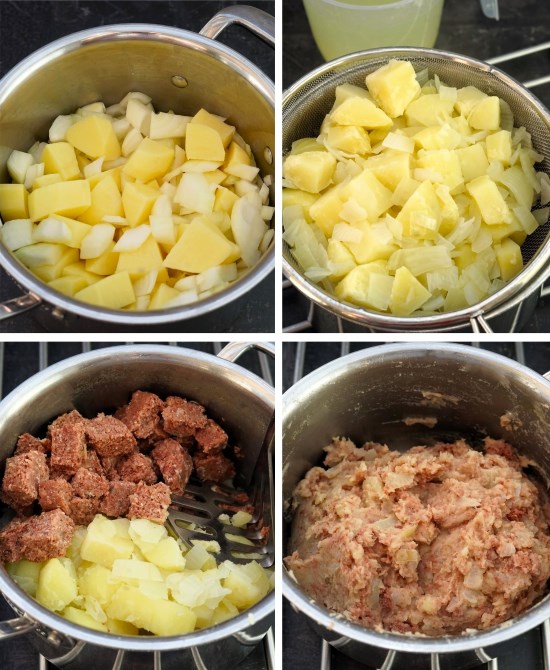
As corned beef has plenty of fat, you don’t need to add butter when mashing it with the potatoes and onions. It’s up to you whether you mash until completely smooth or leave the filling a little chunky.
Now add plenty of pepper, tasting as you go. Check there’s enough salt too – some brands of corned beef are less salty than others. Finally, transfer the filling to a clean container, leave it to cool, then pop in the fridge until it’s completely cold.
EASY HOMEMADE SHORTCRUST PASTRY
I think a simple shortcrust pastry is best for humble plate pies. While you could buy ready-made shortcrust, it’s easy to make in just a few minutes. In the recipe card I’ve given instructions for making the pastry by hand and in a food processor.
All you need are plain flour, salt, butter, and water. However, I recommend you go the traditional (and cheaper) route of replacing half the butter with lard for the perfect balance of flavour and crispness. For sealing and glazing the pastry you’ll need a beaten egg or you could swap in milk.

When you’ve made the pastry dough, divide it in two, a larger piece for the pie base and a smaller one for the lid. I use scales to divide it 60 per cent for the base, 40 percent for the lid. So it’s easier to roll out, wrap and chill in the fridge for thirty minutes.
ASSEMBLING CORNED BEEF PLATE PIE
To roll out the pastry, lightly flour your work surface. I first cover it with a silicone mat to reduce sticking and therefore the need for extra flour. A mat also makes cleaning up easier.
Roll out the larger piece of pastry into a circle that will come just over the edge of your pie plate, taking account of any dip in the middle. Place the pastry on and gently press down. Holding up in one hand, go around the edge with a knife and trim away the excess.

Now roll out the smaller piece of pastry for the lid, a little bigger than your plate or dish, and set aside. If you’ve time, chill the cut-out pastry again. This helps reduce shrinkage during cooking. But if your pastry is still cool from its first chilling there’s no need.
Transfer the filling to the base and spread evenly, leaving a border approximately 2 cm all around. Brush the border with some of the beaten egg (or milk).
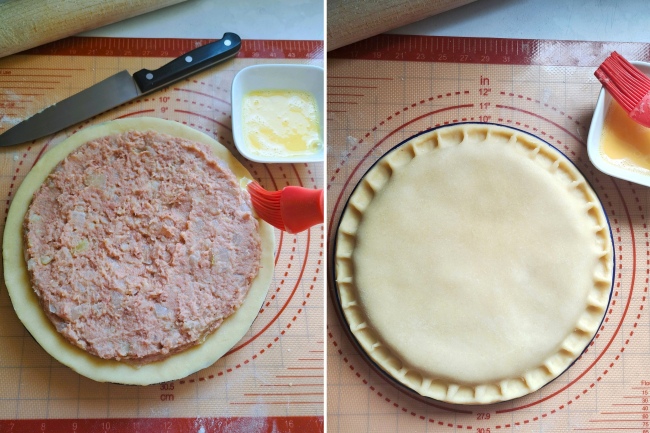
Place the pastry lid on top, pressing down to expel any air trapped underneath. Press firmly all around the border to stick it to the base. Cut off any excess pastry. Now go around pinching the edge between two fingers to create a wavy pattern. Or just press down with a fork to get little lines all around.
To use up the pastry trimmings, I gather, re-roll, and stamp out shapes to decorate the top. Here I chose squares as they’re closest to the shape of a corned beef tin! Stick them on with some of the beaten egg or milk.
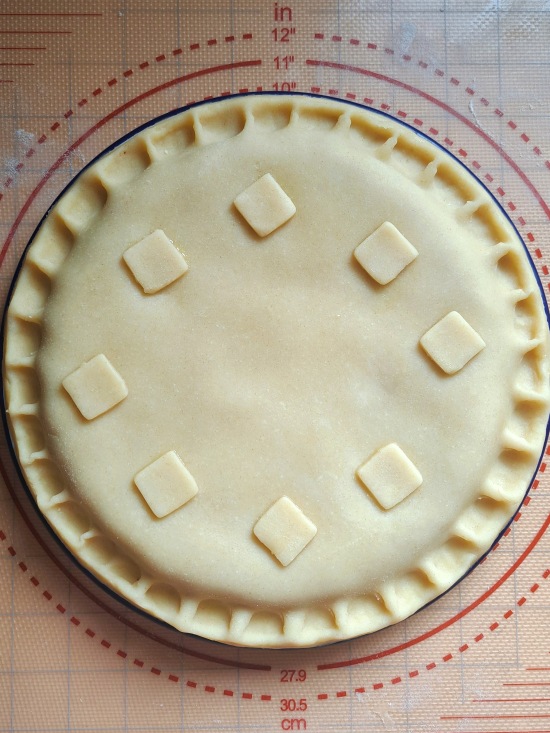
If you don’t want to cook the pie yet, chill it in the fridge until convenient.
BAKING CORNED BEEF PLATE PIE
Preheat your oven to the temperature shown in the recipe card. Have a shelf in the middle position and put a baking tray on it to preheat too. This will help crisp the bottom layer of pastry. When you’re ready to bake, brush a layer of beaten egg (or milk) all over the top. Then cut a few slits to allow steam to escape as the pie cooks.
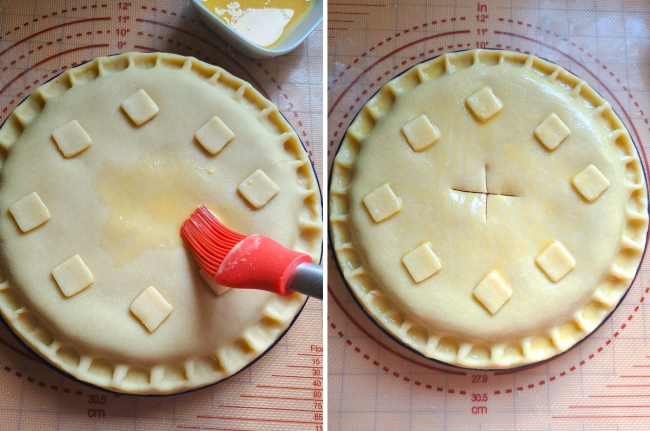
Put the Corned Beef Plate Pie on the preheated tray in the oven where it should take approximately 35 minutes to bake to a crisp golden brown. Look for some of the juices bubbling through the steam vents. Because my oven cooks unevenly, at the 20-minute mark I turn the pie around. At the same time, I add another layer of beaten egg for a deeper glaze.
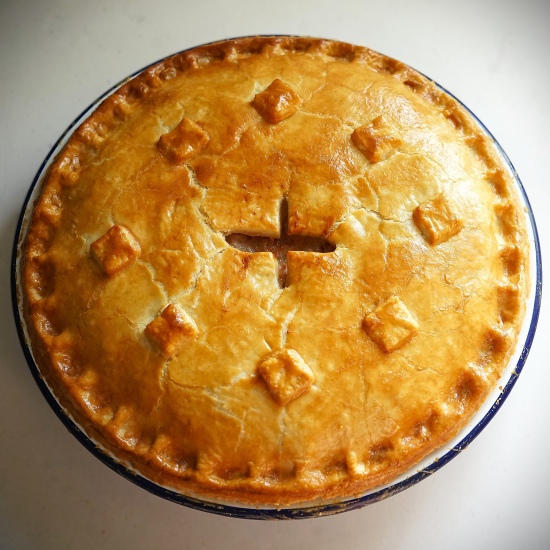
When it’s done, remove the pie from the oven but leave for five minutes before cutting into it. This gives the pastry a chance to firm a little.
CORNED BEEF PLATE PIE: TASTY, ECONOMICAL TRADITION
I most often serve this surprisingly tasty, easy pie with gravy and simple boiled vegetables like carrots and peas. A few air fryer chips on the side will make it go even further.
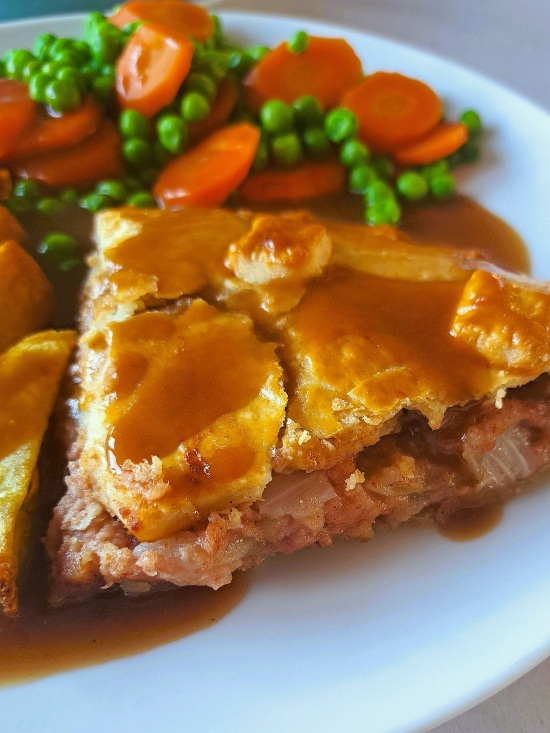
I love the combination of soft, deliciously savoury filling and crisp, melt-in-the-mouth pastry. So satisfying, and proof that simple can be very good indeed. Corned beef pie served cold is also very popular. It makes great leftovers, especially for lunch boxes and picnics.
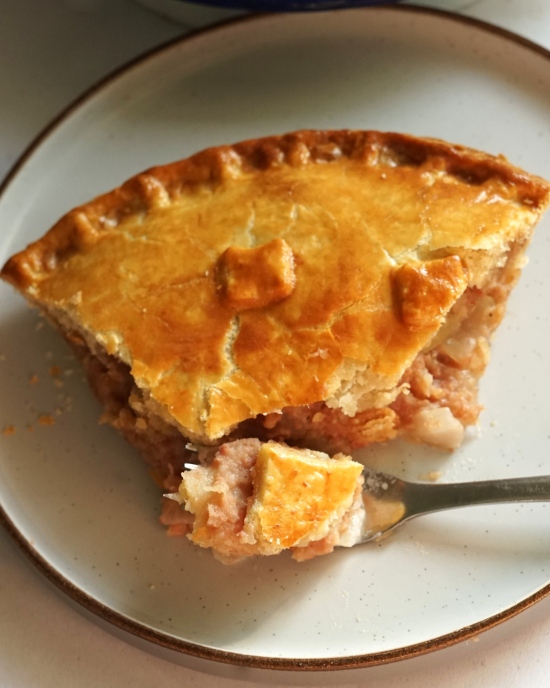
A traditional, old-fashioned British favourite, Corned Beef Plate Pie is so worth making whether it’s already part of your history or new to you.
If you’ve made this recipe, I’d love to know what you thought. Please do leave a comment and rating.

Corned Beef Plate Pie
An economical way to stretch half a can of corned beef to feed at least four people. Needing just potatoes, corned beef, onion, salt and pepper, the filling is full of savoury flavour. Bake it in a simple homemade shortcrust pastry and you've great tasting comfort food.
You will need an oven safe round pie plate approximately 22 - 23 cm in diameter.
It's recommended that you read the accompanying blog post before starting the recipe. Use digital scales and metric measurements as these were used to test the recipe.
Ingredients
For the filling
- 250 g potatoes suitable for mashing (peeled and chopped into chunky dice, weight is after peeling)
- 1 large onion (roughly chopped)
- salt (to taste)
- 170 g corned beef (approximately half a standard tin, roughly chopped)
- pepper, black or white (to taste)
For the pastry
- 250 g plain/all-purpose flour (plus extra for dusting)
- 1 large pinch salt
- 125 g cold butter (recommended: replace half with lard)
- 45 - 60 ml (3 - 4 tbsp) iced water
For sealing and glazing
- 1 small egg, beaten (can be replaced with milk)
Instructions
Make the filling
-
Put the prepared potatoes and onions in a roomy saucepan. More than cover with cold water and season to taste with salt.
-
Bring to a boil then turn down the heat and simmer until the potatoes are just tender.
Drain* and leave in the colander or sieve to dry while you complete the next step.
*Tip: you're going to make gravy to serve with the pie, save the cooking water and use it as a base for your stock.
-
Wipe out the saucepan and tip in the potatoes and onion along with the chopped corned beef and ¼ tsp pepper.
Use a potato masher to break down and combine the ingredients: leave it as chunky or mash as smooth as you like.
Taste and add more salt or pepper if needed.
Transfer to a suitable container, set aside until cool, then put in the fridge until completely cold.
Make the pastry
-
Using a food processor
Put the flour and salt into the machine and briefly process to combine.
Dice the butter plus lard if using, add to the machine and process until the mixture looks like fine breadcrumbs.
With the motor running add cold water, 15ml / 1 tbsp at a time, until the mixture comes together into a smooth ball.
Making by hand
In a medium sized bowl, stir together the flour and salt.
Coarsely grate in the butter plus lard if using, dipping into the flour now and then to prevent sticking. Using your fingertips, rub the fat into the flour until the mixture resembles breadcrumbs.
Add 2 tbsp of cold water and stir in with a round bladed knife. Continue adding tablespoons of water and stirring until the mixture starts coming together.
Use your hands to bring together into a smooth ball.
-
Using digital scales, divide the pastry in two: roughly 60 per cent for the pie base and 40 percent for the lid. e.g. if the dough weighs 420g divide into 250g for the base and 170g for the lid.
Flatten each piece into a disc then wrap in foil or cling film and chill in the fridge for at least 30 minutes: this makes it easier to roll out.
Assemble the pie
-
On a lightly floured work surface, ideally covered with a silicone mat to reduce sticking, roll out the larger piece of pastry into a circle that will come over the edge of your pie plate: remember to take account of any dip in the middle.
Place the pastry on the pie plate and gently press down. Holding up the plate in one hand, go around the edge with a knife to trim away excess pastry.
Roll out the smaller piece of pastry a little bigger than your pie plate and set aside.
Tip: the cut-out pastry can be chilled again if convenient.
-
Transfer the filling to the pastry-lined plate and spread it evenly, leaving a bare border approximately 2 cm all round.
-
Brush some of the beaten egg (or milk) all over the border. Place the pastry lid on top, pressing down to expel any air trapped underneath, then firmly press all around to stick it to the base. Use a knife to cut off the excess pastry.
Go all around pinching the edge between two fingers to create a wavy pattern or press with the tines of a fork to make lines.
Use up any pastry trimmings by re-rolling and cutting out shapes to decorate the pie. Stick to the top with beaten egg (or milk).
Tip: if you don't want to cook the pie straight away, it can be chilled in the fridge.
Bake the pie
-
Preheat your oven to 200°C / 180°Fan /Gas 6 /400°F with a shelf in the middle position.
Tip: preheat a large baking tray on the shelf which will help crisp the bottom of the pie.
-
Brush a layer of beaten egg (or milk) all over the pie then make 4 short slits in the pastry to allow steam to escape.
-
Transfer to the preheated tray in the oven and bake for 35 minutes or until the pastry is crisp, golden brown and there are juices bubbling from the steam vents.
Tips: After 20 minutes add another layer of beaten egg or milk for a deeper glaze. If your oven cooks unevenly, turn the pie around too.
-
When the pie is done, remove from the oven but leave for 5 minutes so the pastry can firm a little before cutting into it.
-
Can be eaten hot or cold. Store in the fridge for 2 days or freeze.
Reheat in a low oven, air fryer, or microwave. Recommended: reheat in a microwave followed by a few minutes in an air fryer or medium oven to re-crisp the pastry.
RELATED RECIPES