Homemade Cheese Crackers Recipe
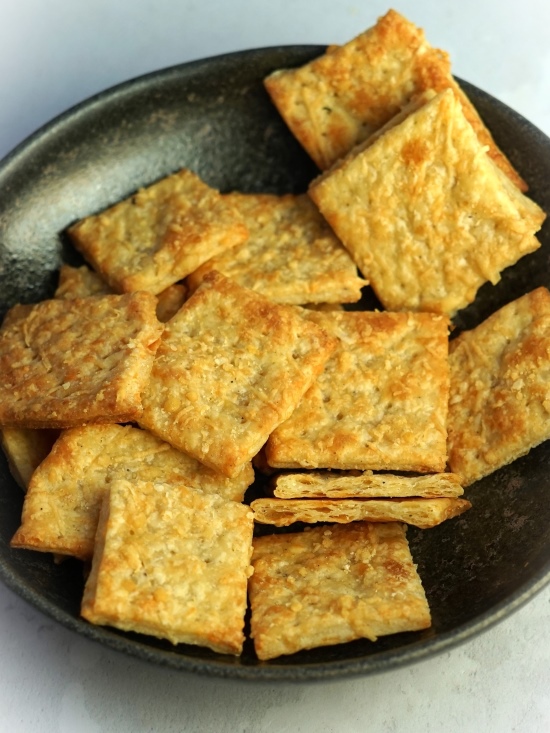
Homemade Cheese Crackers are simplicity itself to make but taste incredible. With just a handful of everyday ingredients (flour, salt, pepper, butter, water, Cheddar and Parmesan cheeses, plus optional garlic powder) you can have crispy, delicious, cheesy crackers in little more than half an hour.
Perfect for snacking or eating with cheeses, paté, dips, soups etc., the crackers should keep for 2 weeks in an airtight container.
Jump to Recipe
EASY HOMEMADE CRACKERS
I first started making homemade crackers because I wanted to avoid the palm oil found in so many brands. But, after discovering just how easy and economical it was to make great tasting crackers, I ended up preferring homemade. So simple, I even called my first recipe Easy Homemade Crackers. While I keep meaning to reshoot the photos in that post (I hope I’ve learned a little about food photography since then!), the recipe itself is a keeper – as shown by the positive comments from almost everyone.
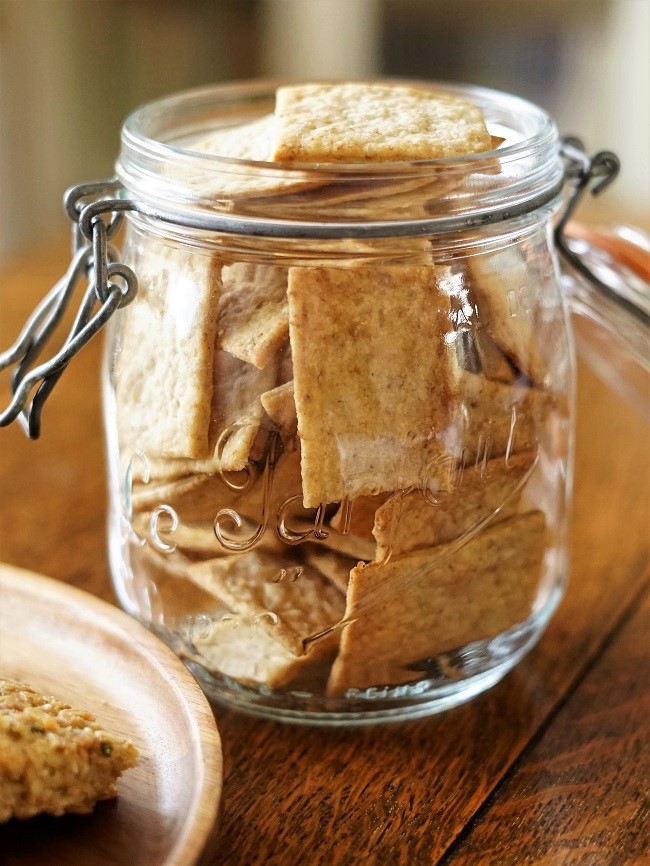
I think one of the things that’s great about my base recipe is its adaptability. You can swap in different flours like wholemeal, rye or spelt, or add all sorts of seeds, nuts, seasonings, and spices. I’ve already posted a few variations including wholesome Rye, Spelt & Sesame Crackers and herby Rosemary Crackers. And now I present my latest: deliciously moreish Homemade Cheese Crackers.
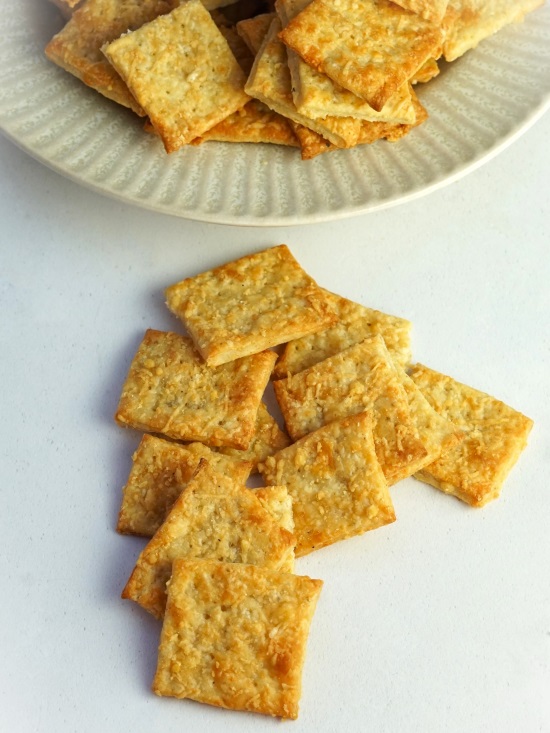
HOMEMADE CHEESE CRACKERS
You’ll find a recipe card with ingredient amounts and full instructions at the end of this post. But I recommend you read the post first for tips and step-by-step images.
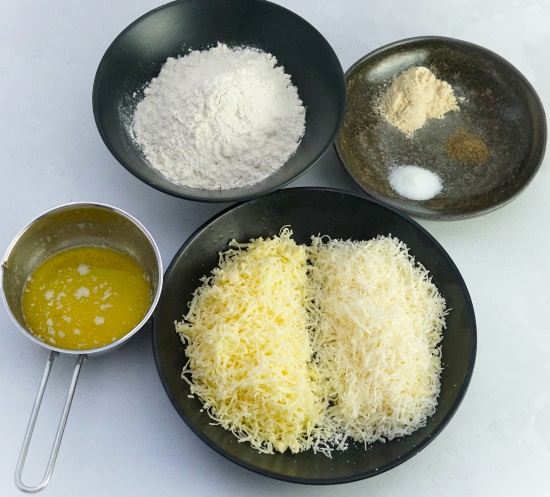
INGREDIENTS
- Plain/all-purpose flour. I like to keep these crackers light, so stick to white flour. But you can replace some with wholemeal if you prefer.
- Garlic powder. This is entirely optional, but I like a subtle hint of garlic with the cheesy flavour.
- Salt & Black Pepper. I use fine table salt and fine black pepper. For more texture you could swap in flaky sea salt and coarsely ground pepper.
- Cheese. I use a combination of 60 per cent mature Cheddar and 40 per cent Parmesan cheese for best flavour and texture.
- Water. To bind the dough.
- Butter. For binding the dough and for flavour. Although I most often use olive oil in my homemade crackers, I find that butter complements cheese much better.
MAKING THE DOUGH
Once you’ve gathered the ingredients, making the dough goes by in a flash. Really easy to work with, there’s no need for a food processor or any chilling time.
Start by stirring together the flour, seasonings, and grated cheeses, then pour in the melted butter. Finally, we stir in enough water to form a dough that leaves the sides of the bowl clean – you’ll need to switch from a spoon to using your hands to do this.
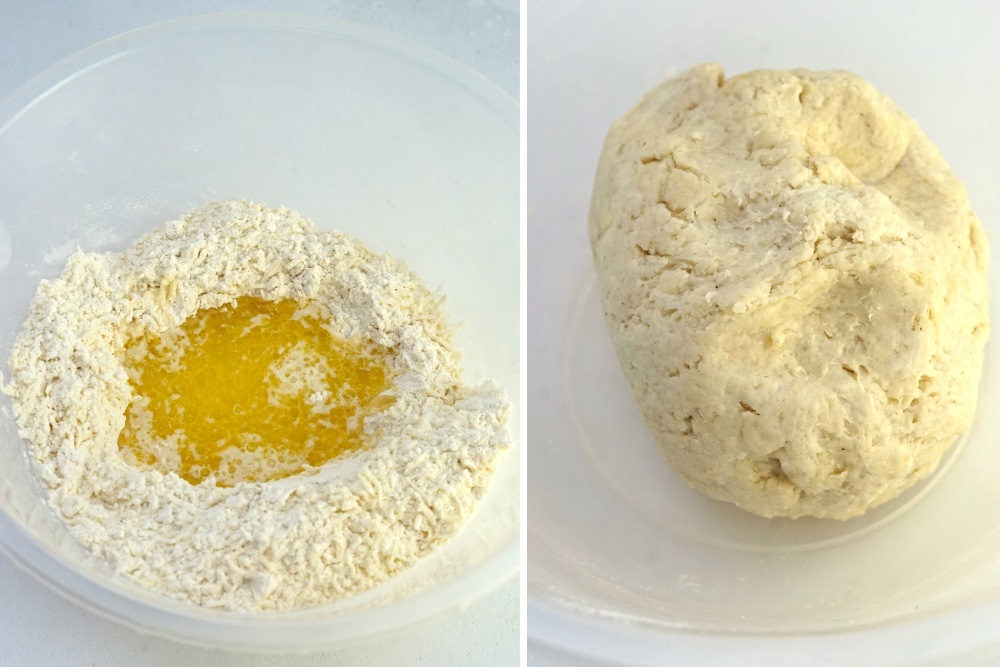
A few seconds of kneading/folding will give you a smooth ball of dough. My recipe makes 2 trays of crackers, so cut the dough in half. I use scales for accuracy.
ROLLING AND CUTTING OUT
To make it easier to cut out the Homemade Cheese Crackers and also transfer to them to baking trays, I roll out the dough on baking paper. The paper should be cut to fit the base of a shallow tray that’s approximately 31 x 21 centimetres. It’s worth taking the time to measure the paper accurately as it will be your template for rolling the dough to the correct thinness.
Put the paper on your worksurface and sprinkle with just a little extra flour – too much and the crackers can end up hard. Put one half of the dough on it (keep the other dough half covered so it doesn’t dry out) and sprinkle with a smidgen more flour.
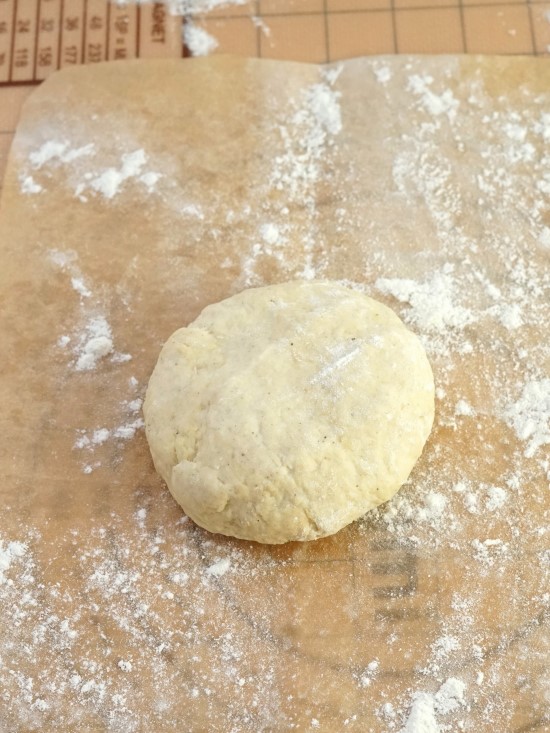
Now take your rolling pin and roll evenly until the dough reaches all the way to the edges of the paper. By this point it should be no more than 1 – 2 mm in depth. Any thicker than this and the crackers will end up hard rather than crunchy so keep rolling, beyond the edges if necessary.
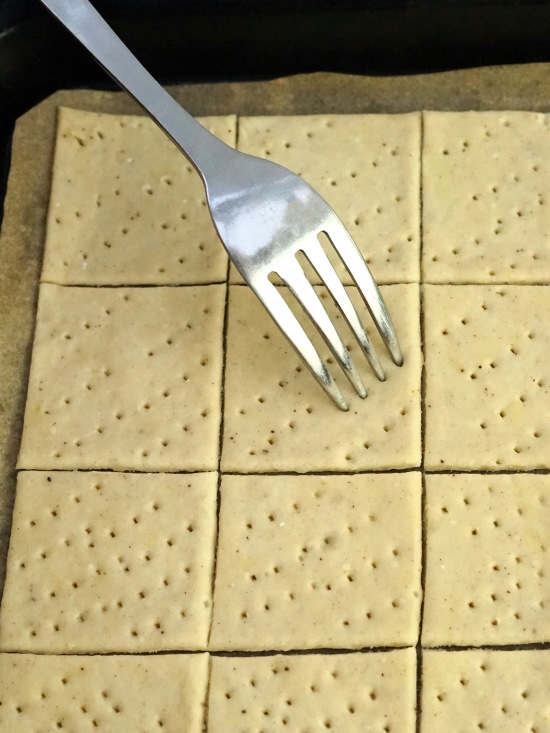
Next, I use a pizza wheel and ruler to neaten the edges of the dough and cut out my crackers. Use a knife if you don’t have a pizza wheel. When I want fancy, wavy-edged crackers, I use a pastry wheel. You don’t need to cut all the way through the dough and try not to cut the paper. You can make whatever size squares or rectangles you like, or a mixture. If you cut all your crackers into smallish 5 x 5 cm squares you should get 24 per tray.
Put any scraps of dough to one side, covered; I use them to make a few extra crackers at the end.
Once you’ve cut them out, slide the paper and crackers onto your baking tray. To stop them rising and bubbling up too much as they bake, prick each one all over with a fork.
BAKING HOMEMADE CHEESE CRACKERS
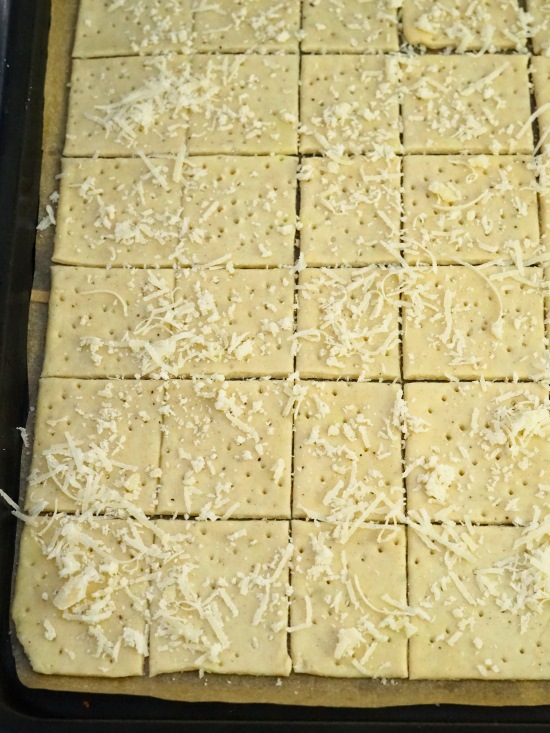
Just before the crackers go into a preheated oven, I sprinkle a little more Parmesan over the top.
While the first batch is cooking, you can repeat the rolling and cutting with the remaining half of dough. But be aware that the crackers cook within 10 – 15 minutes, with those at the corners and edges browning particularly fast. So, for the first time at least, you might want to give the oven your full attention. You can always cut out both trays of crackers first then put them in at the same time. If you’ve only one suitable sized tray, you can cook one batch then re-use the paper to roll out the second.
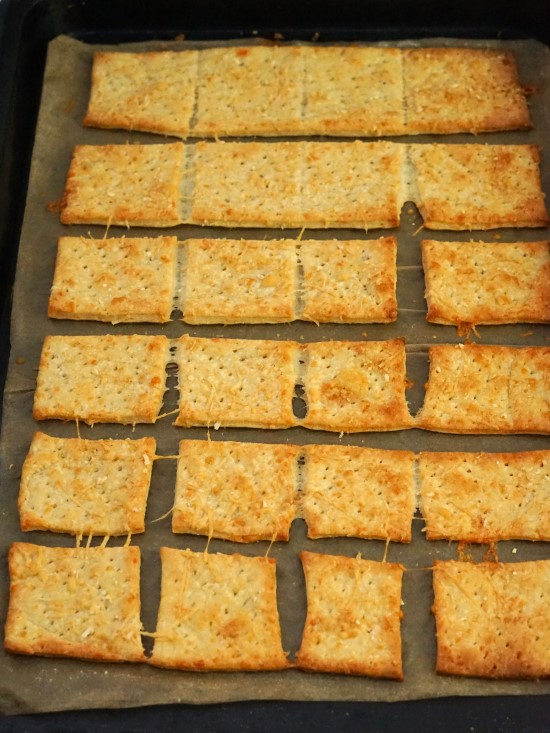
I highly recommend you check how the crackers are doing after 10 minutes. If any look done then snap those off, put on a wire rack to cool, then return the rest to the oven. I sometimes also turn over those in the middle to get even cooking.
When done, leave all the crackers on the rack until they’re completely cold. Then transfer to an airtight container where they should keep for 2 weeks.
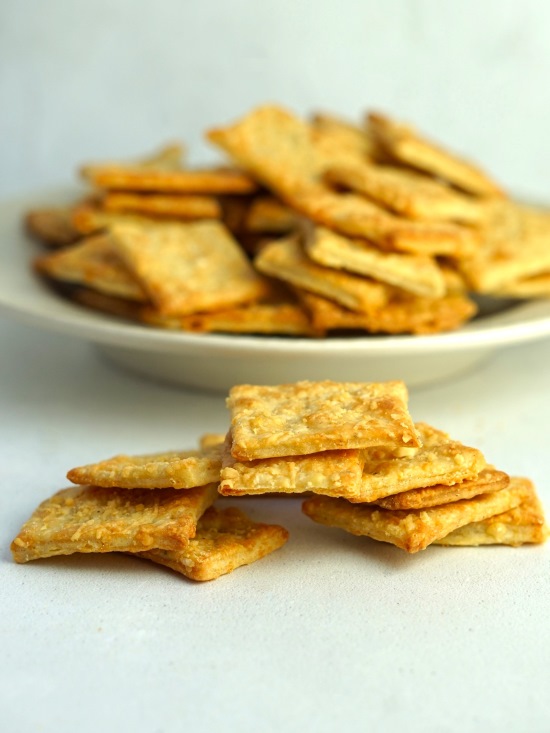
DELICIOUSLY MOREISH CHEESE CRACKERS
If you want shop bought, good quality cheese crackers without nasty additives and environmentally disastrous palm oil, you need to be prepared to pay a pretty penny. So, I think it’s good to know just how quick and easy it is to make your own deliciously moreish crispy cheese crackers.
Whether you eat as a snack on their own or with drinks, pop a few in a packed lunch, or enjoy alongside cheeses, soups, and salads, I think you’ll love them!
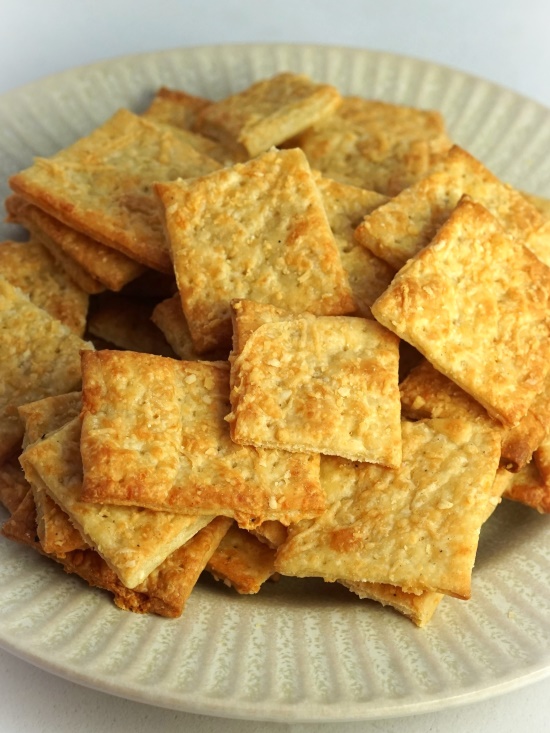
If you’ve made these Homemade Cheese Crackers, I’d love for you to leave a comment and rating.
Homemade Cheese Crackers
So simple to make with just a handful of everyday ingredients, these cheese crackers taste incredible.
Perfect for snacking or eating with cheeses, paté, dips, soups etc., the crackers should keep for 2 weeks in an airtight container.
Ingredients
- 175 g plain flour plus extra for rolling out
- 2 level tsp garlic powder optional
- ¾ tsp salt
- ¼ tsp black pepper
- 60 g mature cheddar cheese finely grated
- 40 g Parmesan cheese finely grated
- 30 g butter melted
- 100 - 120 ml cold water
For sprinkling
- 20 g Parmesan cheese finely grated
Instructions
-
Preheat the oven to 220° C /200° Fan /Gas 7 /425° F.
-
Cut two pieces of baking paper to fit the bases of two shallow baking trays each 31 x 21 cm. Cook in two batches if you only have one suitably sized tray.
-
Put the flour, garlic powder if using, salt and black pepper in a mixing bowl and stir together. Stir in the grated cheeses.
-
Make a well in the centre and pour in the melted butter along with 100 ml of the water.
Start stirring with a spoon to bring the ingredients together, adding a little more water if necessary. Switch to your hands to bring together into a dough that leaves the bowl clean.
-
Transfer to a clean work surface and briefly knead/fold into a smooth ball.
Cut in half (use scales for accuracy) then set one half aside, covered with the upturned bowl so it doesn't dry out.
-
Lightly flour one of the pieces of baking paper (using too much flour can make the crackers hard).
Place one piece of dough on it, sprinkle with a little flour, and roll out very thinly (no more than 1-2 mm or the crackers will be hard rather than crispy) until it covers the paper - roll past the edges of the paper if necessary to get the dough the correct thinness.
-
Neaten the edges of the dough with a knife or pizza wheel plus a ruler if necessary (keep the scraps to make extra crackers at the end).
Cut the dough into squares or rectangles of your preferred size.
Slide the paper and the uncooked crackers onto one of the baking trays.
Prick the crackers all over with a fork then sprinkle with the extra Parmesan.
-
Put the crackers in the preheated oven and cook until crisp and golden (12-18 min). Check after 10 minutes: crackers at the edges of the tray may cook much quicker, so remove these to a cooling rack and return the rest to the oven.
If necessary, turn the crackers over for even cooking.
While the first tray is baking, roll and cut another batch with the remaining dough and cook as above.
-
When done, crackers should be left on the cooling rack until completely cold before storing in an airtight container. Should keep for 2 weeks.
RELATED RECIPES

Hi – can I use a cookie cutter, or does the pastry become tough if handled too much? These sound perfect for nibbles before a dinner party I’m throwing. Thanks!
You certainly can use a cookie cutter, Helen – I guess I’m just a little lazy! Hope you enjoy the crackers – do let me know!
These crackers need far more cheese. They taste like flour chips. And I used a seriously sharp white cheddar. The recipe is simple; so next time I’ll add more cheese.
I do find that surprising. I make these all the time with the combination of mature (English) Cheddar plus Parmesan called for in the recipe and find them very cheesy!
They look awesome and want to make them but I have a question, can you use almond flour in the place of regular flour.
I haven’t tried using almond flour in these crackers but suspect you would need to increase the amount of liquid. Also, due to the lack of gluten in almond flour, the texture might not be the same, but they should still taste good! Do come back and let me know if you try it.
I was looking for something to replace tortilla chips when I came across this recipe. It is so versatile!!! I replaced about 50 g of flour with maize flour and I substituted chili powder for the garlic powder. I also added about 1Tbsp of jalapeno. I tossed everything into my food processor and drizzled in the water until it formed a dough (so easy!). They need to be rolled out very thinly. The crackers that came out are DELICIOUS and the perfect accompaniment for he jalapeno popper dip. I will definitely keep this recipe.
I love the sound of what you’ve done with my recipe! I might just have to steal your idea 😉😁.
Thanks so much for the great feedback!