Homemade Ricotta
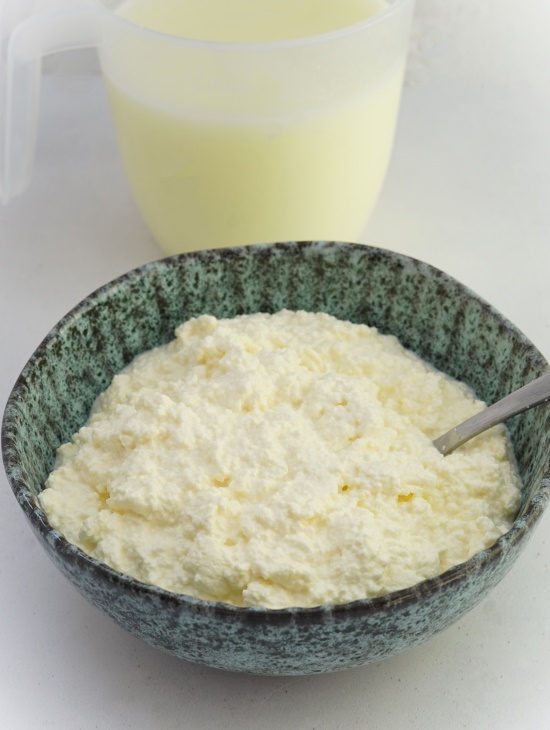
Homemade Ricotta, creamy, delicious, and so easy, can be used in exactly the same way as store bought – for both savoury and sweet dishes.
All you need are TWO ingredients: whole milk plus vinegar to split it into curds and whey. I also add salt for flavour and love to swap in double cream for some of the milk to make an extra-rich ricotta. Strain the resulting curds and you’ll have a fresh cheese plus nutritious whey you can add to bread doughs, soups, porridge, smoothies etc.
Jump to Recipe
First things first. Although I call this lovely homemade dairy product ricotta, like virtually every other recipe you’ll find for Homemade Ricotta this isn’t true ricotta at all. I’ll explain precisely why in a moment. But the important thing is that you can use it in exactly the same way as traditional ricotta.
Fresh, creamy, and delicious, it’s perfect in sweet dishes like cheesecakes, as a filling for cannoli, pancakes etc. and just as good with savoury goodies too. Think lasagne, stuffed pasta, pizzas, salads, bruschetta and so much more!
Incredibly simple to make at home with just milk, vinegar, and salt (plus optional double cream for an extra-delicious version) it only requires a few minutes’ hands-on time. So easy and versatile, you’ll wish you’d learned to make it years ago.
WHAT IS RICOTTA?
Ricotta is a fresh, soft, and creamy Italian cheese whose name means ‘recooked’. It’s actually a by-product of making other cheeses like mozzarella and provolone. During cheesemaking, milk is split into solids (curds) and liquid (whey), with the curds then being made into cheese. One way to avoid wasting the whey is to process it again (hence ‘recooked’), extract more of the solids, and turn those into ricotta.
As us home cooks are unlikely to have a supply of whey leftover from cheesemaking, my Homemade Ricotta starts with whole milk. As we’ll see, you can also add a little cream to make it richer. At the end of the process, besides ricotta, you’ll also have leftover whey. This can be used to add flavour and nutrition to bread doughs, scones, pancakes, soups, smoothies etc.
INGREDIENTS FOR HOMEMADE RICOTTA
There are really only TWO ingredients needed for Homemade Ricotta. Milk and an acid which is used to split it into curds and whey. I also add a little salt for flavour and most often include some double cream.
MILK / CREAM
To get a decent amount of ricotta, you should start with 1 – 1.5 litres of milk OR a combination of milk and cream. Although the addition of cream makes particularly wonderful ricotta, it’s still lovely made with just whole milk. However, I don’t recommend skimmed or semi-skimmed milk as the fat content is too low. It’s probably also best to avoid UHT milk (Ultra Heat Treated) as its proteins may have been altered during processing.
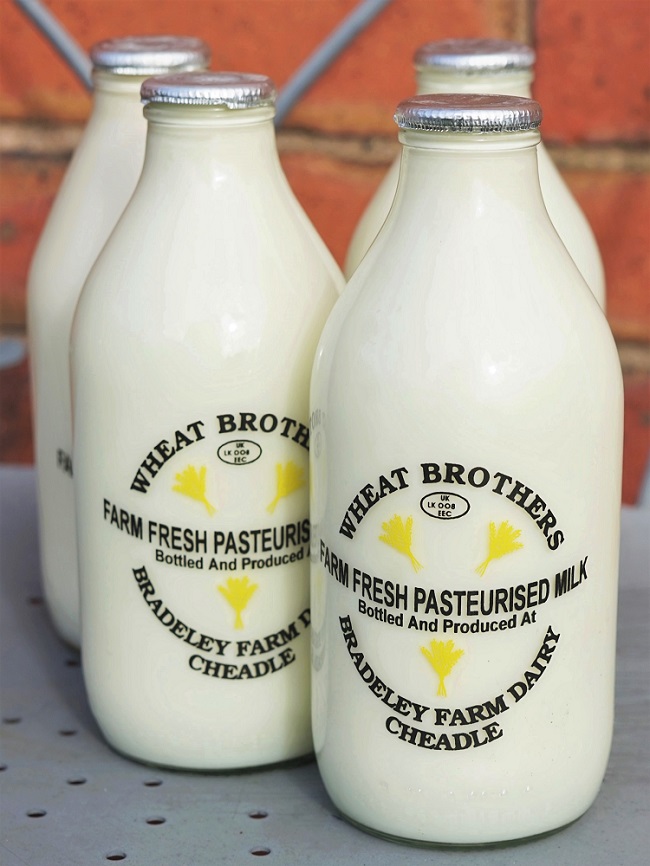
I get my milk delivered in reusable 1 pint glass bottles straight from a local farm. For convenience, I most often use two of these (i.e. 2 x 568 ml = 1136 ml) and make it up to 1.5 litres with 364 ml of double cream. So that’s roughly three quarters milk and one quarter cream. If preferred, you can reduce or leave out the cream altogether.
Depending how much I strain the curds, I usually get between 200 – 450 grams of ricotta per 1.5 litres. I’ve noticed that including some cream usually results in more ricotta.
ACID: LEMON JUICE OR VINEGAR?
To split the milk/cream into curds and whey you can use lemon juice or vinegar. When I started making ricotta, I always used lemon juice. I suppose I thought it would give a better flavour. However, I now much prefer a mild vinegar such as rice wine vinegar or white wine vinegar. This is because, while I don’t know how acidic a given lemon will be, vinegar has it stated on the bottle (normally 5 per cent). This takes the guesswork out of how much to add, giving a reliable and consistent result.
As to taste, stick to the recommended amount and you won’t be able to detect vinegar in the finished ricotta anyway. For 1.5 litres of milk/cream, you’ll need just 40 ml of vinegar. If you want to make less or more ricotta, then just work out what 2.7 per cent of your milk/cream is and that’s the amount of vinegar to add. For example, to make ricotta with 1 litre (i.e. 1000 ml) of milk/cream you’d use 2.7 per cent of 1000 ml which is 27 ml of vinegar. For 2 litres of milk/cream, then 2.7 per cent would be 54 ml of vinegar.
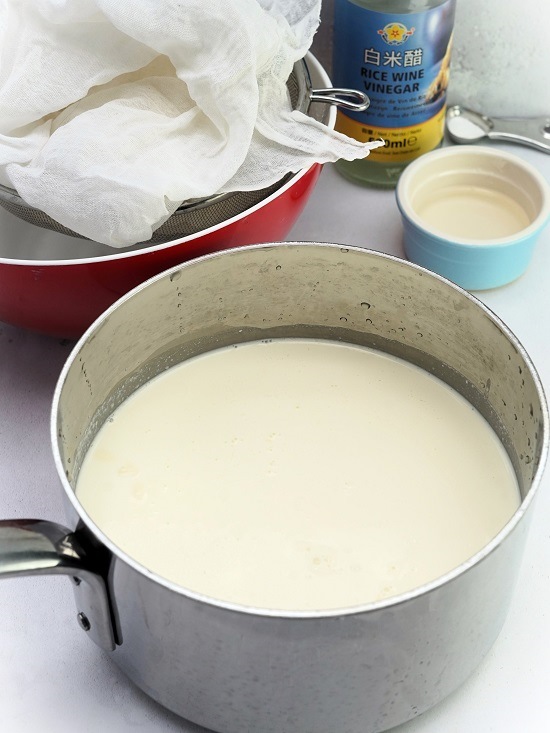
EQUIPMENT
With one possible exception, you probably already have all the equipment you need for Homemade Ricotta.
- Saucepan large enough to hold all the milk/cream with enough space for stirring.
- Wooden or silicone spoon for stirring.
- Fine sieve or strainer. This should be large enough to hold all the curds. Wider and shallower will strain more quickly.
- Piece of muslin or cheesecloth. The only thing you may not have, this is necessary to line the sieve or strainer to prevent the fine curds going through with the whey. If you don’t have a cookshop near you, cheesecloth or large pieces of muslin can usually be bought relatively cheaply online.
- Large bowl to rest the sieve/strainer and catch the whey.
You’ll find full instructions in the recipe card at the end of this post. But I recommend you read on for tips and step-by-step images first.
HOW TO MAKE RICOTTA
There are just 4 easy steps to Homemade Ricotta.
1. Heat the milk/cream to just below boiling point
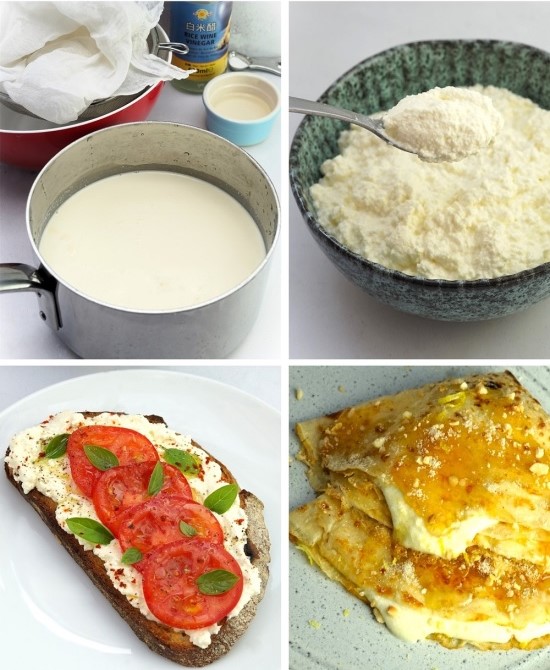
So that the milk/cream is less likely to stick to the pan as it heats up, I first add some cold water from the tap, swish it around, then tip out. This creates a sort of protective film. Now you can pour in the milk/cream. Put over medium heat and slowly bring it to just below boiling point. Tell-tale signs it’s nearly there are small bubbles appearing around the edges of the milk/cream. If you have a thermometer, then it should read 90 degrees Centigrade.
As soon as it’s at this point, remove from the heat.
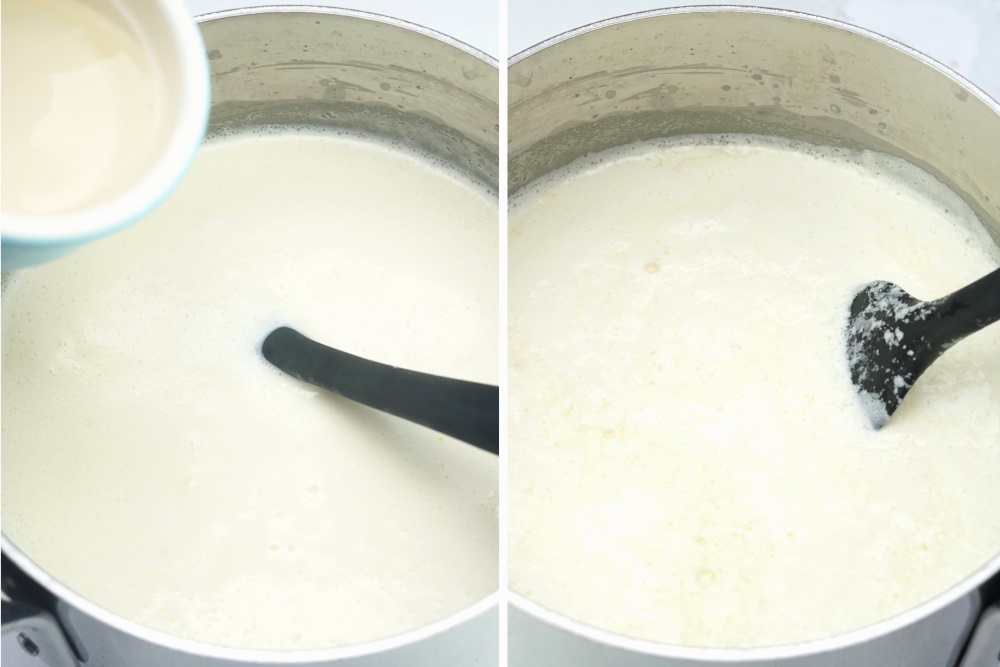
2. Add the salt, vinegar, stir.
Now stir in the salt then sprinkle over the vinegar. Continuously but gently stir for 45 seconds. You should almost immediately see it splitting into curds and whey.
3. Set aside.
Put the lid on the saucepan and set aside for 15 – 30 minutes for the curds and whey to separate further. Meanwhile, line your sieve or strainer with a double layer of clean muslin or cheesecloth and set it over the large bowl.
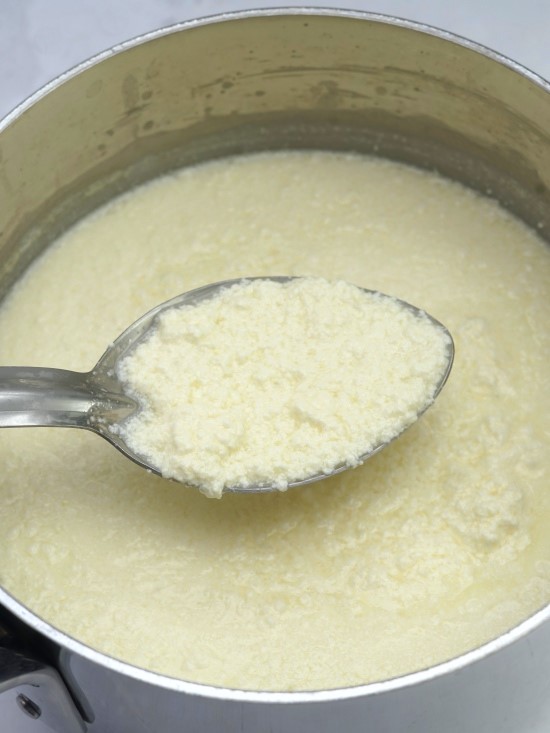
4. Strain
Ladle or carefully pour the contents of the saucepan into the lined sieve. Set aside and leave the whey to drain out. If the room is at all warm, then do this in the fridge. Because the muslin or cheesecloth can sometimes become a little clogged with whey, I occasionally gently stir the ricotta while it’s still draining.
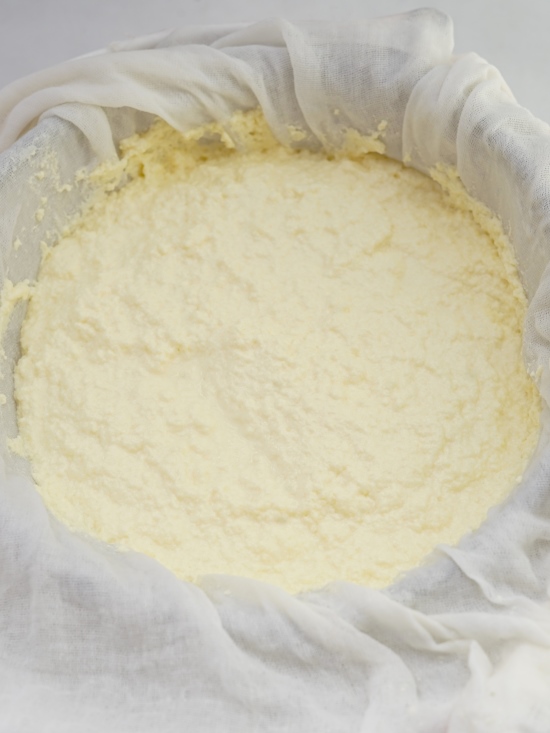
How long you leave it to drain depends on how soft or firm you want your ricotta to be. 1 – 2 hours should be fine for soft, 5 hours or more for firmer. You can also bring the sides of the cloth together and squeeze out more whey if you want it very firm. However, this can result in a dry ricotta that I don’t think is as nice as a moister, slightly bouncy one. [On the other hand, squeezing and then pressing between weighted boards will give you Indian paneer. I’m hoping to add a post all about that soon].
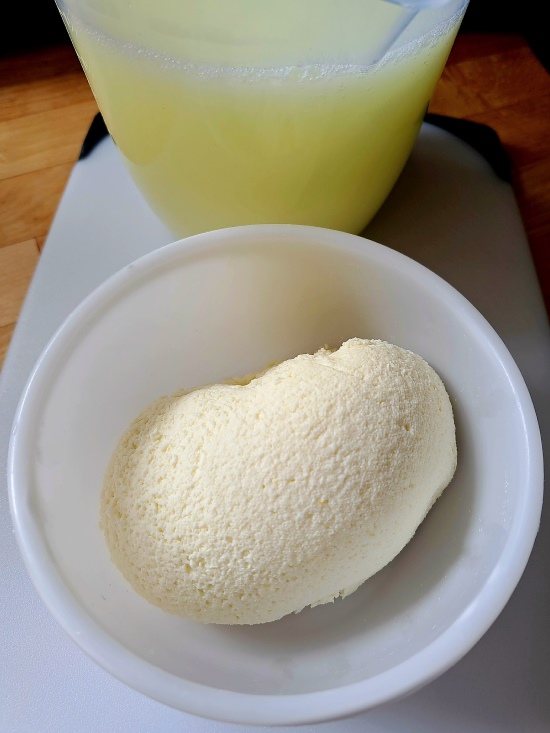
If you should find you’ve overstrained it though, you can always stir a little whey back in.
STORING & SERVING HOMEMADE RICOTTA
When the ricotta is your desired consistency, spoon it into a clean lidded container. Assuming your milk/cream was fresh then it should be fine in the fridge for up to 4 days. It’s not recommended to freeze ricotta though, as the structure is likely to break down.
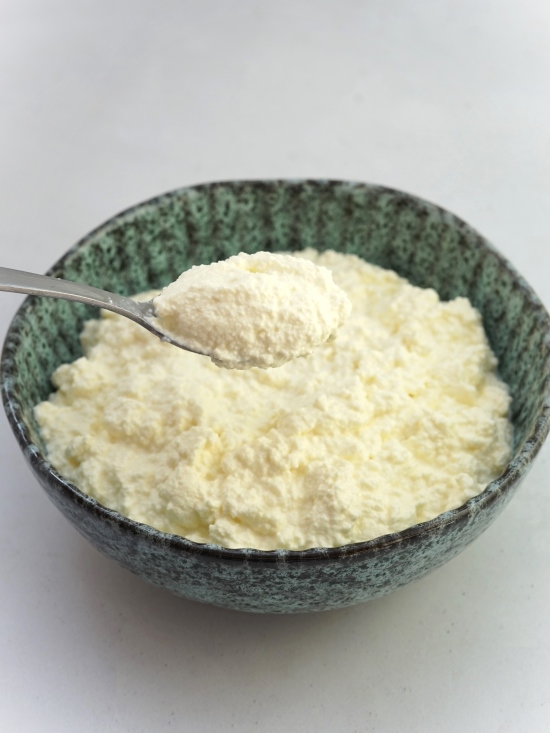
Although homemade or bought ricotta is naturally a little grainy, you can make it smoother by lightly beating with a spoon.
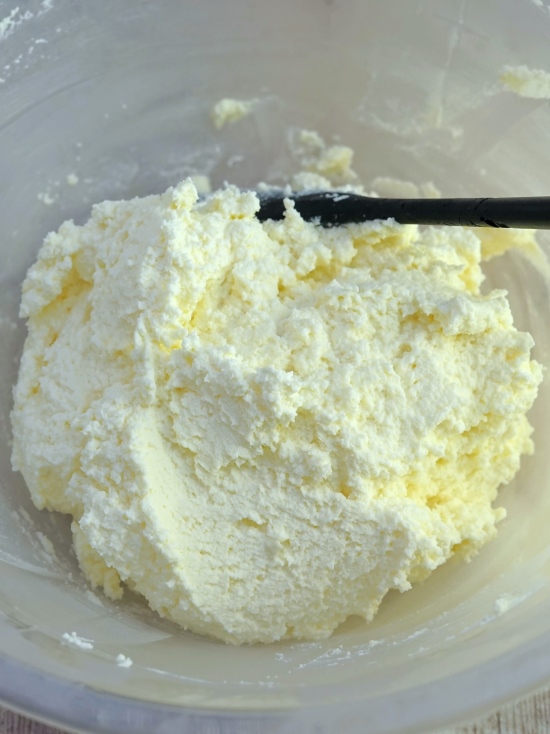
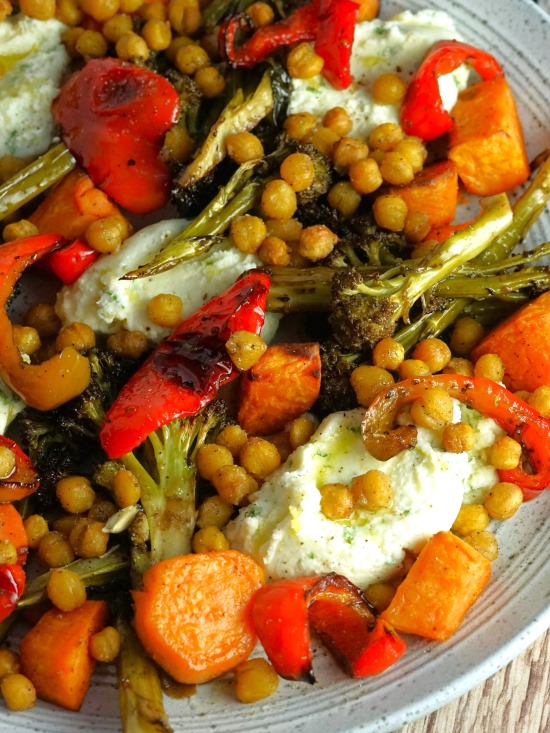
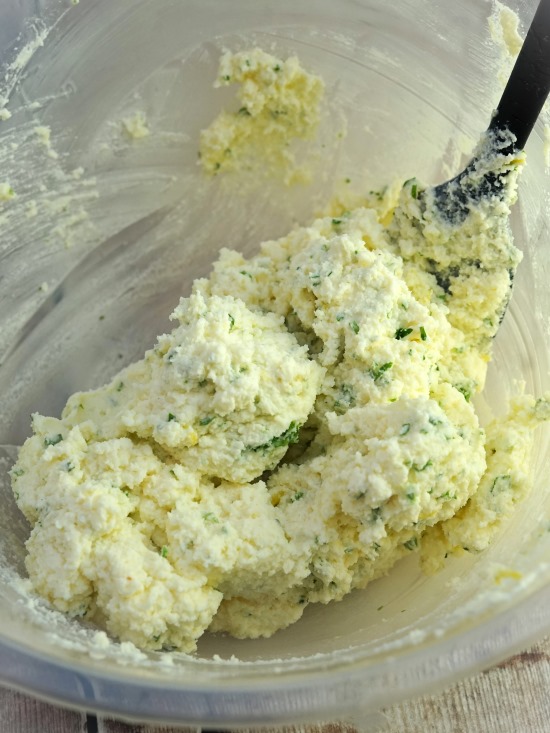
With a mild, milky taste you can use ricotta just as it is for stirring into pasta sauces, stuffing ravioli, spreading on bread etc. But I often add a few simple flavours. Here I beat in garlic, lemon zest and parsley. We ate it with the warm roasted veg and chickpea salad pictured near the top of this post.
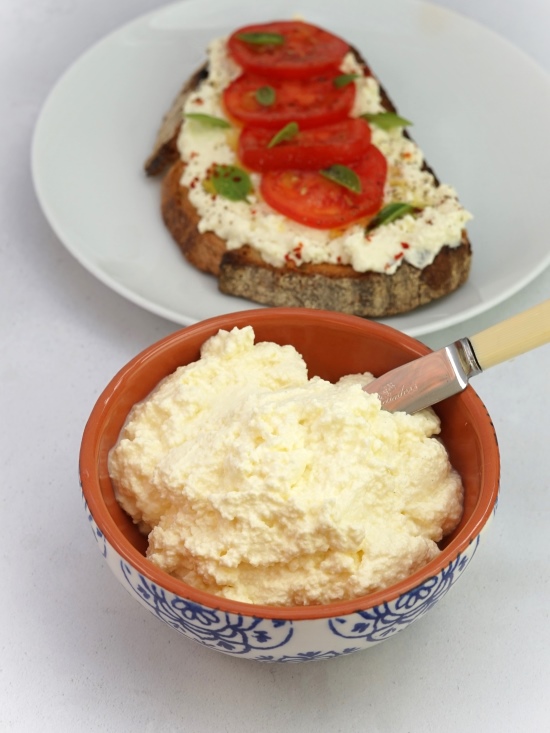
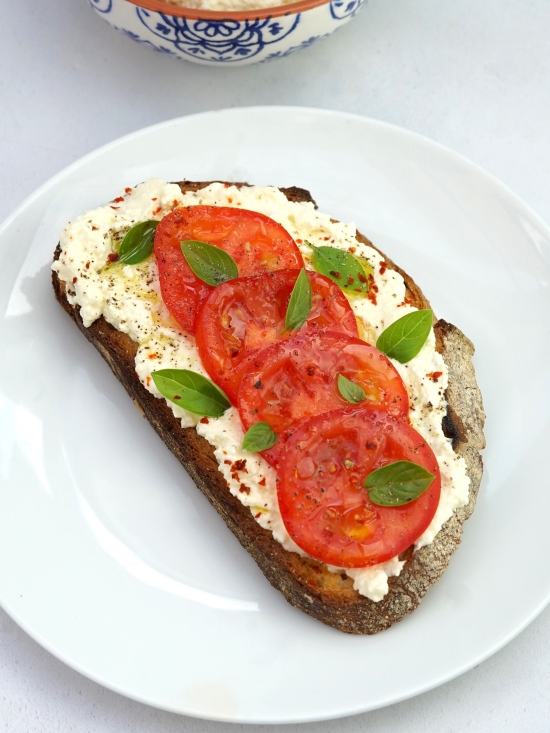
Flavoured or unflavoured, I love to eat ricotta bruschetta-style. Toast some good bread, spread on a generous amount, and top with tomato, basil, and a drizzle of olive oil. For heat I sprinkle over a little Aleppo pepper.
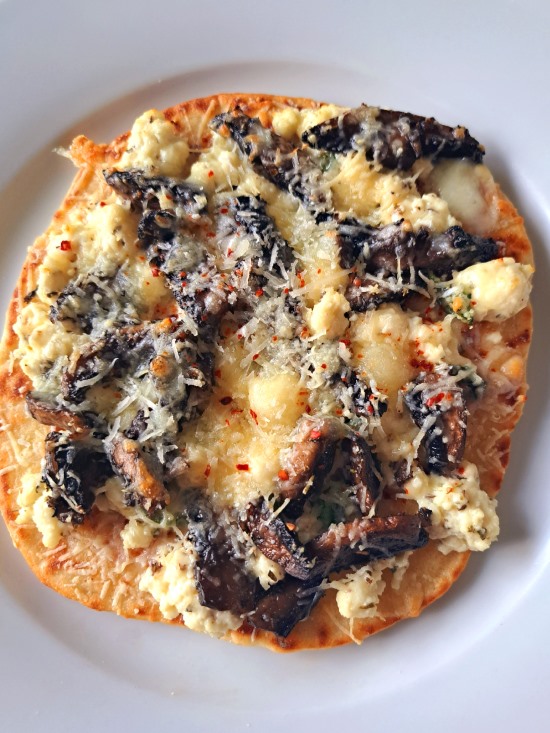
Homemade Ricotta is also good on pizza. For a quick and delicious lunch I’ll often make one using a homemade flatbread leftover from the previous night’s dinner. Simply brush with olive oil, add blobs of ricotta plus your chosen toppings (below I sauteed mushrooms in butter, garlic, and my own Italian-style herb mix) and a sprinkle of Parmesan. Air fry at 200 degrees C for 2 – 3 minutes or in a medium-hot oven for 5 – 8 minutes. Gorgeously creamy but light too!
Of course, as with traditional ricotta, the homemade version lends itself to sweet recipes too – most famously cannoli. Sweeten it by beating in sifted icing sugar then your chosen flavourings such as vanilla, dried fruit, chocolate, nuts. Or leave out the sugar and serve it drizzled with honey for a simple dessert or breakfast.
The warm crepes you see below are filled with ricotta that I’d beaten with icing sugar, a little cream to loosen, and lemon zest.
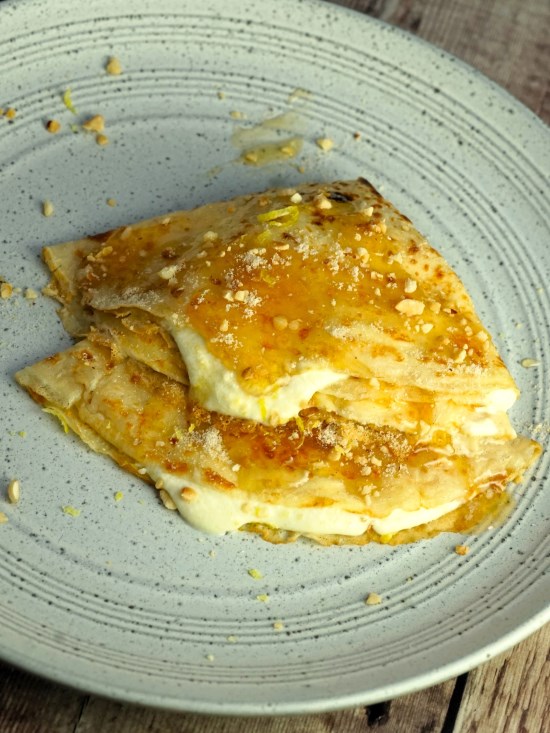
I made a lemon syrup to pour over the top then sprinkled them with sugar, chopped roasted hazelnuts and more lemon zest. Incredibly good!
USES FOR WHEY
Because making Homemade Ricotta creates a lot of whey, I can only recommend you make it if you have uses for the whey. Otherwise, I think it’s just too wasteful. You don’t have to use it all in one go though. Like the ricotta, it will be fine in the fridge for a few days.
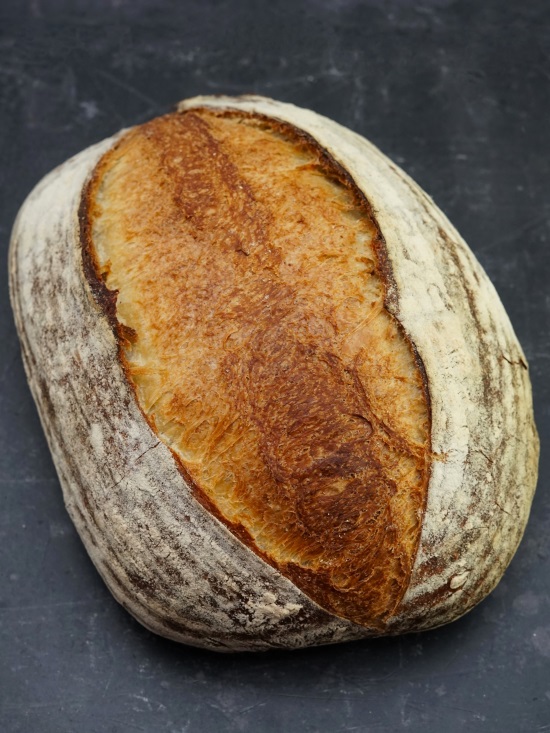
The first port of call for my leftover whey is always bread doughs. Whey not only adds nutrition but also great flavour, especially to white loaves like this easy, no-knead crusty bread.
You can also use whey to replace half the milk in my Traditional English Pancakes. That’s what I did with the crepes pictured above and it made them extra light and delicate.
There are endless recipes which include water, stock and/or milk that will have extra flavour and nutrition if you replace some with whey. Here’s just a few:
- Staffordshire Oatcakes
- Homemade crackers like Rosemary Crackers
- No Yeast Quick Flatbreads
- Matar Paneer curry
- Soups like Leek, Potato & Watercress Soup, Roasted Root Veg Soup, or Creamy White Bean Soup
- Porridge
- Smoothies
EASY & DELICIOUS HOMEMADE RICOTTA
So simple, Homemade Ricotta means that you need never waste an excess of milk again! But I think, especially with the addition of some double cream, it’s so much nicer than any in the shops that it’s well worth buying a litre or so just to make this lovely creamy and versatile fresh cheese.
If you’ve made this recipe, please let me know what you thought by leaving a comment.
Homemade Ricotta
Using just whole milk and vinegar you can make a ricotta style fresh cheese and use it in exactly the same sweet and savoury dishes as store bought.
Here we add a little salt for flavour and optionally replace some of the milk with cream to make it extra rich and delicious.
Simply heat the milk/cream and stir in a little vinegar so it separates into curds and whey. Strained, you'll be left with ricotta made from the curds plus liquid whey you can use to add flavour and nutrition to bread doughs, soups, porridge, smoothies etc.
See Recipes Notes for how much vinegar to use if you want to make more or less ricotta than stated in the recipe.
It's recommended that you read the blog post for extra tips before starting the recipe.
Ingredients
- 1140 ml whole dairy milk (not UHT) approximately 2 pints
- 360 ml double cream can be partly or wholly replaced with more milk
- 0.5 tsp salt
- 40 ml mild white vinegar with 5% acidity e.g. rice wine vinegar or white wine vinegar
Instructions
-
Take a large saucepan, pour in some cold water, swish it around then tip out: this creates a film which reduces the chance of the milk sticking.
-
Pour the milk, plus the double cream if using, into the saucepan.
Put over medium heat and bring it slowly to a point just below boiling: you should see lots of little bubbles around the edges and if you have a thermometer it should read 90°C / 194°F.
Immediately take off the heat.
-
Stir in the salt then sprinkle over the vinegar. Gently stir for 45 seconds. You should almost immediately see it splitting into solid curds and liquid whey.
-
Cover and set aside for 15 - 30 minutes.
Meanwhile, double line a large sieve with muslin or cheesecloth and place it over a large, deep bowl.
-
Ladle or carefully pour the contents of the saucepan in the lined sieve.
Set aside (in the fridge if the room is warm) and allow the whey to drip into the bowl.
- For soft ricotta leave for 1 - 2 hours.
- For firmer ricotta leave for 5 hours or more. You can also bring the sides of the cloth together and squeeze out more whey if you want it very firm.
Tip: occasionally gently stir the ricotta in the sieve in case the cloth has become clogged with whey.
-
When the ricotta is your desired consistency, spoon into a clean lidded container and store in the fridge for up to 4 days.
Tip 1: if the ricotta is too firm then you can stir a little of the whey back in.
Tip 2: for a smoother ricotta, lightly beat with a spoon.
The liquid whey should be stored in the same way and used in bread doughs, pancake batters, soups, smoothies etc.
Recipe Notes
Making larger or smaller amounts: how much vinegar to use.
This recipe uses a total of 1.5 litres of milk/cream. If you want to use a larger or smaller amount, then adjust the amount of vinegar by calculating how many ml represent 2.7 per cent of your total milk/cream.
For example, if you have 2 litres (i.e. 2000 ml) of milk/cream: 2.7 per cent would be 54 ml and this is the amount of vinegar you should use. Likewise, for 1 litre of milk/cream you should use 27 ml of vinegar (i.e. 27 is 2.7 per cent of 1000 ml).
RELATED RECIPES

I normally make paneer for Indian dishes, but I was making knafeh nests and found my ricotta in the fridge was out of date by only 1 day but smelled awful. I needed ricotta in a hurry and as I live rurally and nowhere near a shop, I decided to use the whole milk I was going to make paneer with and make the ricotta instead.. I had all the ingredients and equipment. Thank you for the recipe. So close to paneer it was easy to make.
Thank you for the great feedback! So pleased you found my recipe useful 😊
How much cheese does one liter of milk yield ? I need one kilo of cheese.
Thanks for your interest in my ricotta recipe.
As I say in the accompanying blog post, how much you get from a particular batch will depend on how much you strain the curds. I can get anything between 200 – 450 grams of ricotta per 1.5 litres of milk/cream depending on whether I make it dryer or more moist. I find I get more ricotta when I use a combination of cream and milk rather than just milk.
So, in short, there’s quite a bit of trial and error to get what you’re looking for. But for a kilo of ricotta, I’d suggest starting with maybe 4 litres of milk/cream.
Hope that helps!
Hi
I’d like to try making this ricotta type cheese, can it be done with fresh lemon juice instead of vinegar please?
Btw is the milk pasteurised or would I need raw milk?
TIA
Hi Caroline. Yes, you can use lemon juice instead of vinegar. As I explain in the blog post, the reason I use vinegar is that it has a consistent level of acidity (which is what splits the milk) so I know exactly the amount to use every time. Also, in case it’s a concern, the small amount of vinegar needed can’t be tasted in the finished ricotta. Lemons, on the other hand, vary in acidity so you may need to add extra if the milk doesn’t split.
You don’t need raw milk, just ordinary pasteurised is fine. Do use whole rather than skimmed/semi-skimmed though and avoid UHT.
Hope this helps. Do let me know how it went if you give it a go!