Sprouting at home: a complete guide
Sprouting at home all kinds of seeds and beans is incredibly easy. In this post I show you how to get super-fresh, crunchy sprouts in just 3-5 days. I’ll tell you what simple equipment you need, which seeds and beans to sprout, how to do it safely, plus harvesting and storing.

Why did I ever give up sprouting seeds and beans at home? It must be twenty-odd years ago that I first started sprouting, but somehow fell out of the habit. Then, around two years ago I suddenly got the urge again.
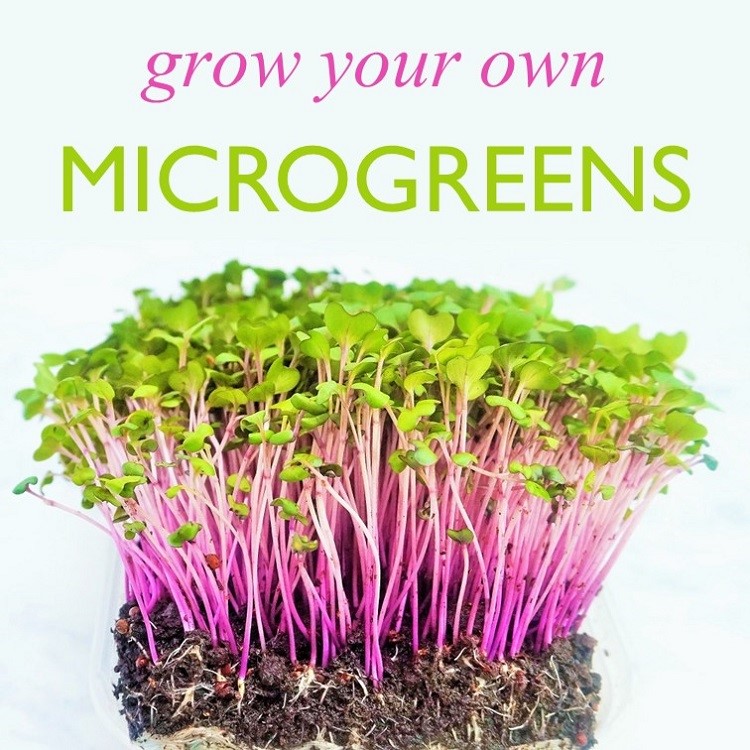
It coincided with my new discovery of how easy homegrown pea shoots are, along with other microgreens. So, to accompany those, here’s my complete guide to getting super-fresh, crunchy sprouts at home. From this point, for simplicity, I’ll just refer to ‘seeds’ rather seeds and beans. But take it as read that I mean both.
WHAT IS SPROUTING & WHY DO IT?
Sprouting is simply getting seeds to germinate. When they germinate, they put out shoots, i.e. they ‘sprout’. The resulting sprouts can usually be eaten either raw or cooked.
As well as getting pleasure from eating something I’ve grown myself, these sprouts will be fresher than anything I can buy. And lots cheaper too. It’s also thought that sprouting greatly increases the nutritional value of seeds, as well as making them more digestible.
WHAT CAN I SPROUT?
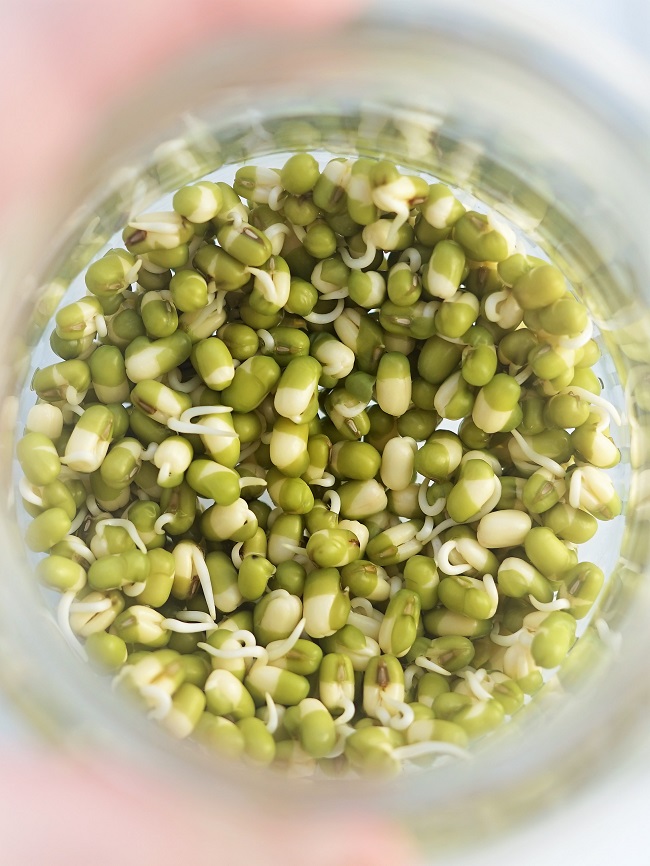
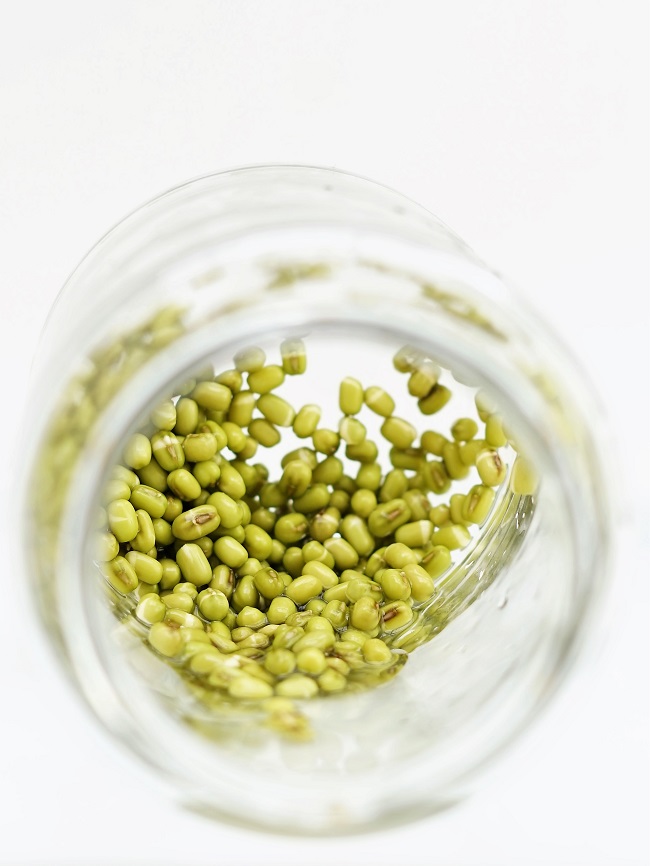
One thing that’s really changed in the years since I was away from sprouting is the range of different things to sprout. Back in the day, about the only thing I sprouted was the little green mung bean. That’s still a good choice, and it’s widely available too.
But now, even if you don’t live near a well stocked ‘health food’ store or similar, you can go online and find a whole host of interesting and nutritious things to sprout.
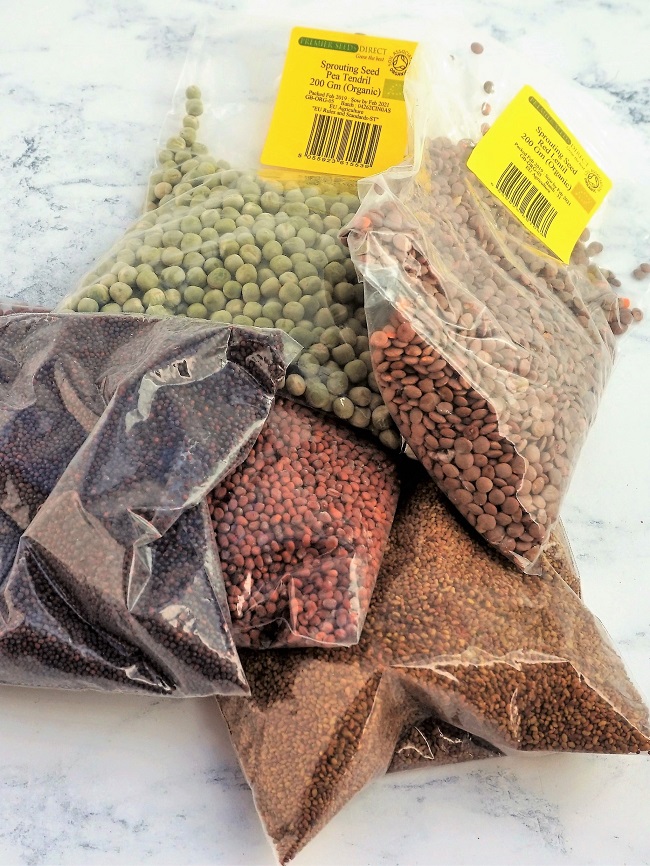
Here are some of the most common seeds to sprout, all of which I’ve done.
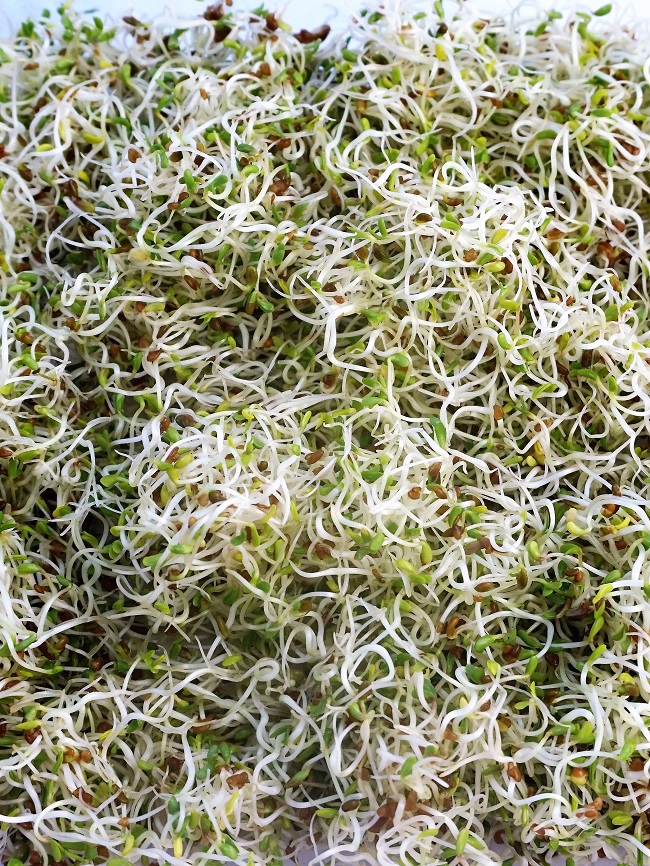
- alfalfa
- broccoli
- fenugreek
- lentils
- mung beans
- radish
- sunflower seeds
Others things you might like to try include chickpeas, mustard, peas, and wheat.
SAFE SPROUTING
If you’ve heard reports about bean sprouts being linked to outbreaks of E. coli and Salmonella, then perhaps you’re wondering whether it’s safe to sprout at home? While those are certainly very nasty illnesses, such outbreaks are linked to commercially produced bean sprouts. There, the warm and moist conditions used to grow the sprouts mean that any bacteria can rapidly grow. As sprouts are usually eaten raw or lightly cooked, then that bacteria can cause you to become very ill.
However, at home, you control the conditions the sprouts are grown in. And thousands of people have been successfully sprouting for many years without problems. As with all food preparation, especially for foods to be eaten raw, equipment must be thoroughly cleaned with hot, soapy water and rinsed. Your hands should be scrupulously clean too. When I go on to explain the details of how to sprout I’ll include more tips on doing it safely.
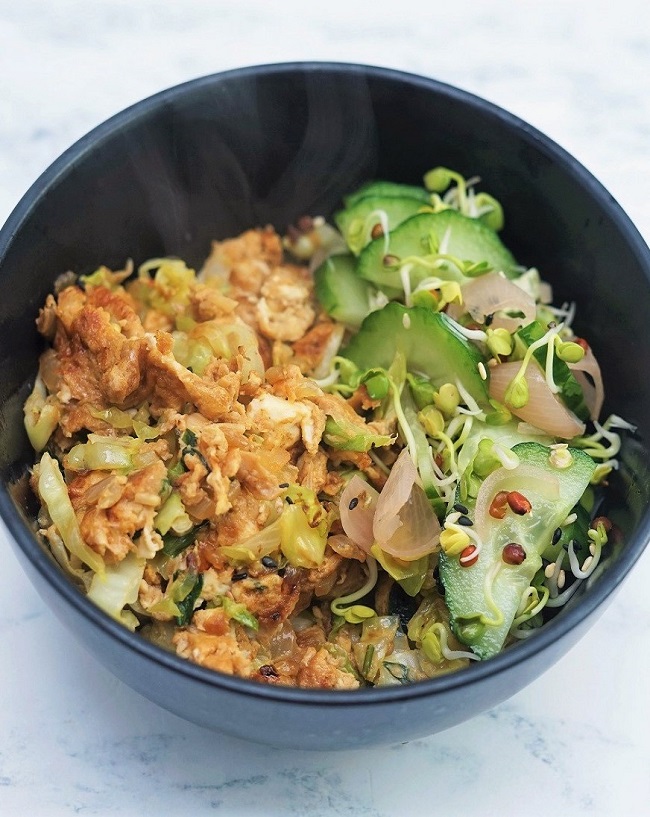
If you still have concerns, are in a vulnerable group, or just plan to eat a lot of sprouts, then you’re probably best to eat them thoroughly cooked, e.g. in stir-fry, rather than raw.

My Cashew & Bean Sprout Stir Fry is an easy little dish to start off with if you don’t want to eat sprouts raw.
SAFE SEEDS
I highly recommend that you buy seeds specifically sold for sprouting. That’s because regular seeds, meant for growing into full sized plants, may well have been treated or sprayed with pesticides. They are not themselves meant to be eaten.
If you plan to sprout dried pulses like chickpeas and lentils, I wouldn’t use those bought from a grocery store or supermarket either. These are intended to be thoroughly cooked, so I would assume they haven’t been kept in conditions safe enough for eating raw.
You should also bear in mind that some seeds aren’t suitable for sprouting. For example parsnip, carrot and tomato seeds are poisonous, and red kidney beans must be boiled to destroy a toxin they contain.
Buying your seeds from a reputable supplier, and only those labelled as sprouting seeds, is therefore safest I think. Two suppliers I regularly use and can recommend are Premier Seeds Direct and Nicky’s Nursery.
SPROUTING IS EASY
I hope those safety tips haven’t put you off. Because sprouting at home really is easy and very rewarding. A few tablespoons of seeds, two minutes’ work a couple of times a day, and in under a week you’ll have fresh, crunchy sprouts.
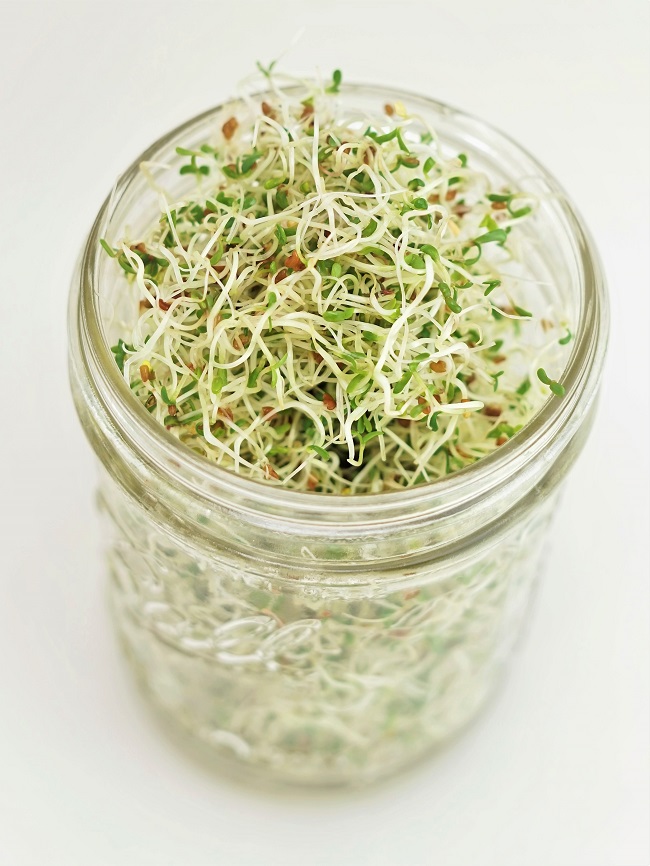
You don’t need any fancy equipment to get started on your sprouting journey either. All that’s required is a glass jar and a cover.
JARS
There’s two reasons (at least) why it’s best to use decent-sized jars for sprouting.
- Although you might only start off with a tablespoon or two of seeds, they’ll expand greatly as they swell and start to sprout. Depending on the type of seed, volume could increase by anything from 4 to almost 10 times.
- To keep your growing sprouts fresh, healthy & free of disease, they need plenty of ventilation, so crowding in too small a jar is no good.
Ideally, you’ll want 750ml capacity jars. But you could probably get away with 400-500ml if you just want to grow a few tiny alfalfa sprouts. However, if you’re planning on lots of larger sprouts, e.g. from chickpeas and lentils, then get jars of at least 1 litre capacity.
You can buy jars specifically made for sprouting which come with a draining lid and sometimes a stand too. But when I started sprouting, I exclusively used recycled jars that had contained pickles, olives, gherkins etc. You might like to do the same at the beginning.
COVERS & LIDS
When sprouting, the cover or lid on the jar has two purposes. Firstly, it allows ventilation which is crucial for the reasons explained above. Secondly, unless we’re going to take the sprouts out of the jar each time we want to rinse and drain them, then put them back again (and we’re definitely NOT doing that), we need water to be able to pass through the cover.
So, your main options for a lid or cover are as follows.
Use the existing lid on a recycled jar
You’ll need to make lots of holes in the lid using something sharp and a hammer. I’ve found this works very well and still sometimes use this method if I’ve got a lot of jars on the go.
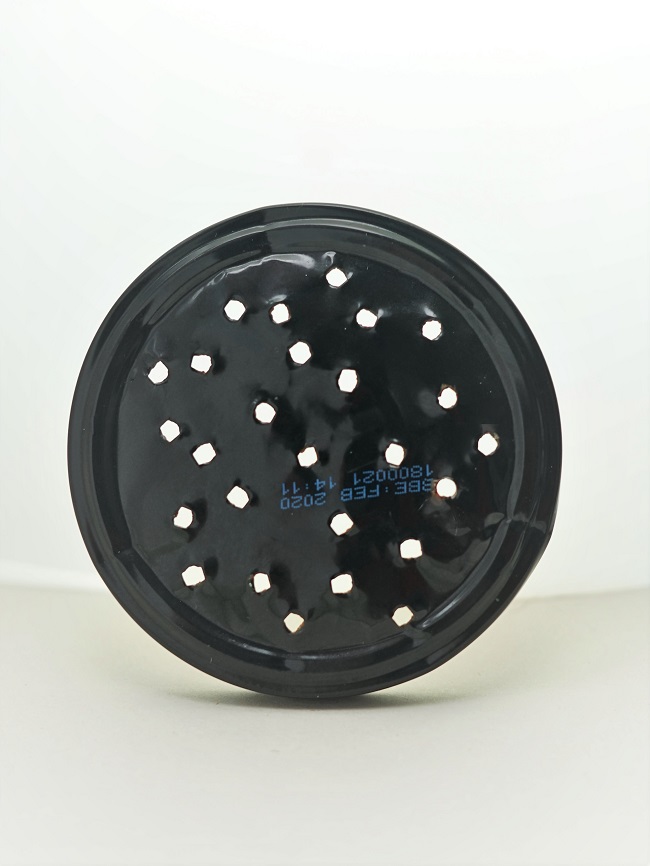
The downside is that, while okay for medium to large seeds, it’s difficult to make holes small enough so that little seeds like broccoli or alfalfa can’t fall through. You’ll probably find a metal lid rusts over time, in which case stop using it. However, it can of course be replaced for free, assuming you continue to buy the product that was in the jar in the first place.
Piece of cloth secured with an elastic band
I’ve used this a lot for small seeds and it can work well. Use muslin or cheesecloth so that the water can pass through it. Large pieces of this type of cloth are surprisingly cheap. They can be cut to size, washed and reused many times.
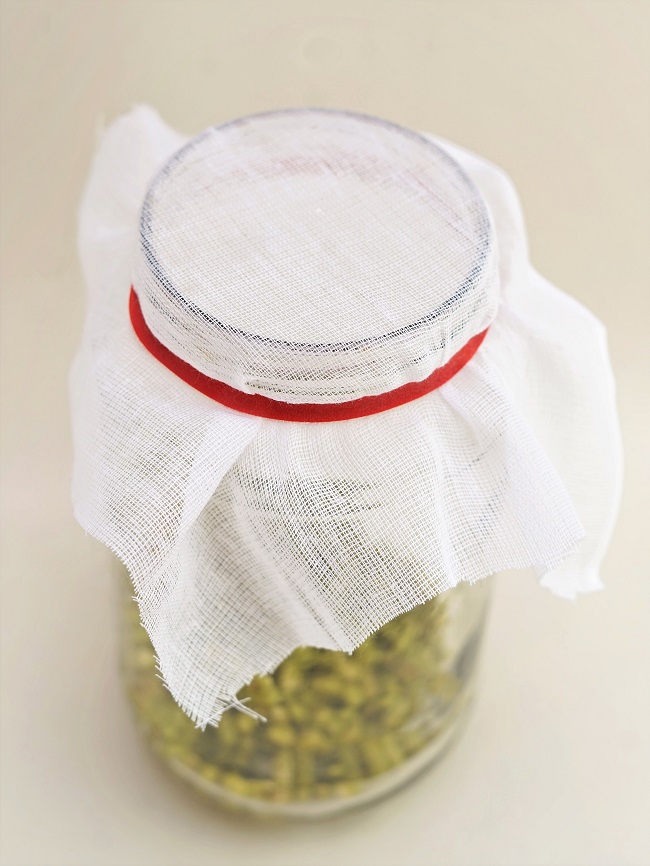
The disadvantage I’ve found is that they can get a little clogged with water when draining. To remedy, just tap with your (clean) finger. Although cloths are cheap and widely available, I find them not so easy to keep clean.
Specialist lids for sprouting
Now I’m a committed sprouter, specialist lids are my favourites. Some are simply plastic or metal mesh screw-on lids. But what I currently use are these plastic and metal lids. The little ‘feet’ allow you to sit them upside for draining without the need for a stand. To my surprise, I’ve found that the mesh is fine enough not to let small seeds slip through.
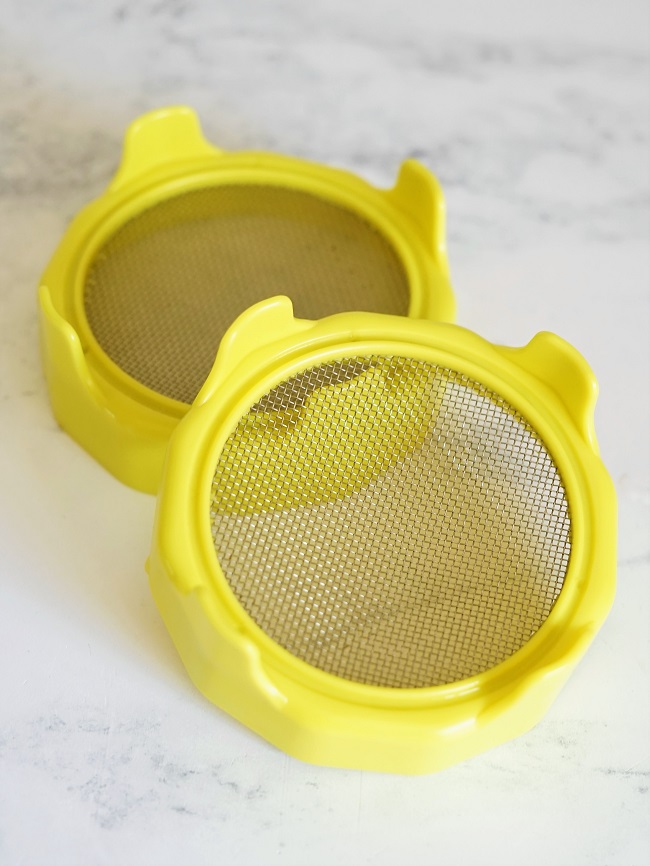
One important thing to note though, is that virtually all these sprouting lids only fit WIDE MOUTHED jars. I think it’s better to use wide mouthed jars anyway as they’ll give extra ventilation.
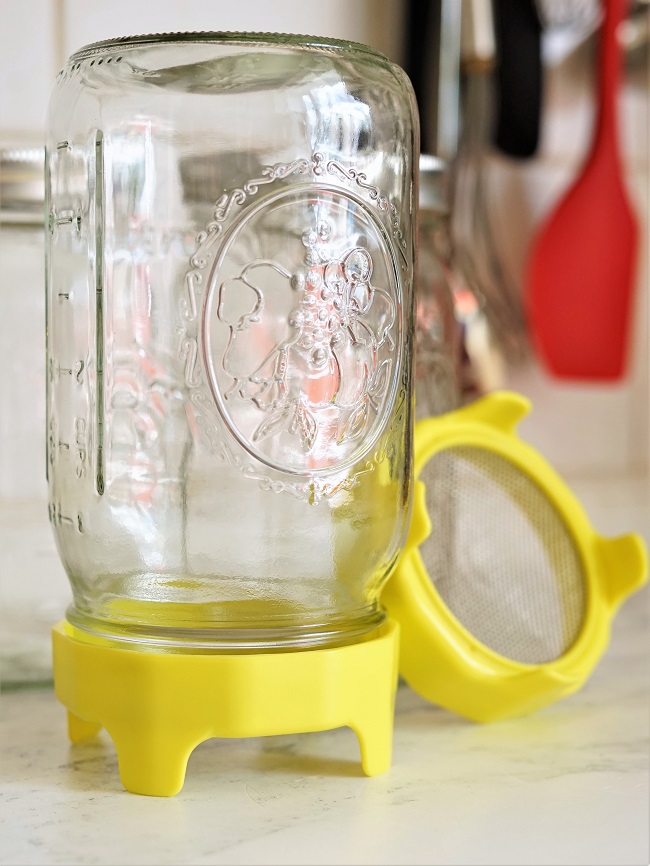
If you want to use these lids, look for jars with a diameter of 8cm. I use Ball wide mouth jars of two different capacities and the lids with ‘feet’. These and the all-metal mesh ones fit perfectly on both.
So, now we’ve our basic equipment, we can start sprouting.
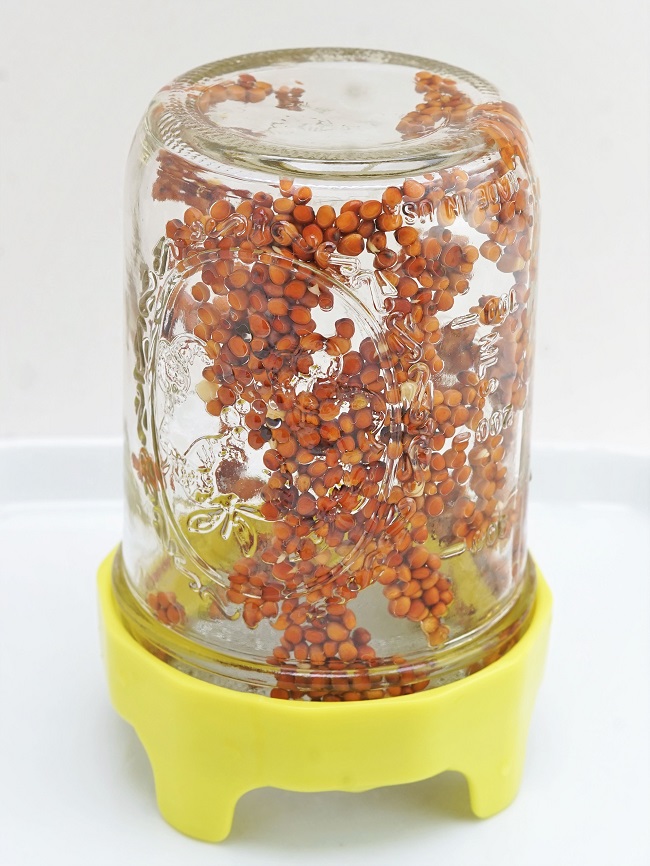
DAY 1: SOAKING
To get the seeds to start germinating, we first soak them for several hours. As mentioned already, you’re going to see a lot of expansion over the coming days, so start off with 1 or 2 tablespoons of seed in the bottom of a clean jar.
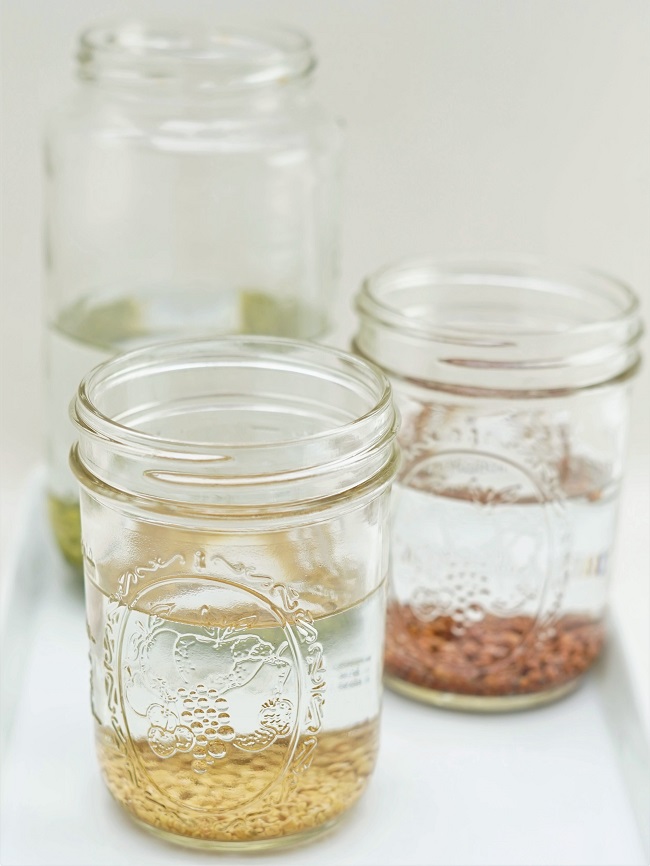
Next, add cold water from the tap to a depth that’s three or four times that of the seed. Swish it around to make sure that all the seeds are wet. Put on the lid or cover. Most seeds will need 6-8 hours soaking, but I find it convenient to soak overnight. The extra hours won’t do any harm.
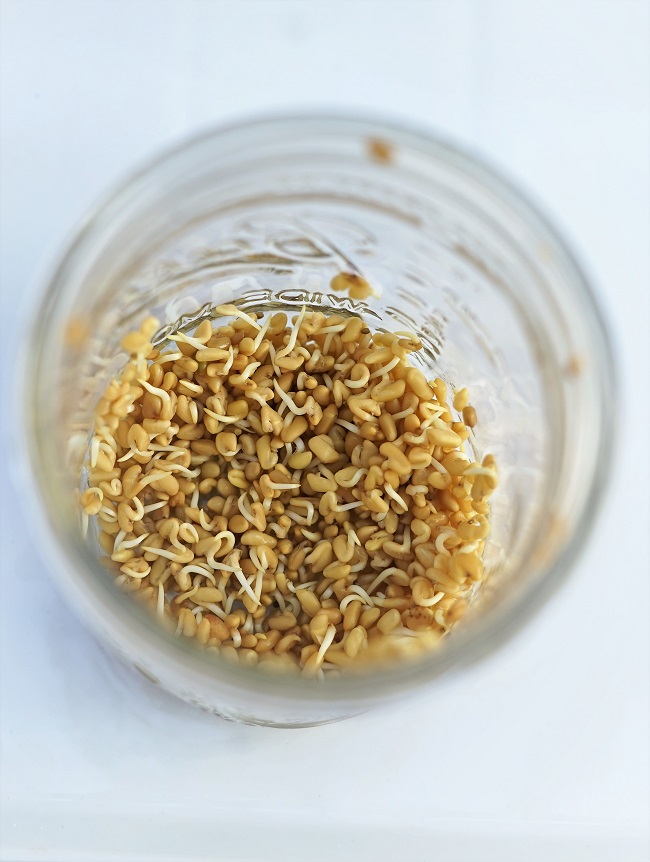
DAY 2: DRAIN, RINSE, DRAIN (AND REPEAT)
The next day, your seeds will have plumped up nicely. Some of the hulls may have started to split.
Here’s what you need to do now:
- Upturn the jar over the sink to drain out the water. Keep hold of the lid or cover, just in case it decides to slip off!
- Run fresh cold tap water through the lid, giving everything a good swish around.
- Upturn the jar again and drain the water.
- Repeat with fresh water, drain, this time giving it a good shake to get rid of as much water as you can.
To allow more air to circulate around the seeds, I turn the jar in my hands so that some of them stick to the sides rather than sit at the bottom.
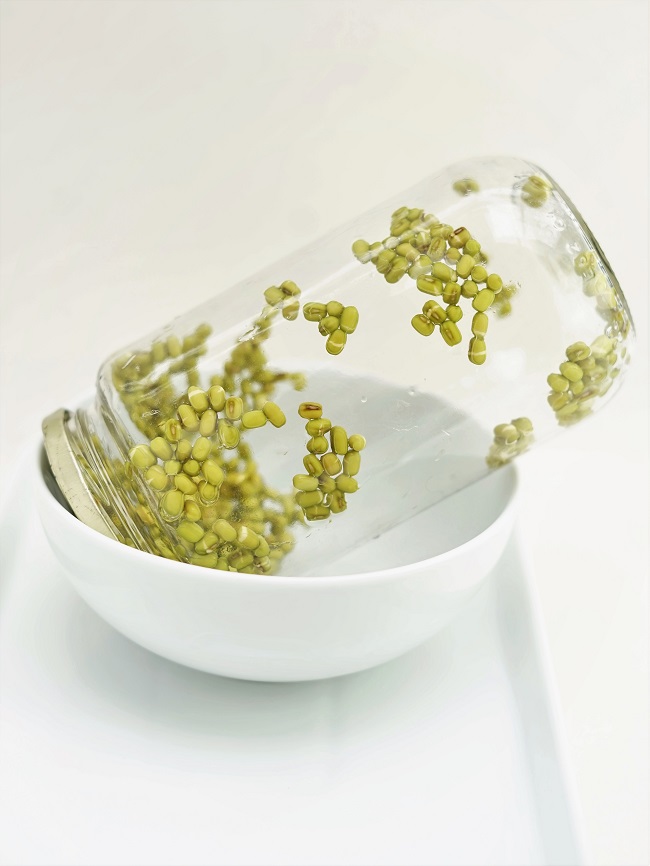
To drain the rest of the water without a special stand or lid with ‘feet’, you can just place the jar in a bowl so that it slopes downwards. If you find a lot of water collecting in the bowl, empty it regularly as you don’t want a build up.
We don’t want the seeds to be absolutely dry though, so stand the jars upright again when any free draining water has gone.
KEEP OUT OF DIRECT SUNLIGHT
Some people say to keep your jar in a dark place. But I know that if mine were in a cupboard, I’d simply forget about them. So I keep mine on the kitchen worktop, although out of direct sunlight. Remember: for healthy, bacteria-free sprouts, we want to avoid too hot, too moist, conditions.
The process of swishing through cold water needs to be done at least once more each day. If you’re at home and it’s convenient, I’d do it a total of 3 or 4 times, especially on a hot day. Strict timings aren’t necessary though. Just tend to your seeds when convenient, e.g. while the kettle’s boiling for a cuppa.
DAY 3 ONWARDS
From day 3, repeat the process of rinsing with cold water then draining 2-4 times a day. How long you continue this process is determined by temperature (sprouting is quicker when it’s warm), what type of seeds you’re sprouting, and your preferred length of sprout.
You might find, on day 3 or 4, the sprouts are just how you like them. If so, see below for what to do next and how best to store. If you feel the sprouts aren’t ready yet, just keep repeating the rinsing and draining until you’re happy with them.
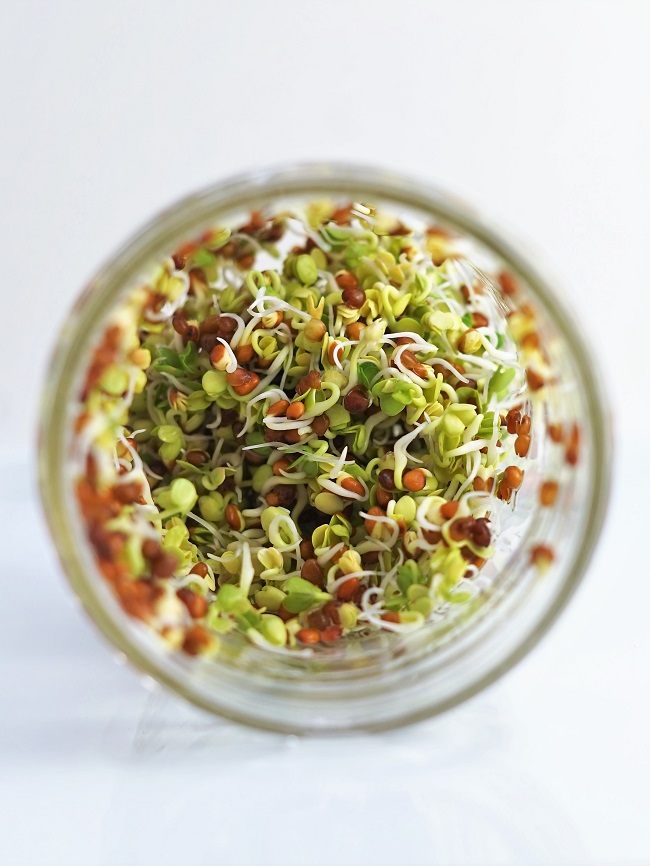
In my experience, most sprouts will be ready by day 4-6.
WHEN YOUR SPROUTS ARE READY & STORING
When you’re happy that a batch of sprouts is ready, tip them out into a roomy sieve or colander. Then give them a really good rinse under running cold water. Next, I sit the sieve over a bowl for a few minutes and let as much water drain away as possible. Gently shake the sieve now and then to help the process.
As well as helping to dry your sprouts, this shaking often filters the unwanted outer hulls of the seeds down to the bottom of the sieve. This means you can simply lift out the crunchy sprouts from the top, transfer to a container, leaving the hulls behind.
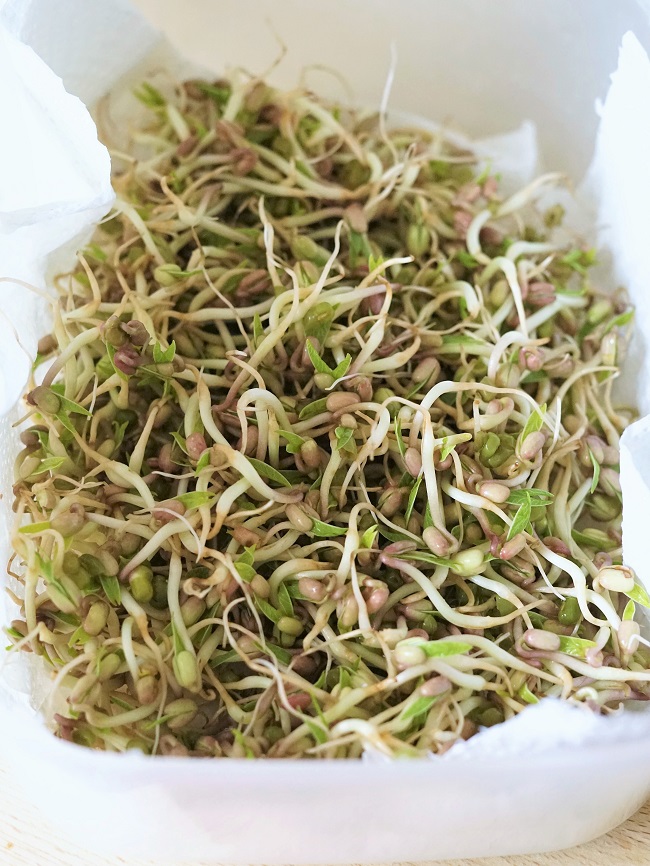
If you’re not going to eat all your sprouts straightaway, then you’ll need a lidded container in the fridge. I suggest putting a layer of paper towel in the bottom of the container to soak away any last bits of water from the sprouts. This will keep them fresher and healthier.

As sprouting at home really is all about freshness, I’d recommend eating them within 2 days. Meanwhile, don’t forget to wash your jars and get soaking more seeds and beans ready for sprouting.
USING SPROUTS
Apart from stir frying, using the results of your sprouting to add crunch and nutrition to salads and sandwiches are the other obvious choices. But I find that the right sprout can go with just about anything.
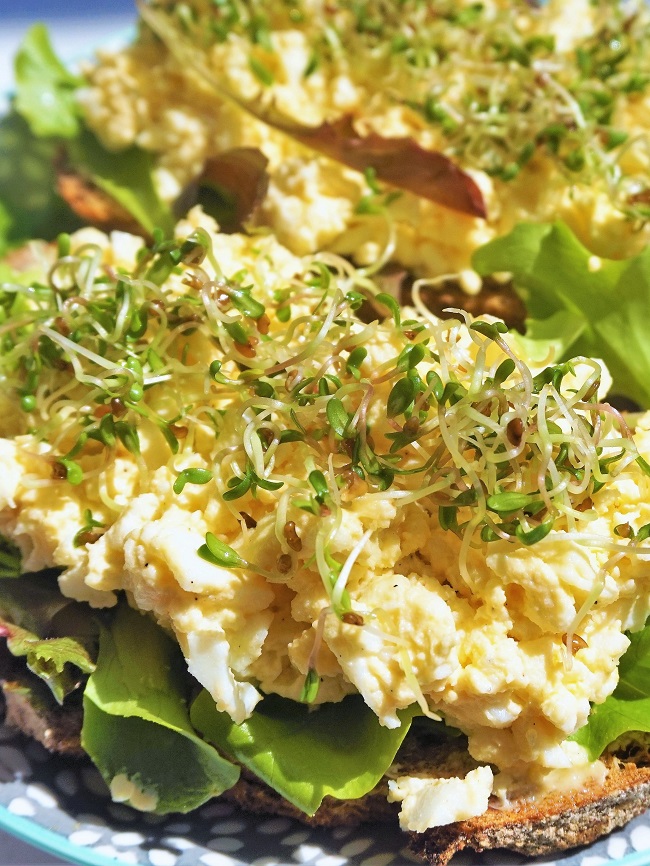
In our house, we love to eat what I call one bowl meals: a range of different tastes and textures, cooked and raw, with a good proportion of vegetables. Some people call these bowls ‘nutrition’, ‘nourish’ or (my pet hate) ‘Buddha’ bowls. But I prefer the more down to earth term: dinner! They’re a great way of increasing the variety of foods you eat, and I think sprouts, as well as homegrown microgreens, fit wonderfully well into this style.

With Indian inspired meals, try subtly spicy fenugreek sprouts. The classic mung bean sprout is great with Chinese flavours. Peppery radish sprouts will perk up any greens. And teeny alfalfa and broccoli sprouts pack more of a crunch then you’d think.
If you’ve used my guide to sprouting, let me know how it went by leaving a comment.
What do you like to sprout and how do you eat them?
YOU MAY ALSO LIKE THESE GUIDES

Thank you for your great recipes and realistic, helpful guidelines. Two thoughts about sprouting seeds: I would have thought that any seeds for culinary use would be fine for sprouting – after all, they should be safe to eat raw.
The other is that I’ve been told that the water from soaking the seeds is full of nutrients, so good for watering houseplants!
Hi Susan,
Thanks for your kind comments about my recipes!
I agree that in most cases seeds bought for cooking should be ok to sprout from a safety point of view. However, there’s a slight chance they may have been treated precisely to stop them sprouting in storage. I suspect this won’t apply to most seeds for cooking bought here in the UK though, but you never know!
And yes, I’ve heard that soaking water from seeds (as well as beans and water used for boiling vegetables) is good for houseplants.
Lynne.