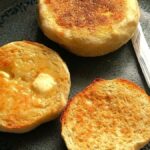
English Muffins (bread muffins)
English Muffins are traditional pan or griddle cooked bread rolls that have been around since at least the eighteenth century. In the same family as crumpets, bread muffins are easy to make at home with my no-knead method. Fermenting the dough overnight gives these delicious muffins a sourdough-like flavour, even though made with instant dried yeast. Enjoy split, toasted and buttered, or filled with your favourite breakfast treats like sausage or bacon plus egg and cheese.

Disclosure: this post contains affiliate links.
Jump to Recipe
Even in England, home of the original bread muffin, say the word ‘muffin” and most people will now assume an individual sweet cupcake. So, when we want to make it clear we mean a bread muffin, these days even we might say English muffin.

However, while this Americanism may be a little irksome, it’s probably also true that the resurgence of bread muffins is due to that US mega fast food chain selling millions of them filled with sausage or bacon, cheese and egg. Personally, I’m pleased with the revival. Because not only are English Muffins delicious with traditional breakfast foods (or even burgers), they’re even better served the English way: split, toasted, and spread generously with butter.

For home bakers like me, the great news is they’re easy to make. And with my no-knead, overnight method which gives great flavour, plus simple tips to quickly shape them and get a great rise, I think you’ll love my homemade English Muffins.
WHAT ARE ENGLISH MUFFINS?
If I want to learn about almost any English bread, the place I always start is Elizabeth David’s mammoth English Bread and Yeast Cookery. First published in 1977, it’s full of history as well as recipes old and modern.
She says that although recipes for muffins first appeared in cookery books in the eighteenth century, they ‘must’ have an earlier origin than that. As to appearance she says they ‘should be a good biscuit colour on top and bottom with a broad white band all round the waist, 1½ – 2 inches thick [4 – 5 cm], smooth and lightly crusted on the outside, honeycombed when split open.’

David puts muffins in the same category as crumpets. They’re cooked in a similar way (griddle or frying pan, not an oven) and are also usually eaten toasted and buttered.
But the similarities are even clearer when you eat a really good muffin. Like a decent crumpet, muffins should be holey and have a sourdough-like tang, even when made with ordinary dried yeast. For me, this takes the bread muffin to another level above ordinary bread rolls. In fact, I think of English Muffins as a cross between a crumpet and a bread roll.
NO-KNEAD, OVERNIGHT ENGLISH MUFFINS
When testing my own English Muffins recipe, the first thing I learned was not to rush the initial fermentation. Sometimes called first proof or prove, a short fermentation (usually achieved by using warm liquid in the dough, kneading it, then placing in a warm spot) can certainly give quick results. But I think the gain in speed really isn’t worth the BIG loss of flavour when in comes to muffins.

Also, as Elizabeth David mentions, at the start a good muffin dough should be ‘rather too soft for kneading’. So, I decided to make my English Muffins via the same no-knead, overnight method I use for most of my homemade breads.
Many years ago, I discovered that a wetter dough plus long fermentation can replace the kneading of conventional bread making. Together, these promote the development of gluten which is normally achieved by kneading. And it’s gluten that gives bread its rise and structure. So, I mix the dough in the evening then the next morning shape, briefly second prove, and cook.
You’ll find a recipe card at the end with ingredient amounts and full instructions to make 8 English Muffins. But please read all of this post before starting as it contains extra tips plus step-by-step images to guide you.
INGREDIENTS FOR ENGLISH BREAD MUFFINS
With one exception, if you do any bread making then you’ll probably already have the ingredients for these muffins.

- Strong white bread flour. This will give you the correct chewy bread texture. I haven’t yet tested replacing some of the white with wholemeal bread flour but suspect up to half would work.
- Instant dried yeast. i.e. the type that does not need activating before adding to the flour.
- Salt. Important for the structure of bread as well as flavour.
- Butter. Makes for a richer, tastier muffin. Melt and allow to cool a little.
- Milk. Gives better flavour than water alone and adds tenderness.
- Water. I don’t use all milk as I want satisfying chewiness too. It isn’t possible to say exactly how much water you’ll need as different flours absorb different amounts of liquid. Be guided by the instructions here and in the recipe card.
The ingredient you might need to buy specially is cornmeal. Most modern bread muffin recipes use a little on the outside which both dries the dough and gives a lightly crispy top and bottom. Original recipes used rice flour or cornflour, cornmeal not being much used in England.
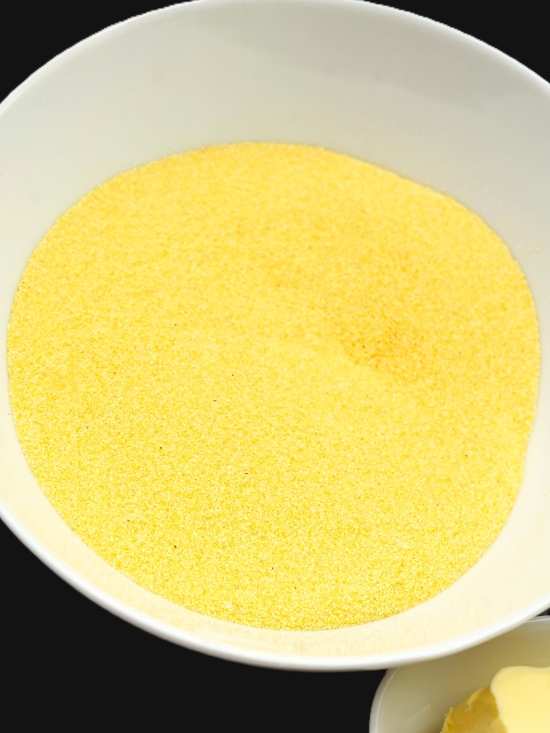
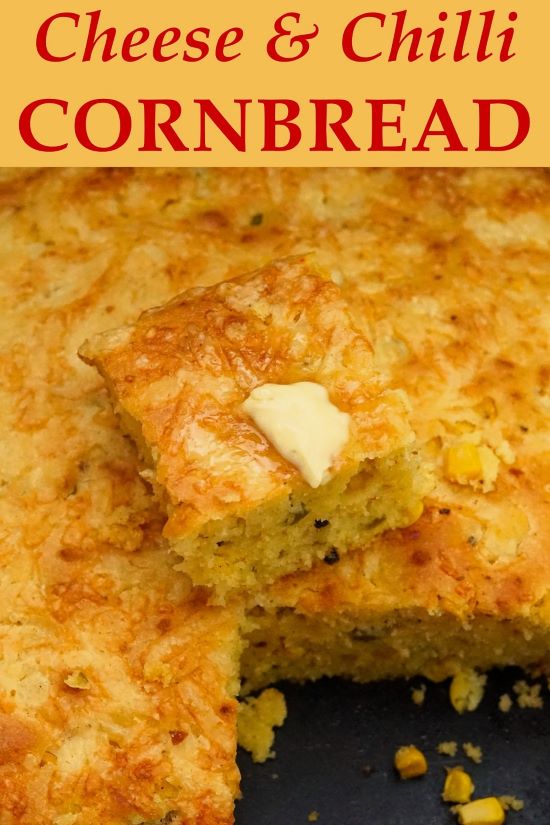
Bright yellow cornmeal is sold as fine, medium or coarse, and it’s the coarser type (often labelled polenta in UK supermarkets) that I use for dusting my English Muffins. I also use it when stretching dough for homemade pizzas and polenta is the base for my delicious Cheese & Chilli Cornbread) too.
EQUIPMENT
- For the best results use digital scales and metric measurements as these were used to test the recipe.
- English Muffins were originally cooked on a griddle, but for my method you’ll need a deep non-stick frying pan with lid.
- Something I highly recommend, but isn’t essential, is a silicone mat. Cover your work surface with one of these and it reduces sticking and therefore the need to add extra flour. They also make clean-up easier.
- You’ll need a large tray or board on which to prove the muffins. I also cover it with baking paper so sticking is less likely.
MAKING THE DOUGH
- Put the flour, instant dry yeast and salt into a large bowl and stir.
- Make a well in the centre and pour in the melted butter.
- Gradually pour in all the milk, stirring as you do, to begin bringing a dough together.
- Very gradually start adding water, stirring all the time, to form a wettish but still firm rather than sloppy dough. Use the final image below as a guide to how it should look, with no visible bits of dry flour.

Cover the dough or put it in a large reusable polythene bag and leave to ferment overnight at unheated room temperature. If the room is warm, you can do the ferment in the fridge.
SHAPING THE MUFFINS
Many bread muffin recipes will tell you to roll out the dough, stamp out circles, then re-roll the scraps. But I think my method is quicker, you’re less likely to knock air out of the dough, AND all your English Muffins will be the correct height.
In the morning, the dough should have spread as well as risen and look quite bubbly. If you did the fermentation in the fridge, remove it and leave until the chill is off before continuing.

Scrape the dough onto your worksurface, ideally covered with a silicone mat. If you don’t have a mat, you should sprinkle a little extra flour first. Briefly fold the dough over itself a few times until you have a smoothish ball. Then divide into 8 equal pieces, using your scales for accuracy. At this point the dough might seem a little sticky. But don’t worry. It will soon become soft and easy to work with.
- Take the first piece of dough and with your fingertips fold it into a ball.
- Sprinkle a little cornmeal/polenta over your work surface (and over the tray or board you’ll be proving them on) and place the ball on it, smooth side up. With your fingertips lightly touching the work surface and the ball of dough cupped beneath your palm, briskly move your hand in a circle about 10 times. This will give you a neat, round-topped ball.
- Sprinkle more cornmeal/polenta on top of the ball then use your fingertips to pat into a disc approximately 6 cm in diameter and 3 cm high.
- Place on your prepared proving tray or board.
- Repeat with the remaining pieces of dough, leaving space between them to expand a little.

SECOND PROVE
The muffins now need to prove until they’re just lightly puffy. It’s important that you don’t overproof or they could lose their shape when cooking. Cover the tray or put back in your reusable polythene bag and set aside at normal room temperature. It’s unlikely to take more than 30 – 40 minutes and could be quicker on a warm day. The best way to check is to gently press a finger onto the dough. If it leaves an indent rather than immediately springing back, it’s ready. If not, leave just a few minutes longer then check again.
COOKING ENGLISH MUFFINS
I’ve found that the best temperature for cooking English Muffins is medium-low.
As you probably know though, what is actually medium or low for any appliance can vary. As a guide, when using a non-stick frying pan on my electric hob which goes up to 6, I have it set to number 3 for most of the time. I say most because heat can build up in a pan so it’s sometimes advisable to reduce the temperature for a few minutes (down to number 2 in my case) then back up.
This means there’s a bit of trial and error for your first muffins. What you’re looking for is a nicely browned, crispy top and bottom on a well-risen muffin.
STEAM IS GOOD
Once your pan is up to temperature, put in as many muffins as will fit with room for a little expansion and turning. If nervous, you can cook just one muffin and see how it goes.
Now comes a tip you won’t find in the old recipes. Cover the pan with a lid and cook for 5 minutes. Putting on a lid creates steam which helps the muffins rise. For your first muffins, after 3 minutes I recommend taking off the lid and using a spatula to peak underneath. If lightly golden, all is well. But if darkening quickly then your burner runs hot. In that case, lower the temperature before putting the lid back on and cooking for the full 5 minutes.

After 5 minutes, turn the muffins, put the lid back on and cook for a further 3 – 4 minutes or until the other side is lightly golden too. With a crust now formed top and bottom, the lid has done its work and you won’t need it until the next batch. Continue cooking, turning as often as necessary for even colour but note that the sides should still be pale. Temporarily adjust the temperature as necessary until the muffins are firm.
HOW LONG TO COOK BREAD MUFFINS?
In my experience, it takes 14 – 16 minutes in total for each pan of muffins. When you’ve made a batch or two, you’ll know when the muffins are done. But I find my food thermometer incredibly useful here. Slide it into the bread muffins and if they’ve reached an internal temperature of 93 – 95 degrees Centigrade (200 F) you know they’re done.

Put the cooked ones on a wire rack to cool or wrap in a cloth to keep them warm if that’s how you’re planning to shortly eat them*. Before starting the next batch, use a piece of kitchen paper to wipe out any bits of cornmeal/polenta left in the pan.

*Traditionally, warm muffins are pulled apart to retain their texture rather than cutting with a knife (as are scones). First make holes all around the sides with a fork then pull apart.
SERVING & STORING ENGLISH MUFFINS
Like so many breads, especially traditional ones, I think it’s hard to get a decent muffin unless you make it yourself. And English Muffins really are worth the relatively small amount of effort required, particularly my largely hands-off, no-knead overnight fermented ones.

With great flavour, they’re holey inside which makes them perfect for eating like their cousin the crumpet: toasted and spread with butter to melt deliciously into all those nooks and crannies. For a sweet treat, I’m partial to drizzling on some good local honey too.

But there’s no denying that the Americans were on to something when they took the English bread muffin and sold it back to us as a breakfast sandwich stacked with bacon or sausage, egg and cheese. I sometimes like to serve my homemade muffins the same way, happily without the ultra-processed ingredients found in the original. I first toast just their insides in the pan I’ll cook the fillings in.

Homemade English Muffins are best served the same day so they’re at their fluffiest. But they freeze really well. I split into halves first then put loosely in a bag so they don’t stick together. This means I can pop two halves in a toaster whenever I feel like it without even having to defrost.
If you’ve made my recipe, I’d love to know what you thought. Please do leave a comment and rating.

English Muffins (bread muffins)
Fermenting the dough overnight gives these deliciously easy no-knead bread muffins a sourdough-like tang even though they're made with instant dried yeast.
Enjoy split, toasted and buttered, or fill with your favourite breakfast treats like sausage or bacon, egg and/or cheese.
Please read the accompanying blog post before starting and use scales/metric measurements.
Equipment: Non-stick deep frying pan and a lid.
Ingredients
- 450 g strong white bread flour
- 6 g /1 level tsp salt
- 4 g /1 level tsp instant dried yeast (i.e. the sort that does not need activating before adding to the rest of the ingredients)
- 30 g butter (melted then cooled a little)
- 200 g/ml milk
- 50 - 100 g/ml water (see instructions to determine how much you need: different flours absorb varying amounts of liquid)
- a few handfuls polenta/coarse cornmeal for dusting (see Recipe Notes below)
Instructions
The day before baking
-
Put the flour, salt, and instant dry yeast into a large bowl and stir together.
Make a well in the centre and pour in the melted, lightly cooled butter.
Gradually pour in all of the milk, stirring as do so, to start bringing a dough together.
Very gradually add some water, stirring all the time, to form a wettish but still firm rather than sloppy dough. Use a sturdy silicone spatula or spoon to turn and fold the dough so it's thoroughly mixed with no dry flour visible.
Tip: You may not need all the water, or you may need a little more. Use the image in the blog post as a guide for how the dough should look.
-
Place in a large reusable polythene bag, or cover the bowl, and leave at room temperature overnight, 12 - 14 hours, or until the dough is risen, spread, and very bubbly.
Tip: If the room is warm, you can put the dough in the fridge overnight. Bring the dough back up to room temperature before proceeding with the recipe.
On the day of cooking
-
Sprinkle a little flour over your work surface and turn the dough out onto it.
Tip: you may not need extra flour if you first cover your work surface with a silicone mat (affiliate link).
Briefly fold the dough over itself so you have a smoothish ball, then divide into 8 equal pieces, using scales for accuracy.
-
Line a large tray or board with baking paper and sprinkle with coarse cornmeal or polenta.
-
Take the first piece of dough and use your fingertips to fold it into a ball.
Sprinkle a little cornmeal/polenta over the centre of your work surface and place the ball on it, smooth side up. With your fingers lightly touching the worksurface and the dough ball smooth side up cupped beneath your palm, quickly move your hand in a circle about 10 times to finish shaping into a neat, round-topped ball.
Sprinkle more cornmeal/polenta on top of the ball, then use your fingertips to pat into a circle approximately 6 cm in diameter and 3 cm high.
Place on the prepared tray.
Repeat with the remaining dough pieces, placing them slightly apart to allow for expansion.
-
Cover or place in a large reusable polythene bag and set aside at normal room temperature until lightly puffy (approximately 30 - 40 minutes but could be shorter if the room is warm).
Important: do not overprove or the muffins may lose their shape when cooking.
To check whether they're ready: gently press a finger onto the dough. If it leaves an indent rather than immediately springing back, it’s ready. If not, leave just a few minutes longer then check again.
Cooking the muffins
-
Heat a frying pan over medium-low heat (e.g. my electric burner goes up to 6 and I have it mainly at 3 for cooking muffins).
-
Put in as many muffins as will fit with a little room for expansion.
Put on a lid and cook for 5 minutes (this creates steam which helps the muffins rise).
Tip: check after 3 minutes that the bottoms aren't dark brown rather lightly golden: reduce the temperature if necessary.
Turn the muffins over and put the lid back on (you may need to turn the heat back up if you reduced it earlier). Cook for another 3 - 4 minutes then take off the lid.
Continue cooking without a lid, turning as often as necessary for an even colour, until the muffins are firm (approximately 14 - 16 minutes in total). If you have a food thermometer the centres need to reach 93 - 95° C (200°F).
Tip: as heat builds up in the pan you may need to temporarily turn the heat down then up again, although all appliances will vary.
-
If you plan to eat the muffins warm straight away, wrap in a cloth to keep soft and warm while you cook the next batch. If storing, put on a wire rack until cold.
-
Remove any browned bits of cornmeal/polenta from the pan before starting the next batch and cook in the same way. Remember to periodically check whether you need to temporarily turn the heat down if the pan gets too hot.
-
Serving Suggestions
If the muffins are still hot from cooking, wait until cool enough to handle then go all around the middle making holes with a fork. Tear open and serve, toasted or not, spread with butter or other toppings.
If cold, split with a knife and toast (either both sides or cut side only).
-
Storing
English Muffins are best eaten on the day they're made, otherwise wait until cold, split then freeze. Split muffins can be toasted from frozen.
Recipe Notes
A little coarse cornmeal (often labelled polenta) is used to dry the dough and also gives a lightly crispy top and bottom to the muffin. Early muffin recipes would have used rice flour or cornflour as cornmeal was not much used in England (some manufactured muffins today still use rice flour). However, if you want to use either of these alternatives, please note that the recipe has only been tested with coarse cornmeal/polenta.
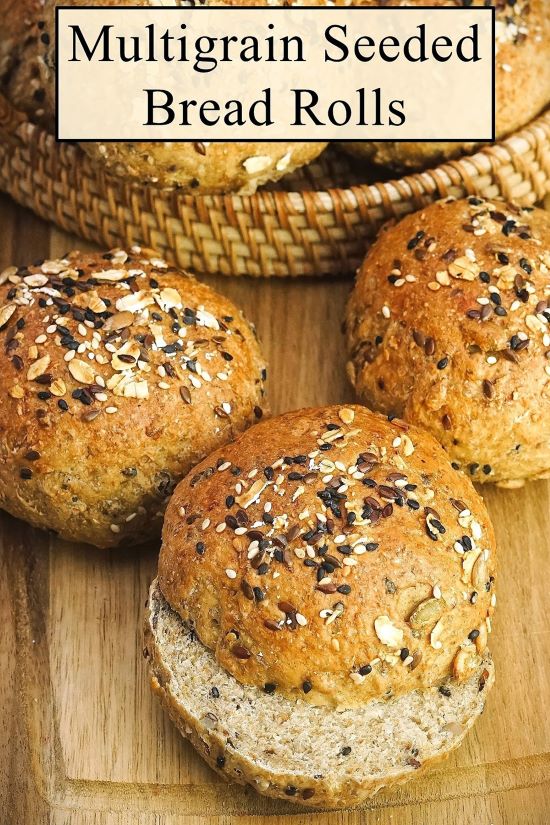
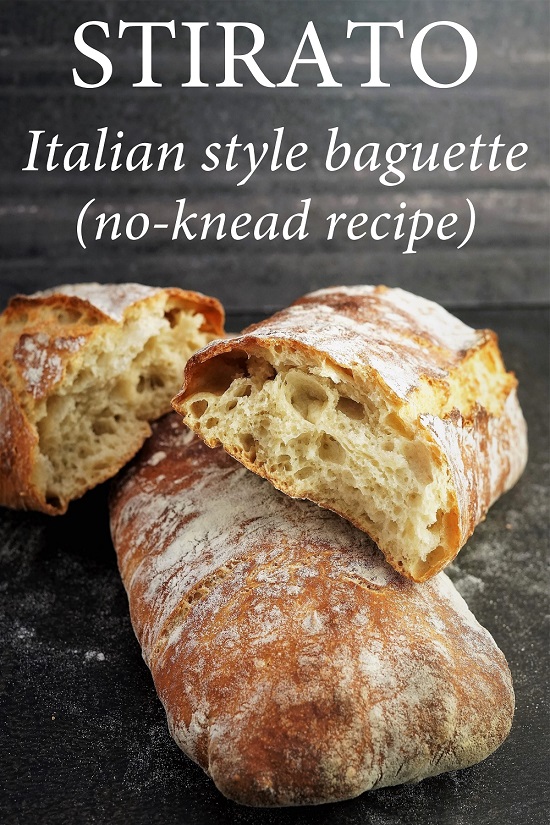
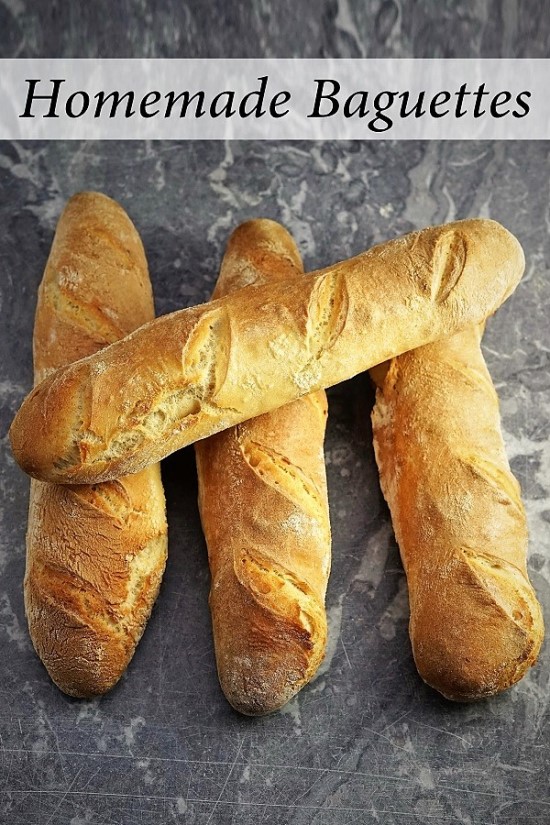
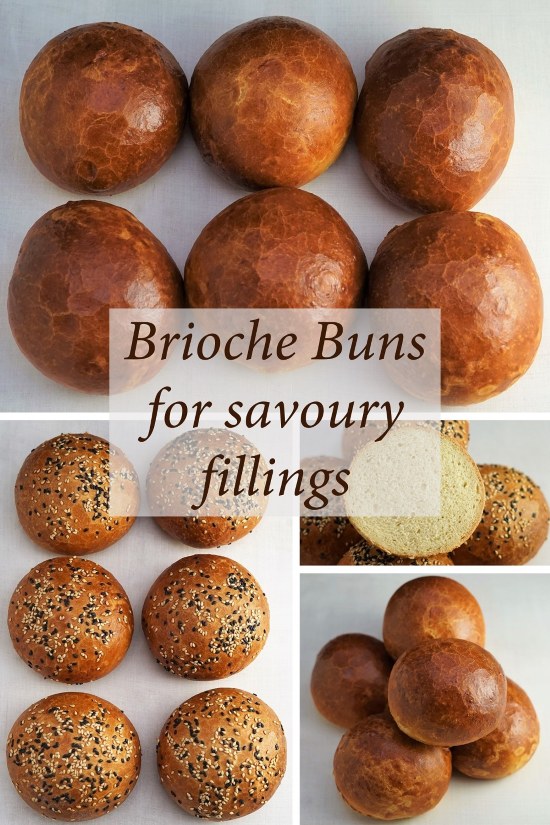
RELATED RECIPES


I use an egg in my mix usually but will try your version next week, economy is always useful. On another note a pie pastry you might like kingarthurbaking.com/recipes/melted-butter-pie-crust-recipe. No rubbing in and good for quiche and bakewel tart like dishes. Keep up thegood work.
Hi Ron and thanks so much for your interest in my recipe! Do let me know how you get on.