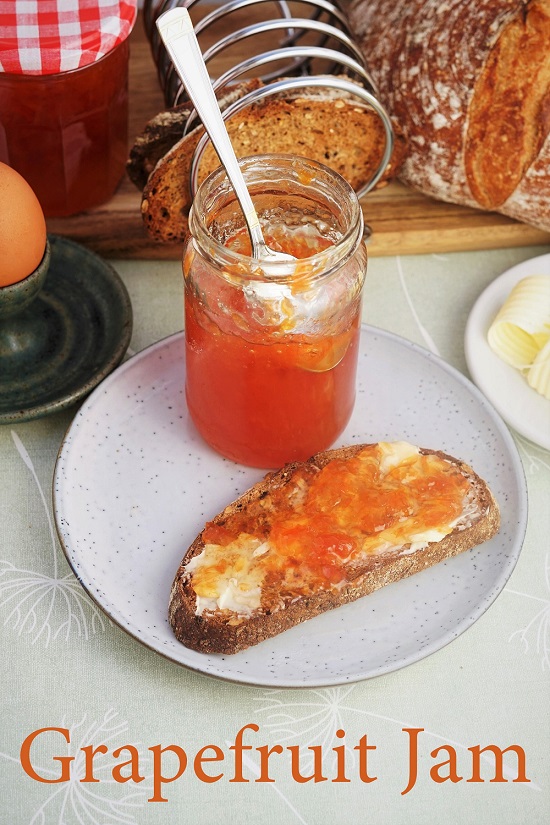
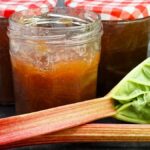
Rhubarb & Vanilla Jam
Rhubarb & Vanilla Jam, with a flavour reminiscent of rhubarb and custard, is simple and delicious. Perfect on scones, bread and butter, with yogurt or porridge, and in desserts and cakes.
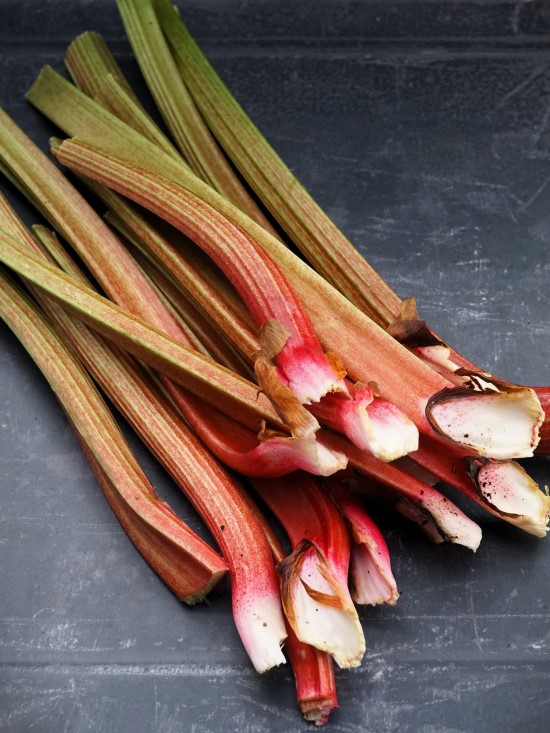
Make a strikingly coloured jam with early bright red rhubarb or later, greener rhubarb for a golden hue. Both taste equally good, sweet yet tangy with a subtle hint of vanilla.
With just 4 ingredients (rhubarb, jam sugar, lemon, vanilla extract, paste or a pod), Rhubarb & Vanilla Jam is ready to pot up in around an hour and will keep for a year in unopened sterilized jars.

Jump to Recipe
I’ll be the first to admit that I’m not much of a gardener. Too inconsistent in my attentions, I’ll never be one of those people burdened with mountains of homegrown produce to use up. So I was surprised to find myself with a plentiful supply of rhubarb this year.
I’m so rubbish at gardening though, I couldn’t even tell you how many years ago it was that I planted a limp-looking rhubarb crown in a big pot. Since then, it’s just sat in our vegetable patch. I do water it, but don’t think I’ve ever fed it. I vaguely recalled that you’re supposed to leave rhubarb for a certain number of years before pulling any (or is it some?) of the stems. This gave me the excuse to do nothing other than tidy away dead and frost damaged bits now and then.
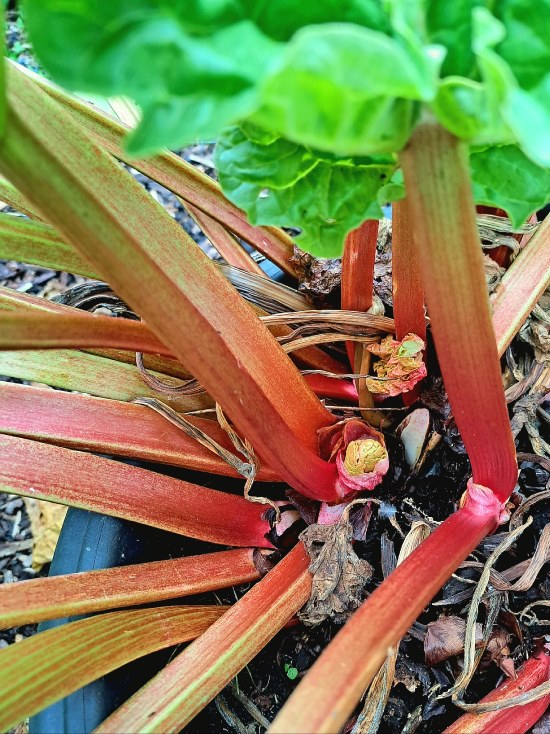
Suddenly though, it’s going great guns. Whether it’s having a final fling before dying on me, I’ve no idea. But what I do know is that I’m making the most of it, including the wonderful Rhubarb & Vanilla Jam recipe I’m sharing today.
JAM MAKING FOR BEGINNERS
If you haven’t made jam before, then you’ll be happy to know that it’s pretty easy. The basic idea is to cook fruit (or sometimes vegetables like marrow or rhubarb) with sugar until the mixture reaches setting point. And the reason jam sets is because fruits (and some veg) contain a natural setting agent called pectin.
In one sense, that’s all there is to it. But to consistently make tasty, nicely set jams that keep well, it’s useful to understand a little more. That’s why I’ve written a Beginner’s Guide to Jam Making.
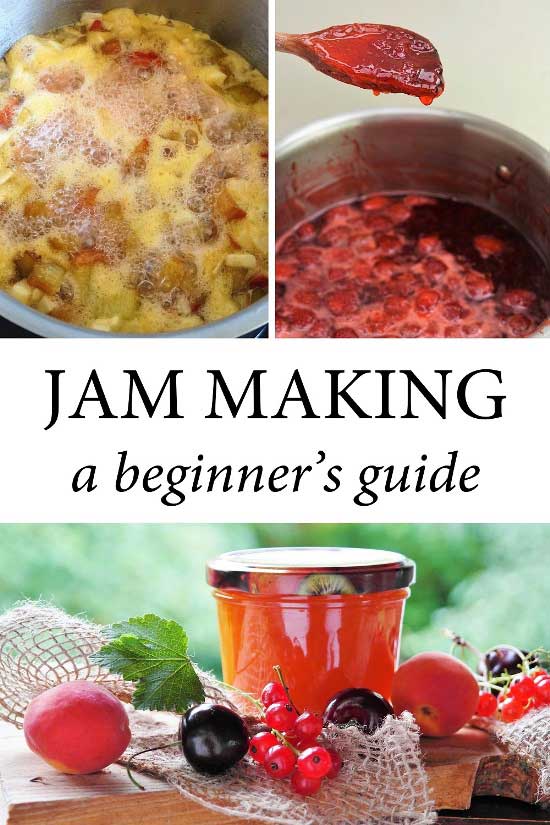
My guide is a whole post dedicated to the theory and practice of jamming. Armed with all that information, and after trying a few recipes, the idea is that anyone can create their own delicious jams.
However, as with all my blog recipes, you’ll find full instructions for Rhubarb & Vanilla Jam in a recipe card at the end. So, although my Beginner’s Guide is useful for complete newbies (and even old hands may learn something new), you don’t have to read it before getting started.

RHUBARB & VANILLA JAM
To make Rhubarb & Vanilla Jam, you can use either early season rhubarb or that which comes later. The early season is bright red and makes a strikingly coloured jam. Jam made with later rhubarb has a less exciting, greenish or golden hue. However, it’ll taste just as good.
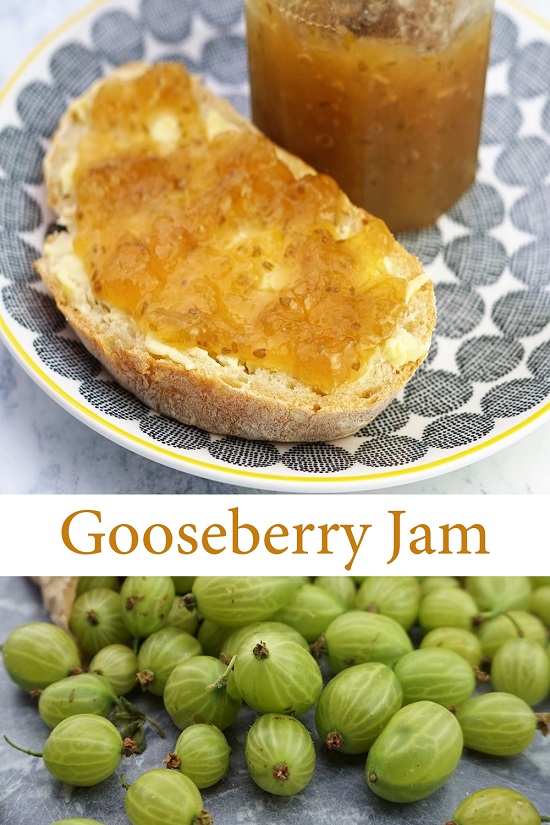
I mentioned above that the natural setting agent pectin is found in fruit and some vegetables. However, while produce such as apples, gooseberries, and damsons contain lots, others (including strawberries, very ripe blackberries, and rhubarb) have little.
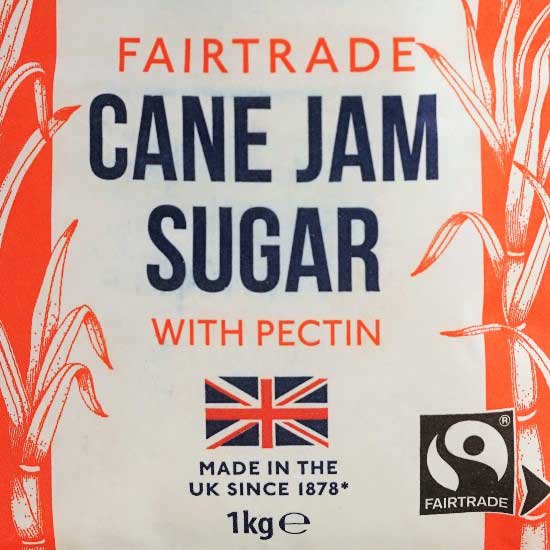
To make up for rhubarb’s lack of pectin, I use a special type of sugar call jam sugar which contains added pectin. It’s more expensive than regular sugar, but I think it’s worth it for a nicely set jam. (Tip: you may also see preserving sugar for sale. It doesn’t contain pectin so isn’t suitable for this recipe).
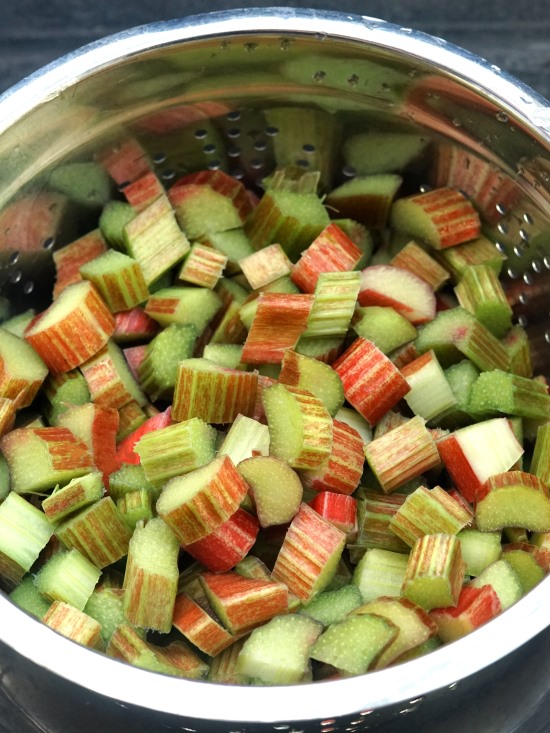
I make the jam with equal amounts of sugar and prepared rhubarb. This gives the sweet taste you expect from jam without overwhelming rhubarb’s pleasant acidity and tang. My recipe makes 3 medium jars (plus maybe half a small jar) for which you’ll need 750 grams of chopped rhubarb and 750 grams of jam sugar. If you want to make a bigger batch, then you can. Just remember to increase the sugar by the same amount as the rhubarb.
The only other ingredients you’ll need are the juice of a lemon (the extra acid helps the release of pectin) and vanilla. I use 2 tablespoons of vanilla extract as I always keep some in the cupboard. But you could swap in vanilla paste, a whole vanilla pod, or just the seeds scraped from a pod.
EQUIPMENT
You can read more about the equipment used to make jam in my Beginner’s Guide. But the only thing that’s indispensable (apart from jars for storage) is a large, solid saucepan.
While you can buy special preserving pans, I’ve never found one necessary. I just use my biggest two-handled saucepan.
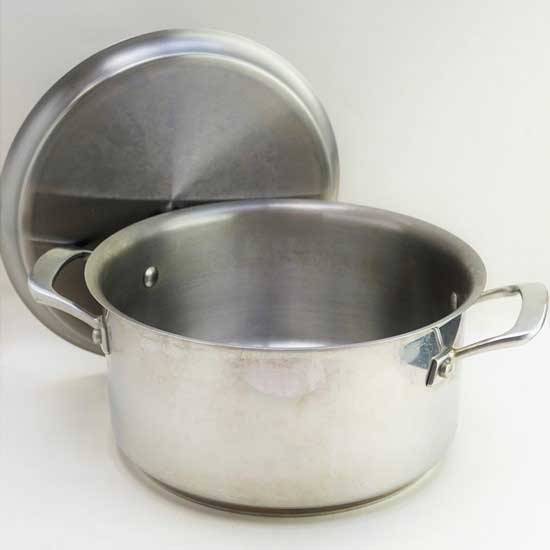
Because evaporation is necessary to jam making, a pan that’s wider rather than deep will speed things up. A heavy base will distribute heat more evenly so there’s less chance of sticking and burning.
It should also be big enough so that, when the jam is bubbling and foaming away, it isn’t going to come up over the sides.
STEP 1: DISSOLVE THE SUGAR
We start by putting the chopped rhubarb, jam sugar and lemon juice over medium-low heat to dissolve the sugar. Give it a stir now and then to encourage it and ensure nothing’s sticking to the bottom of the pan.

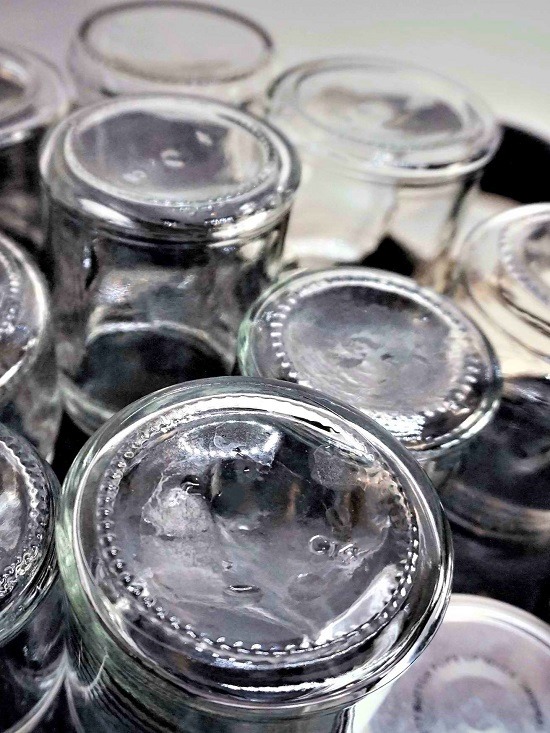
STEP 2: PREPARE THE JARS & LIDS
While the sugar’s gently dissolving, you can be sterilizing the jam jars and lids. Give them a wash in hot soapy water, rinse, and drain. Then pop them on a baking tray in the oven at its lowest temperature. Turn the oven off when they’re hot, but leave inside until you’re ready to pot the jam.
If the jars start to cool down before the jam’s ready, you’ll need to switch the oven on again: for food safety reasons both jam and jars need to be hot at the potting up stage.
STEP 3: BOIL
Once the sugar has completely dissolved, stir in the vanilla extract, paste, pod or seeds. Turn the heat up to maximum to bring it to a boil. To speed things up, I put a lid on for this stage. But as soon as the jam comes to the boil, you must take off the lid so that evaporation can begin.

You need to keep it at a high heat to achieve what’s called a ‘full rolling boil’. The mixture should be boiling hard with its surface almost completely covered in bubbles.

Try to resist the urge to stir too much at this stage. This will lower the temperature and increase the cooking time, resulting in a less flavoursome, less fresh-tasting jam. But it’s ok to stir occasionally to make sure the mixture isn’t sticking to the bottom of the pan.
STEP 4. TEST FOR A SETTING POINT
Knowing when setting point is reached is the most important thing about jam making. Boil past that point and your jam will be hard, sticky and have poor flavour. On the other hand, stop boiling too early and your jam will be runny.
So, how do you know when to start testing? There are a few clues to look out for.
- The surface of the jam will look glossy and shiny rather than foaming.
- A slow ‘plopping’ will have replaced the furious frothing and bubbling.
- You may see a build-up of thickened, sticky jam around the sides of the pan.

In theory, setting point occurs at a temperature of 104.5 degrees Centigrade so in theory you could just use a jam thermometer. However, reality is rarely as simple as that. For example, a jam with lots of pectin will often set at a lower temperature. Your thermometer may also not be entirely accurate.
So, I prefer a combination of two old, simple but reliable methods. They rely on visual clues that, once you’ve made jam a couple of times, will be easy to recognise.
TEST 1: THE FLAKE TEST
Take the pan off the heat and get some jam on your stirring spoon. Wait for it to cool then slowly tilt it and let the jam fall off the edge. Does the jam all run off in a stream? Or do some drops come together into a ‘flake’ and stay on the edge of the spoon?
If it runs off with no flake forming: put the pan back on the heat, boil for another 2-3 minutes, then do the flake test again.
If flakes form: proceed to the Crinkle or Cold Saucer Test
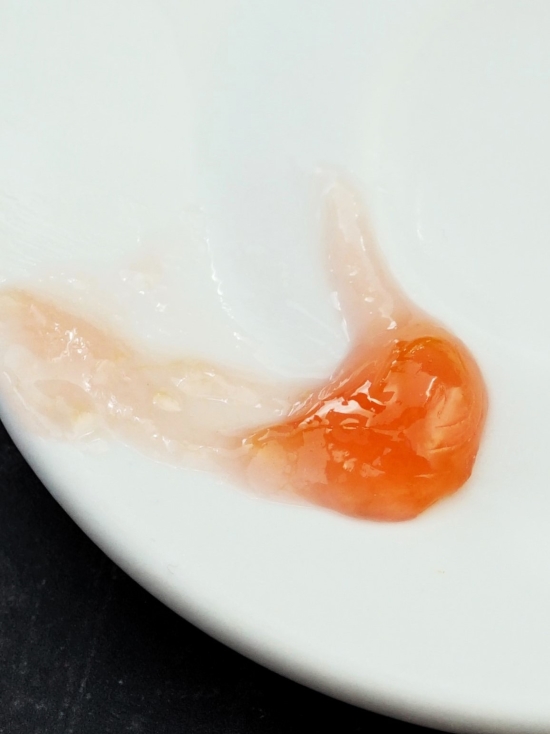
TEST 2: THE CRINKLE OR COLD SAUCER TEST
For this test, before you start making the jam, put a few heatproof saucers in the freezer. Then, if the jam passed the flake test, leave the pan off the heat, and take one of the cold saucers from the freezer. Put a teaspoon of jam on it and leave a minute or so to cool (I’m impatient so blow on it too). Gently push the jam with your finger. Does the surface wrinkle up?
If it doesn’t wrinkle but runs back into the gap you made: put the pan back on the heat and boil for another 2-3 minutes, then do the crinkle/cold saucer test again.
If it wrinkles and stays in place: setting point has been reached and your jam is ready to put into jars.
STEP 5. POTTING UP
For food safety reasons, it’s really important that you pot the jam while it and the jars are hot. You can take a few minutes to stir the jam to disperse any bubbles (sometimes called ‘scum’) but otherwise pot up straight after setting point. Technically speaking, the jam should be no less than 85 degrees Centigrade.
I use a ladle and jam funnel to fill the jars. Or you could pour the jam from the pan into a clean glass jug and fill the jars using that. Stirring the jam before filling each jar will redistribute any larger pieces of rhubarb that have sunk.

Fill up the jars almost to the top, up to the bottom of their necks. This will help to keep out air. If you can’t fill your last jar, then it’s unlikely to become airtight. Keep this one in the fridge and use up within a few weeks, as you would any open jar of jam.
When you’ve filled the hot jars, twist on the lids while protecting your hands with a cloth. Don’t worry if they’re not screwed completely tight at this stage. I usually find I can twist them on a little tighter once they’ve cooled a bit.
STORING RHUBARB & VANILLA JAM
Once the jars are completely cold then the lids, if you press down in the centre, should not spring back with a popping sound. Be pleased: that means you’ve got an airtight seal. Go ahead and label your jars.

Don’t have an airtight seal? Go to the Troubleshooting section at the end of my Beginner’s Guide.
The jam should be stored in a cool, dark, dry place. Traditionally, that would be in a pantry, but a kitchen cupboard away from the oven or radiators is usually fine. If you have a dry, cool cellar or garage, even better. The standard advice is that unopened jars of homemade jam will keep for a year in such conditions. Once opened, store in the fridge and use within a few weeks.
WHAT TO EAT WITH RHUBARB & VANILLA JAM
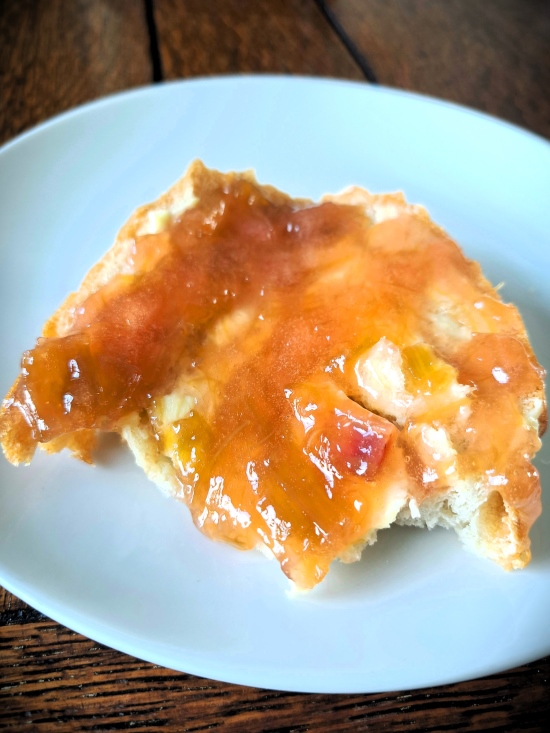
I think it’s hard to beat a piece of fresh, crusty homemade bread slathered in butter and topped with sweet and tangy Rhubarb & Vanilla Jam. And what is a Classic Sultana Scone without its topping of butter or cream and a good blob of jam?
But this lovely preserve has so many other uses too. A great favourite of mine for a quick sweet snack or light dessert is to swirl a generous amount through thick and creamy yogurt. For breakfast, you can top it with granola or homemade muesli.

It’s equally good with hot, milky things too. I love it in porridge on cooler mornings and its fruity, vanilla flavour would be wonderful with rice pudding.
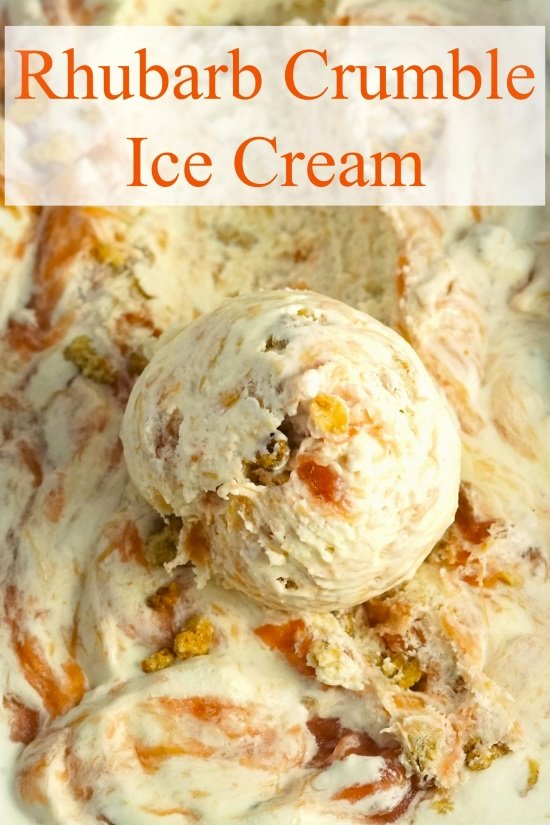
I find that having a good store of homemade jams means it’s easy to rustle up tempting baked goodies too. Try Rhubarb & Vanilla Jam in a Victoria Sponge Cake, simple Jammy Shortbread Squares with Oat Crumble Topping, or super-quick Microwave Sponge Pudding.

If you’ve made this recipe, I’d love to know what you think. Please leave a comment and rating.
Rhubarb & Vanilla Jam
This simple but delicious jam can be made with either early, bright red rhubarb or later greener rhubarb. The colour won't be the same, but both taste good.
Lovely on scones, bread and butter, yogurt, porridge or in cakes and desserts.
Ingredients
- 750 g rhubarb weight after trimming
- 750 g jam sugar (i.e. sugar containing pectin) see Recipe Notes
- 1 lemon juice only
- 2 tbsp vanilla extract see Recipe Notes for alternatives
Instructions
-
Put 3 small saucers in the freezer; they'll be used to quickly cool teaspoons of jam to find when setting point has been reached.
-
Wash 3 medium jam jars and their lids (plus a smaller jar and lid in case you end up with extra jam) in hot soapy water. Rinse then leave to drain.
-
Wash the rhubarb and chop it into 2 - 3 cm chunks.
Put into a large, heavy, wide saucepan along with the jam sugar and the squeezed juice of the lemon.
Switch on the heat to medium-low and stir occasionally while the sugar slowly dissolves. Complete the next step while the sugar's dissolving.
-
Sterilize the jars and lids.
Put the drained jars and lids on a baking tray in the oven at its lowest setting.
Turn off the oven when the jars and lids are hot but leave them inside until you're ready to pot the finished jam. If they cool before the jam is ready, switch the oven on again.
-
When the sugar has completely dissolved stir in the vanilla, turn up the heat to maximum and bring to a boil (putting a lid on will speed this up, but take the lid off as soon as it boils).
With the lid off, keep at a fast, rolling boil until setting point is reached (10 - 30 min) - see next step for how to test for this.
-
Test for setting point (see Recipe Notes for clues on when to start testing)
Take the saucepan off the heat.
Flake test: Take some jam on a wooden spoon, cool it a little, then let it fall off the edge of the spoon. If the final bits of jam come together into 'flakes' rather than running off in a stream, proceed to the Crinkle/Cold Saucer test. If it doesn't flake, boil for another 2-3 minutes then test again.
Crinkle/Cold Saucer test: Take one of the cold saucers from the freezer, put a teaspoon of jam on it to cool. When it's cold, gently push the jam with your finger. If it wrinkles and doesn't run back into the gap you made, then setting point has been reached. If not, boil for another 2-3 min then test again.
-
For safety reasons, the jam and jars must be hot at the potting up stage (at least 85°C)
When setting point is reached, take the hot jars from the oven and pour or ladle the hot jam into them.
Protecting your hands with a cloth, screw on the lids and leave to cool. When the jars are cooler, it should be possible to tighten the lids a little more.
Once the jars are completely cold press down on the middle of the lids. If they don't spring back with a popping sound, then you have an airtight seal. Label the jars and store in a cool, dark, dry place.
Don’t have an airtight seal? Go to the Troubleshooting section at the end of my Jam Making Beginner’s Guide.
-
In properly sterilized jars, the jam should keep for a year in a cool, dark place. Once opened, store jars in the fridge and use within a few weeks.
Recipe Notes
Jam sugar. Rhubarb is low in pectin so, to get a good set, sugar labelled 'jam sugar' is recommended for this recipe. Note that packs labelled 'preserving sugar' do not contain pectin and aren't recommended.
Vanilla. The vanilla extract can be replaced with vanilla paste, a whole vanilla pod, or the seeds scraped from a pod. Remove the vanilla pod before potting up the jam.
When to start testing for a setting point. It's not possible to say how long a jam will take to reach setting point, but there are signs that suggest you should start testing for it:
- The surface of the jam will look glossy and shiny instead of foamy.
- There will be a slow 'plopping' of the jam rather than fast bubbling.
- The sides of the pan may have a build-up of thickened, sticky, jam.
Using a thermometer. It is often said that jam sets at 104.5 degrees Centigrade. However, factors such as the amount of pectin can make this unreliable. Therefore, if you have a thermometer you can use it, but I recommend backing this up with the Crinkle/Cold Saucer test as described in the instructions.
Read more about the theory and practice of homemade jam in my Beginner's Guide to Jam Making.
RELATED RECIPES