Beetroot Bread (no knead overnight recipe)
Beetroot Bread is a beautifully coloured loaf with a crusty exterior and open crumb. While the red pigment in beetroot is notoriously fickle when heated and can result in dull coloured bakes in this recipe I use only every day natural ingredients to create a wonderful no-knead bread with shades of red, orange and pink, and just a hint of beetroot flavour.

Disclosure: this post may contain affiliate links. If you buy via my links, I may earn a small commission at no extra cost to you.
Jump to Recipe

THE COLOURFUL SCIENCE OF BAKING WITH BEETROOT
Beetroot can give your bread (and other bakes) a wonderful earthy flavour as well as hints of sweetness. But if you’ve ever used it, you’ll know that while doughs and batters can start off a shocking pink, the cooking process usually turns them into something much less striking. Anything from a dull, murky brown, through dusky pink and orange to a deep red. Baked goods that retain that initial startlingly bright pink are few and far between.

The reason is that the pigment which gives beetroot its colour, betanin, breaks down when exposed to high heat. The good news though is that it’s possible to lessen that colour loss when you understand that betanin is also affected by how alkaline or acidic a bake is. You may remember from school that the pH scale goes from pH 0 for the most acidic solutions to pH14 for the most alkaline. Water is in the middle with a pH of 7, which is neutral.
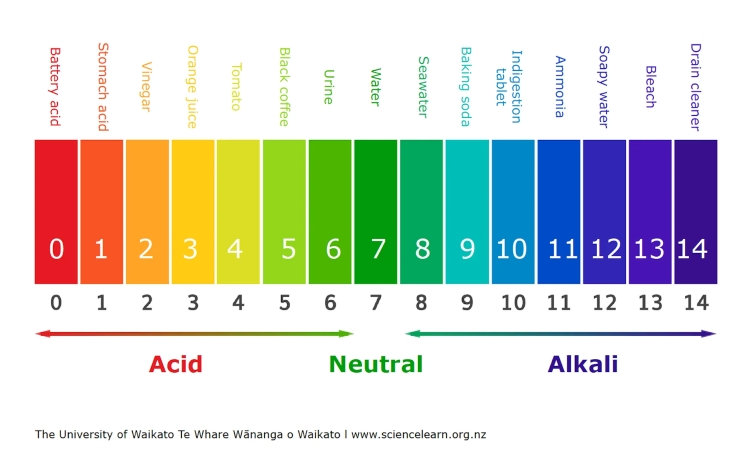
What I’ve learned is that lowering the pH value of your bread or other bake (i.e. making it more acidic) is the key to reducing colour loss.
Some bakers add crushed Vitamin C tablets to beetroot dough to get it as brightly coloured as possible. The tablets contain ascorbic acid which, with a pH of 2 – 3, is very acidic. However, I wanted to see what I could achieve using only every day, natural ingredients. The result was my Beetroot Bread: an attractive loaf with a subtle flavour of the vegetable and a beautiful, deep orangey-pink hue to both crust and crumb.

You’ll find a recipe card at the end with ingredient amounts and full instructions. But I recommend you read the whole of this post first for extra tips and step-by-step images to guide you.
BEETROOT BREAD
My Beetroot Bread is based on the tried and trusted overnight no-knead loaf I make pretty much every week. Many years ago, I discovered that a wetter than usual dough combined with a long fermentation can replace the kneading of conventional bread making. This develops the gluten which helps doughs rise and gives bread its structure.

As beetroot doughs are notoriously sticky due to the natural sugars in beetroot, I think a no-knead recipe for Beetroot Bread is particularly suitable.
EQUIPMENT
You’ll need two essential pieces of equipment to make this bread: a heavy, lidded pot to bake it in and a proving vessel for the dough’s second rise. I’ve also listed the useful items I wouldn’t be without when making bread. The following links are paid links: if you buy via these, I may earn a small commission at no extra cost to yourself.
Essential #1: Heavy lidded pot. The interior gets incredibly hot and steamy which keeps the dough softer for longer as crust formation is delayed. The result should be an impressively risen loaf with a relatively open texture. The pot, including any handles or knobs, needs to be able to withstand temperatures up to 240°C / 220° Fan / Gas 9 / 475° F.

Although they’re expensive, I think Le Creuset pots are a great investment. They last for years (I’ve had the one above for more than a decade) and can be heated to the required temperature. Of course, you may be able to find cheaper ones, or use a Dutch oven, with similar properties. For my oval Beetroot Loaf I used my Le Creuset 29cm / 4.7 litre oval casserole. For round loaves (and great for soups and stews too) I have a 24 cm Le Creuset.
Essential #2: Proving vessel. Wetter doughs need support during their second rise or prove. Otherwise, they spread, and you will have a disappointingly flat loaf. I use a special baker’s basket known as a banneton. These usually come with a cloth liner. When making oval loaves I use a 25 cm long basket, and a 23 cm diameter for round breads. Alternatively, you could line a suitably sized bowl or other container with a tea towel or cloth.

Optional but highly recommended:
Silicone spoon Much better than a wooden spoon when stirring up wet, sticky doughs.
Silicone mat A simple bit of kit useful for all sorts of baking, not just breads. You need less flour to prevent sticking, and it makes cleaning up easier too.
Dough scraper Very cheap to buy (you sometimes get one free with the silicone mat above), a scraper makes handling dough and removing it from bowls and worksurfaces much easier, especially wetter, stickier doughs.
Baker’s blade Because breads often split as they rapidly rise in the oven, we slash the dough to control where this happens. You could use a sharp knife, but a baker’s lame or grignette (basically something to hold and store a razor blade safely) is much more effective.

INGREDIENTS
The base ingredients you’ll need for my Beetroot Bread are the same as for my regular, overnight no-knead loaf:
- strong white bread flour: you could use wholemeal although this will almost probably negatively affect the colour
- instant dried yeast i.e. the sort you add to the rest of the ingredients without having to first activate in warm liquid
- salt: gives structure to doughs as well as enhancing flavour
I normally use water as the liquid in my everyday bread, but here I’ve replaced it with cow’s milk. While water has a neutral pH, cow’s milk is more acidic due to the presence of lactic acid. At 6.4 – 6.9 it’s not majorly acidic, but it’s worth knowing that each pH level is TEN times greater than the next. For example, pH 6 is ten times more acidic than 7.

I’ve specified cow’s milk because plant milks, not being a natural product, can vary greatly by ingredients, brand etc. Therefore they could be acidic, neutral or even alkaline. Note: as yogurt has a lower pH than milk, I might experiment with it at some future point.
Another ingredient I’ve added to increase the acidity of the dough is lemon juice. This contains citric acid and is around pH 2.3. There are just two tablespoons, so it isn’t detectable in the finished loaf.
THE BEETROOT
Of course you can’t have Beetroot Bread without beetroots.
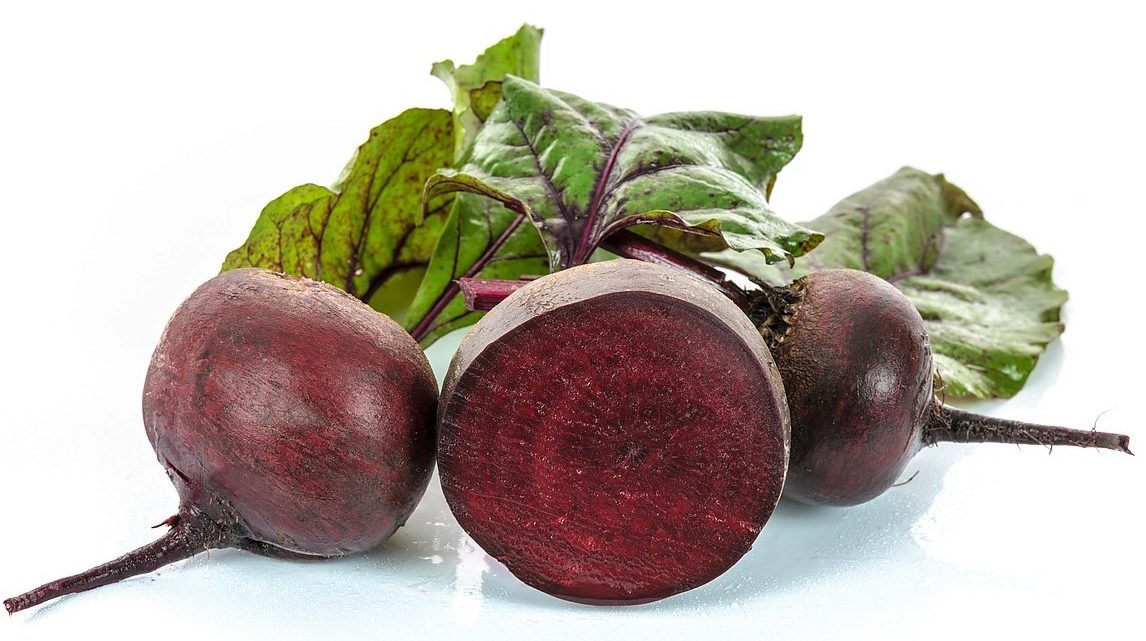
In my large loaf I used three medium fresh beetroots. After boiling and peeling they weighed approximately 200 grams in total. You could buy ready cooked beetroots, but avoid the ones packed in vinegar: they will up the acidity but possibly spoil the flavour of the bread.
If you want to increase the amount of beetroot to see the effect, I’d recommend no more than 300 grams in total. This represents half the weight of the flour and I’m guessing that, any more, and the texture of the loaf might not be as good.

Because I didn’t want large pieces of beetroot in the bread, I coarsely grated it then whizzed to a rough puree with my stick blender. You could make it completely smooth if you don’t want any small pieces at all.
THE NIGHT BEFORE BAKING BEETROOT BREAD
After you’ve made the beetroot puree, stirring up the bread dough takes less than 10 minutes. Start by putting 250 ml of the milk in a jug, add the lemon juice to it, then stir in the beetroot. Now take a large bowl, put in the bread flour, instant dry yeast, and salt, and stir them together. Pour in the contents of the jug and start bringing everything together by stirring with your silicone spoon.

Add as much of the remaining measured milk as necessary to create a wettish but not sloppy dough. Bearing in mind that the beetroot may release more liquid, I added less than for my usual loaves. You could even make your dough slightly less wet than the one pictured above, so long as there’s no dry flour visible.
Cover the dough (I put the whole thing in a large, reusable polythene bag) and leave overnight or 12 – 14 hours. Normal room temperature is usually fine, although the sugars in beetroot can make this dough ferment rather more quickly. If necessary (or if it’s just more convenient) you can do the overnight fermentation in the fridge.
THE NEXT DAY
In the morning, the dough should have spread out as well as rising and be very bubbly. If not, leave a little longer.
Sprinkle your work surface (ideally covered with a silicone mat) with bread flour then scrape the dough onto it. Fold the dough over itself several times (use a scraper if you can) until smooth. You may need to add more flour as you go depending how wet and sticky your dough is. Cover with the upturned bowl and leave to rest for 5 – 10 minutes.

We now give the dough some stretches and folds. This helps build structure. Use a hand to lift the top edge (I think of it as north) then fold it into the middle. Repeat the process with the east, south, and west sides. Repeat the process twice more to get a plump piece of dough. If the dough still seems quite wet, you may need to add more flour during this step.

Generously sprinkle flour into your lined proving vessel. Now fold the dough again, this time shaping it to fit the proving vessel. Sprinkle more flour over the dough, spreading it with your hand, then put it in the vessel so the rounded top is now facing DOWN. Dust the side that’s facing up with flour, put the whole thing back in the large polythene bag or cover it.
For the second rise, ideally put it in a warmer spot. During this time, you should also preheat your oven to the temperature shown in the recipe card. Be sure to put in the cooking pot and its lid to preheat too.
BAKING BEETROOT BREAD
Depending on temperature, the prove should take 30 – 45 minutes. The dough may have almost doubled, but the best way to check if the dough is ready is to gently insert a finger. Does the dough quickly or slowly spring back? If it springs back slowly and an impression is left by your finger, then the dough is ready. If it springs back immediately and doesn’t leave an impression, prove for longer then check again.
When ready to bake, remove the pot from the oven and take off the lid. Carefully flip the dough into the pot so that the round side is facing UP. Use a baker’s lame, sharp knife or razor blade to cut a slash all along the length of the bread. Put the lid back on, transfer to the oven and bake for 35 minutes.

After 35 minutes, reduce the oven temperature to that shown in the recipe card. Remove the pot from the oven and take off the lid. This is the first moment of truth! Have you managed to keep some of that beetroot colour? Mine was a lovely deep pinkish red.

Tip it out of the pot then return the loaf to the oven so it sits directly on the shelf. Bake for a further 10 – 15 minutes or until the bread is cooked through: it should sound hollow when you tap it underneath. Note that the colour will probably have changed again. Mine took on more of a golden pinky-orange crust.

Place the loaf on a wire rack until completely cold. Now you can slice it and see what awaits inside. Will you have achieved a colourful crumb too?
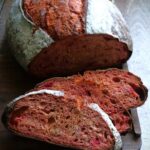
SIMPLE, GOOD BREAD WHATEVER THE COLOUR
I admit I was quite nervous when I first cut into my Beetroot Bread. I’d been pretty happy when I took the lid off after the initial 35 minutes baking and saw lots of colour. But that’s not necessarily an indication of what’s inside. Thankfully, I loved the orangey-red-pink of the crumb with the occasional little morsel of beetroot. And all thanks to natural ingredients in my kitchen.

Whatever the colour of your bread, you should still get a good quality crusty loaf. When I took mine out of the oven, the aroma of sweet beetroot was quite distinctive. But once cold and sliced it had a subtle earthiness. The hint of bitterness I detected on day one had disappeared the next.
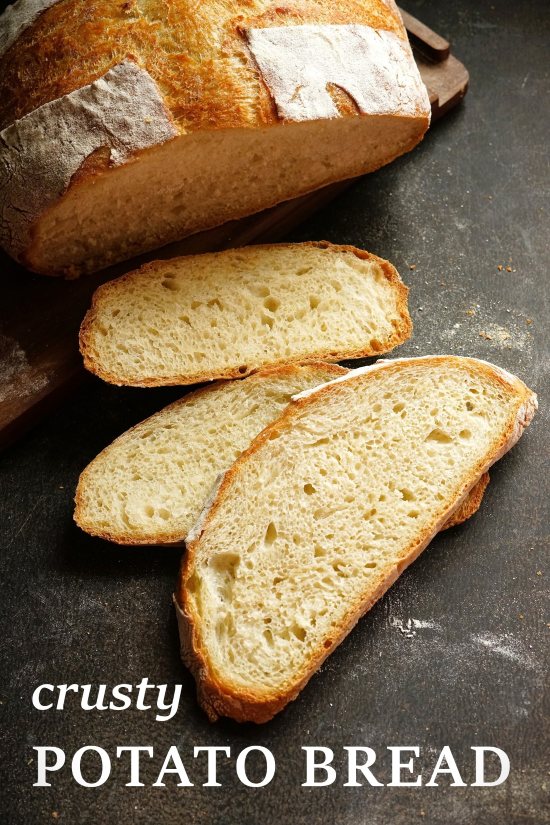
The addition of beetroot didn’t have any negative effects on the crumb which, like my regular loaves cooked by the same method, was slightly open. As with my potato breads (e.g. Sourdough Potato Bread and Potato Focaccia), beetroot appears to be another root vegetable that enhances softness and moistness.

As the beetroot flavour isn’t that pronounced, we’ve been eating this Beetroot Bread just like any other white loaf. It makes great sandwiches and takes on a lovely golden colour when toasted.

With so many different variables (e.g. some beetroots may contain more or less of the pigment betanin, your lemons may be more acidic than mine) I suspect that anyone following my recipe may get a completely different coloured loaf. But my first experiment was interesting. And one I think I’ll come back to.
If you’ve made this recipe, I’d love to know what the result was, so do please leave a comment.
If you share your photos on Facebook or Instagram please tag me @moorlandseater
GET RECIPES STRAIGHT TO YOUR INBOX BY JOINING MY EMAIL LIST HERE
Beetroot Bread (no knead overnight recipe)
A beautifully coloured loaf with a crusty exterior and open crumb. While the red pigment in beetroot is notoriously fickle when heated and can result in dull coloured bakes, in this recipe I use only every day, natural ingredients to create a wonderful no-knead bread with shades of red, orange and pink, and just a hint of beetroot flavour.
It's recommended you read the accompanying blog post before starting to cook. Use digital scales and metric measurements as these were used to test the recipe.
Ingredients
- 2 - 3 large - medium cooked beetroots (approx. 200g in total after cooking and peeling: see Recipe Notes)
- 250 - 350 ml milk (not plant milk)
- 2 tbsp fresh lemon juice
- 600 g strong white bread flour (plus extra for dusting)
- 2 tsp salt
- 1.5 tsp instant dried yeast (i.e. the type that does not need activating before adding to the rest of the ingredients)
Instructions
The day before baking
-
Grate the cooked beetroots then blend to a puree using a stick/immersion blender or food processor: a rough puree will give you flecks of beetroot in the finished bread, a smooth one will not.
-
Put 250 ml of the measured milk in a jug along with the lemon juice then stir in the beetroot puree.
-
Put the bread flour, salt, and instant yeast into a large mixing bowl and stir to combine.
Pour in the contents of the jug and start stirring with a silicone spoon to bring the ingredients together. Add more of the remaining measured milk as necessary to create a wettish but not sloppy dough, stirring well so there are no dry bits of flour.
Tip: it's important not to let the dough get too wet as the beetroot is likely to release more liquid.
-
Cover the dough and leave to ferment at room temperature overnight or 12 - 14 hours.
Tip: the natural sugars in beetroot can cause the dough to ferment more quickly, especially if the room is warm. If necessary, you can do the ferment in the fridge. Allow it to come back to room temperature before proceeding with the recipe.
On the day of baking
-
The dough should have risen, spread out and be very bubbly. If not, leave a little longer.
Dust your work surface, ideally covered with a silicone mat, with bread flour and use a dough scraper to transfer the dough onto it. Fold over itself several times until smooth: add more flour as needed to prevent sticking.
Cover the dough with the upturned bowl and leave to rest for 5 - 10 minutes.
-
To help create structure: stretch and fold the dough by lifting up the top edge (think of it as 'north') then folding it into the middle. Repeat with the 'east', 'south' and 'west' sides.
Repeat the process twice more to get a plump piece of dough.
Tip: if the dough still seems wet or sticky, add more flour as you fold but ensure it's well incorporated.
-
Sprinkle a generous amount of flour inside a lined proving basket or tea towel-lined bowl.
Fold the dough again, this time shaping it to fit your proving vessel. Sprinkle flour all over the top, spreading it with your hand, then put it in the vessel with the rounded side facing DOWN. Dust the side now facing up with more flour.
Place in a large reusable polythene bag or cover it and leave in a warm place for approximately 30 - 45 minutes.
While it's proving: preheat your oven to 240°C / 220° Fan / Gas 9 / 475° F and put a lidded cast iron pot or Dutch oven on the middle shelf.
-
Check if the dough is ready to bake: gently insert a finger into the dough and see if the dough quickly or slowly springs back.
- If the dough springs back slowly and leaves an impression, it's ready.
- If it springs back immediately and doesn't leave an impression then prove another 5 - 10 minutes and check again.
-
When ready to bake, remove the pot from the oven and take off the lid.
Carefully flip the dough into the pot so the rounded side is now facing UP.
Use a sharp knife, razor blade or baker's lame to cut a slash down the length of the dough.
Put the lid on the pot, place in the oven and bake for 35 minutes.
-
After 35 minutes, reduce the heat to 220° C / 200° Fan / Gas 7 / 425°F.
Remove the pot from the oven, tip the bread out of it, then return the loaf to sit directly on the oven shelf.
Bake for a further 10 - 15 minutes or until the bread is cooked through: it should sound hollow when tapped underneath.
-
Place on a wire rack until completely cold before slicing.
Best eaten within 3 days or can be frozen.
Tip: slice before freezing so you can take out as much as you need without waste.
Recipe Notes
To cook beetroots: Scrub well then place in a roomy saucepan and cover with cold water. Bring to the boil then turn down to a simmer. Cook until a knife can be easily inserted (25 - 50 min. depending on size). Drain and leave until cool enough to handle. Remove the top and bottom, peel off the skin, and set aside until cold.
Equipment (further info and partner links in the accompanying blog post)
- You'll need a heavy, lidded pot or Dutch oven in which to bake the bread. It should have a capacity of at least 3.5 litres.
- To support the dough on its second rise or prove, you'll need a banneton/proving basket or a large bowl lined with a tea towel or other cloth.
- The no-knead beetroot dough is wetter and stickier than normal, so a dough scraper and silicone mat are recommended for removing from the bowl and for folding/shaping.
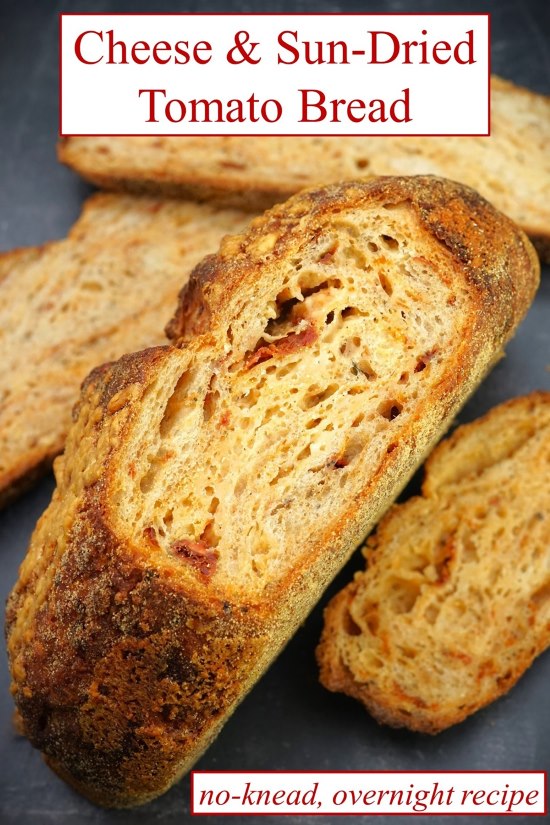
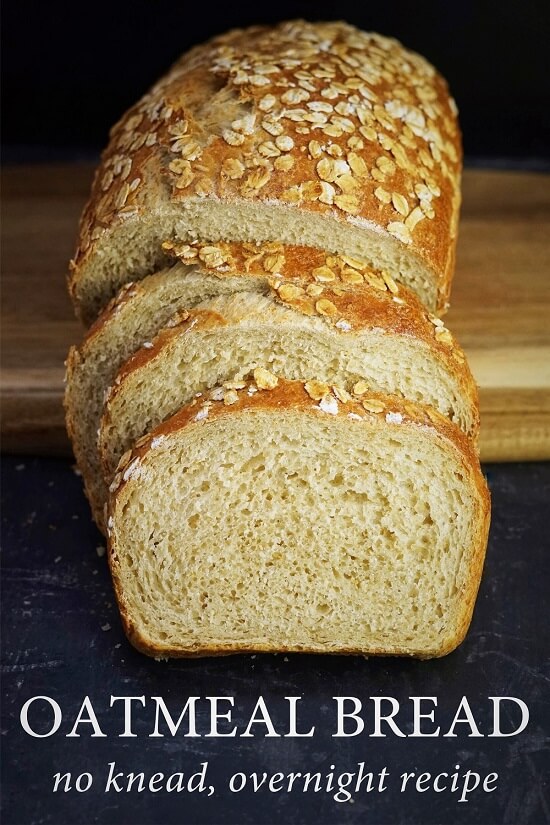
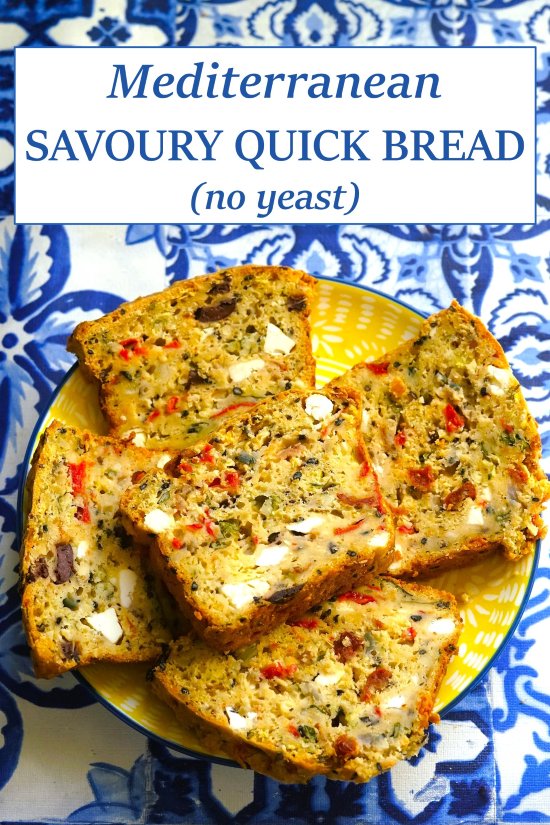
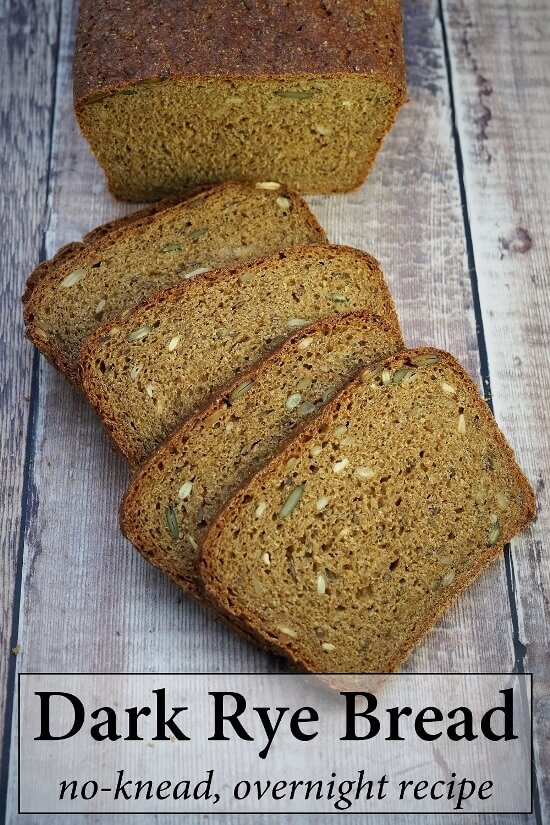
RELATED RECIPES


Fab recipe. Works well. I had quite a strong dark pink colour. Marvellous in a cheese sandwich.
That’s wonderful to hear Penny, thanks so much!