Brioche Buns for savoury fillings
Brioche Buns, enriched with eggs and butter, have become the preferred roll for gourmet burgers, pulled pork and the like. However, I often find them just too sweet for these savoury fillings.
So I created my own version.
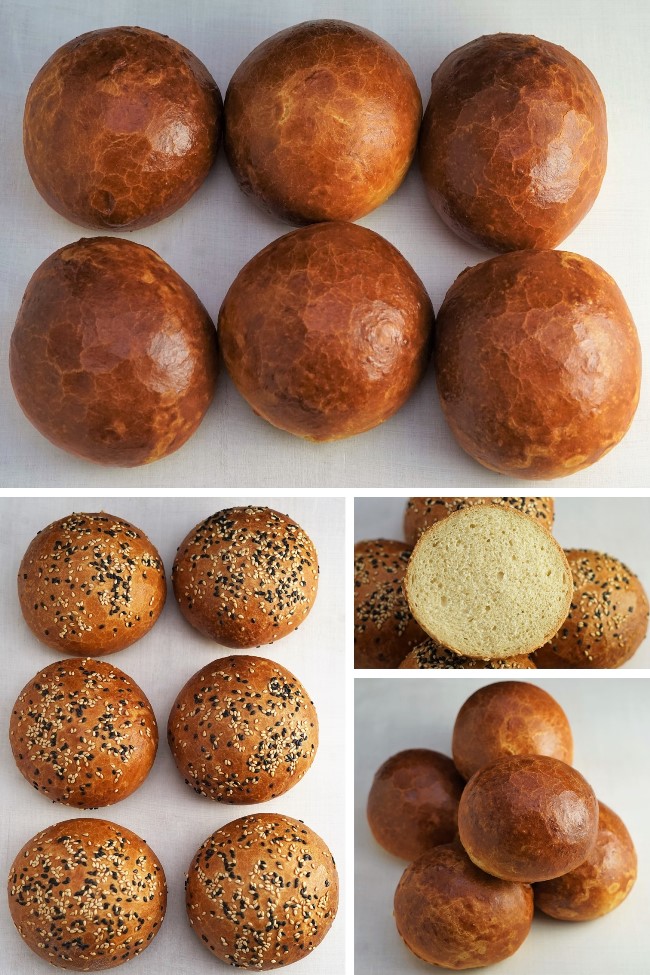
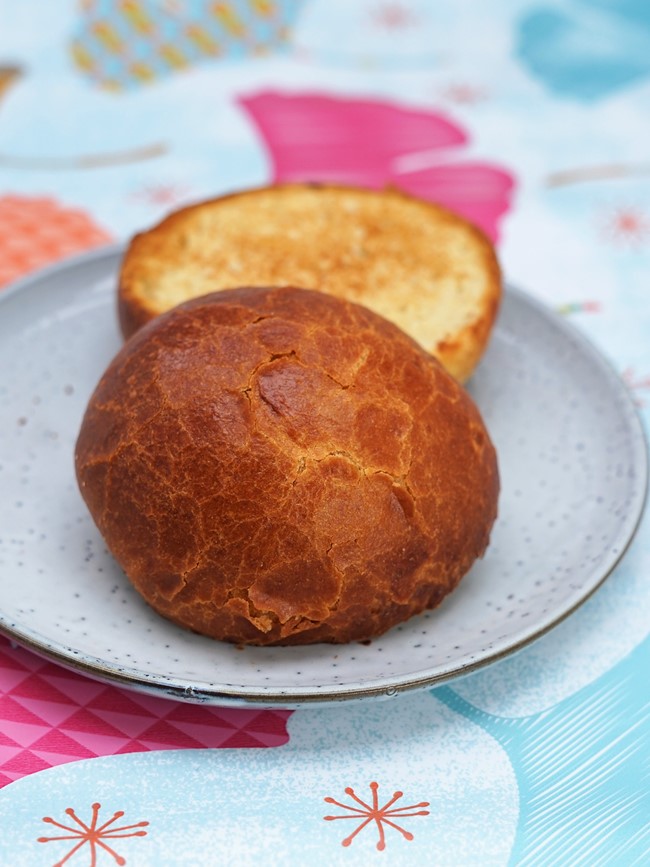
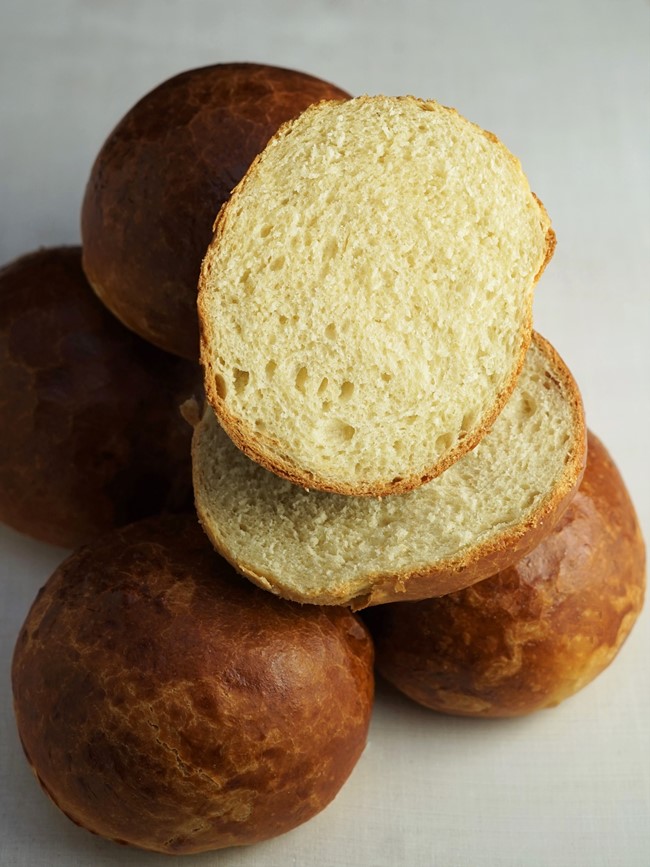
Open up these dark, shiny Brioche Buns and you’ll still find a soft, yellow-golden crumb. You’ll get the distinctive, rich smell and taste of brioche too. But only a little sweetness.
Using my overnight method with minimal kneading, it’s relatively easy to get a great-tasting, light bun that will hold together when stacked with your favourite fillings.
Unlike many recipes for Brioche Buns, you won’t need a stand mixer for this one either.
Jump to Recipe
BRIOCHE: SWEET OR SAVOURY?
According to my copy of Larousse Gastronomique, brioche is, “A soft loaf or roll made from a yeast dough enriched with butter and eggs.”
Note that there is no mention of sugar.
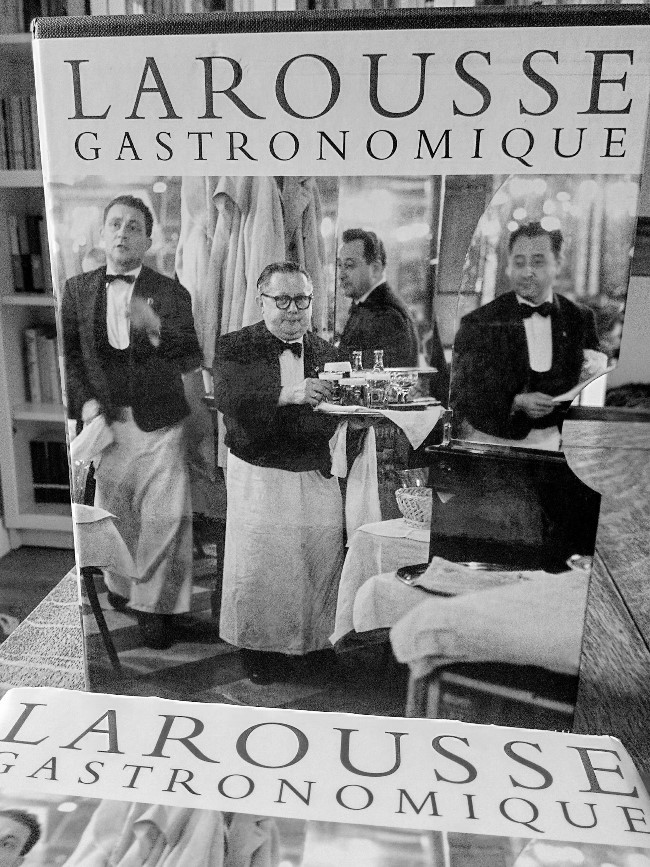
Larousse goes on to provide a number of brioche recipes, sweet and savoury. These include classic and standard brioche dough, both of which contain one tablespoon of sugar per 250 grams of flour.
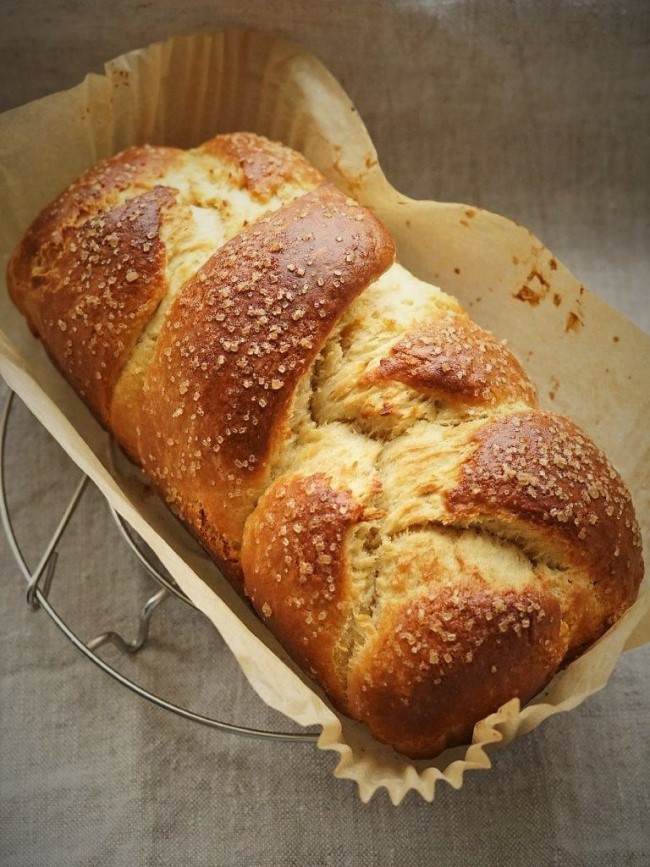
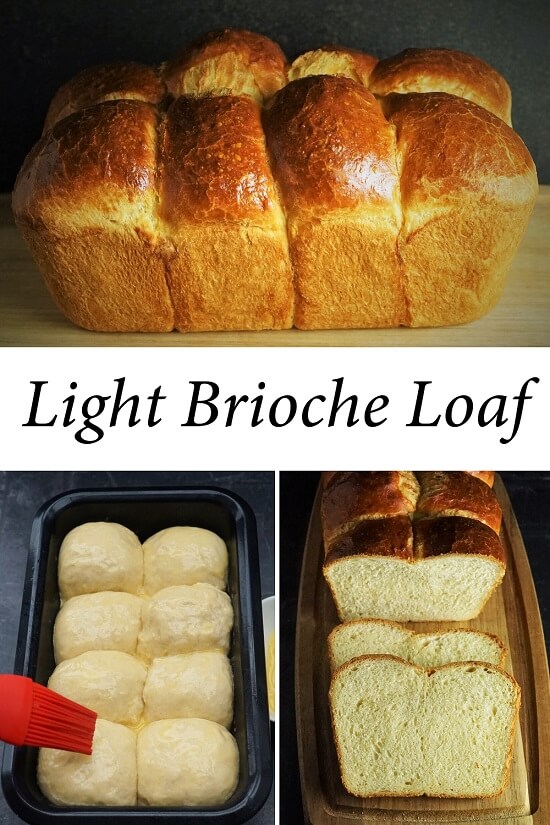
I do like a sweet brioche when it’s meant to be sweet. The plaited loaf you see below, with its crunchy, sugary top, was my first ever attempt at brioche dough.
But some of the brioche buns I’ve tasted, destined for burgers and the like, seem to have more sugar than even these sweet recipes.
The usual justification for using such a sweet bread with savoury fillings is that this is traditional. Brioche served with pâté or foie gras are the examples often cited.
However, read a little further in Larousse, and you’ll find that recipes for savoury brioche (with foie gras, anchovy, mushroom or cheese) instruct you to use the standard brioche without sugar.
Anyway, when it comes down to it, personal preference dictates that I do not want a very sweet bun with my savoury, meaty burger or spicy pulled pork.
MY BRIOCHE BURGER BUNS
Having said all that, my Brioche Buns for savoury fillings, do have some sugar. There’s one tablespoon per 400 grams of flour. But I see no reason why you can’t leave it out entirely if you prefer.
Strangely, although many go overboard on sugar, I find other recipes can be rather mean with the butter, eggs and milk.
Of course, you don’t expect the same amount of butter and eggs in a burger bun as you might in an avowedly sweet brioche dough. But I do think, when you open that bun, you should be met with a beautiful, buttery rich aroma and taste.
After some experimentation and trying different amounts, for six buns I now use 100 grams of butter, two large eggs and 150ml of whole milk. I think this gives good flavour while keeping them most definitely bready rather than cake-like.
Because the fat in butter, eggs and milk tends to inhibit the development of gluten (the protein which helps doughs to rise), I include more instant yeast in Brioche Buns than I would in regular bread rolls.
EASY, OVERNIGHT METHOD
Again because of the fat content, brioche dough is rather sticky and wet. I guess it’s for this reason that many recipes call for you to use a stand mixer. However, I don’t have a stand mixer. I don’t think I’d use it enough to warrant the space it would take up in my small kitchen.
Luckily, I’ve found that my method for no-knead bread can be adapted for making brioche without a stand mixer.
All you do, the night before you want to bake the Brioche Buns, is to rub the butter into the flour, sugar, yeast and salt. The eggs and milk are then added, and you bring everything together into a rough, shaggy dough simply by stirring.
The dough is then left overnight, or 12-14 hours.
SHAPING & BAKING THE BUNS
The next day, I knead the dough by hand for around five minutes. As I’ve said, the higher fat content in brioche inhibits gluten development. This is why, unlike with most of my breads, I do include some kneading in this recipe.
After shaping into nice round balls, the buns are left to rise for around an hour. By this time they should have doubled in size.
To get a shiny crust on the bun, just before baking I brush on a glaze of egg beaten with a pinch of salt.
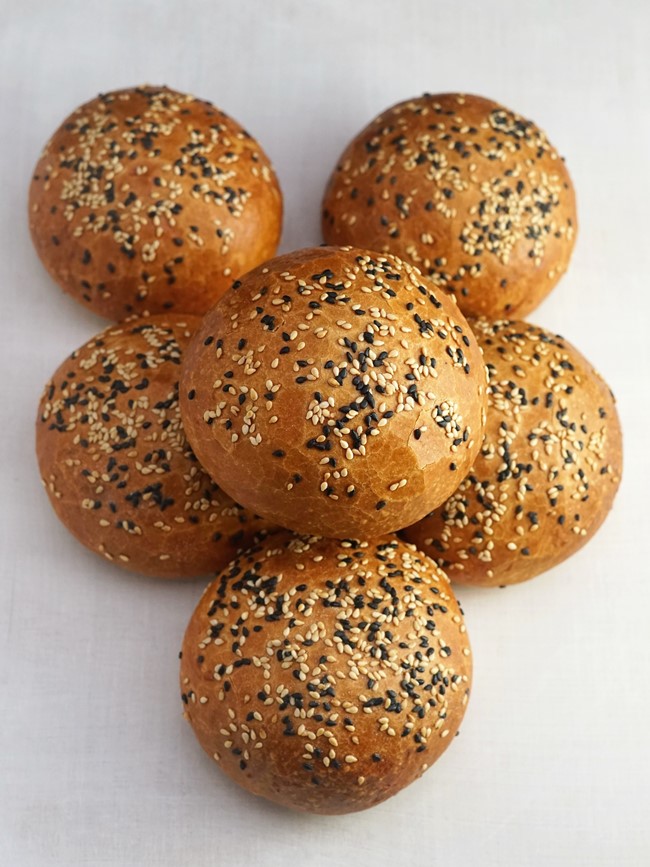
If you want to top it with seeds, brush on the glaze then sprinkle over sesame or poppy seeds. I like to add another layer of glaze just to make doubly sure the seeds stay on the bun.
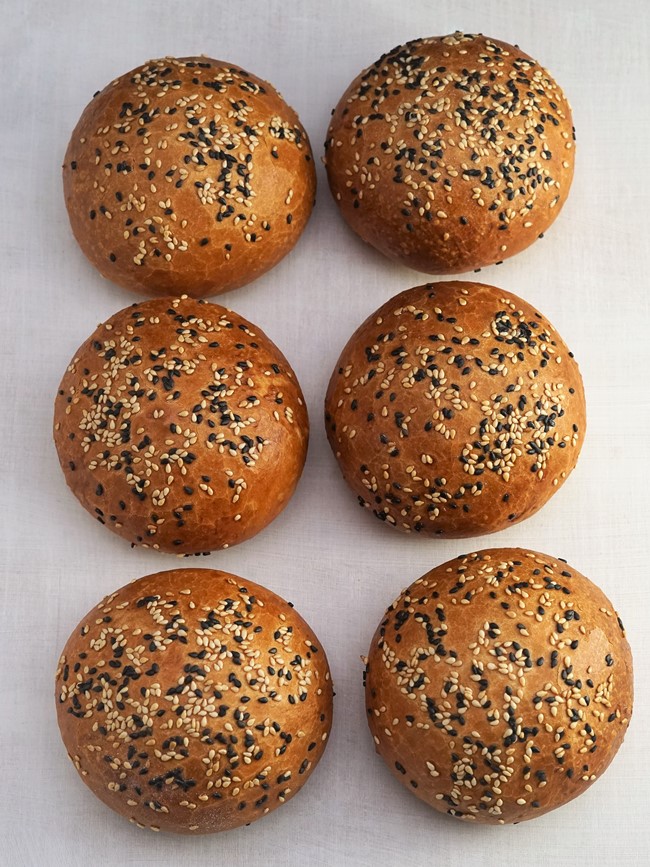
Because I don’t want a really crusty finish to my burger buns, I forgo my usual method of baking them in a searingly hot covered pot. However, I do want to help recreate that steamy atmosphere which allows bread to rise for longer.
To do this, while the oven is preheating, I put a deep roasting tray on the bottom shelf. As soon as the tray of buns are in, I quickly pour cold water into the hot tray and close the door. The resulting steam means it will take longer for a crust to form, allowing the bread to rise for longer.
After 20 minutes’ baking, I check how the buns are doing. I sometimes find the tray needs turning around to encourage even baking.
CAUTION: When you open the oven door, keep your face, arms and body well clear. Lots of very hot steam can quickly rush out and cause serious burns.
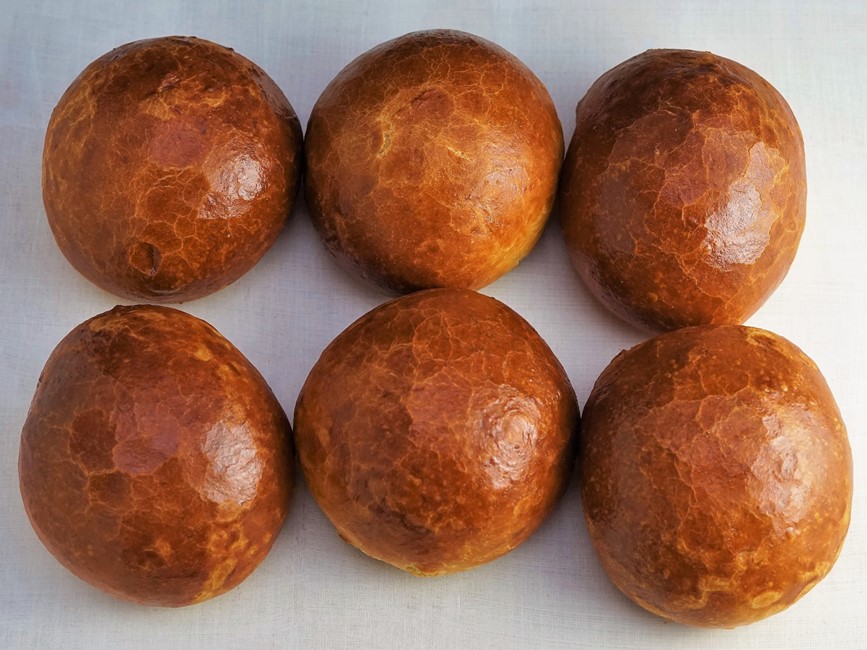
After a total of 25 minutes, the Brioche Buns should be deep brown, risen and cooked all the way through. Put them on a wire rack to cool.
SERVING BRIOCHE BUNS
With their rich taste, and a soft texture which still won’t fall apart in your hands, I think these buns are great with all manner of hearty, savoury fillings.
I like to brown the cut sides of the bun first, g etting it nice and toasty in a dry pan or on a griddle. This means that any sauces or juices are less likely to soak into the bread.
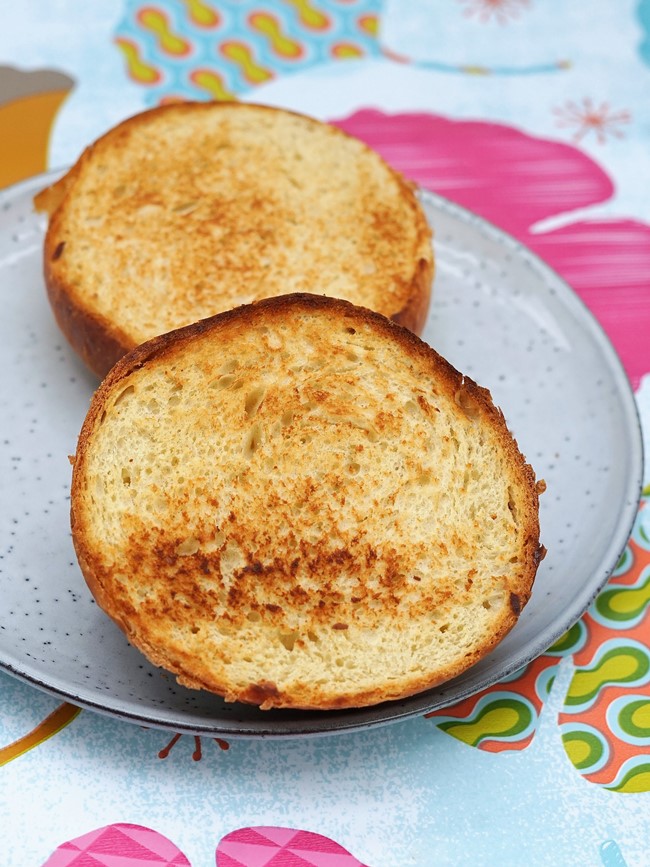
The basic test for a homemade bun like this is: will it stand up to and complement a good quality homemade burger?
I’m happy to say that the answer is yes! Here I went for a simple classic: beef burger patty topped with melted cheese, dill pickles, sliced onion, and BBQ sauce.
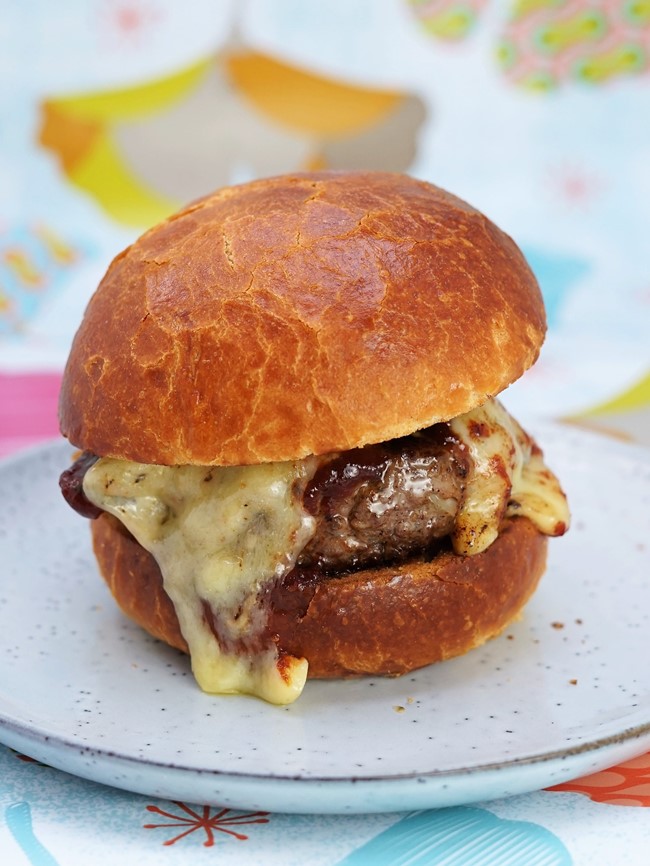
I thought it worked great. I could taste that this was a buttery brioche bun, but without the overly sweet taste that had put me off many brioche burger buns.
More interesting than a standard white bun, it still allowed the flavour of the meat, cheese and the rest of the filling to shine through.
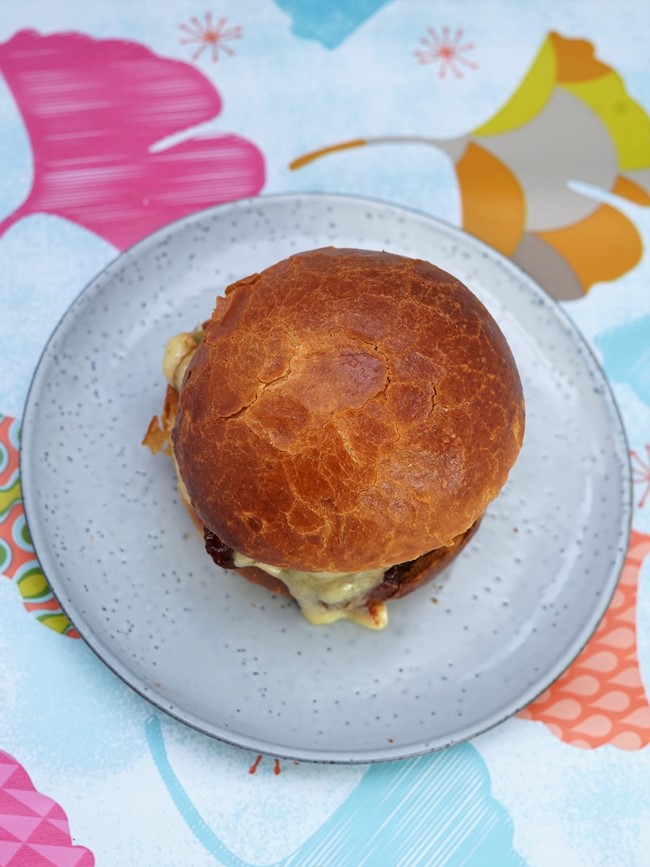
The texture of these buns is substantial enough that they’re not going to fall apart and go soggy. But they still have enough lightness so that you can actually finish them rather than getting carb overload. Success!
NOT JUST FOR BURGERS
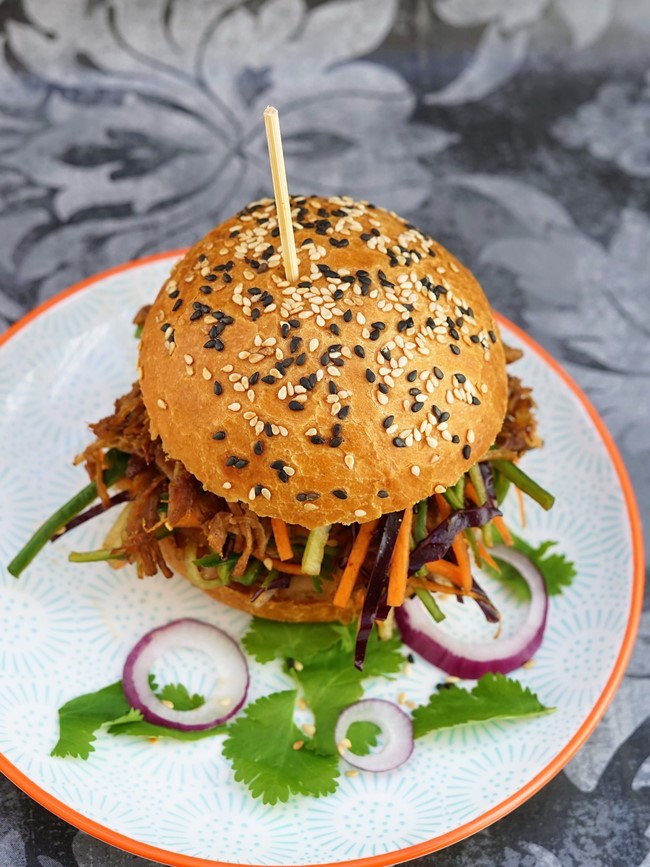
It’s popular these days to top your burger patty with pulled pork. But I also like soft, slow-cooked pork in a bun without a patty.
Here there’s leftover pork shoulder which I’d cooked with Chinese flavours (soy sauce, Shaoxing wine, garlic, ginger, five spice and other goodies). For crunch, there’s some of my Chinese Coleslaw Salad.
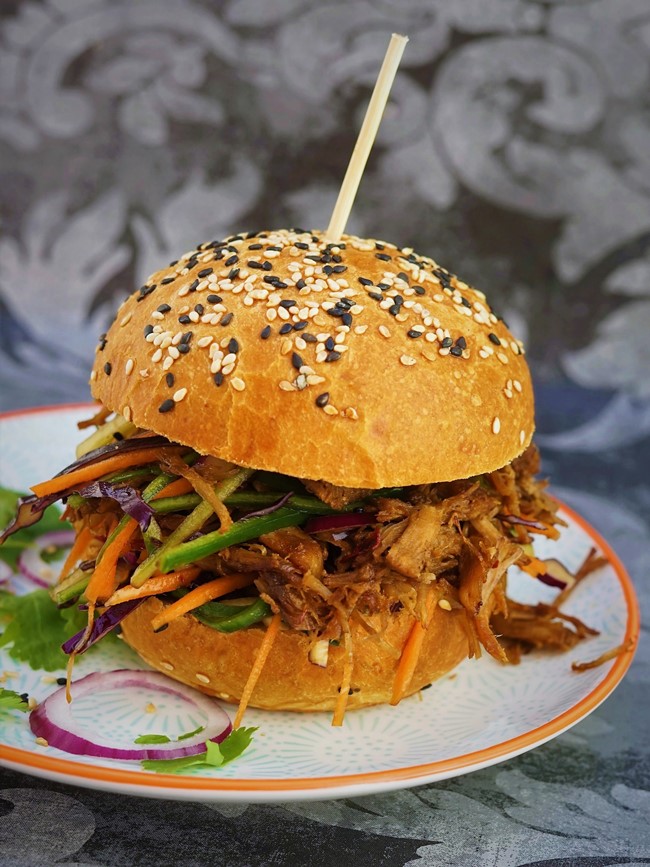
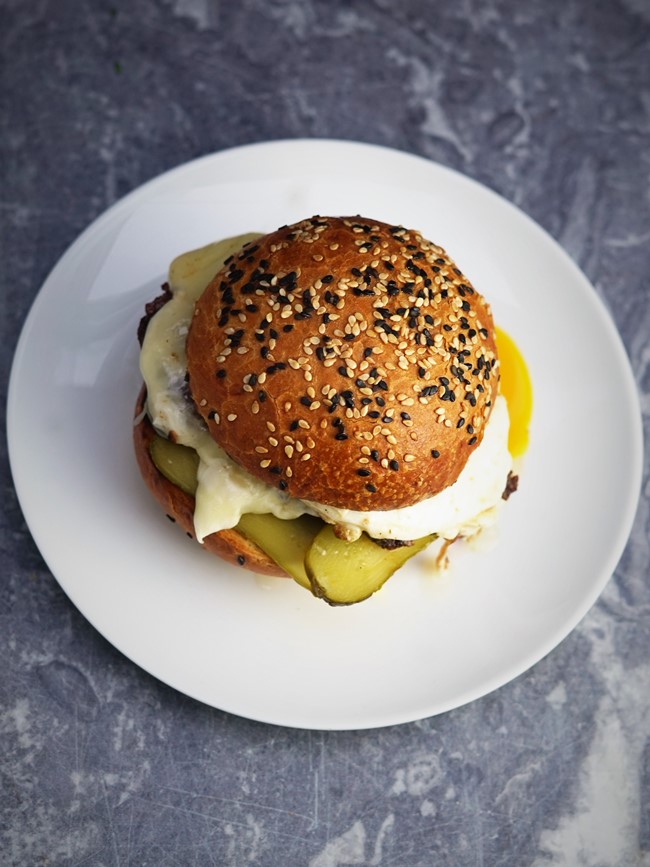
Or how about steak, cheese, and a runny fried egg in your Brioche Bun?
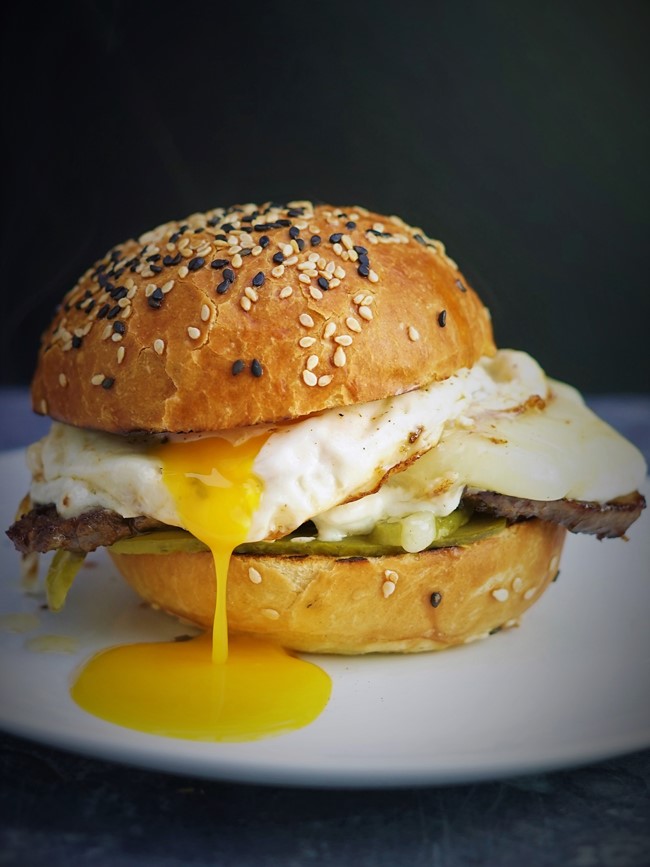
I think almost anything will taste great in these buns. I’ve enjoyed them with leftover roast chicken, shredded and mixed with mustard mayo. And even as the base of a good old bacon sandwich.
If you’re not going to eat all the buns within a couple of days, I’ve found that they freeze really well. Defrost at room temperature or in a microwave.
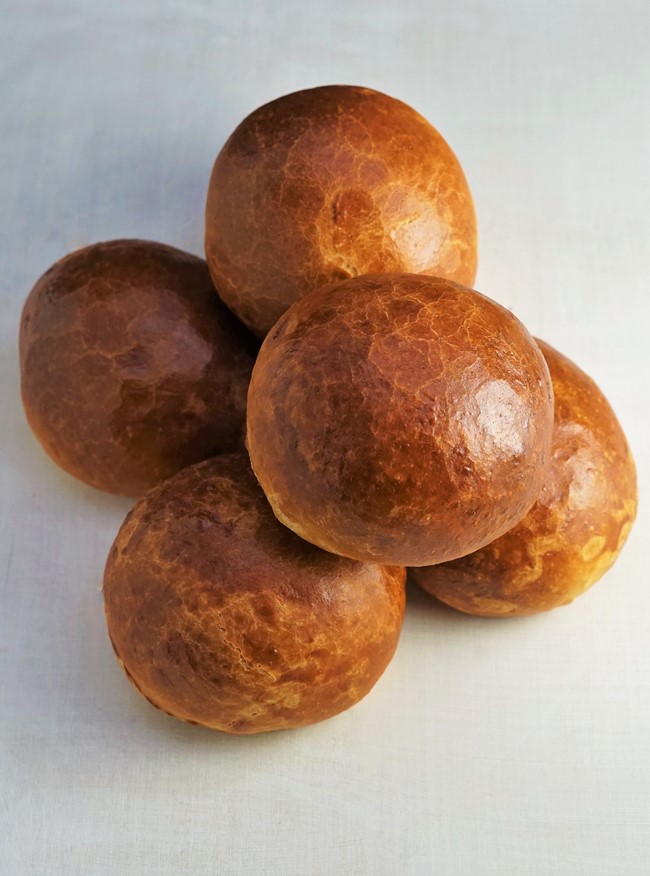
Are you looking for a bun that’s a bit special but is easy to make and isn’t loaded with sugar? Then these Brioche Buns might just be what you’re after.
Have you made these Brioche Buns?
Leave a comment and don’t forget to rate the recipe.

Brioche Buns
Easy but delicious bread buns, enriched with butter, egg & milk. A slow, overnight rise cuts down the kneading time and improves the flavour.
With less sugar than standard brioche buns, these are perfect for homemade burgers or pulled pork. Leave out the sugar entirely if preferred.
Ingredients
- 400 g white bread flour plus extra for kneading
- 1 tbsp sugar optional
- 2 tsp instant dried yeast
- 1 tsp salt
- 100 g butter diced small
- 2 large eggs beaten
- 150 ml milk
For the glaze
- 1 egg If you double the recipe, 1 egg will still be sufficient to glaze 12 buns
- 1 pinch salt
- 1 tbsp sesame seeds optional
Instructions
The day before you want to bake the bread
-
Put the flour, sugar, yeast and salt in a large bowl and stir together.
Rub in the butter.
-
Make a well in the centre of the flour then pour in the eggs.
Stir the mixture to start bringing it together, gradually adding the milk to create a ragged ball of dough.
-
Cover with cling film or a wet tea towel and leave overnight or 12-14 hours at room temperature.
On the day of baking
-
Line a baking tray with greaseproof paper or baking parchment.
-
Lightly flour a clean work surface and scrape the dough out onto it.
Knead the dough until smooth (approx 5 minutes) dusting sparingly with only as much as you need to prevent it sticking.
-
Divide the dough into 6 equal pieces (I recommend weighing for accuracy).
Lightly knead each piece into a ball then, with your fingers lightly touching the worksurface and a dough ball cupped beneath your palm, quickly move your hand in a circle to finish shaping the dough into a neat, round-topped ball.
Set each ball on the lined baking tray.
-
Cover the balls with oiled cling film or a wet tea towel and set aside until almost doubled in size (approx 1 hour).
Meanwhile, preheat the oven to 200 C / 180C Fan / Gas 6 with a shelf in the middle and a roasting tray on the bottom shelf (this will be filled with water later to create steam and help the buns rise).
-
Check that the dough is proofed:
If, when a finger is gently poked into the dough, the dough slowly springs back but leaves a slight indentation then it is ready to bake.
If the dough springs back quickly then it's not yet fully proofed: leave it another 8-10 minutes and check again.
-
When the dough is ready to bake, make a glaze by beating together the egg and salt.
Brush the glaze over the buns.
If using the sesame seeds, add one layer of glaze, sprinkle them over, then cover with another layer of glaze.
-
Put the tray of buns in the oven.
Carefully pour cold water from a jug into the hot roasting tray in the lower part of the oven. and close the door.
Leave to bake (without opening the oven door and letting the steam out) for 20 minutes.
-
After 20 minutes carefully open the oven door (caution: there will be a lot of very hot steam so keep your face, hands etc. out of the way) and, if necessary, turn the tray around to ensure the buns cook evenly.
Cook until the buns are deep golden brown and sound hollow when tapped underneath (approx 5 min more).
-
Cool on a wire rack.
Use within 2 days or freeze on day of baking.
RELATED RECIPES


Hi! I love would love to try this recipe and I’m wondering if you have baked them without the added pan of water. Does it make that much of a difference in the outcome of the crust and how they bake up?
Cheers!
Emily
Hi Emily,
I haven’t tried this recipe without the pan of water so couldn’t say exactly what difference it would make without it. But more steam should, all other things being equal, help the bread to rise longer by inhibiting the formation of a crust. I’m sure you’ll still get a good rise without it though.
Let me know how you get on if you try it!