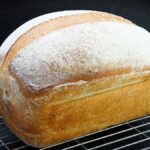
Simple White Bread (Split Tin Loaf)
Simple White Bread or Split Tin Loaf is a classic that’s perfect for sandwiches and toast. In this recipe, the dough is enriched with a little butter to add flavour and aroma to this tasty bread with a soft crumb and lightly chewy exterior. With simple ingredients, you might be surprised at just how good this easy bread is.

Disclosure: this post may contain affiliate links. If you buy via my links, I may earn a small commission at no extra cost to you.
Jump to Recipe

SIMPLE WHITE BREAD
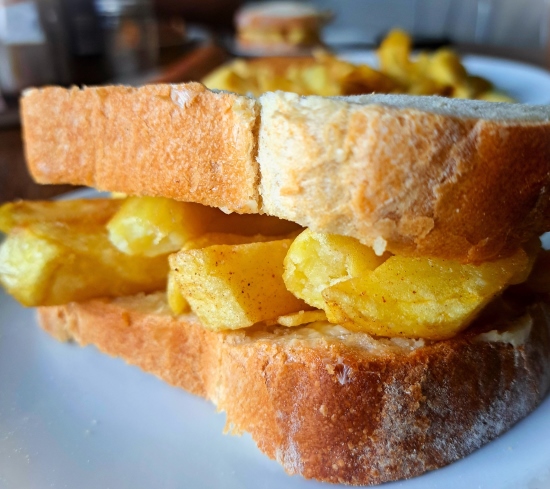
For everyday eating, I do enjoy my healthy, nutritious Multigrain Seeded Bread. But for me, there are times when only a light, soft and fluffy white loaf will do. I’m talking chunky weekend brunch sandwiches of bacon, sausage, or maybe crispy fish fingers. Or thinly cut teatime sandwiches with classic fillings like cheese, ham and egg. And for chippy teas, who doesn’t love a sarnie of hot chips melting the butter thickly spread on white bread?
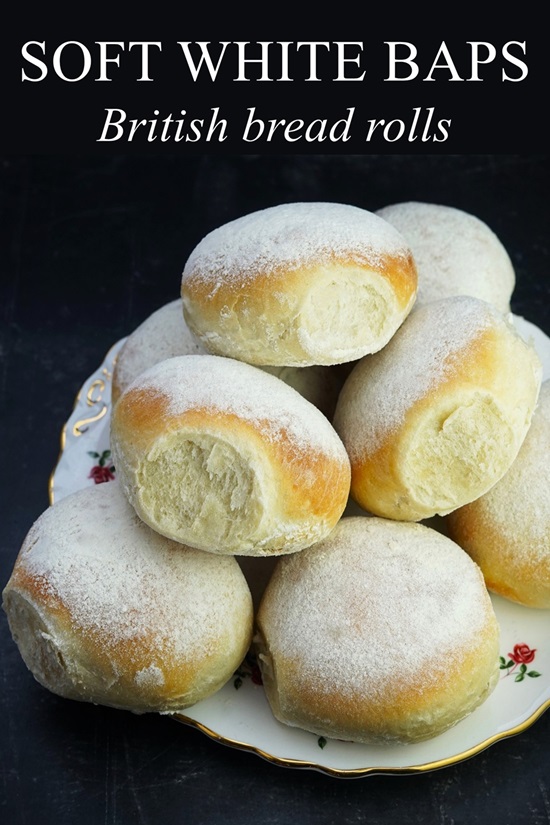
But so many mass-market white loaves are flimsy, gummy, and with next to none of that lovely fresh bread flavour. Which is where my Simple White Bread comes in. The dough, based on my Soft White Baps, includes a little butter which adds a hint of richness to this tasty, easy loaf with a wonderful aroma.
Due to its baking method and distinctive slash along the top, my version is also known as a Split Tin Loaf. I like to bake it with extra flour dusted over the top which helps keep it soft. But you can leave that off if you prefer a crisper finish.

You’ll find full instructions in the detailed recipe card at the end. But I recommend you read the whole blog post first for tips and step-by-step images.
INGREDIENTS & EQUIPMENT
To make Simple White Bread or Split Tin Loaf you’ll need:
- Strong white bread flour. Bread flour has better gluten-forming properties than plain flour so gives better structure.
- Instant yeast. For my method, you must use the type of dried yeast that doesn’t need to be activated before use. Often labelled ‘fast acting’ or similar, it can be added to the flour straight from the pack.
- Salt. As well as enhancing flavour, salt helps give structure to the dough.
- Caster sugar. Although I don’t add sugar to my no-knead overnight breads, a little in same-day kneaded doughs speeds things along.
- Butter. Gives a little rich flavour and aroma as well as a softer crumb.
- Warm water. The ideal temperature for yeast to work is 38 degrees centigrade. However, it works at quite a wide range of temperatures – as can be seen in room temperature or even fridge-risen doughs. If you don’t have a food thermometer to check the water is 38 degrees, then err on the side of cooler: too hot and it will kill the yeast. 38 degrees centigrade is a little above body temperature so the water should feel pleasantly warm if you put a finger in it.
- Oil for greasing. This is to stop the dough sticking to the bowl as it rises. Any bland oil will do e.g. sunflower.
The only vital equipment is a loaf tin (preferably non-stick) with a capacity of 900 ml / 2 lb.
MAKING SIMPLE WHITE BREAD
The hands-on time required for making this bread is probably only around 15 minutes. This includes mixing up the dough, kneading, and shaping it. You’ll also need to allow time for a first rise (approximately 60 – 90 minutes) and a second rise or proving (30 – 40 minutes).
MAKE THE DOUGH
Start by stirring together in a bowl the bread flour, instant yeast, salt, and sugar. The butter, melted, goes in next along with the warm water. As different flours absorb different amounts of liquid it isn’t possible to be exact about the amount of water you’ll need. But 400 ml is usually about right for the 675 grams of flour in this recipe. The main thing is to stir in the water gradually to avoid a dough that’s wet.

When a dough has almost formed, tip out onto a clean work surface, ideally covered with a silicone mat. Now fold and knead to finish bringing it together, only adding just enough extra flour to prevent sticking. If it seems dry, add a tiny sprinkle of extra water. Continue kneading until you have a smooth, soft dough that immediately springs back when you poke a finger into it. This should take about 10 minutes. If you haven’t kneaded dough before, take a look at this BBC video.

FIRST PROVE
The dough should now be left in a warm place to double in size. I put a teaspoon of oil in the wiped-out mixing bowl and turn the dough in it, so it’s lightly coated. Then I put the bowl in a large reusable polythene bag and pop in my small top oven which I’ve previously heated to its lowest temperature then turned off. If the oven seems a little too hot, I’ll leave the door open for 30 minutes or so then shut it.
In a warm spot like this, it usually takes 60 minutes to double. You can leave it at room temperature if you like, although it will take longer.
SHAPING THE BREAD & SECOND PROVE
When the dough has doubled, tip it onto your work surface or silicone mat. Fold the dough over itself several times until it’s smooth. As you fold, shape it into a fat sausage the length of your tin. Due to the oil you added to the bowl, you shouldn’t need any extra flour to do this. Before transferring the dough into it, I grease the tin with butter and dust with flour to make certain it won’t stick.

The dough now needs its second rise or proof before baking. Put it somewhere warm again unless you don’t mind it taking longer. Depending on the temperature, this will take around 30 – 40 minutes. But the best way to test whether this, or any other dough, is ready to bake is to gently poke a finger into it. If the dough slowly springs back but leaves a slight indentation, it’s ready. If the dough springs back quickly then it’s not ready, so leave a little longer and check again.
While the proving’s happening, preheat your oven to the temperature shown in the recipe card. Position a shelf in the middle of the oven to bake the bread on. I also recommend putting another shelf in the lowest position with a deep roasting tray on it to preheat too. I’ll tell you why below.
BAKING SIMPLE WHITE BREAD OR SPLIT TIN LOAF
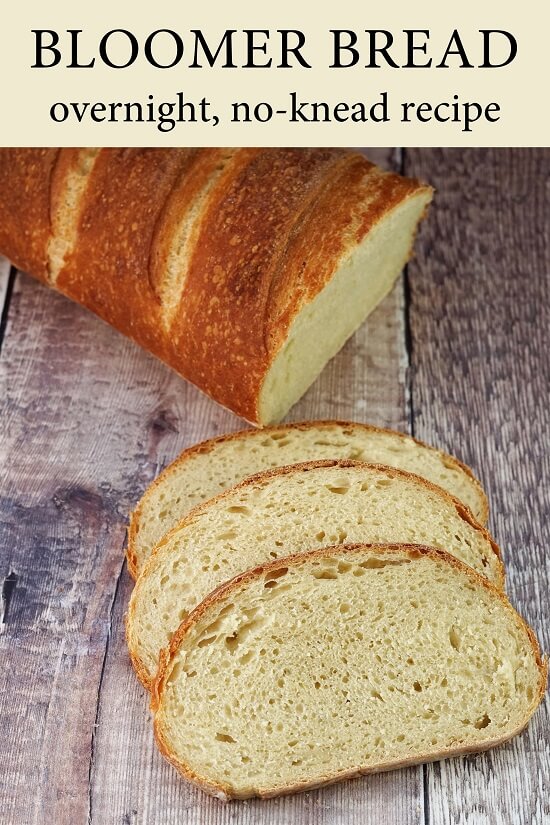
When ready to bake, I sift plenty of flour over the top of the loaf. This is optional, so skip if you like. But I think it makes the loaf distinctive as well as helping to promote a softer crust which I like for this bread. After dusting over the flour, I make a long, deepish cut all along the top of the dough. This is why it’s also called a Split Tin Loaf. Cutting in this way, with a sharp knife or a special baker’s lame, ensures a neat finish rather than the dough splitting at any random weak point. To accentuate the split, you can brush cold water into it – a trick I also do with my Bloomer Bread.

Now put the bread tin on the middle shelf. If you’ve heated a roasting tray beneath as well, pour cold water into it. Immediately close the door. As it heats up, the water will create steam. This helps the bread rise for longer, the steamy atmosphere delaying crust formation. You don’t have to do this extra step, but I think it helps.
After 20 minutes, the loaf should be well risen and starting to turn golden. But it will need longer at a lower temperature (see the recipe card for details) to ensure it’s fully cooked. Because my oven cooks a little unevenly, I turn the bread around part way through too. Important: if you’ve added the extra tray to create steam then keep your hands and face well clear when you open the door as lots of steam can quickly rush out!

When the bread is done (usually another 20 – 25 minutes), the bottom should sound hollow if you take it out of the tin and tap it. If it’s not quite ready, or if you’re unsure, put it back in the oven for another 5 minutes and check again. If the top is browning too quickly before the bread’s done, turn the heat down a little.
SERVING & STORING
When the Simple White Loaf/Split Tin Loaf is baked, transfer it to a cooling rack. Leave it there until completely cold. I also cover it with a clean tea towel to absorb any escaping steam. This should help to promote a softer top but, again, omit this if you prefer it crunchier.
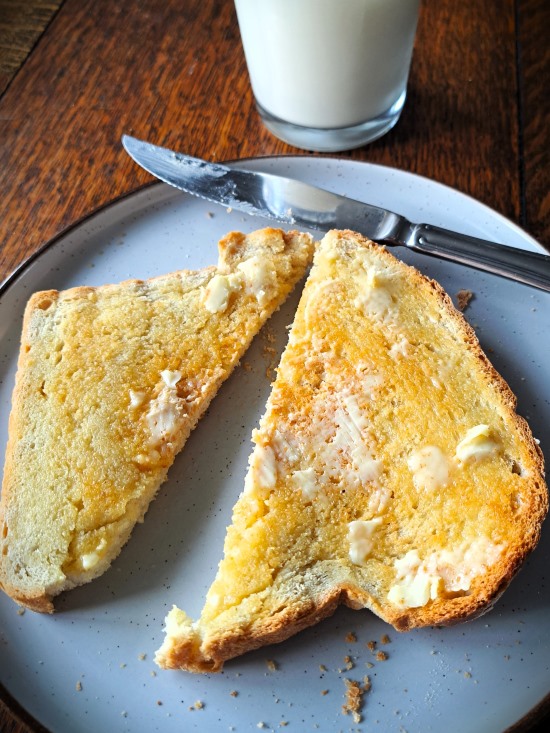
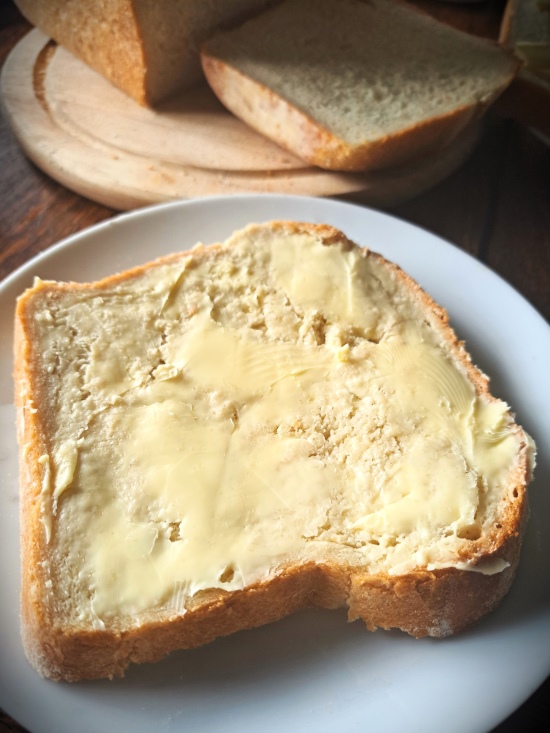
This surprisingly tasty bread with a soft crumb and lightly chewy exterior is at its best eaten within a couple of days of baking. But, later, it makes fantastic toast either simply buttered or topped with jam, poached eggs, pate, or whatever you like.
With a household of just two though, I usually freeze at least half of most loaves. They come to no harm at all in the freezer for over a month. For convenience, on the day after baking I slice what’s left before putting into a freezer bag. That way I can just take out as much as we need without waste.
If you’ve made my Simple White Loaf aka Split Tin Loaf I’d love to know what you thought. Please do leave a comment and recipe rating.


Simple White Bread (Split Tin Loaf)
An easy classic that's perfect for sandwiches and toast, here the dough is enriched with a little butter for extra flavour and aroma.
Please read the accompanying blog post before starting and use metric measurements.
Ingredients
- 675 g strong white bread flour (plus extra for dusting)
- 2 level tsp salt
- 1.5 tsp instant dried yeast (i.e. the type that does not need activating before adding to the rest of the ingredients
- 1.5 level tsp sugar
- 25 g butter (plus extra for greasing the tin)
- 400 - 425 ml warm water (see Recipe Notes)
- 1 tsp bland oil (e.g. sunflower) for greasing the bowl
Instructions
-
In a large bowl, stir together the flour, yeast, salt, and sugar.
Melt the butter then make a well in the centre of the flour and pour in the butter.
Add 350 ml of the warm water, stirring as you do so, to start bringing the mixture together. Gradually add more water until the dough is almost formed - it doesn't matter if there are a few bits of loose flour at this stage.
Note: different flours absorb different amounts of liquid, so you may not need all the water or you may need a splash more but the dough should be neither wet nor dry.
-
Tip the dough and any remaining flour from the bowl onto a clean work surface or silicone mat. Fold and knead to form a dough, only adding a little extra flour if needed to prevent sticking or a splash of water if it seems dry.
Keep kneading for 10 minutes or until you have a soft, smooth ball of dough that immediately springs back when you poke a finger into it.
-
Wipe out the bowl and put 1 tsp of oil in the bottom.
Turn the dough in the oil to coat it, then cover the bowl and put in a warm place (e.g. an oven heated to very low then turned off) or until doubled in size (approx. 60 minutes, or longer in a cooler place).
-
Grease a 900 ml / 2 lb capacity loaf tin with butter then dust it with flour.
When the dough is risen, transfer it to your work surface.
Fold the dough over itself several times until it's smooth, at the same time shaping it to fit the length of the loaf tin: try not to add more flour, only if necessary to prevent the dough sticking to the work surface.
Put the dough in the prepared tin and place in a large polythene bag or cover with a wet tea towel. Set aside in a warm place until almost doubled in size (30 - 45 minutes).
-
While the dough is proving:
Preheat your oven to 220°C / 200°Fan /Gas 7 / 425°F with a shelf in the middle. Place another shelf in the lowest position and put a deep roasting tin on it to preheat (later, you will pour in cold water to create steam and help the bread rise: do not use glass or it could shatter).
-
Check that the dough is proofed:
If, when a finger is gently poked into the dough, the dough slowly springs back but leaves a slight indentation then it is ready to bake.
If the dough springs back quickly then it's not yet fully proofed: leave another 5 -10 minutes and check again.
-
Optional: Using a small sieve, sift flour over the surface of the dough.
-
Take a sharp knife or bakers lame and make a deep cut all along the length of the dough. Tip: brushing a little cold water along the cut encourages it to open up.
Place the tin in the oven then pour cold water from a jug into the hot roasting tin below. Immediately close the door.
Bake for 20 minutes.
-
After 20 minutes reduce the oven temperature to 200°C / 180°Fan /Gas 6 / 400°F.
Cook for a further 20 - 25 minutes or until the bottom of the loaf sounds hollow if you take it out of the tin and tap it. If the loaf is browning too quickly, turn the heat down a little.
Caution keep your face, hands etc. out of the way when you open the oven door in case any hot steam billows out.
-
Remove from the tin and place on a wire rack until completely cold before slicing.
Best eaten within 2-3 days or can be frozen.
Tip: slice before freezing so you can take out just as much as you need without wastage.
Recipe Notes
Water temperature
Ideally, the temperature of the water should be 38 degrees Centigrade. If you don't have a food thermometer then the water should be pleasantly warm if you put a finger in it, not hot. If in doubt, err on the side of cooler: the dough will take longer to rise, but this is better than hot water killing the yeast.
Amount of water
Different flours absorb varying amounts of liquid, so it isn't possible to be exact about how much water you will need, but it's likely to be around 400 ml. I recommend making up a 450 ml jug of warm water and just use as much as you need.
RELATED RECIPES


Excellent recipe – foolproof and delicious. I don’t have a loaf tin the right size, so baked it in my 5l cast iron pot and took the lid off after 20 minutes. Looked beautiful and like I’d slaved over a hot stove for hours.
Thanks for your lovely feedback Henrietta. So glad you enjoyed my recipe!