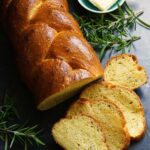
Braided Herb Bread
Braided Herb Bread, or Plaited Herb Bread, is a deliciously soft no-knead yeasted loaf made with a dough enriched with butter, eggs, and milk. I love it flavoured with chives and rosemary, but you can swap in your favourite aromatic herbs such as thyme or basil. Wonderful as a side to soups and salads, meats and cheeses. Or just spread with butter for a moreish savoury snack.

Disclosure: this post may contain affiliate links. If you buy via my links, I may earn a small commission at no extra cost to you.
Jump to Recipe
How I wish you could smell some freshly baked Braided Herb Bread right now. Because if the photos here aren’t enough to tempt you, one whiff of its incredible aroma and you’ll be running for your apron!

The smell of baking or just baked bread is appetising enough. But add fresh herbs and my mouth positively waters. And in the case of the wonderful loaf I’m sharing today, the rich dough itself is rather special too.

BRAIDED HERB BREAD
While you can add herbs to almost any bread dough, I wanted to make this one extra delicious. I knew I wanted a beautiful looking braided loaf (often called plaited, pronounced platted, here in Britain) with a shiny, egg-wash finish. So I decided that an enriched dough would be most fitting.

With butter and eggs (plus milk), it’s similar to brioche, although with less butter and eggs than classic brioche. My version still has a wonderful soft texture and full flavour but, unlike most brioche doughs, you don’t need a stand mixer.
The three-strand plait or braid shape is simple to achieve. Even if you don’t get it perfect first time, the loaf will still taste good. And thanks to my no-knead overnight method, the dough itself isn’t difficult to make either.

Note: the primrose yellow interior of my loaf is due to the deep golden yolks of the local free-range eggs I use, so the colour of yours may be more subtle.
NO KNEAD OVERNIGHT DOUGH
Many years ago, I learned that a wetter dough plus a long fermentation (sometimes call first proof or prove) can replace the kneading of conventional bread making. Together, these promote the development of gluten which is normally achieved by kneading. And it’s gluten that gives bread its rise and structure.
When I say long fermentation, I’m talking 12 – 14 hours at normal room temperature. For most of us, this means it’s convenient to mix up the dough in the evening then shape and bake the next day. But the method is very forgiving, and you can adjust it to your own routine. For example, if you’re out all day, you can slow down fermentation in the fridge. It will sit there happily until you come home the following evening.
I think this method becomes even more invaluable when dealing with stickier doughs like those enriched with eggs and butter. Normally requiring a stand mixer and dough hooks, this bread can be made by those of us who don’t have such equipment.
HOW TO MAKE BRAIDED HERB BREAD
You’ll find full instructions and ingredient amounts in the recipe card at the end. But please read the whole of this post first for extra tips and step-by-step images to guide you. You should also use digital scales and metric measurements as these were used to test the recipe.
The basic steps are:
- Stir up the dough and leave to ferment overnight.
- Shape the bread.
- Leave for its second rise or prove.
- Bake.

INGREDIENTS FOR BRAIDED HERB BREAD
- Strong white bread flour. Has better gluten-forming properties than plain/all-purpose flour.
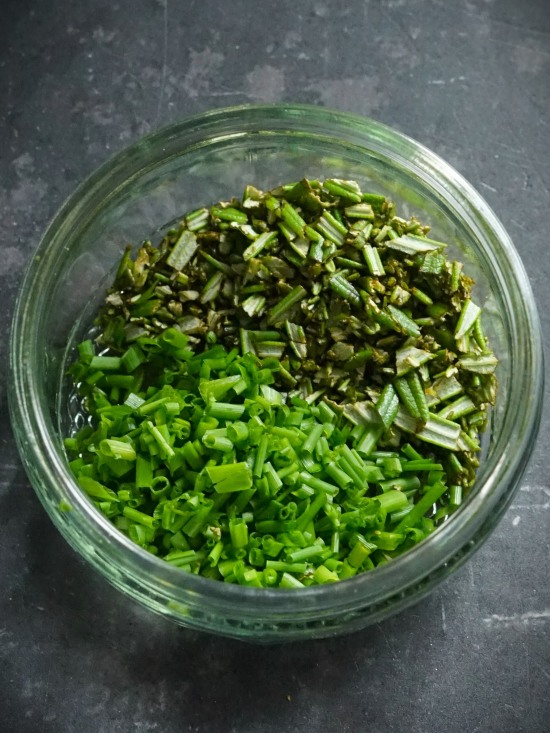
- Fresh herbs. I’ve used rosemary and chives, but you can swap in your favourites e.g. basil, oregano, thyme. I don’t recommend dried herbs for this bread.
- Instant dry yeast. This is the type you add to the rest of the ingredients without having to first activate in warm liquid.
- Salt. Gives structure to dough as well as enhancing flavour.
- Eggs. I use 2 large in the dough plus a small one for the glaze.
- Butter. There’s no substitute for real dairy butter. I always buy it salted but use unsalted if preferred.
- Milk. Use whole cow’s milk for best flavour.
THE DAY BEFORE
To make the dough, put the flour, finely chopped herbs, dry yeast, and salt into a mixing bowl and stir together. Now make a well in the middle and pour in the beaten eggs plus the butter, melted. Stir to start bringing the ingredients together, gradually adding enough milk to create a wettish but still firm dough with no bits of dry flour visible.

As the size of eggs varies, and different flours can absorb different amounts of liquid, you might find you don’t need all the 200 ml of milk suggested in the recipe card. On the other hand, it may take a splash more to get the dough looking like the final image above.
You should now cover the dough (I put the whole thing in a large reusable polythene bag) and leave overnight to ferment. As already mentioned, if the room is warm, or you just want to extend fermentation, you can do all or part of this step in the fridge.
THE NEXT DAY
In the morning, the dough should have risen and spread out. But don’t worry if it hasn’t doubled: this is to be expected as fat in butter and eggs can inhibit gluten development in enriched doughs. What you should see underneath (image below right) is a holey network of gluten strands. If you don’t see this, leave for longer. If you fermented in the fridge, leave the dough to come to room temperature before continuing.

To reduce sticking and the need for adding extra flour, I cover my work surface with a silicone mat (affiliate link). Recommended for all types of baking, I find the mat makes cleaning up easier too. Sprinkle very lightly with flour (a little more if you don’t have a mat) then place the dough onto it. Divide into 3 equal pieces, using digital scales for accuracy.
Fold each piece into a smooth ball, then roll into strands 30 – 32 cm long. Try to get them as smooth and even as you can. If you find the strands spring back, leave them to relax a while then come back to them.

To form the braided or plaited loaf, place the three strands vertically side-by-side (but not touching). Pinch the top ends firmly together. Bring the left-hand strand over so it is now in the middle. Then bring the right-hand strand over so it is in the middle (third image in the set above). Continue this crossing over, moving the outside strands to the middle in turn and keeping them tight together, until you reach the end. Pinch the bottom ends together then, for a neater finish, tuck and pinch the top and bottom ends under the loaf.
SECOND RISE OR PROVE
The bread now needs its second rise or prove. Carefully lift it and place on a greased or lined baking tray. I use a belt and braces approach: line with baking paper but grease the tray first to stop the paper moving around.

Cover or put back in a large reusable polythene bag and set aside, ideally somewhere warm. Depending on temperature, the prove should take 30 – 45 minutes. The best way to check if the dough is ready to bake is to gently insert a finger. Does the dough quickly or slowly spring back? If it springs back slowly and an impression is left by your finger, then the dough is ready. If it springs back immediately and doesn’t leave an impression, prove for longer, then check again.
Towards the end of the 30 – 45 minutes, you should preheat your oven to the temperature shown in the recipe card.
As well as placing a shelf in the middle position on which you’ll bake the Braided Herb Bread, I’ve an optional tip to help give it a good rise. Put another shelf in the lowest position with a deep metal roasting tin on it to preheat too. Later, you pour cold water into this to create steam. This delays a crust forming so your dough can rise for longer. Note you should NOT use a GLASS baking dish for the bottom tray: it could shatter when the cold water goes in.
BAKING BRAIDED HERB BREAD
When the loaf is ready to bake, brush over a generous layer of beaten egg.

Place the bread on its tray on the middle oven shelf. Now pour cold water from a jug into the hot metal baking tin on the bottom shelf and shut the door. IMMEDIATELY turn the oven down to the lower temperature given in the recipe card. The initial quick blast of higher heat gives the rise a boost, but we turn it down straight away so the outside doesn’t scorch.
Leave to bake for 20 minutes, without opening the oven door. After 20 minutes carefully open the oven door: keep your hands and face out of the way in case there’s any steam left that could rush out. Discard the bottom tin and any water left in it. Take out the bread on its tray, then return the loaf to the oven placing it directly on the shelf this time. Before returning to the oven, I like to give it another layer of beaten egg for a deeper glaze.

Bake for another 10 – 12 minutes or until the loaf is dark golden brown. Check it’s completely cooked through by tapping the underside: it should sound hollow. Place on a wire rack to cool before slicing.
DELICIOUSLY EASY BRAIDED OR PLAITED HERB BREAD
If you make this bread, I hope you’ll agree that for remarkably little effort you get a beautiful looking loaf that doesn’t disappoint on flavour either. Cut into the inviting, glossy crust and you’ll find a soft, rich crumb beautifully flavoured with herbs. I think it’s wonderful eaten it on its own spread with butter, or alongside meats, cheeses, soup or salad.

My simple no-knead recipe is easily mastered. And there’s loads of ways of varying it to create all kinds of delicious enriched breads. Try stirring in some chopped garlic or finely grated Parmesan at the same time as the herbs. Or maybe sprinkle with coarse sea salt, sesame or poppy seeds after the egg wash before baking.
If you’ve made this Braided or Plaited Herb Loaf, I’d love to know what you thought. Please do leave a comment and rating.

Braided Herb Bread
A deliciously soft no-knead yeasted bread made with a dough enriched with butter, eggs, and milk and flavoured with rosemary and chives or your favourite herbs. Wonderful as a side to soups and salads, meats and cheeses. Or just spread with butter for a savoury snack.
It's recommended that you read the accompanying blog post before starting. For best results, use digital scales and metric measurements as these were used to test the recipe.
Ingredients
- 500 g white bread flour (plus extra for dusting)
- 1 - 2 tbsp finely chopped herbs (e.g. rosemary, chives: see Recipe Notes)
- 2 tsp instant dry yeast (i.e. the type that can be added to the rest of the ingredients without activating first)
- 1.5 tsp salt
- 2 large eggs (beaten)
- 100 g butter (melted)
- 200 ml whole cow's milk (approx.)
For the glaze
- 1 small egg, beaten (You won't need it all. Milk can be substituted although the finish will not be as glossy)
Instructions
The day before baking
-
In a large bowl, stir together the flour, chopped herbs, instant dry yeast, and salt.
Make a well in the centre then pour in the beaten eggs and the melted butter.
Stir to start bringing the mixture together, gradually adding only enough milk to create a wettish but still firm dough. Stir well to thoroughly combine the ingredients, making sure there's no bits of dry flour: see image in the blog post for how the dough should look.
Tip: as the size of eggs varies, and different flours absorb different amounts of liquid, you may not need all the milk or you may need a splash more.
-
Cover the bowl or place in a large reusable polythene bag and leave to ferment for 12-14 hours at room temperature.
Tip: If you want to slow fermentation down (e.g. if the room is warm or it's more convenient) do the fermentation in the fridge or leave at room temperature for a few hours then put in the fridge overnight.
On the day of baking
-
The dough should have risen and spread out but is unlikely to have doubled: this is normal. However, underneath you should see small bubbles (see image in blog post): if not, leave for longer. If it's been in the fridge, allow to come to room temperature before proceeding.
-
Very lightly flour a clean work surface, ideally covered with a silicone mat to reduce sticking, and turn the dough onto it. Divide the dough into 3 equal pieces, using digital scales for accuracy.
Lightly knead each piece into a ball, then roll into strands 30 - 32 centimetres long, making them as even and smooth as possible.
Tip: if the strands shrink back as you roll, leave them to relax a little then try again.
-
Braid/Plait the strands
Place the strands vertically side by side (but not touching) then pinch firmly together at the top.
Bring the left-hand strand over the middle one so it is now in the middle. Now bring the right-hand strand over so it is in the middle.
Continue this crossing over, moving the strands to the middle in turn, keeping them tight together, until you reach the end. Pinch the bottom ends together firmly.
Tip: tuck and pinch the ends underneath the loaf for a neater look.
-
Carefully lift the loaf and place it on a greased or lined baking tray (greasing the tray before lining with paper will stop the paper moving around).
Cover or place in a large reusable polyethene bag and leave in a warm place to prove for approximately 30 - 45 minutes or until when a finger is gently poked into the dough, it slowly springs back but leaves a slight indentation. If the dough springs back quickly then it's not yet fully proofed: leave it another 5-10 minutes and check again.
Tip: complete the next step while the dough is proving.
-
While the dough is proving: preheat the oven to 220° C /200° Fan /Gas 7 /425°F with a shelf in the middle and a metal roasting tin on the bottom shelf (this will be filled with water later to create steam and help the bread rise: DO NOT USE A GLASS DISH as it could shatter when the cold water hits the hot glass).
-
When the dough is ready to bake, brush all over with beaten egg.
-
Put in the oven on the middle shelf and pour cold water from a jug into the hot metal roasting tin in the lower part of the oven then close the door.
IMMEDIATELY reduce the oven temperature to 200° C /180° Fan /Gas 6 /400° F.
Leave to bake (without opening the oven door and letting the steam out) for 20 minutes.
-
After 20 minutes:
- carefully open the oven door (caution: there may be a lot of very hot steam so keep your face, hands etc. out of the way) and remove the tin of water.
- take the tray with the bread out of the oven, but put the bread back in, directly on the middle shelf this time.
Optional: brush on another layer of beaten egg before returning to the oven.
Cook for another 10 - 12 minutes OR until the bread is dark golden brown and sounds hollow when tapped underneath.
-
Transfer to a wire rack to cool before cutting into.
Best eaten within 2 days or can be frozen.
Tip: slice or cut into chunks before freezing so you can take out as much as you need without waste.
Recipe Notes
Herbs. Almost any fresh herbs can be used, singly or in combination, e.g. oregano, basil, rosemary, chives, thyme. If using all strongly flavoured herbs such as rosemary and oregano, you may wish to use 1 tbsp rather than 2. My preference is for 1 tbsp each of chopped rosemary and chives. Dried herbs are not recommended for this recipe.
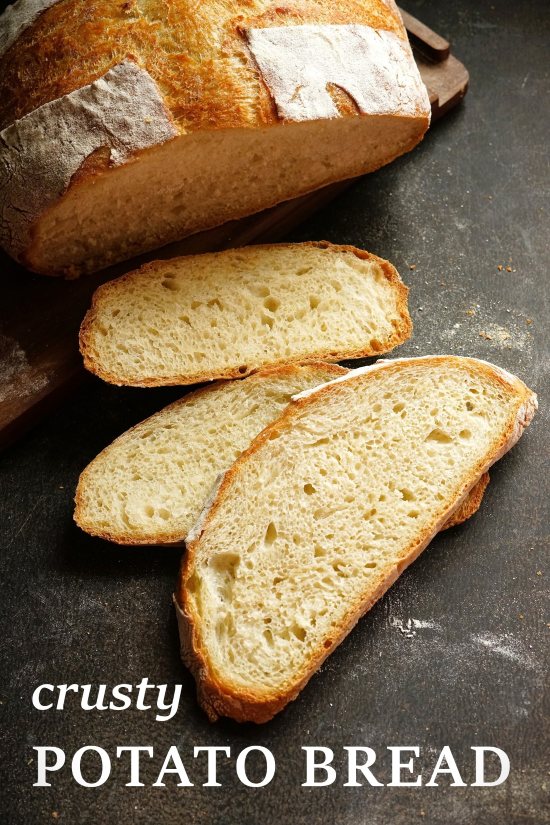
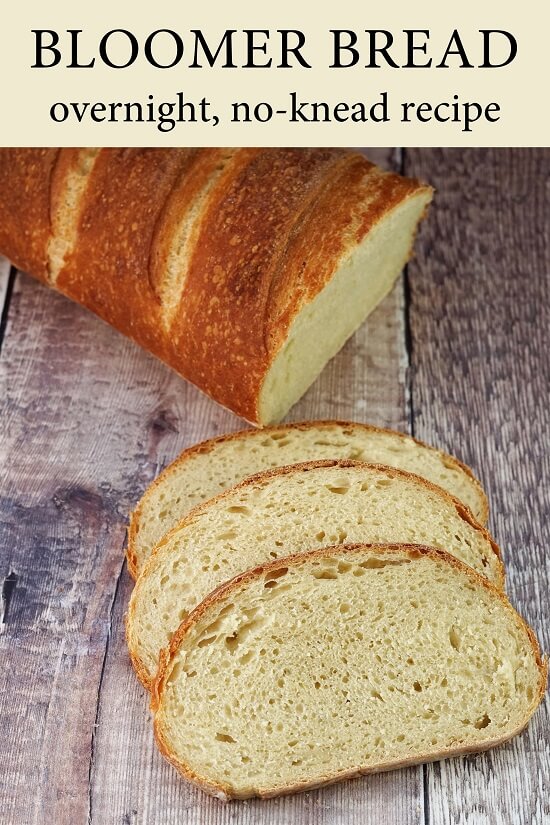
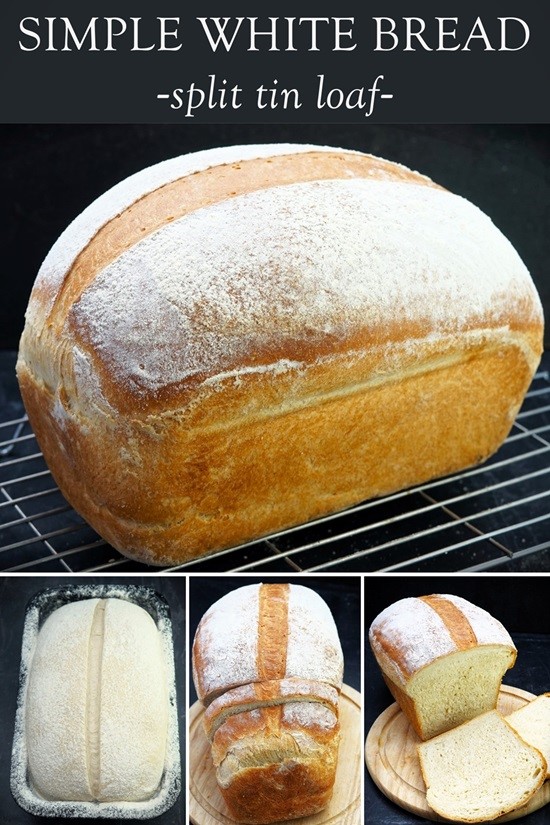
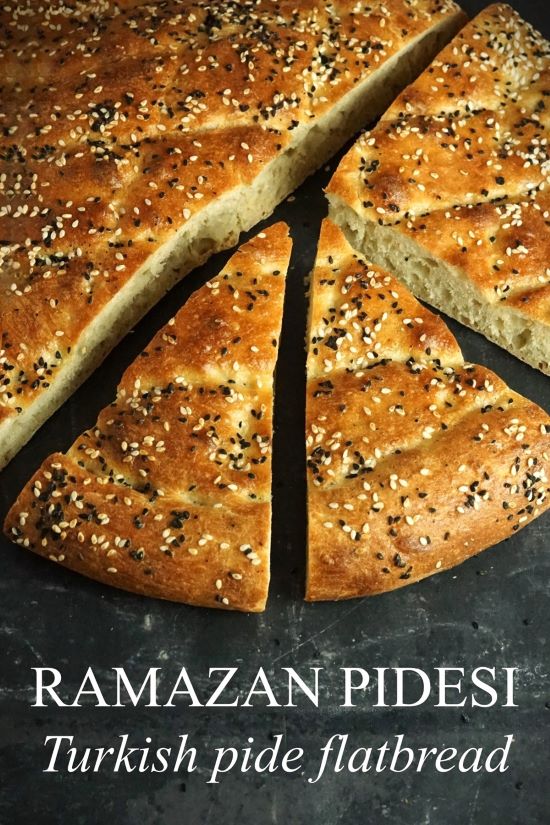
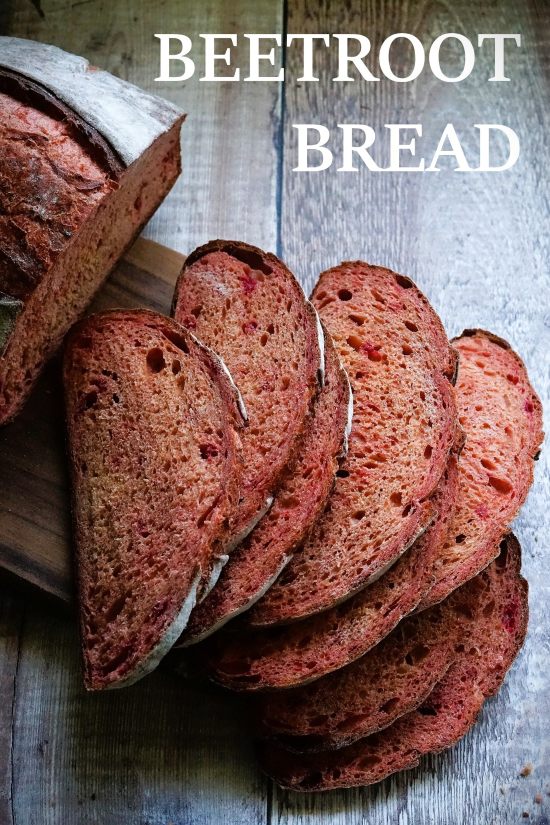
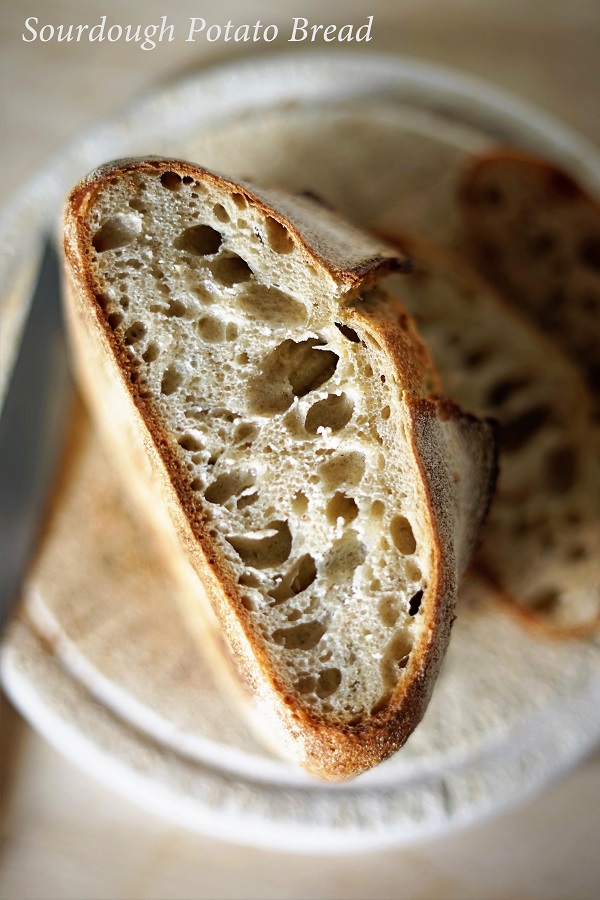
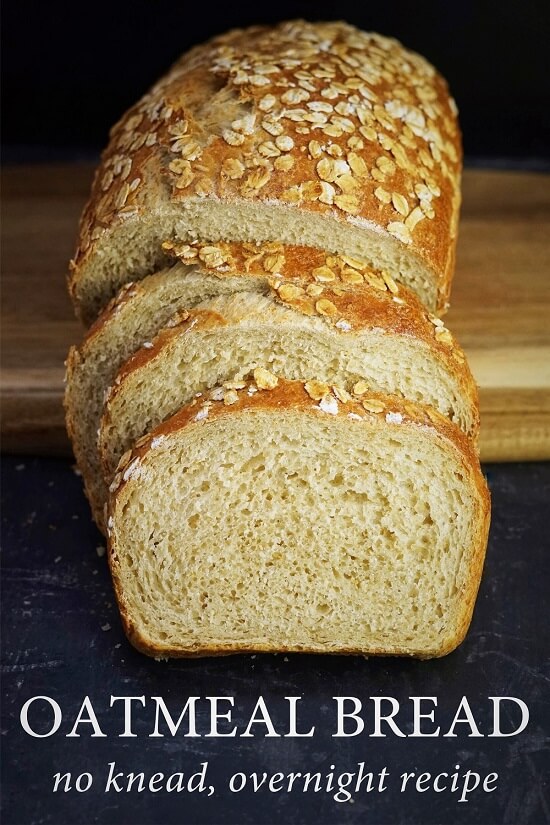
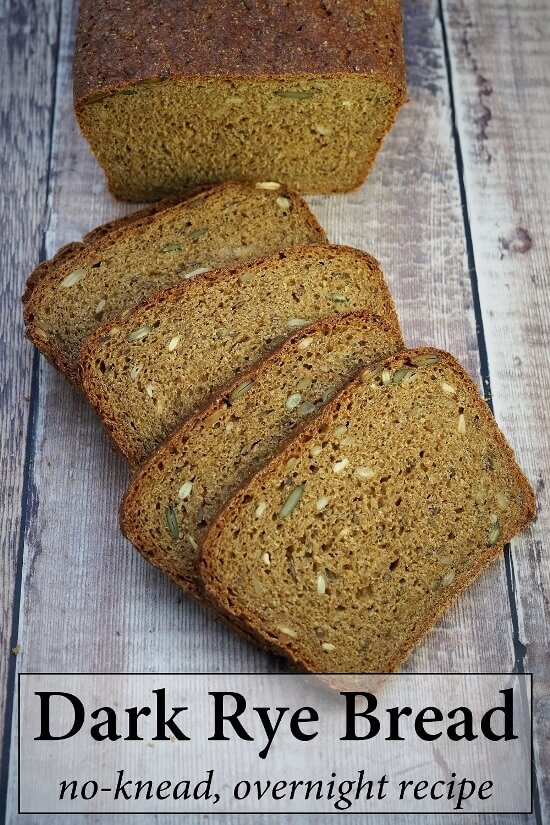
MORE BREAD RECIPES